There is something undeniably nostalgic about pulling a warm toaster pastry out of the foil, but these homemade pop tarts elevate that childhood memory into a gourmet experience. Forget the dry, crumbly crusts of the past; we are using buttery, multi-layered puff pastry that shatters into golden shards with every bite.
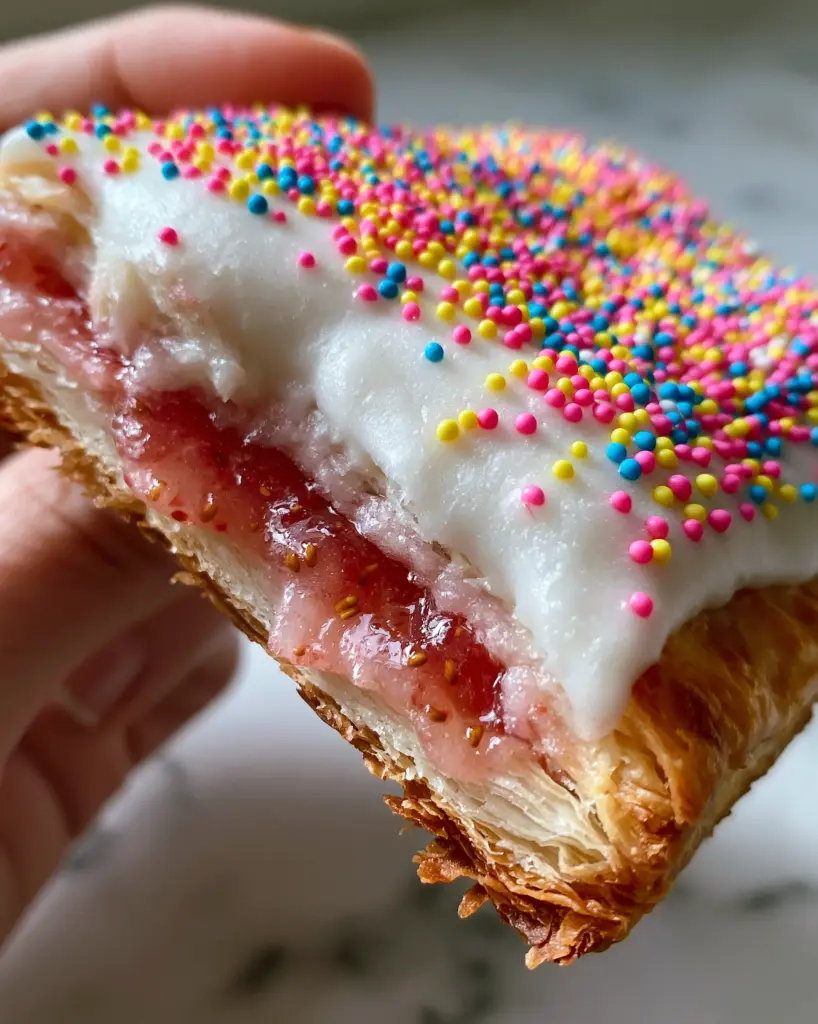
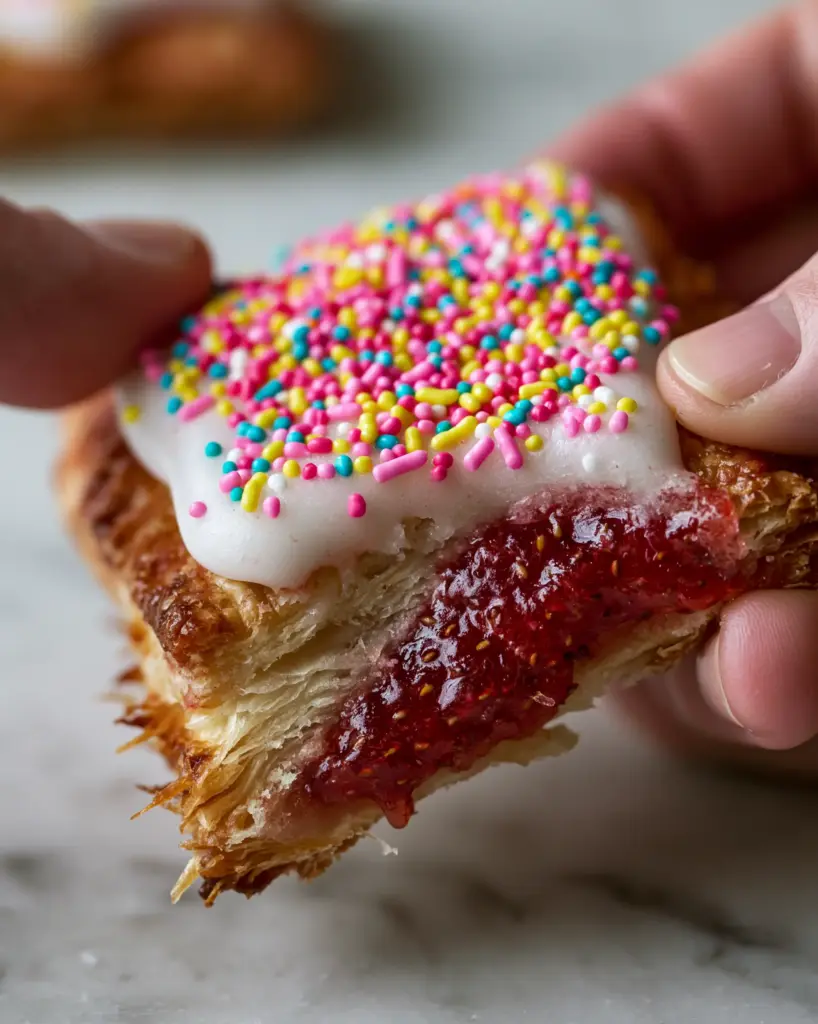
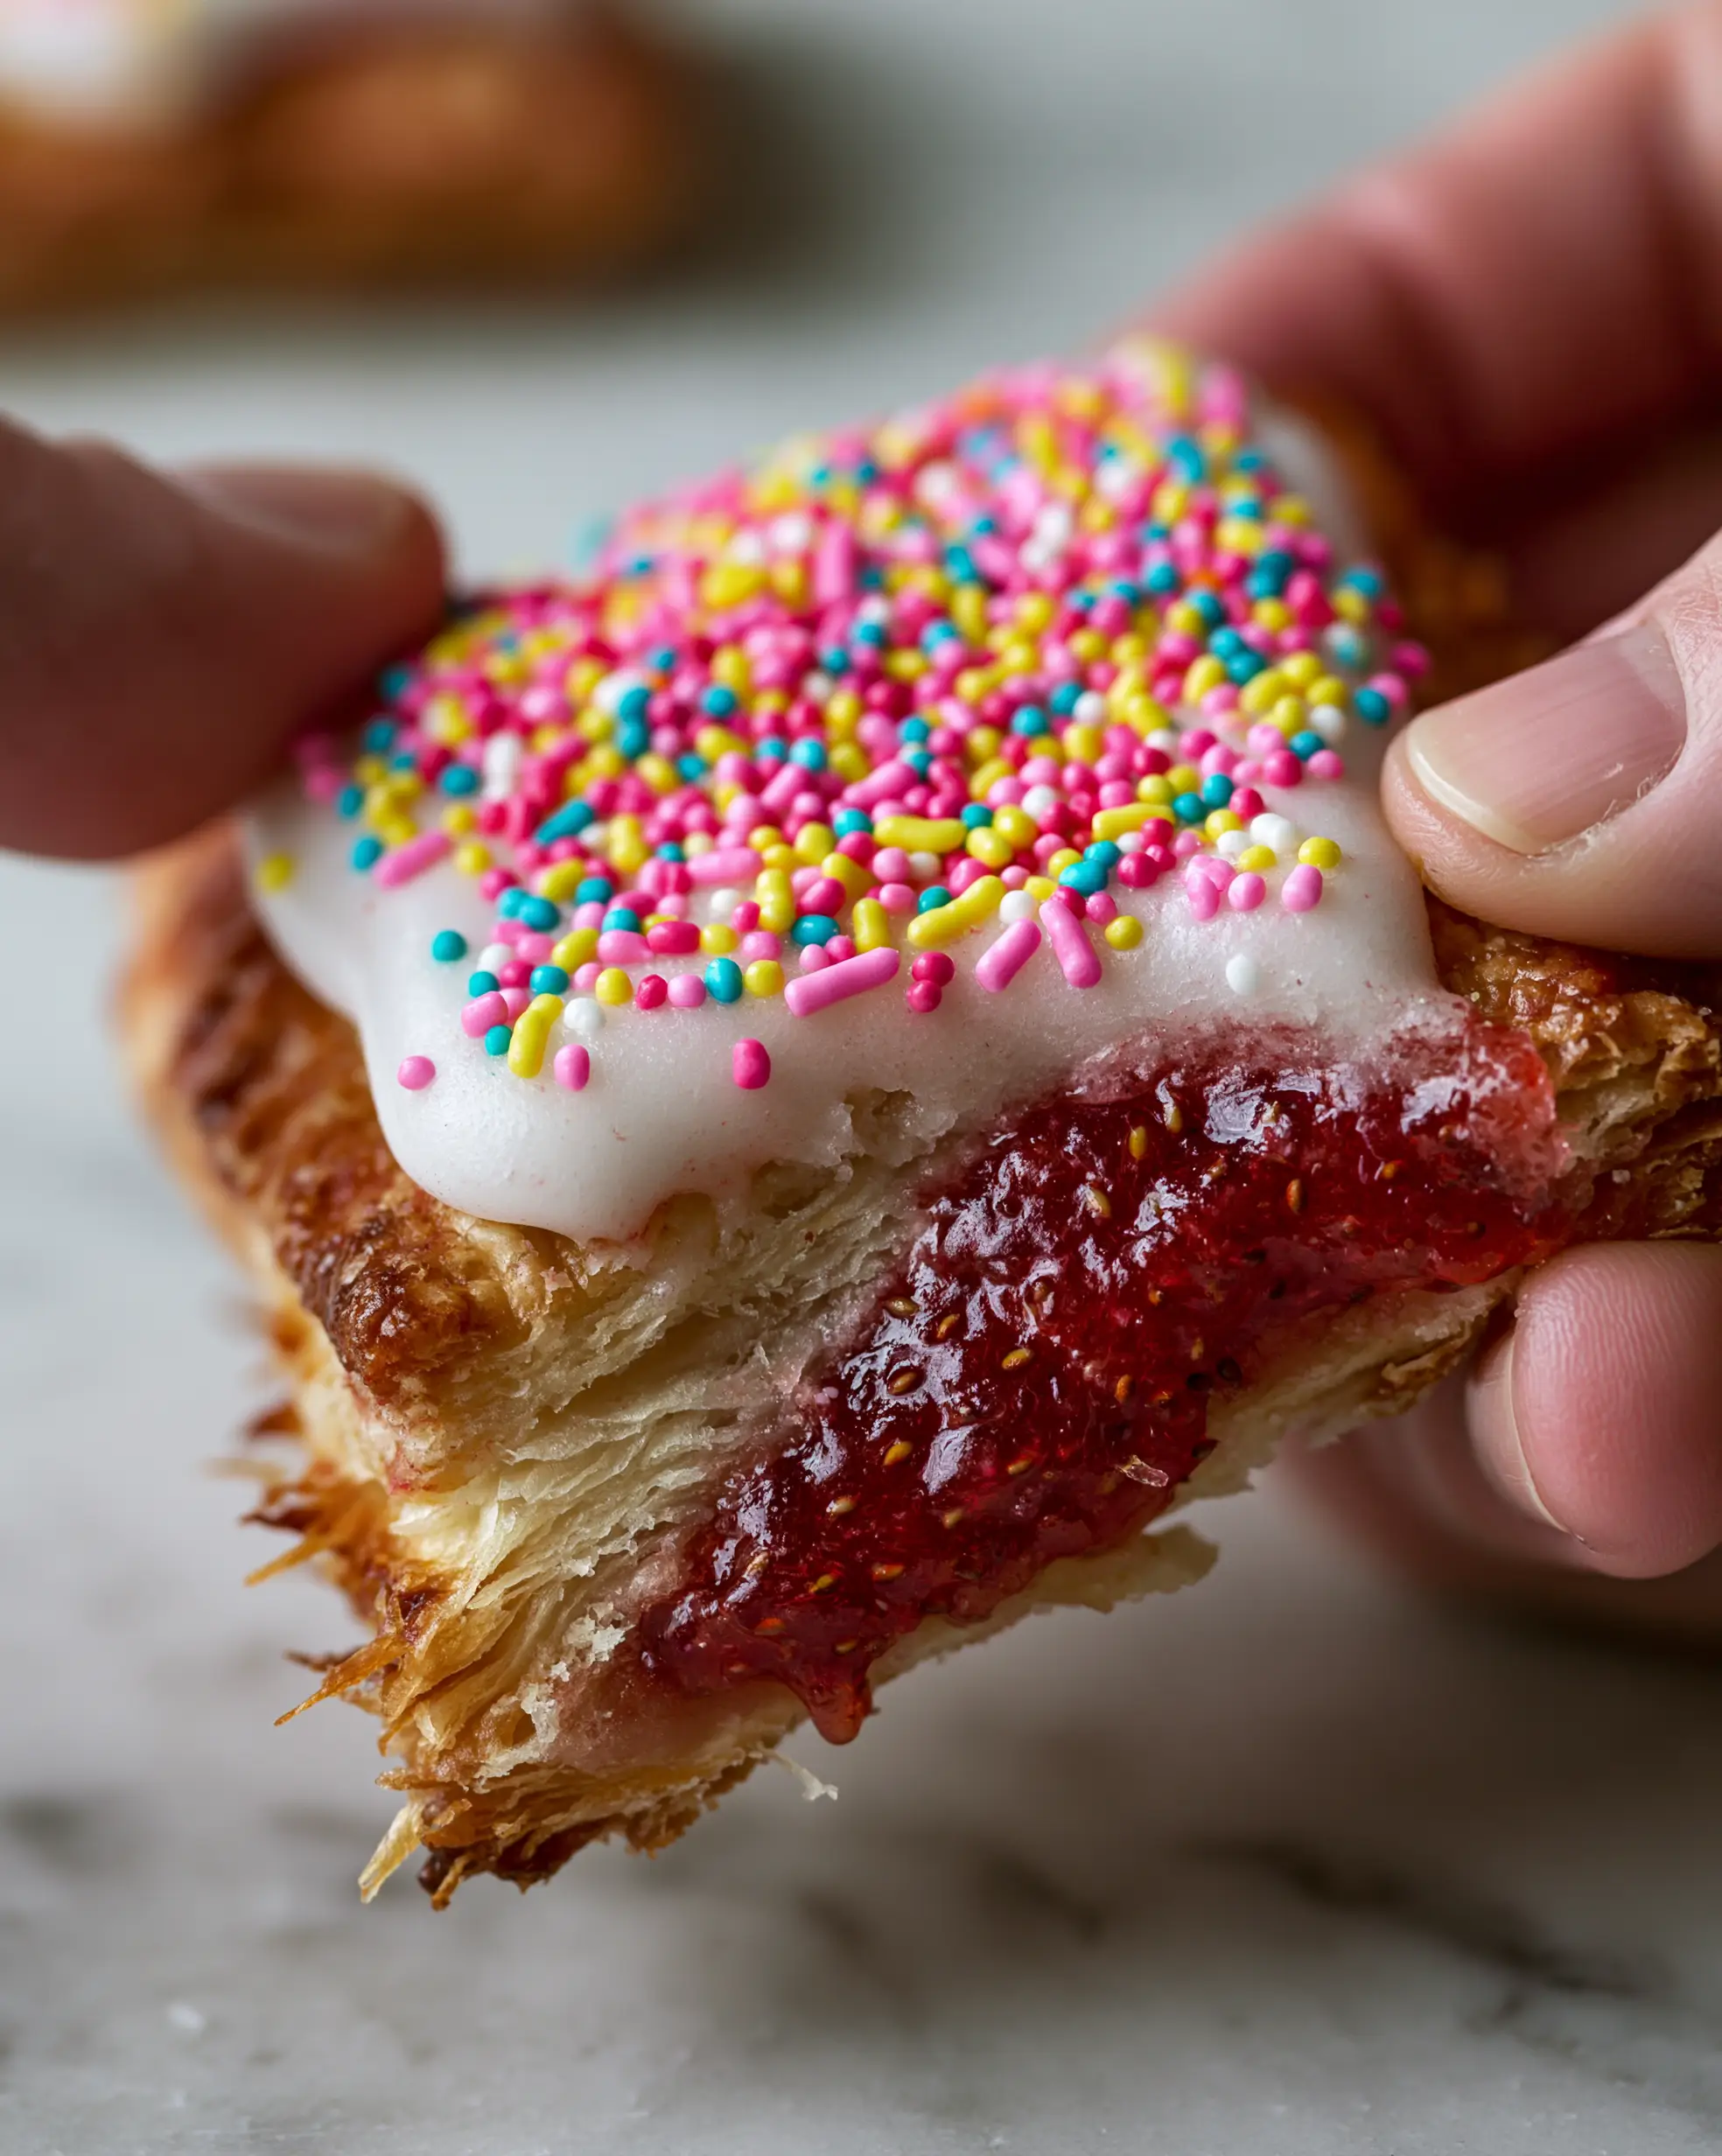
Imagine a macro view of this pastry being pulled apart by hand. You see the steam rising, the visible layers of dough, and a thick, glistening center of ruby-red strawberry jam oozing out. This isn’t just a snack; it is a culinary masterpiece designed for the modern home cook.
Whether you are looking for a weekend project or the ultimate addition to your list of stoner snacks, this recipe delivers on every sensory promise. From the crunch of the nonpareil sprinkles to the smooth, matte finish of the vanilla glaze, these are the best pastries you will ever make in your own kitchen.
Why These Flaky Strawberry Pastries Outshine the Competition
- The Crust: Unlike standard shortcrust, our use of puff pastry creates a “shatter-effect” texture that is toasted to a perfect golden brown.
- The Filling: We use a high-pectin, thick strawberry jam with tiny visible fruit seeds to ensure a glistening, ruby-red interior that doesn’t soak into the dough.
- The Glaze: A viscous, opaque snow-white vanilla glaze provides a smooth matte finish that holds the weight of dense rainbow sprinkles.
- The Visuals: Topped with vibrant pink, yellow, and blue nonpareils, these tarts look exactly like a professional bakery item under natural morning sunlight.
The Anatomy of a Perfect Homemade Pop Tart: Ingredients and Substitutions
Frozen Puff Pastry (2 sheets / 400g): This is the foundation of our flaky shards. Ensure it is all-butter puff pastry for the richest flavor and most dramatic rise.
Thick Strawberry Jam (1 cup / 320g): Look for a “preserve” or “jam” that is thick and glistening. The visible seeds add an authentic, rustic touch to the ruby-red center.
Egg Wash (1 large egg + 1 tbsp water): This is the “invisible” ingredient that acts as a protein glue to seal the edges and provides that deep golden-brown toasted finish.
Powdered Sugar (2 cups / 240g): This forms the bulk of our opaque glaze. Sift it first to ensure the finish is as smooth as a marble countertop.
Heavy Cream (2-3 tbsp / 30-45ml): We use cream instead of milk to achieve a more viscous, snow-white appearance that remains matte when set.
Vanilla Bean Paste or Extract (1 tsp / 5ml): This adds the floral notes required for a true “vanilla” glaze profile. If using paste, you will see beautiful tiny black specks.
Rainbow Nonpareil Sprinkles (3 tbsp / 45g): Specifically, look for a mix containing pink, yellow, and blue to match the classic aesthetic. These provide a necessary textural “pop.”
Essential Tools for Bakery-Quality Results
To achieve the precise look of our homemade pop tarts, you will need a sharp pastry wheel or pizza cutter for clean edges. A standard dinner fork is required for “crimping,” which creates those iconic ridges and prevents the jam from escaping during the bake.
You will also need a heavy-duty baking sheet lined with parchment paper. This ensures the bottom of the puff pastry toasts evenly without sticking, allowing the diffused light to catch the crispy texture of the base.
Step-By-Step: Constructing the Ultimate Flaky Toaster Pastry
Preparing the Puff Pastry Foundation
Start by thawing your puff pastry on a lightly floured surface until it is pliable but still cold to the touch. Use a rolling pin to lightly even out the seams, then cut the sheets into equal rectangles, roughly 3×5 inches (7.5x12cm).
Keep the pastry cold! If the butter in the layers melts before it hits the oven, you will lose the “flaky shards” described in our visual blueprint. Work quickly and chill the rectangles if your kitchen is warm.
Filling and Sealing for a Glistening Interior
Place 1.5 tablespoons (25g) of the thick ruby-red strawberry jam in the center of half the rectangles. Spread it slightly, leaving a 1/2 inch (1cm) border around the edges to ensure a proper seal.
Brush the borders with your egg wash. Place a second pastry rectangle on top and press the edges firmly with your fingers. Use a fork to crimp the edges, creating a secure, decorative border that holds the oozing jam inside.
The Toasting Process: Achieving Golden Brown Perfection
Brush the tops of the tarts generously with the remaining egg wash. This is critical for achieving that “toasted to a perfect golden brown” look. Poke a few small holes in the top with a toothpick to allow steam to escape.
Bake at 400°F (200°C) for 18-22 minutes. You are looking for the pastry to puff significantly and turn a deep, burnished gold. Let them cool completely on a wire rack before glazing; a warm tart will melt the opaque glaze into a translucent mess.
Glazing and Decorating with Rainbow Nonpareils
Whisk together the powdered sugar, heavy cream, and vanilla until the mixture is thick and drops slowly from the spoon. It should be viscous enough to stay put without running off the sides of the pastry.
Spread a thick layer of the snow-white glaze over the cooled tarts. While the glaze is still wet, scatter the rainbow nonpareils densely across the top. The vibrant pink, yellow, and blue colors should pop against the matte white background.
Expert Tips for Success
- The “Leak” Test: If your jam is too runny, simmer it in a small saucepan for 5 minutes to reduce the water content before filling.
- Temperature Control: If the pastry feels soft, pop the filled tarts in the freezer for 10 minutes before baking to maximize the flake factor.
- Opaque Glaze Secret: If your glaze looks transparent, add more powdered sugar 1 tablespoon at a time. It should look like white acrylic paint.
- Crimp Twice: Go around the edges with the fork once, then flip the tart and crimp the other side for a “fail-proof” seal.
How to Store and Reheat Your Pastries
These homemade pop tarts are best enjoyed the day they are made, especially when the pastry is at its crispest. However, you can store them in an airtight container at room temperature for up to 3 days.
To reheat, avoid the microwave as it will make the puff pastry chewy. Instead, use a toaster oven at 350°F (175°C) for 5 minutes. If you enjoy making treats in bulk, check out our guide on storing oatmeal cream pies for similar shelf-life tips.
What to Serve with Homemade Pop Tarts
For a complete breakfast spread, pair these tarts with a savory protein to balance the sugar. They go beautifully alongside a stack of fluffy pancakes or a hearty zucchini and spinach casserole for a brunch crowd.
If you’re serving these as a dessert, they are excellent with a side of cold milk or a scoop of vanilla bean ice cream, which complements the viscous vanilla glaze perfectly.
Frequently Asked Questions
Yes. Assemble and crimp them, then freeze on a tray. Once solid, transfer to a bag. Bake directly from frozen, adding 3-5 minutes to the cook time.
Absolutely! Air fry at 375°F (190°C) for 8-10 minutes. Watch them closely as the high-speed air can brown the puff pastry very quickly.
Yes, but the texture will be different. Pie crust results in a crumbly, shortbread-like texture, whereas puff pastry creates the ‘shatter-effect’ flaky layers seen in our photos.
Ensure you use a thick jam and leave a 1/2 inch border. Most importantly, use an egg wash ‘glue’ and crimp the edges firmly with a fork.
The most common reason is the dough getting too warm. If the butter melts before baking, the layers stick together. Keep the pastry cold until it enters the oven.
The Ultimate Homemade Strawberry Pop Tart Recipe
Homemade Pop Tarts with Flaky Puff Pastry and Ruby Strawberry Jam
Ingredients
Equipment
Method
- Cut cold puff pastry into 3x5 inch rectangles. Place half on a parchment-lined tray.
- Place 1.5 tbsp strawberry jam in the center, leaving a border. Brush edges with egg wash.
- Top with remaining rectangles and crimp edges firmly with a fork to seal.
- Brush tops with egg wash, poke steam vents, and bake at 400°F (200°C) for 20 mins until golden brown.
- Whisk sugar, cream, and vanilla. Spread over cooled tarts and add sprinkles immediately.
Notes
Use a thick jam to prevent the filling from oozing out during the baking process.
Closing & Call to Action
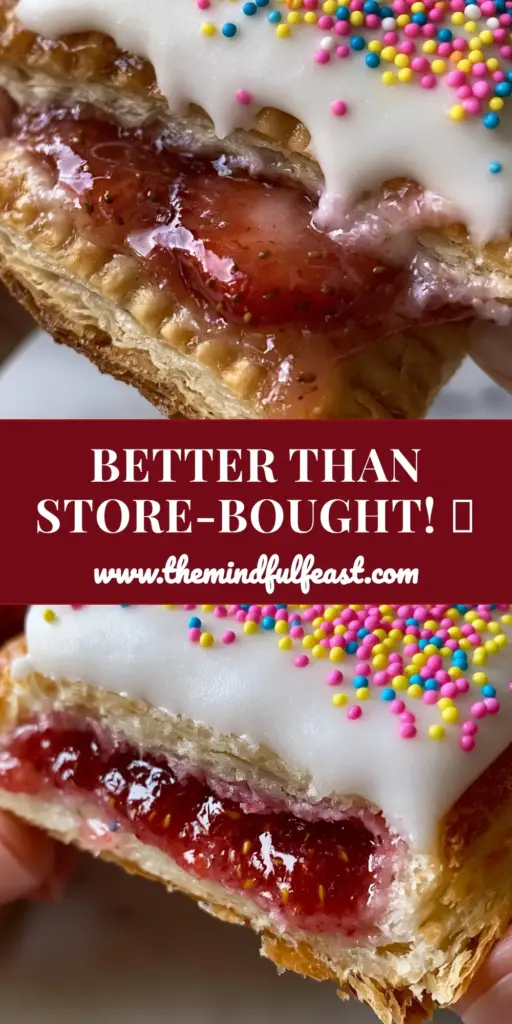
Making homemade pop tarts is a rewarding way to bring a touch of nostalgia and professional pastry technique into your home. The combination of the shatteringly flaky crust and the glistening ruby jam is something you simply cannot find in a box.
If you enjoyed this recipe, please leave a comment below and tell us how your glaze turned out! Don’t forget to follow us and share your creations to Pinterest so others can join the fun.