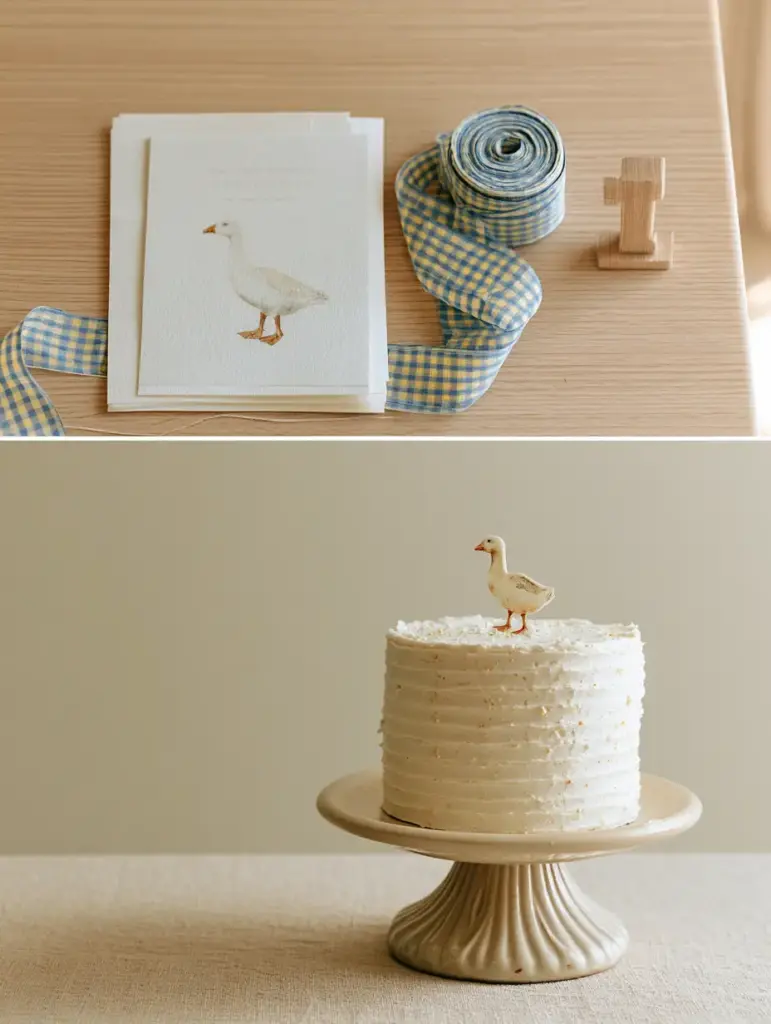
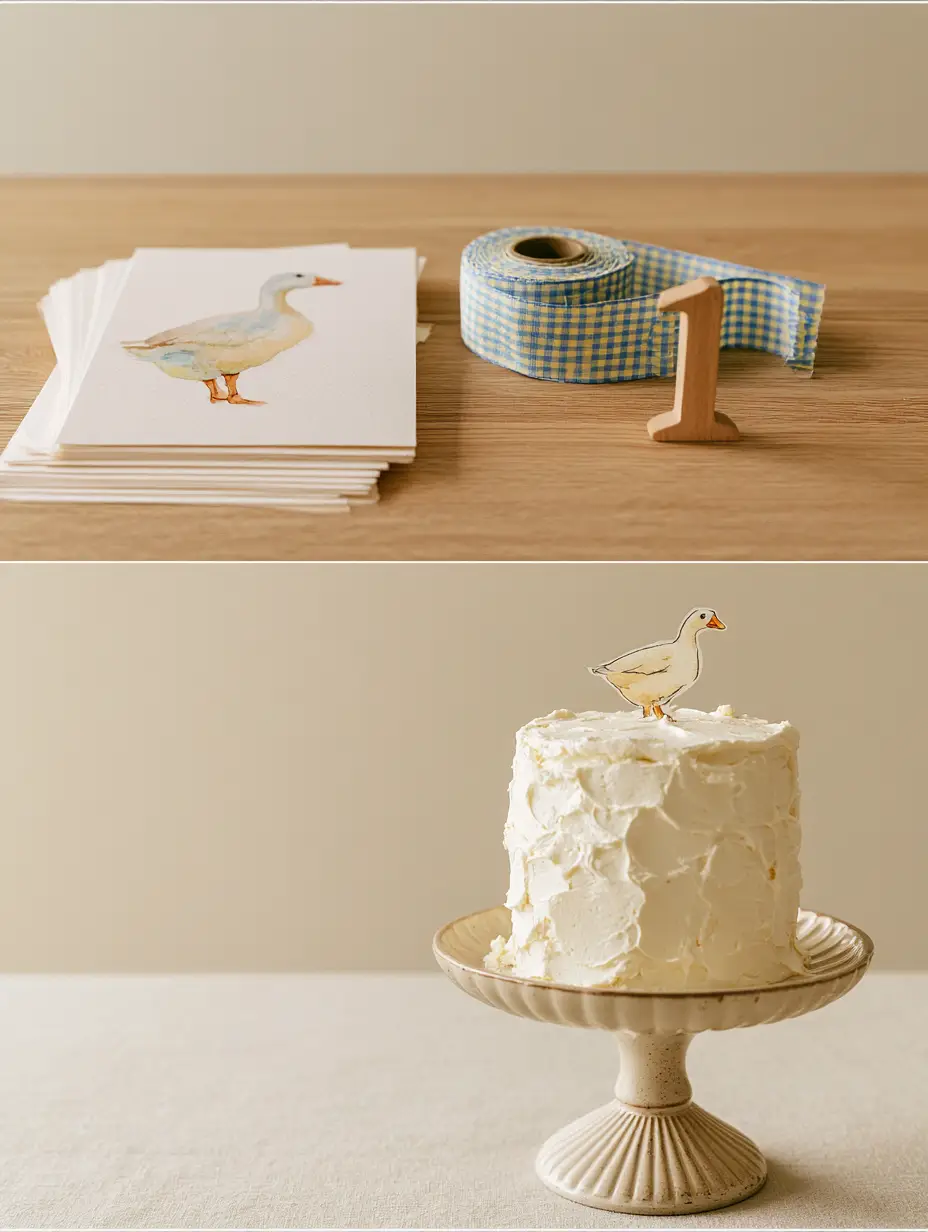
Planning a One Silly Goose birthday party is about more than just a theme; it is about capturing a specific, whimsical moment in time. This aesthetic, rooted in soft watercolor textures and vintage charm, has become a favorite for first birthdays. There is something profoundly nostalgic about a hand-painted goose and the crisp lines of a blue and yellow gingham ribbon under soft window light.
The centerpiece of this celebration is, of course, the cake. To match the visual elegance of a “silly goose” theme, we are crafting a two-layer vanilla sponge cake with a specific textured white buttercream. This cake is designed to look as good in a side-profile macro shot as it tastes when the first slice is served.
Whether you are a seasoned baker or a parent looking to create a handmade masterpiece, this guide covers every detail. From the fine crumbs of the sponge to the matte texture of the cardstock invitations, we are diving deep into the culinary science of a perfect party.
Why This Silly Goose Cake Is the Perfect Party Centerpiece
- Structural Integrity for Toppers: The two-layer vanilla sponge is dense enough to support a hand-painted watercolor goose topper without sagging or leaning.
- Textured Visual Appeal: Unlike smooth fondant, our textured white buttercream frosting creates organic shadows that photograph beautifully in natural daylight.
- Nostalgic Flavor Profile: A classic, fine-crumb vanilla cake pairs perfectly with the whimsical, vintage vibe of blue and yellow gingham fabric napkins.
- Customizable Aesthetic: This recipe acts as a canvas for the “One Silly Goose” theme, allowing the matte cardstock invitations and wooden toy accents to shine.
Essential Components for a One Silly Goose Birthday Party
To achieve the look of a professional “One Silly Goose” celebration, you need high-quality ingredients that provide both flavor and structure. We focus on “invisible” ingredients like cake flour and high-fat butter to ensure the final result matches our visual blueprint.
Cake Flour (3 cups / 375g): We use cake flour specifically to achieve the “fine crumbs” visible in macro photography. Its lower protein content ensures a tender, velvety texture that melts in your mouth.
Unsalted High-Fat Butter (1.5 cups / 340g): This is the foundation of both the cake and the frosting. High-fat butter provides the richness needed to balance the sweetness of the vanilla.
Granulated Sugar (2 cups / 400g): Beyond sweetness, sugar aids in the creaming process. It creates tiny air pockets in the butter, which are essential for the cake’s lift and structure.
Whole Milk (1 cup / 240ml): Milk adds moisture and ensures the sponge remains hydrated. For the best results, ensure your milk is at room temperature to prevent the batter from curdling.
Clear Vanilla Extract (2 tbsp / 30ml): While bourbon vanilla is delicious, clear vanilla is used in the frosting. This ensures the buttercream remains a “textured white” rather than an off-white or ivory color.
Baking Powder (1 tbsp / 12g): This is our primary leavening agent. It reacts with the heat of the oven to create the height required for a stately two-layer presentation.
Fine Sea Salt (1 tsp / 5g): Salt is the ultimate flavor enhancer. It cuts through the sugar and highlights the delicate floral notes of the vanilla.
Must-Have Tools for the Silly Goose Aesthetic
To recreate the “One Silly Goose” look, your kitchen tools are just as important as your ingredients. You will need two 8-inch (20cm) round cake pans for the layers.
A vintage fluted ceramic cake stand is non-negotiable for the final presentation. The fluted edges of the pedestal complement the textured buttercream, creating a cohesive, high-end look.
For the frosting, an offset spatula is your best friend. This tool allows you to create the “textured” ridges and sweeps that capture natural light and shadows so effectively.
Finally, ensure you have a roll of blue and yellow gingham ribbon nearby. This is used not just for the table setting, but can be tied around the cake stand for an extra touch of whimsy.
Crafting the Perfect Two-Layer Vanilla Sponge
The Creaming Method for Maximum Aeration
Start by creaming your room-temperature butter and sugar together for at least 5 minutes. You are looking for a visual change; the mixture should turn from yellow to a pale, almost white color and look “fluffy.”
Add your eggs one at a time, ensuring each is fully incorporated before adding the next. This prevents the emulsion from breaking, which is key to that “fine crumb” texture we want in our One Silly Goose birthday party cake.
Folding the Dry Ingredients
Sift your cake flour, baking powder, and salt together twice. This extra step ensures there are no clumps and aerates the flour even further for a lighter sponge.
Alternate adding the dry ingredients and the milk to the butter mixture. Start and end with the dry ingredients to maintain the structure of the batter without overworking the gluten.
Mastering the Textured White Buttercream
Achieving the Perfect White Hue
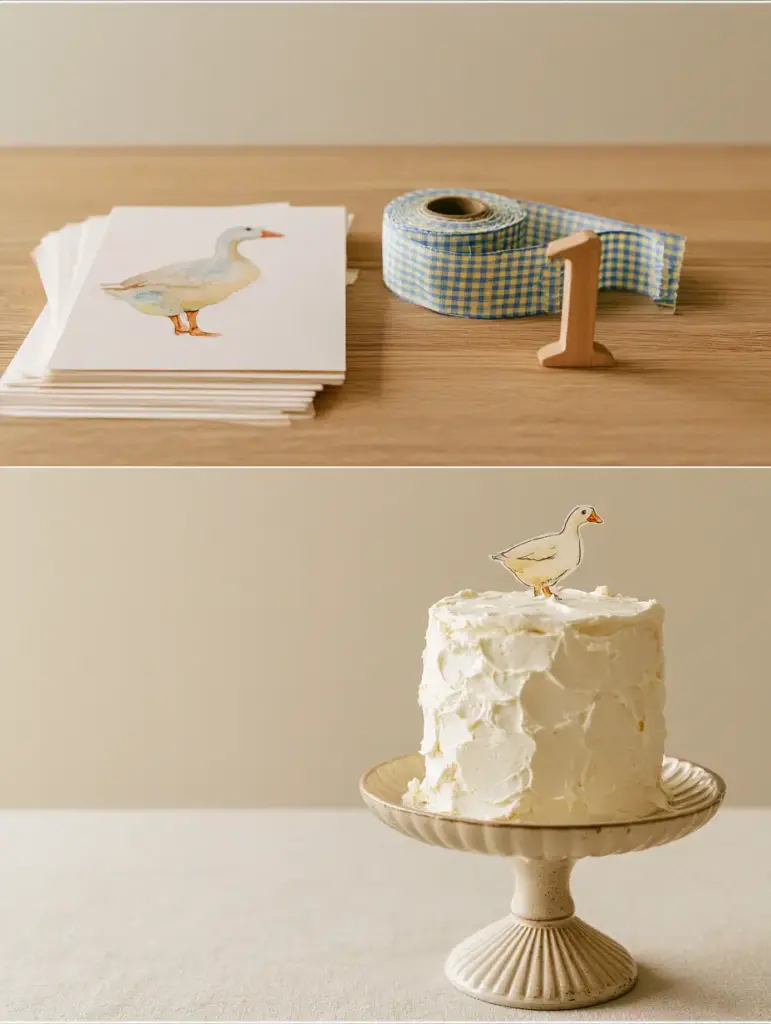
To get that stark, clean white look seen on the hand-drawn goose birthday cake, beat your butter alone for 8-10 minutes. This “whitens” the butter by incorporating air before you even add the sugar.
Gradually add your sifted powdered sugar and the clear vanilla. If the frosting looks too yellow, a microscopic drop of purple food coloring can neutralize the yellow tones, leaving you with a bright white canvas.
Techniques for Organic Texture
Once the cake is crumb-coated and chilled, apply a thick second layer of buttercream. Use your offset spatula to make intentional, short “swipes” across the surface of the cake.
Do not aim for perfection; the beauty of a One Silly Goose birthday party aesthetic lies in the handmade, slightly rustic feel. These ridges will catch the “soft natural daylight shadows” mentioned in our visual blueprint.
Expert Tips for a Picture-Perfect Celebration
- Temperature Control: Ensure all dairy ingredients are at room temperature (around 70°F / 21°C). This ensures a smooth batter that won’t separate.
- The Crumb Coat: Never skip the crumb coat. A thin layer of frosting “locks” in the fine crumbs, so they don’t mar your final textured white finish.
- Natural Lighting: For the best photos, place your cake near a north-facing window. This provides “soft natural daylight” without the harshness of direct sun.
- Watercolor Safety: If making a hand-painted watercolor goose topper, ensure the paper is mounted on a food-safe pick or sealed so no ink touches the frosting.
- Matte Textures: Use matte cardstock for invitations and “1” props. This prevents glare in your smartphone photos, keeping the focus on the cake’s texture.
Planning the Full Menu: What to Serve
A One Silly Goose birthday party deserves a menu that feels light, airy, and celebratory. For the adults, consider serving a sparkling peach lemonade that mirrors the yellow in your gingham ribbons.
If you need a savory counterpoint to the sweet vanilla sponge, honey garlic shrimp bowls offer a sophisticated yet easy-to-prep lunch option for guests.
For a more casual gathering, a refreshing cold bean salad provides a great pop of color and texture on the buffet table. If you’re looking for an alternative dessert for those who aren’t cake fans, a classic birthday cheesecake can be decorated with the same watercolor goose theme.
Finally, for a morning celebration, these ultra-fluffy japanese pancakes carry that same “fine crumb” aesthetic into the breakfast hour.
Storage and Make-Ahead Instructions
The vanilla sponge layers can be made up to two days in advance. Once cooled, wrap them tightly in plastic wrap and store them at room temperature. This actually allows the moisture to distribute more evenly.
The buttercream can also be made ahead of time. Store it in an airtight container in the fridge for up to a week. Before using, let it come to room temperature and re-whip it to restore that “textured” spreadability.
Once the cake is fully assembled and frosted, it can stay at room temperature for up to 4 hours. For longer storage, refrigerate the cake, but remember to take it out 2 hours before serving so the butter-based sponge softens back to its ideal texture.
One Silly Goose Birthday Party: Common Questions
Yes! Use thick watercolor paper and high-quality paints. Once dry, mount it on a food-safe bamboo skewer or attach it to a piece of cardstock before placing it on the cake.
To achieve a stark white, whip your butter alone for at least 8 minutes to aerate it and use clear vanilla extract instead of brown vanilla. A tiny drop of purple food coloring can also neutralize yellow tones.
A lightweight cotton or linen in a blue and yellow gingham check is ideal. These fabrics drape well over tables and photograph beautifully in natural light.
Coarse crumbs usually result from over-mixing or using all-purpose flour. Using cake flour and the creaming method ensures the fine, velvety texture essential for this aesthetic.
The Ultimate One Silly Goose Vanilla Cake Recipe
One Silly Goose Birthday Party: The Ultimate Vanilla Sponge Cake and Hosting Guide
Ingredients
Equipment
Method
- Cream the butter and sugar for 5 minutes until pale and fluffy. Add eggs one at a time, beating well after each addition.
- Alternate adding the dry ingredients (sifted flour, baking powder, salt) and milk. Mix until just combined to keep the crumb fine.
- Divide batter between two 8-inch pans. Bake at 350°F (175°C) for 30-35 minutes until a toothpick comes out clean.
- Whip the butter for 8 minutes until white. Add powdered sugar and clear vanilla, then whip until smooth.
- Apply a thick layer of frosting to the chilled cake. Use an offset spatula to create intentional, organic ridges and swipes for a textured look.
Notes
Use clear vanilla extract to maintain a stark white frosting color.
Bringing the Silly Goose Theme to Life
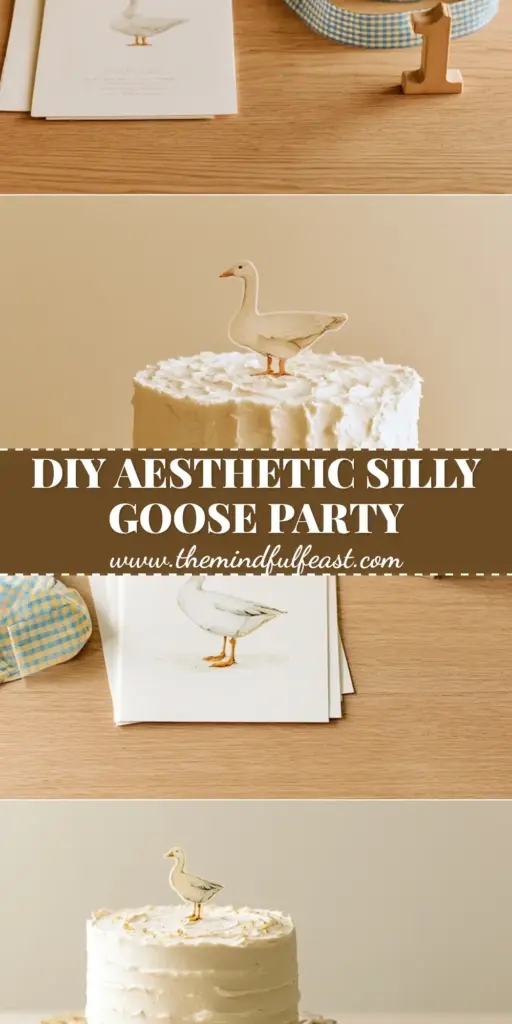
The magic of a One Silly Goose birthday party lies in the small, tactile details. It is the combination of the whimsical wooden toy goose sitting next to a vintage fluted ceramic cake stand that creates a sense of wonder.
By following this recipe, you aren’t just baking a cake; you are creating the focal point of a core memory. The soft “smartphone photo” aesthetic we’ve aimed for is all about celebrating the imperfect, the handmade, and the joyful silliness of a first birthday.
We would love to see how your “Silly Goose” celebration turns out! If you try this recipe, please leave a comment below or tag us in your photos. Don’t forget to follow themindfulfeast on Pinterest for more whimsical party inspiration and aesthetic recipes.