There is a specific, audible “shatter” that occurs when you bite into a truly perfect chicken tender. It is a sound that separates mediocre fast food from a gourmet, home-cooked masterpiece that looks like it stepped right out of a professional food shoot.
This chicken tenders recipe is designed to bridge that gap, delivering a deep golden-brown, extra-craggy crust that houses a steaming, glistening, and incredibly juicy interior. By utilizing an air fryer and a specific brining technique, we achieve that high-definition crunch without the heavy grease of deep frying.
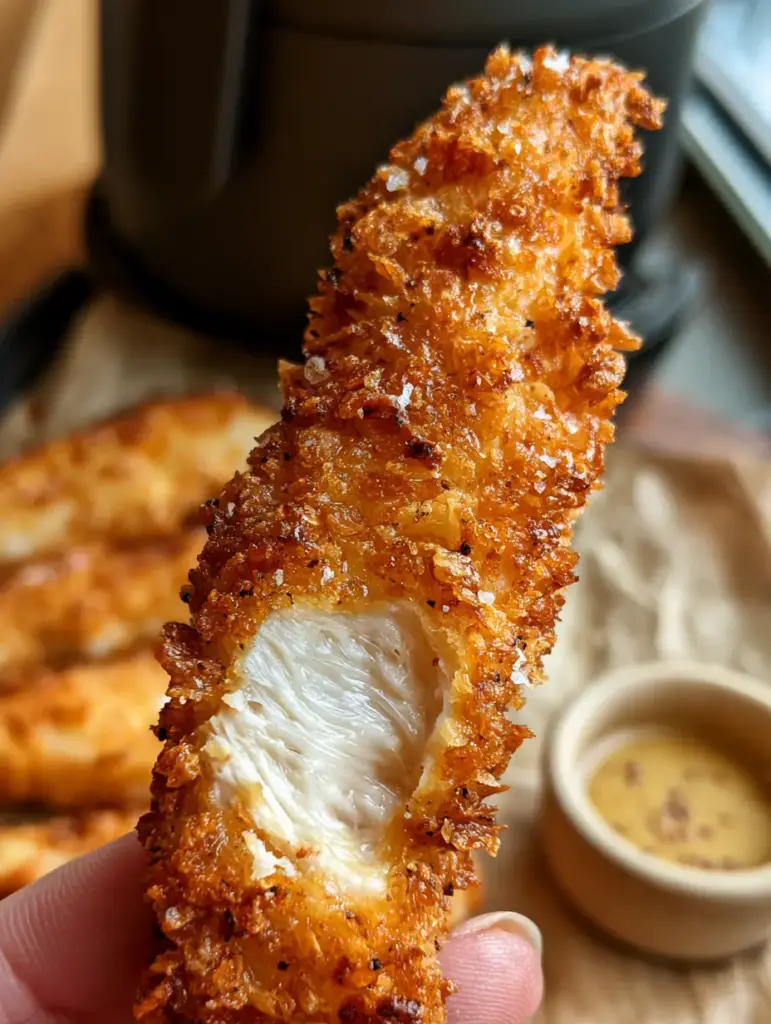
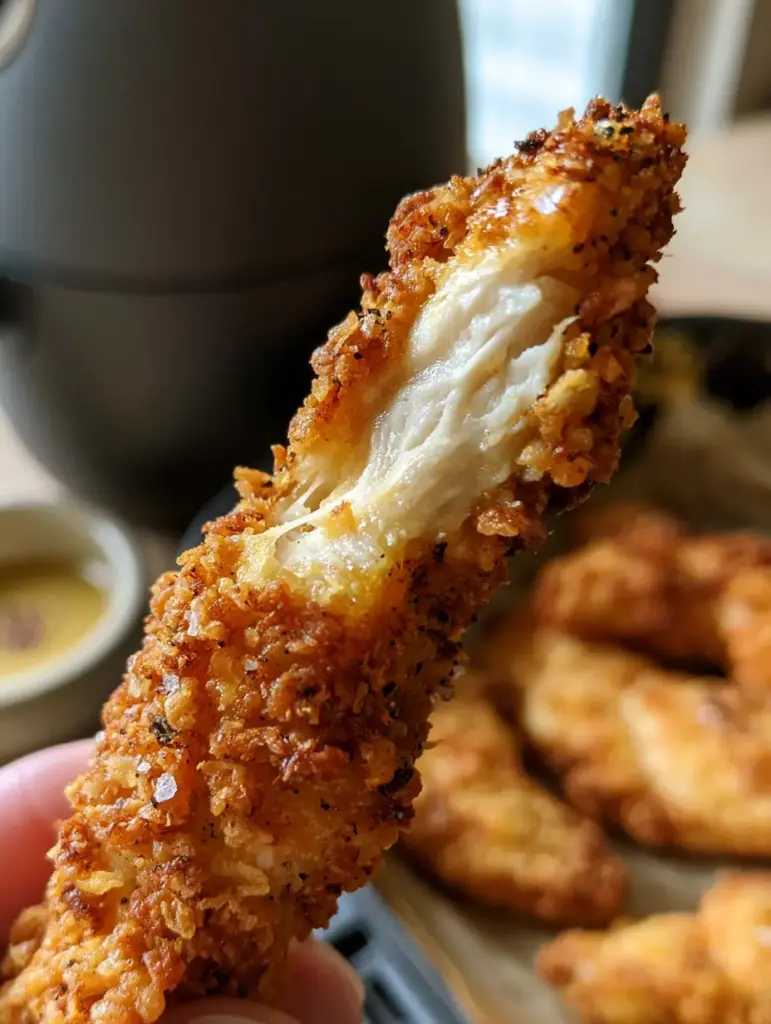
Imagine holding a single, ultra-crispy strip where you can see the individual flakes of sea salt and cracks of black pepper nestled into the ridges of the breading. This recipe isn’t just about eating; it’s about a multi-sensory experience from the first visual of the steam rising to the final dip in a tangy honey mustard sauce.
The Anatomy of a Perfect High-Definition Crunch
- Shatter-Crisp Texture: We use a specific oil-toasted panko technique to ensure every ridge and valley of the breading is golden and firm.
- Glistening Juiciness: A mandatory buttermilk brine ensures the white meat remains succulent and steaming hot, even after the high-heat air frying process.
- Visual Precision: With visible flecks of sea salt and cracked black pepper, these tenders look as professional as they taste.
- The Perfect Dip: A homemade honey mustard with visible mustard seeds provides the sharp, sweet contrast needed to cut through the savory crust.
The Foundation: Premium Ingredients for Juicy Results
Chicken Breast Strips (2 lbs / 900g): Start with high-quality breast meat sliced into even strips. This ensures uniform cooking so every piece finishes with that glistening, white-meat interior at the same time.
Buttermilk (1 cup / 240ml): The lactic acid in buttermilk tenderizes the protein gently. This is the “invisible” secret to ensuring steam rises from the center when you take that first bite.
Panko Breadcrumbs (2 cups / 120g): For that extra-craggy texture, Panko is non-negotiable. Its large, airy flakes create the ridges and highlights seen in high-end food photography.
Neutral Oil (2 tbsp / 30ml): While we are air frying, tossing the Panko in a small amount of oil beforehand is the forensic secret to achieving an even, deep golden-brown toasted crust.
Flaky Sea Salt & Cracked Black Pepper (to taste): These are your “finishers.” Adding them just before and after cooking ensures they are visible on the crust, providing pops of flavor and visual texture.
Honey & Dijon Mustard (1/4 cup / 60ml each): The base for our dipping sauce. Using a stone-ground Dijon adds those visible mustard seeds that signify a premium, scratch-made sauce.
Essential Tools for Air-Fried Perfection
To achieve the results seen in our modern matte black air fryer setup, you will need a few specific tools. A high-quality air fryer is essential for the rapid air circulation that creates the craggy crust.
You will also need parchment paper liners. These prevent the “extra-craggy” breading from sticking to the basket, ensuring the crust stays on the chicken and not on the metal grates.
Finally, a stainless steel wire rack is helpful for the dredging process. It allows the breaded tenders to “set” for a few minutes before frying, which prevents the breading from falling off during the cook cycle.
Step-By-Step: Engineering the Extra-Craggy Crust
Phase 1: The Brine for Maximum Moisture
In a large bowl, submerge your chicken strips in the buttermilk, seasoned with a teaspoon of salt and cracked pepper. Let this sit for at least 30 minutes; this step is what makes the interior “glistening” and juicy.
While the chicken brines, prepare your “Golden Toast” breading. In a shallow pan, toss your panko breadcrumbs with the 2 tablespoons of oil until every flake is lightly coated. This ensures the air fryer produces a deep golden-brown color rather than a pale, chalky finish.
Phase 2: The High-Definition Dredge
Lift a chicken strip from the buttermilk, letting the excess drip off. This buttermilk acts as the “glue” for our craggy exterior.
Press the chicken firmly into the oiled panko. Don’t just toss it; use your palms to pack the flakes onto the meat to create those massive, high-definition ridges of crunch.
Phase 3: The Precision Air Fry
Preheat your air fryer to 400°F (200°C). Place a parchment paper liner in the bottom of the basket, then arrange the tenders in a single layer, ensuring they do not touch.
Cook for 10-12 minutes, flipping halfway through. Look for the visual cue: the breading should be deep golden-brown and the edges should look visibly “shattered” and dry.
Expert Tips for Culinary Success
- Don’t Overcrowd: Air needs to move. If the tenders touch, the “craggy” bits will become soggy instead of crispy.
- The “Set” Time: Let the breaded chicken sit on a rack for 5 minutes before frying. This helps the panko hydrate slightly and stick better during the air-blast.
- Temperature Check: For the juiciest results, pull the chicken when it hits an internal temperature of 160°F (71°C); carryover cooking will bring it to the safe 165°F (74°C).
- Finish with Salt: Hit the tenders with an extra pinch of flaky sea salt the second they come out of the air fryer so it sticks to the hot surface.
Preserving the Crunch: Storage and Reheating
If you have leftovers, store them in an airtight container in the refrigerator for up to 3 days. To maintain that signature crunch, never use a microwave for reheating.
Instead, pop the tenders back into the air fryer at 370°F (185°C) for 3-4 minutes. This revitalizes the panko flakes and ensures the interior remains steaming hot without drying out.
You can also freeze these tenders after the breading stage but before frying. Simply air fry from frozen, adding an extra 4-5 minutes to the total cooking time.
What to Serve With Your Crispy Tenders
These tenders are the star of the show, but they pair beautifully with a variety of textures. For a classic comfort meal, serve them alongside crispy roasted potatoes and a side of slaw.
If you are looking for a lighter option, chop up these extra-craggy tenders to top a fresh garden chicken salad. The crunch of the panko replaces the need for croutons.
For a more indulgent weeknight dinner, these tenders serve as an excellent protein boost for a creamy chicken pasta or alongside a bowl of lemon chicken and orzo.
Frequently Asked Questions
Yes, you can substitute buttermilk by mixing 1 cup of regular milk with 1 tablespoon of lemon juice or white vinegar. Let it sit for 5 minutes until slightly curdled before using as a brine.
The secret is pre-coating your panko breadcrumbs with a small amount of neutral oil before dredging. This allows the dry breadcrumbs to ‘fry’ in the air fryer’s heat, resulting in a toasted, golden-brown crust.
While not strictly required for cooking, it is highly recommended for this extra-craggy recipe. It prevents the delicate panko ridges from sticking to the basket and tearing off when you flip them.
Always use the air fryer! Reheat at 370°F (185°C) for 3-4 minutes. This removes any moisture absorbed in the fridge and restores the shatter-crisp texture of the panko.
This usually happens if the chicken is too wet or if it isn’t allowed to ‘set.’ After breading, let the tenders rest on a wire rack for 5 minutes. This helps the buttermilk and panko form a stronger bond.
The Ultimate Chicken Tenders Recipe Card
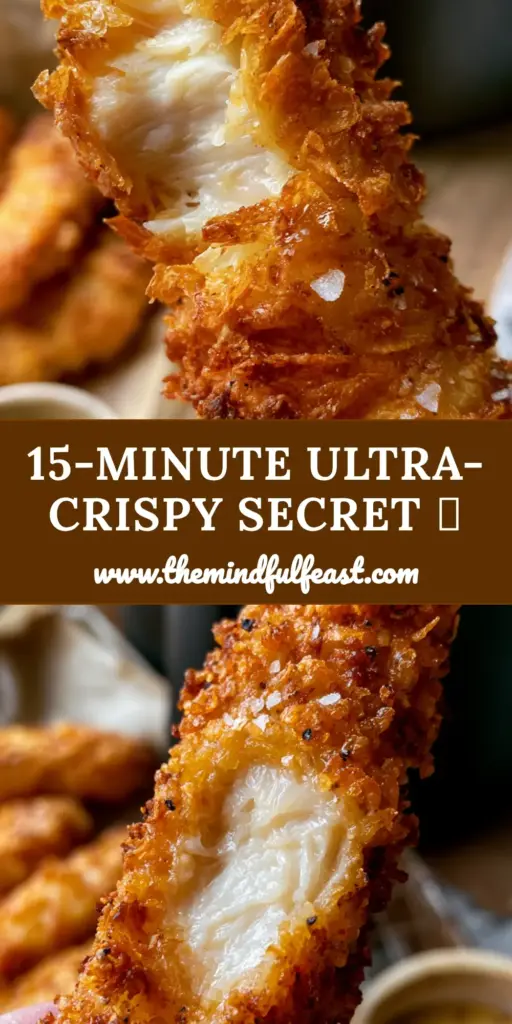
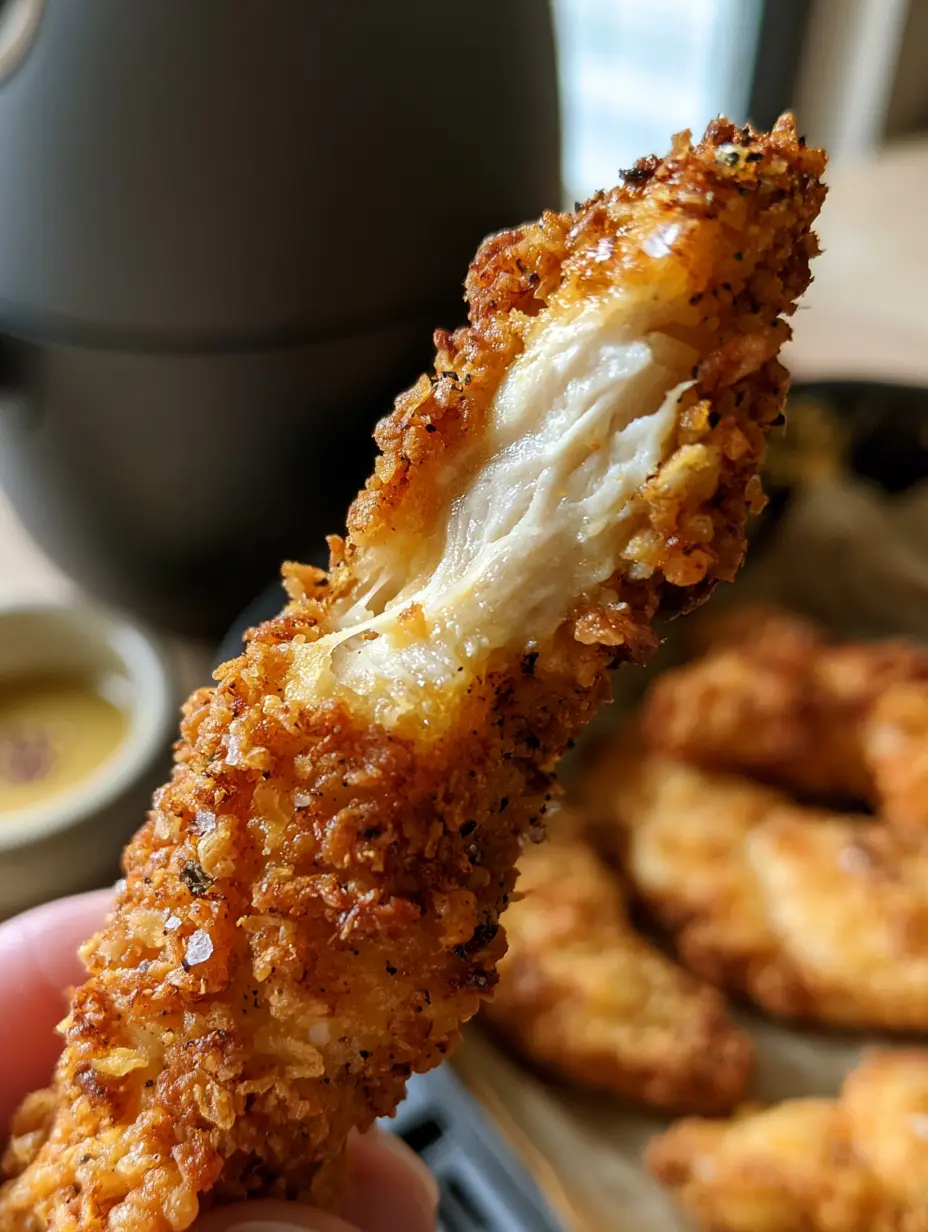
Chicken Tenders Recipe: The Ultimate Extra-Craggy Air Fryer Secret
Ingredients
Equipment
Method
- Submerge chicken strips in 1 cup (240ml) buttermilk with salt and pepper for at least 30 minutes to ensure a juicy interior.
- In a shallow dish, mix panko breadcrumbs with 2 tbsp (30ml) neutral oil until evenly coated to ensure a deep golden-brown crust.
- Remove chicken from brine, let excess drip off, and press firmly into the panko mixture to create extra-craggy ridges.
- Place on parchment paper in a single layer at 400°F (200°C). Cook for 10-12 minutes, flipping halfway, until steam rises and crust is ultra-crispy.
Notes
Let the breaded chicken sit for 5 minutes before frying to help the coating adhere.
Bring the Crunch Home Today
This chicken tenders recipe is more than just a quick meal; it is a masterclass in texture and flavor. From the extra-craggy crust to the honey mustard dip, every element is designed for maximum satisfaction.
If you enjoyed this recipe, please leave a comment below and let us know how your crunch turned out! Don’t forget to share your photos and tag us on Pinterest.