Mastering the perfect Chicken Breast for Salad is the holy grail of healthy home cooking. There is nothing worse than a beautiful bed of greens topped with dry, rubbery, or flavorless protein that ruins the entire dining experience.
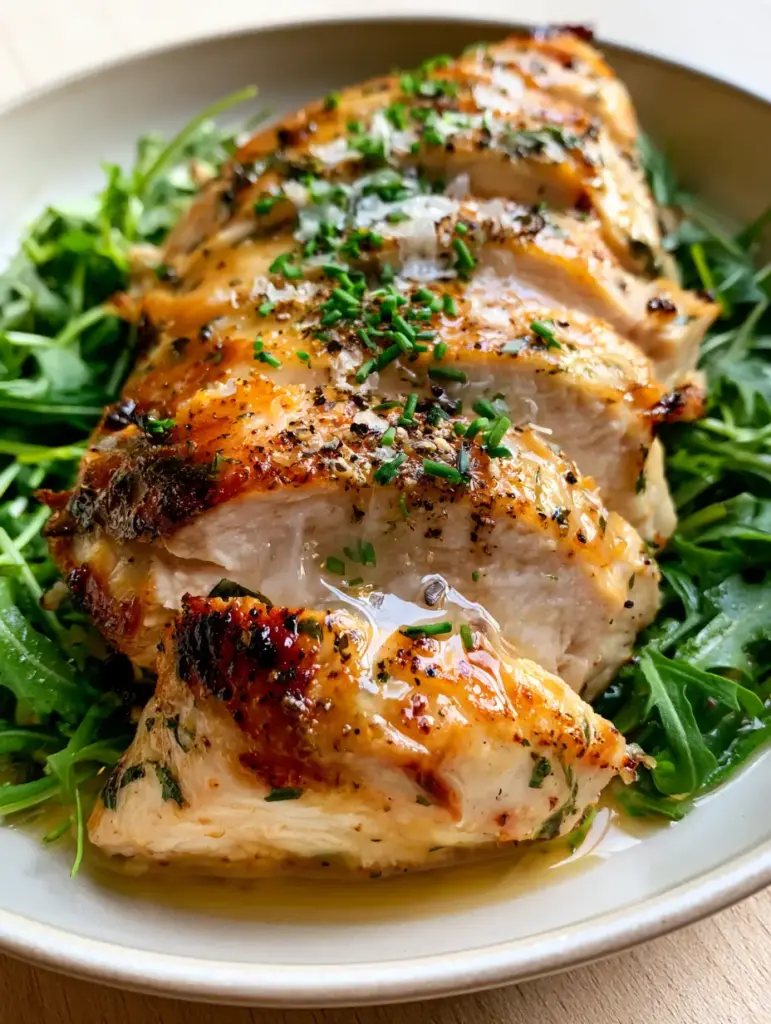
This recipe is designed to bridge the gap between professional culinary techniques and everyday meal prep, delivering a result that looks exactly like a high-end food blog photo. Imagine slicing into a chicken breast that is still steaming, revealing a moist, tender interior protected by a deep, golden-brown seared crust.
By combining a high-heat sear with a gentle oven finish and a translucent lemon-herb glaze, we create a piece of poultry that isn’t just an “add-on” but the star of the show. Whether you are prepping for a busy week or hosting a light lunch, this method ensures your salad is vibrant, textured, and incredibly satisfying.
The Anatomy of a Perfect Salad Protein: Why This Recipe Works
- Textural Contrast: We achieve a professional-grade golden-brown crust that provides a satisfying crunch against soft arugula leaves.
- Visual Brilliance: The translucent lemon-herb glaze creates bright highlights that make the dish look as good as it tastes.
- Sustained Moisture: The combination of a quick sear and an oven finish locks in juices, ensuring every slice is glistening and tender.
- Aromatic Depth: Fresh chives and cracked black pepper offer immediate sensory feedback the moment the plate hits the table.
- Dual-Action Seasoning: We use both kosher salt for internal seasoning and flaky sea salt for a final, sophisticated finish.
The Flavor Foundation: Essential Ingredients and Substitutions
To achieve the specific visual and flavor profile of this Chicken Breast for Salad, each ingredient serves a structural or aesthetic purpose. Choosing high-quality components is the first step toward culinary success.
Boneless Skinless Chicken Breasts: Look for air-chilled breasts around 8oz (225g) each for the best texture and minimal water shrinkage during cooking. Air-chilled poultry sears significantly better than water-chilled alternatives.
High-Smoke Point Oil: You will need 2 tbsp (30ml) of avocado or light olive oil to handle the high heat required for that signature crust. Avoid extra virgin olive oil for the initial sear, as it will smoke and become bitter.
Fresh Lemon Juice and Zest: This forms the base of our translucent glaze, providing the acidity needed to cut through the richness of the chicken. The zest adds essential oils that perfume the entire dish.
Fresh Chives: Finely chopped chives provide a delicate onion flavor and a pop of vibrant green that contrasts beautifully with the golden chicken. If unavailable, very thinly sliced green onion tops can work.
Herb-Infused Olive Oil: We finish the dish with droplets of herb-infused oil to create those “glistening” highlights mentioned in the visual blueprint. This adds a luxurious mouthfeel to the arugula base.
Dried Oregano and Thyme: These are rubbed into the meat before searing to create those visible “herb flecks” in the crust. Dried herbs are sturdier for the high-heat searing phase than fresh ones.
Flaky Sea Salt and Cracked Black Pepper: These are your “finishing” spices, providing crunch and a sharp bite that wakes up the palate. Use a coarse grind for the pepper to ensure it is visible on the sliced meat.
Must-Have Kitchen Tools for Culinary Precision
Achieving a professional result requires the right tools to manage heat and monitor internal textures. Don’t leave your Chicken Breast for Salad to guesswork.
Heavy-Bottomed Skillet: A cast-iron or stainless steel pan is non-negotiable for creating a deep, even crust. These materials retain heat better than non-stick pans, which often result in “steamed” rather than “seared” meat.
Instant-Read Meat Thermometer: This is the only way to guarantee a moist interior. We are looking for exactly 165°F (74°C) to ensure safety without sacrificing tenderness.
Sharp Chef’s Knife: To get those clean, professional slices shown in the photos, your knife must be razor-sharp. A dull knife will tear the meat and cause the juices to escape.
Small Whisk and Mixing Bowl: These are for emulsifying the lemon-herb glaze so it remains translucent and glossy rather than separating on the plate.
Step-by-Step Evolution: From Raw Protein to Masterpiece
Step 1: The Critical Preparation and Brining
Start by patting your chicken breasts completely dry with paper towels. Moisture is the enemy of a golden-brown crust; if the surface is wet, the chicken will steam instead of sear.
Season the breasts generously with 1 tsp (6g) kosher salt and 1/2 tsp (1g) dried herbs. Let them sit at room temperature for 15 minutes to allow the seasoning to penetrate the fibers and the chill to leave the meat.
Step 2: Achieving the Signature Golden-Brown Crust
Preheat your oven to 400°F (200°C). Heat 2 tbsp (30ml) of oil in your skillet over medium-high heat until it shimmers and just starts to wispy smoke.
Lay the chicken breasts in the pan, laying them away from you to avoid oil splashes. Press down lightly with a spatula to ensure full contact and sear undisturbed for 3-4 minutes until a deep, mahogany crust forms.
Step 3: The Oven Finish and Glazing
Flip the chicken breasts over—they should release easily from the pan if the crust is properly formed. Immediately move the skillet into the preheated oven.
Bake for 8-12 minutes, depending on thickness. While baking, whisk together 2 tbsp (30ml) lemon juice, 1 tsp (5g) honey, and 1 tbsp (15g) cold butter to create the glaze. In the final 2 minutes of cooking, brush this mixture over the chicken so it melts into a translucent, glistening coating.
Step 4: The Essential Resting Period
Remove the chicken from the oven and transfer it to a cutting board. Do not slice it immediately! Let the meat rest for at least 5-7 minutes.
During this time, the muscle fibers relax and reabsorb the juices. If you slice too soon, the “steam and moist texture” we want will disappear as the juices run out onto the board.
Step 5: Plating and Visual Finishing
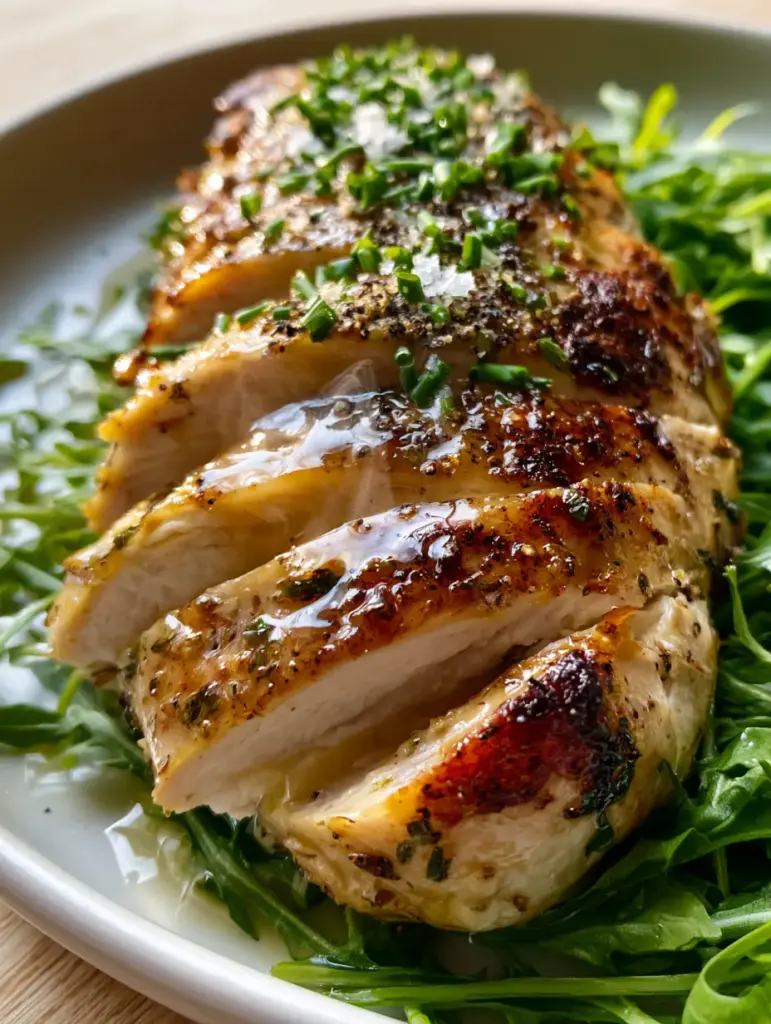
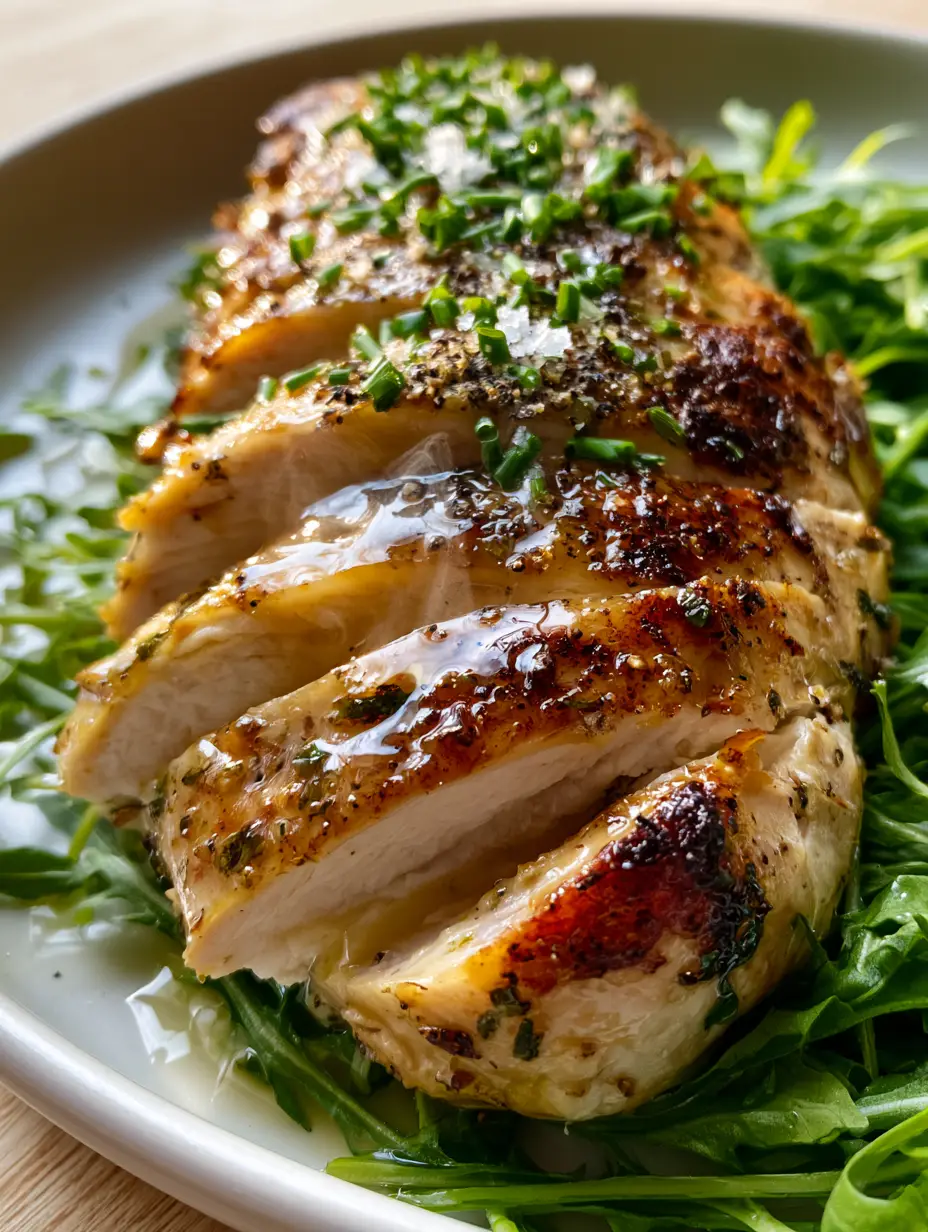
Lay a bed of fresh, vibrant arugula on a modern matte white plate. Slice the chicken on a slight bias to maximize the surface area for the glaze and salt.
Arrange the slices over the arugula, drizzle with any remaining pan juices and herb-infused olive oil droplets. Top with a final sprinkle of flaky sea salt, cracked black pepper, and the finely chopped fresh chives.
Expert Tips for Salad Chicken Success
- The “Click” Test: If you try to flip the chicken and it sticks, the crust hasn’t finished forming. Wait another 30 seconds until it releases naturally.
- Acid Balance: If your lemon-herb glaze feels too tart, add a tiny pinch of sugar to balance the pH without making it sweet.
- Temperature Pull: Pull the chicken out of the oven when the internal temperature hits 160°F (71°C). Residual heat will carry it to the safe 165°F (74°C) while it rests.
- Arugula Prep: Lightly toss your arugula in a teaspoon of lemon juice before plating to ensure the greens are as flavorful as the chicken.
Smart Storage and Meal Prep Solutions
This Chicken Breast for Salad is an excellent candidate for meal prep. Store cooked, unsliced breasts in an airtight container for up to 4 days in the refrigerator.
To reheat, avoid the microwave if possible, as it can turn the meat rubbery. Instead, warm it in a covered pan over low heat with a splash of water or chicken broth to recreate the steam and moisture.
For freezing, wrap individual breasts tightly in plastic wrap and then foil. They will stay fresh for up to 3 months. Thaw overnight in the fridge before slicing and serving cold on a fresh salad.
Transforming Your Salad Into a Full Meal
While this chicken is stunning on its own, it truly shines when paired with other Mediterranean or hearty salad components. The lemon-herb profile makes it incredibly versatile.
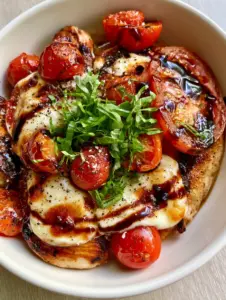
If you want to turn this into a more substantial dinner, consider serving it alongside a Mediterranean chicken pasta salad or a refreshing grilled chicken caprese. The herb flecks in the chicken crust pair perfectly with fresh mozzarella and balsamic glaze.
For those who love a bit of crunch, this chicken is the perfect protein topper for a Southern chicken salad (coming soon) or even a protein-packed high protein pasta salad with chicken. The acidity from the lemon glaze cuts through creamy dressings beautifully.
Frequently Asked Questions
Absolutely! This recipe is specifically designed to stay moist even when chilled. Just store the glaze separately or brush it on before the chicken cools completely.
While you can cook it entirely in a pan, the oven finish provides a more gentle heat that prevents the outside from drying out before the inside is safely cooked.
The key is a high-smoke point oil and a heavy pan. Pat the chicken completely dry before seasoning, and don’t move it once it hits the pan until it releases naturally.
Slice the chicken on a 45-degree angle (a bias cut). This makes the slices look larger, more professional, and allows the glaze to cover more surface area.
Chicken breast is often dry because it is overcooked or sliced too soon. Using a meat thermometer to reach 165°F (74°C) and resting the meat for 5-7 minutes ensures the juices stay inside the meat.
The Ultimate Chicken Breast for Salad Recipe Card
Chicken Breast for Salad: The Ultimate Juicy Lemon-Herb Method
Ingredients
Equipment
Method
- Pat chicken breasts dry with paper towels. Season with kosher salt, pepper, oregano, and thyme. Let sit at room temp for 15 minutes.
- Heat oil in a skillet over medium-high heat. Sear chicken for 3-4 minutes until a deep golden-brown crust forms.
- Flip chicken and transfer to a 400°F (200°C) oven. Whisk lemon juice, honey, and butter. Brush glaze over chicken in the last 2 minutes of baking.
- Rest meat for 5-7 minutes. Slice on a bias and serve over arugula with chives and flaky salt.
Notes
Use an instant-read thermometer to pull the chicken at 160°F (71°C) to prevent drying.
Conclusion: Elevate Your Salad Game Today
Creating a Chicken Breast for Salad that is actually exciting to eat comes down to respect for technique and attention to visual detail. By following this method, you ensure that every bite is a perfect balance of citrusy brightness, savory crust, and juicy tenderness.
Don’t settle for boring, dry chicken anymore. Take a photo of your masterpiece and share it with us! If you enjoyed this recipe, be sure to follow us on Pinterest for more culinary inspiration and food blog-worthy meals.