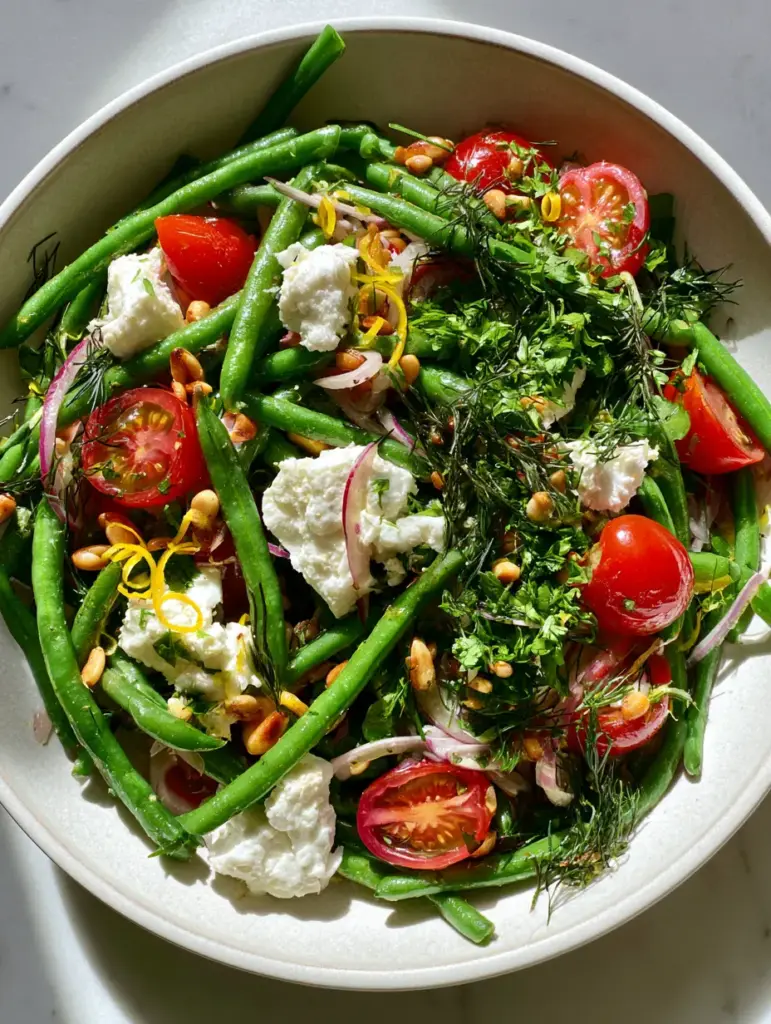
There is nothing quite like a green bean salad that captures the essence of Mediterranean sunshine on a plate. Imagine a vibrant, overhead flat lay of emerald-hued beans, glistening under a silky lemon-olive oil glaze and served in a matte white ceramic bowl. This dish isn’t just a side; it is a masterclass in textural contrast, featuring the snap of crisp-tender legumes, the creamy tang of large jagged feta crumbles, and the delicate crunch of golden toasted pine nuts. Whether you are preparing a light lunch or looking for the perfect accompaniment to a creamy lemon ricotta pasta, this recipe delivers professional-grade results with every bite.
Achieving that ultra-vibrant look requires more than just mixing ingredients; it demands a forensic approach to culinary technique. We aren’t just boiling vegetables; we are preserving their saturated neon-green color through precision blanching. The addition of paper-thin red onions and glossy red cherry tomatoes creates a visual and flavor profile that is as authentic as it is delicious. This is the green bean salad you see in high-end food photography, now brought to your home kitchen with scientific accuracy and chef-level tips.
Why This Mediterranean Bean Dish Will Elevate Your Menu
- Unmatched Visual Vibrancy: By using a specific blanching and shocking method, the beans achieve a saturated emerald green that looks stunning against a neutral marble backdrop.
- Sophisticated Flavor Layers: The combination of fresh dill and neon-green parsley provides an aromatic depth that balances the sharp acidity of fresh lemon zest.
- Professional Textures: We prioritize “crisp-tender” beans over mushy ones, paired with the buttery richness of toasted pine nuts for a multi-dimensional mouthfeel.
- Clean Ingredients: This recipe relies on high-quality extra virgin olive oil and fresh citrus, making it a healthy powerhouse for any occasion.
The Anatomy of Vibrant Flavor: Ingredients and Substitutions
Fresh Green Beans (Haricots Verts): You need 1 lb (454g) of fresh, straight green beans. These are the star of our green bean salad, providing the “snap” and the saturated green base for the entire dish.
Creamy White Feta Cheese: Use 4 oz (115g) of high-quality sheep’s milk feta. Avoid pre-crumbled varieties; you want to create large, jagged crumbles by hand to achieve that authentic, rustic Mediterranean look.
Red Cherry Tomatoes: 1 cup (150g) of plump, glossy tomatoes provides a burst of sweetness. Halving them reveals their juicy interior, which mingles perfectly with the olive oil glaze.
Red Onion: Half of a medium red onion (approx. 50g) should be shaved into paper-thin, translucent slices. This provides a sharp bite without overpowering the delicate herbs.
Toasted Pine Nuts: 3 tbsp (30g) of these golden gems add a luxurious, buttery crunch. If you don’t have pine nuts, slivered almonds or toasted walnuts are excellent alternatives for a similar fat profile.
Fresh Herb Duo (Dill & Parsley): 2 tbsp (8g) each of finely chopped dill and neon-green parsley. These dark and bright green flecks are essential for the visual “scattered” garnish effect described in our blueprint.
Extra Virgin Olive Oil: 3 tbsp (45ml) of cold-pressed oil creates the “glistening” glaze. This is a foundational invisible ingredient that carries the flavors of the lemon and salt across the palate.
Fresh Lemon: You will need 1 large lemon (approx. 45ml juice) for both the juice and the bright yellow zest curls. The acidity is crucial for balancing the richness of the feta and nuts.
Kosher Salt and Cracked Black Pepper: These are scientifically required to enhance the natural sugars in the beans and tomatoes. Use to taste, but do not skimp on the salt during the blanching process.
Essential Kitchen Tools for the Perfect Flat Lay Salad
To achieve the visual perfection of an unedited smartphone photo style, you need the right tools. A large stockpot is necessary for the initial boil, while a wide glass bowl filled with ice water (the “ice bath”) is non-negotiable for locking in that emerald color. A sharp mandoline slicer is the secret to getting those red onions paper-thin and translucent. Finally, use a matte white ceramic shallow bowl to serve; the neutral background makes the saturated greens and reds of the green bean salad truly pop.
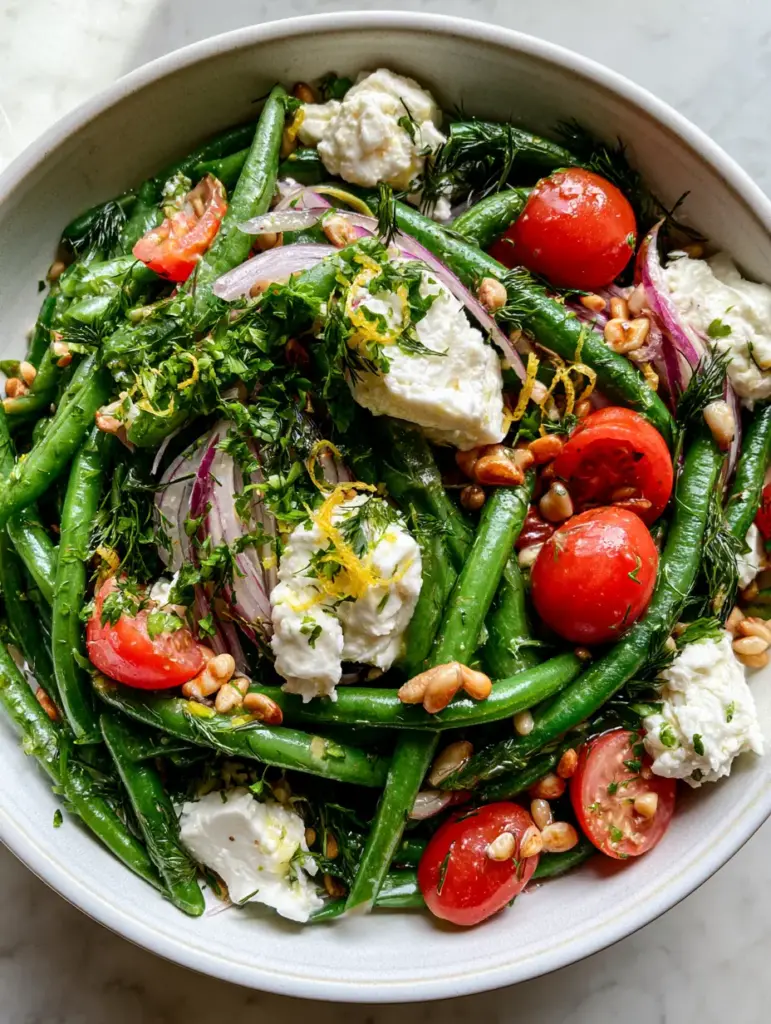
Mastering the Blanch and Shock: A Step-by-Step Guide
1. Preparing the Emerald Foundation
Bring a large pot of heavily salted water to a rolling boil. While the water heats, trim the stem ends of your 1 lb (454g) green beans, keeping them straight and uniform. Once the water is at a hard boil, submerge the beans. Cook for exactly 3 to 4 minutes—the visual cue you are looking for is a shift from dull green to a bright, saturated neon emerald. They should be firm to the bite, never mushy.
2. The Thermal Shock Technique
Immediately plunge the hot beans into your prepared ice bath. This stop-cooks the vegetables instantly, preserving the crisp-tender texture and the vibrant color. Let them sit for 2 minutes, then drain and pat them completely dry with a clean kitchen towel. A dry bean holds the olive oil glaze much better than a wet one, ensuring that glistening finish.
3. Toasting the Golden Elements
Place a small skillet over medium-low heat. Add the 3 tbsp (30g) of pine nuts, tossing frequently. Watch for the sensory cue of a nutty aroma and a change to a light golden-brown color. This usually takes 2-3 minutes. Remove them from the heat immediately to prevent burning, as their residual heat will continue the browning process.
4. Slicing and Zesting for Visual Impact
Halve your glossy cherry tomatoes vertically. Use your mandoline to shave the red onion into paper-thin rounds. Zest the lemon using a microplane or a channel knife to create long yellow curls. Finely chop the dill and parsley, ensuring they are dry so they scatter easily rather than clumping. These small details are what transform a standard green bean salad into a visual masterpiece.
5. The Final Emulsion and Assembly
In a small bowl, whisk together the 3 tbsp (45ml) of extra virgin olive oil with the fresh lemon juice and a pinch of salt. In your shallow white bowl, layer the emerald beans, the halved tomatoes, and the thin onions. Drizzle the glaze over the top, then scatter the large feta crumbles, toasted pine nuts, and the herb duo. Finish with the lemon zest curls and serve with fresh lemon wedges on the side.
Expert Tips for a Professional Result
- Salt the Water Like the Sea: When blanching, use at least 1 tbsp (18g) of salt per liter of water. This seasons the beans from the inside out and helps maintain their green pigment.
- The “Dryness” Factor: If your beans are wet when you add the dressing, the oil will slide off and pool at the bottom. Always pat your vegetables dry for a superior green bean salad.
- Feta Temperature: Use cold feta straight from the fridge. This allows you to break it into jagged, firm chunks that won’t smear or turn the salad “milky.”
- Avoid Over-Mixing: To maintain the “layered” look of the flat lay, toss the beans gently in the dressing first, then place them in the bowl and add the remaining ingredients as toppings.
Storage and Meal Prep Advice
This green bean salad is best enjoyed within 2 hours of assembly to maintain the crispness of the pine nuts and the vibrancy of the herbs. However, you can store leftovers in an airtight container in the refrigerator for up to 2 days. Note that the acid in the lemon juice will eventually dull the green color of the beans, so for meal prep, store the blanched beans and the dressing separately, combining them just before serving. We do not recommend freezing this salad, as the cellular structure of the beans and tomatoes will break down, resulting in a soggy texture.
What to Serve with This Vibrant Side
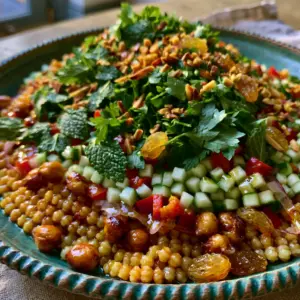
This salad is incredibly versatile and pairs beautifully with a variety of Mediterranean-inspired mains. For a complete lunch, serve it alongside a hearty tuna egg salad or a bowl of Moroccan couscous salad. If you are serving it for dinner, it acts as a refreshing counterpoint to a rich pepper steak or a tray of grilled shrimp. The citrus notes in the dressing also make it a natural partner for a summer peach salad during peak produce season.
Frequently Asked Questions
Yes, you can blanch the beans and chop the vegetables a day in advance, but don’t add the lemon dressing or pine nuts until just before serving to maintain texture.
While fresh beans are preferred for the best snap, you can use high-quality frozen whole green beans. Thaw them completely and pat them very dry before assembly.
The secret is blanching the beans in boiling salted water for 3-4 minutes and then immediately plunging them into an ice bath to lock in the chlorophyll.
Use a mandoline slicer on the thinnest setting to achieve translucent, paper-thin shavings that provide a mild bite without overpowering the dish.
Green beans turn brown if they are overcooked or if they sit in an acidic dressing (like lemon or vinegar) for too long. Always shock them in ice water and dress just before serving.
The Ultimate Green Bean Salad Recipe
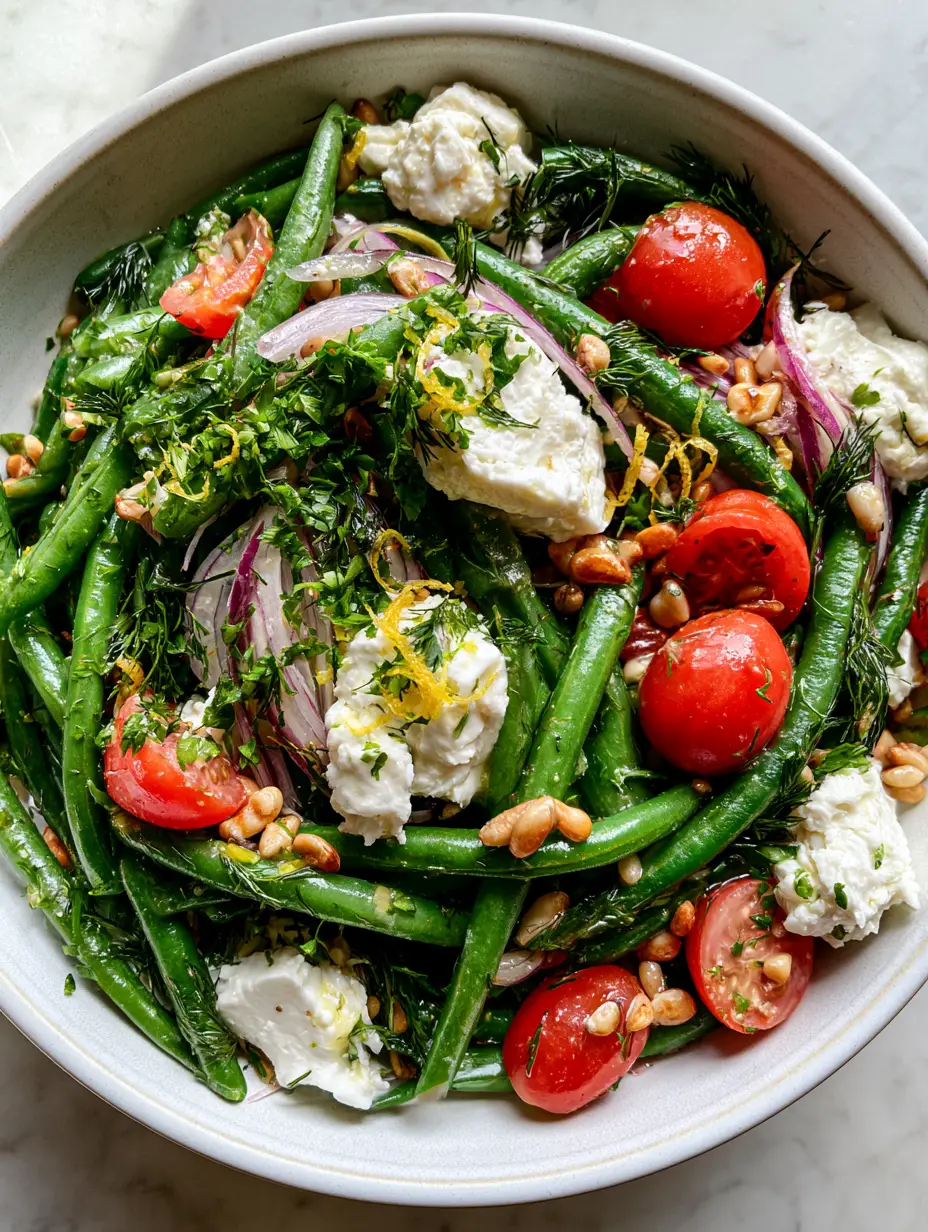
Green Bean Salad with Feta, Lemon, and Toasted Pine Nuts
Ingredients
Equipment
Method
- Cook trimmed green beans in boiling salted water for 3-4 minutes until bright emerald and crisp-tender.
- Immediately transfer beans to a bowl of ice water for 2 minutes, then drain and pat completely dry.
- Toast pine nuts in a dry skillet over medium-low heat for 2-3 minutes until golden and fragrant.
- Combine olive oil, lemon juice, and a pinch of salt in a small bowl until emulsified.
- Arrange beans, tomatoes, and onions in a bowl. Drizzle with dressing and top with feta, pine nuts, herbs, and lemon zest.
Notes
Use cold block feta to get those large, jagged crumbles without them becoming mushy.

Closing & Call to Action
This green bean salad is a testament to how simple ingredients, when treated with professional technique, can create a dish that is both a visual and culinary triumph. The saturated emerald green of the beans against the matte white ceramic is enough to make anyone’s mouth water. We hope you enjoy the crisp, zesty, and creamy layers of this Mediterranean classic. If you enjoyed this recipe, please leave a comment below and share your photos with us! Don’t forget to follow us and save this recipe to your boards on Pinterest for your next gathering.