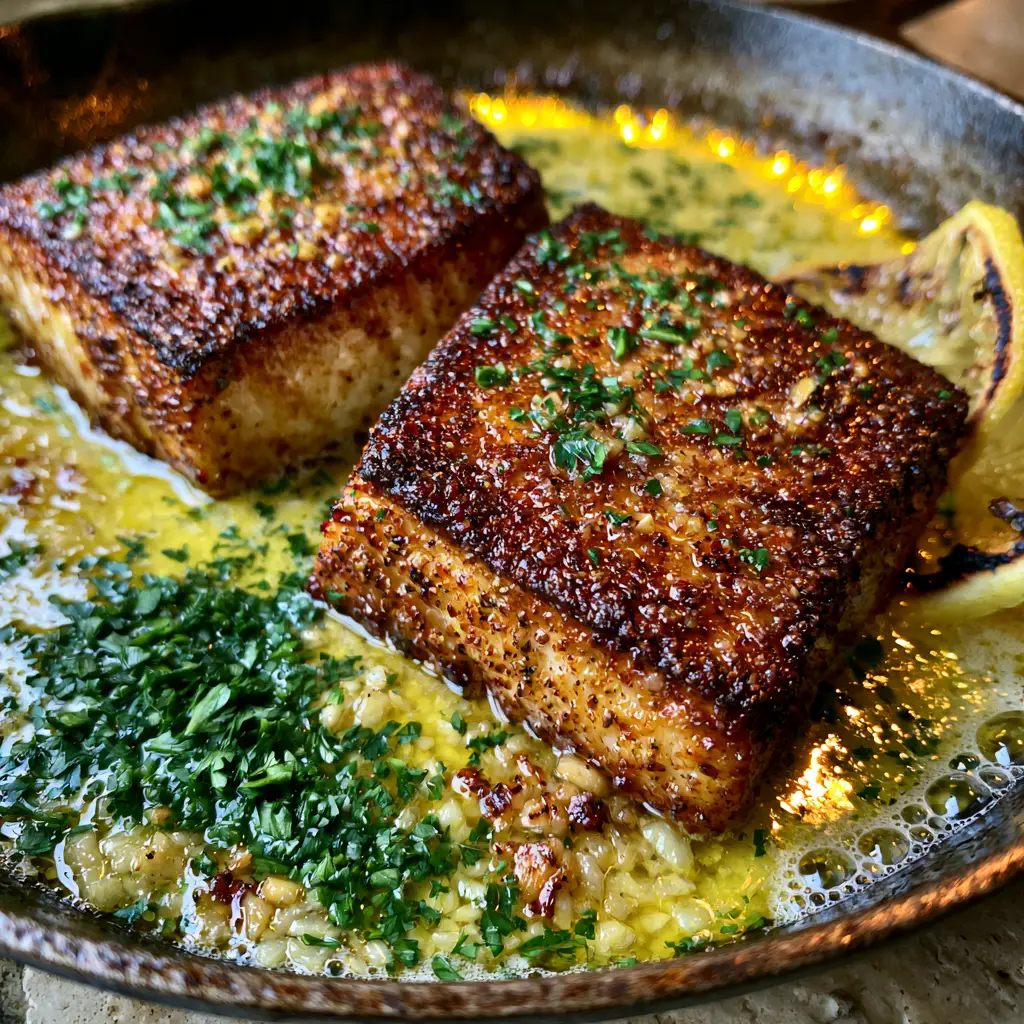
There is nothing quite like the sensory experience of a perfectly prepared garlic butter mahi mahi sizzling in a rustic cast iron skillet. As the soft morning window light dances across the vibrant yellow sauce, you can see the tiny bubbles of hot butter dancing around the edges of the thick, firm fillets. This recipe isn’t just a meal; it’s a masterclass in achieving that elusive, deep crispy golden-brown seared crust while maintaining a succulent, flaky interior.
The visual blueprint of this dish is as stunning as its flavor profile. We are layering textures—from the crunch of the sear to the velvet-like pool of melted lemon garlic butter sauce—punctuated by sautéed minced garlic bits and a heavy scatter of finely chopped fresh green parsley. A few thin, charred lemon slices tucked beside the fish provide a citrusy aromatic lift that cuts through the richness of the butter perfectly.
Whether you are a seasoned home cook or just beginning your culinary journey, this guide provides the professional forensic accuracy needed to replicate restaurant-quality results. We will explore the science of the Maillard reaction, the importance of fat choice, and the specific basting techniques used by executive chefs to ensure every bite is infused with flavor.
Why This Pan-Seared Mahi Mahi Recipe Works
- Unrivaled Texture: By utilizing a high-heat sear in a cast iron skillet, we create a deep golden-brown crust that provides a satisfying snap before reaching the tender white flakes of the fish.
- Layered Aromatics: The combination of fresh garlic, cracked black pepper, and red chili flakes creates a complex heat that lingers without overpowering the delicate sweetness of the mahi mahi.
- Visual Sophistication: With charred lemon wheels and vibrant parsley, this dish looks like a handheld smartphone photo from a high-end food blog, making it perfect for impressing guests.
- Balanced Acidity: The melted lemon garlic butter sauce uses fresh citrus to brighten the fats, ensuring the dish feels light despite its indulgent ingredients.
Essentials for the Ultimate Skillet Sear
To achieve the specific visual results described in our blueprint, every ingredient serves a dual purpose: structural integrity and flavor development. We don’t just add fat; we choose fats that can withstand heat while contributing to the final sauce.
Mahi Mahi Fillets: You will need 2 thick mahi mahi fillets, approximately 6 oz (170g) each. Their firm texture makes them the ideal candidate for a high-heat sear without falling apart in the pan.
Avocado Oil: Use 2 tbsp (30ml) of avocado oil for the initial sear. Because it has a high smoke point, it allows the fish to develop that crispy golden-brown crust without the oil breaking down or tasting burnt.
Unsalted Butter: 4 tbsp (60g) of high-quality unsalted butter is required. Using unsalted butter allows you to control the salinity perfectly, especially when reducing it into a shimmering yellow sauce.
Fresh Garlic: 4 cloves (approx. 20g) of garlic, finely minced. These bits will sauté in the butter, turning into golden “garlic chips” that cling to the crust of the fish.
Lemon Components: You’ll need 1 large lemon, half of it sliced into thin wheels for charring and the other half juiced to provide 1 tbsp (15ml) of bright acidity.
Fresh Parsley: A heavy scatter of 1/4 cup (15g) finely chopped fresh flat-leaf parsley. This adds the necessary green contrast to the vibrant yellow butter sauce.
The Seasoning Trio: 1 tsp (6g) kosher salt, 1/2 tsp (3g) freshly cracked black pepper, and 1/4 tsp (1g) red chili flakes. The pepper and flakes provide the “visual specks” and a gentle, warming heat.
The Professional Toolset
To replicate the extreme close-up visual of our blueprint, the equipment is just as important as the ingredients. The heat conductivity of your cookware determines the uniformity of your crust.
Rustic Cast Iron Skillet: The heavy bottom of a cast iron skillet retains heat better than stainless steel, which is essential for that deep, even golden-brown crust. It also provides the perfect rustic backdrop for serving.
Fish Spatula: A thin, flexible metal spatula allows you to get under the crust without tearing the delicate flesh of the mahi mahi.
Large Metal Spoon: This is for the “arroser” or basting technique. You need a spoon with a deep well to constantly bathe the fillets in the hot garlic butter.
Paper Towels: The “invisible” tool. Drying the fish thoroughly is the only way to ensure a sear rather than a steam.
Mastering the Garlic Butter Mahi Mahi: Step-by-Step
1. Preparing for the Maillard Reaction
Remove your mahi mahi fillets from the refrigerator 15 minutes before cooking. Use paper towels to pat the fish extremely dry on all sides. Moisture is the enemy of a crispy crust; any residual water will create steam, leading to a grey, rubbery exterior rather than the deep golden-brown visual we are targeting. Season generously with kosher salt and cracked black pepper just before the fish hits the pan.
2. The High-Heat Initial Sear
Place your cast iron skillet over medium-high heat and add the avocado oil. Wait until the oil is shimmering and just starting to wisps a tiny bit of smoke. Carefully lay the fillets away from you in the pan. Press down lightly with your spatula for the first 30 seconds to ensure even contact. Let the fish cook undisturbed for 4-5 minutes until a visible golden crust forms along the bottom edge.
3. The Flip and the Butter Bath
Once the fish releases easily from the pan, flip it over. Immediately reduce the heat to medium. Add the butter, minced garlic bits, and the thin lemon wheels to the empty spaces in the skillet. As the butter melts, it will begin to foam and create tiny bubbles around the edges of the fillets. This is where the magic happens.
4. The Arroser Basting Technique
Tilt the skillet slightly so the melted yellow garlic butter pools at the bottom. Use your large spoon to continuously scoop the hot, garlic-infused butter over the fillets. This process, known as basting, cooks the top of the fish while infusing the crust with the aromatics of the sautéed garlic and lemon. Continue this for 3-4 minutes until the fish reaches an internal temperature of 137°F (58°C).
5. The Final Visual Flourish
Just before removing the skillet from the heat, sprinkle the red chili flakes and the heavy scatter of fresh parsley over the fish. The residual heat will wake up the oils in the parsley and the chili, intensifying the aroma. Ensure the lemon wheels have achieved a slight char on their edges. The result should be a vibrant, shimmering yellow sauce surrounding the fish, exactly like a high-resolution professional food photograph.
Expert Tips for Culinary Excellence
- Don’t Overcrowd the Pan: If you are doubling this recipe, cook in batches. Overcrowding drops the temperature of the cast iron, preventing the crispy golden-brown crust from forming.
- Butter Management: If the butter starts to turn dark brown too quickly (becoming noisette), squeeze a little lemon juice in immediately to lower the temperature and stop the browning process.
- Skin-on vs. Skinless: While this blueprint uses skinless fillets, if you use skin-on, always start skin-side down to render the fat and achieve a “potato chip” crunch.
- Resting is Key: Let the mahi mahi rest in the skillet (off the heat) for 2 minutes before serving. This allows the juices to redistribute, ensuring a moist flake.
Storing and Reheating Your Seafood
While garlic butter mahi mahi is best enjoyed fresh from the skillet, you can store leftovers in an airtight container for up to 2 days. To reheat, avoid the microwave, as it will turn the fish rubbery. Instead, place the fillets back in a skillet with a splash of water or extra butter over low heat, covering the pan to trap the steam until warmed through.
Freezing cooked mahi mahi is not recommended, as the delicate cellular structure of the fish breaks down upon thawing, leading to a mushy texture. If you must freeze raw fillets, wrap them tightly in plastic wrap and then foil to prevent freezer burn.
Perfect Pairings for a Complete Meal
This garlic butter mahi mahi is a versatile centerpiece for a sophisticated weeknight lunch or dinner. To soak up that vibrant lemon garlic butter sauce, we highly recommend serving it alongside a bed of fluffy garlic butter rice. The starch acts as a sponge for all those sautéed garlic bits.
For a low-carb option, these fillets pair beautifully with a refreshing green bean salad or a side of crispy sliced potatoes if you want to lean into the textures of the dish. If you enjoyed the buttery profile of this recipe, you might also love our lemon herb butter trout (coming soon), which uses similar basting techniques for a different variety of fish.
Common Questions About Skillet Mahi Mahi
[faq_section]
The Ultimate Garlic Butter Mahi Mahi Recipe
Garlic butter mahi mahi with a Crispy Golden Crust
Ingredients
Equipment
Method
- Pat the mahi mahi fillets extremely dry with paper towels. Season both sides with salt and cracked black pepper.
- Heat avocado oil in a cast iron skillet over medium-high heat until shimmering. Carefully add fillets and sear for 4-5 minutes until a deep golden-brown crust forms.
- Flip the fish and reduce heat to medium. Add butter, minced garlic, and lemon wheels to the pan.
- Tilt the skillet and spoon the foaming garlic butter over the fish repeatedly for 3-4 minutes until cooked through.
- Top with red chili flakes and fresh parsley. Serve immediately with the charred lemon wheels.
Notes
Use a high-smoke point oil like avocado oil to prevent the crust from tasting bitter.
Closing & Call to Action
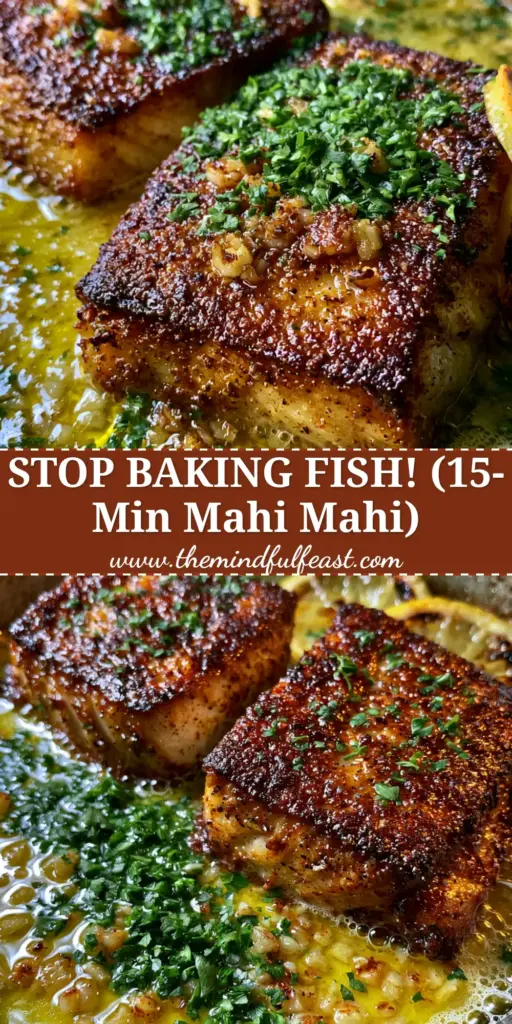
Mastering the garlic butter mahi mahi is a gateway to high-level home cooking. The combination of the deep, crispy golden-brown seared crust and the shimmering yellow butter sauce creates a restaurant-quality experience in your own kitchen. We hope this forensic look at the recipe helps you achieve the perfect sear every time!
If you made this dish, we would love to see your results! Leave a comment below or share your photos with us. Don’t forget to follow us and save this recipe to your favorite boards on Pinterest for your next dinner inspiration.