Imagine the nostalgic, smoky aroma of a summer campfire transformed into a sophisticated, bite-sized indulgence that requires absolutely no oven time. These No Bake S’mores Cookie Dough Bites are the perfect marriage of childhood whimsy and elevated culinary execution, featuring a dense, creamy core and a professional-grade finish.
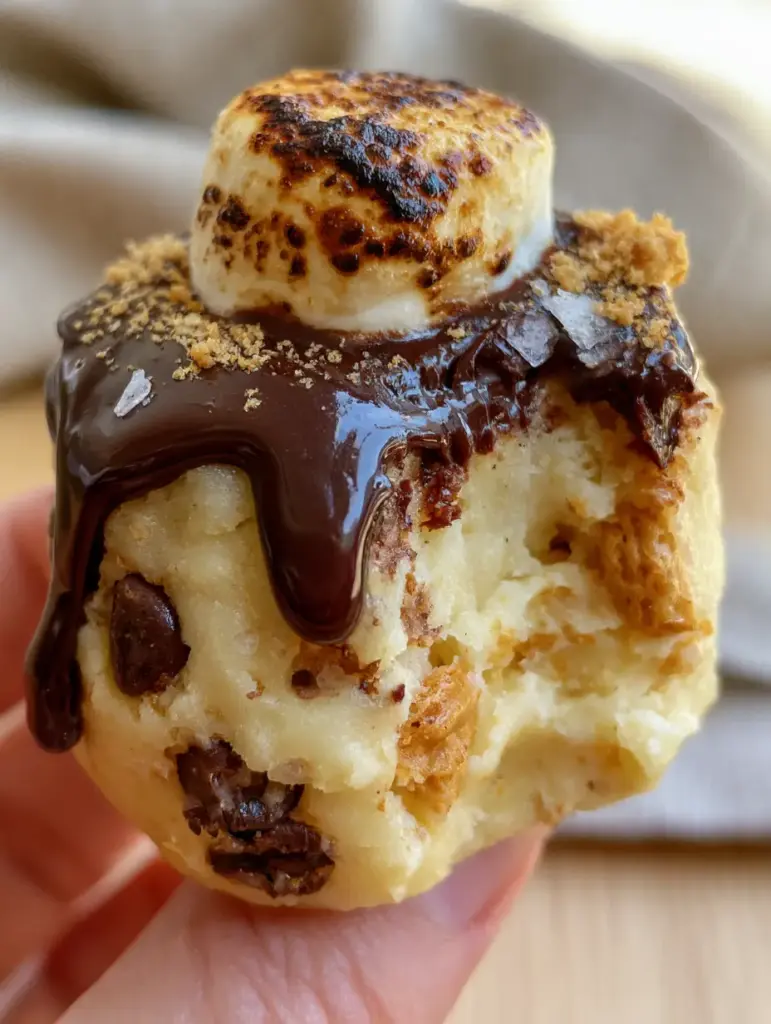
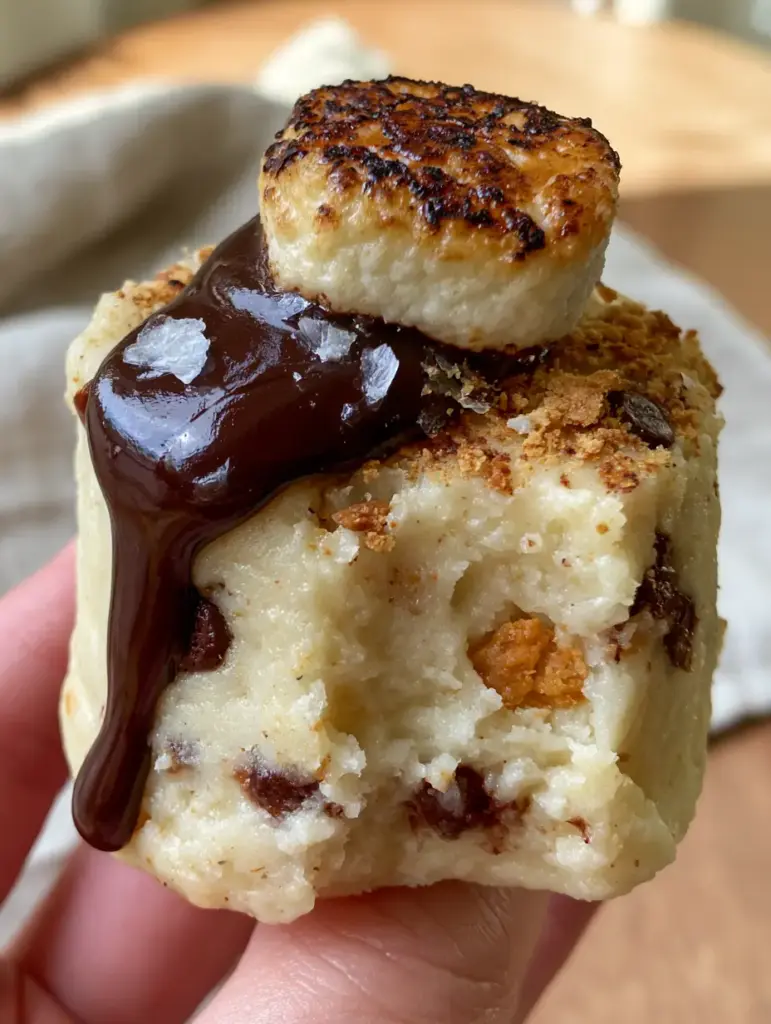
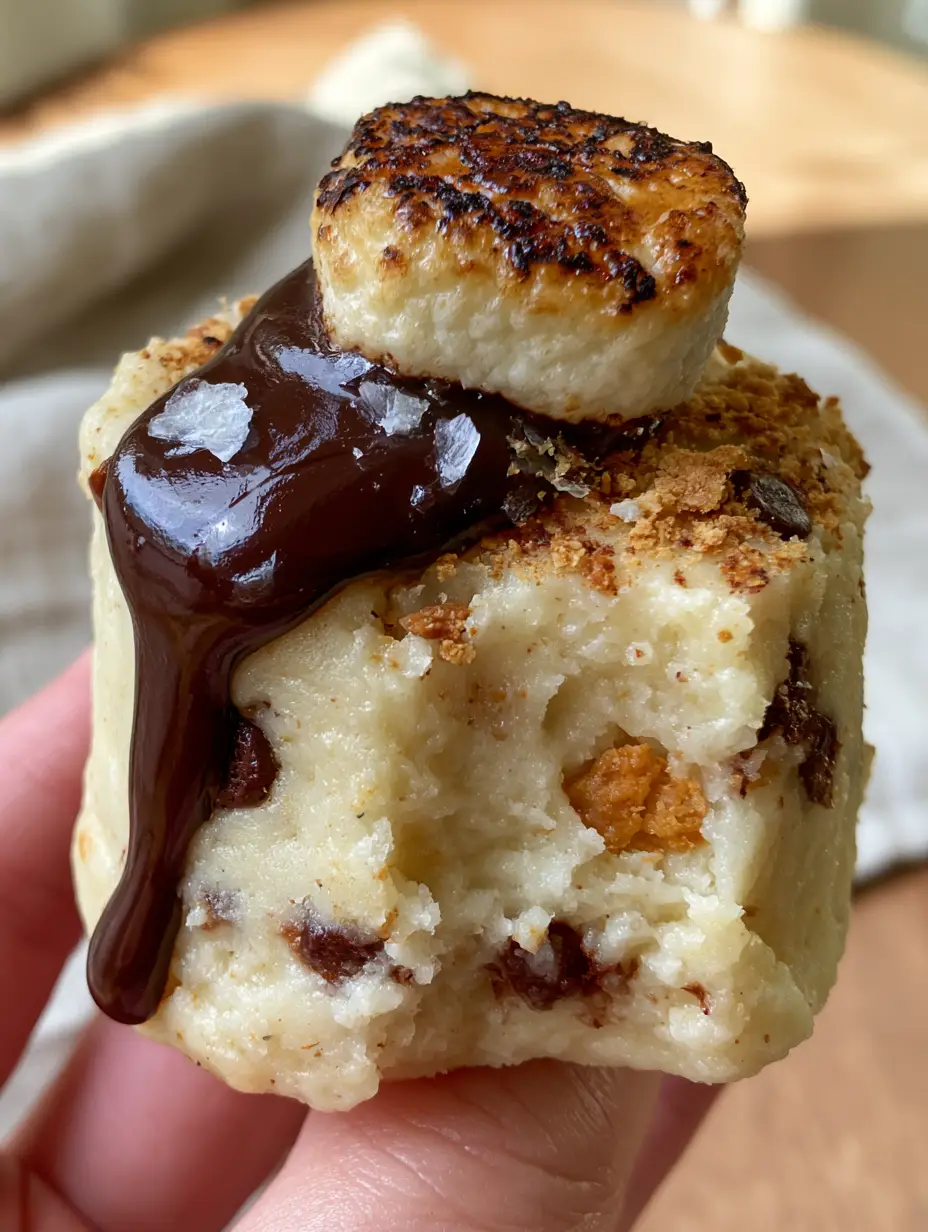
Captured in the soft, natural light of a lazy afternoon, these bites look just as incredible as they taste. The visual of a single, thick cookie dough bite held between your fingers, revealing a soft bite mark and a golden, creamy interior, is enough to make any dessert lover swoon.
Whether you are looking for a quick fix for your sweet tooth or a show-stopping addition to your next gathering, this recipe delivers on every front. By focusing on high-quality ingredients like dark chocolate ganache and fine sea salt, we take a simple concept and turn it into a gourmet experience.
Why These Gourmet Campfire Bites Are a Total Game Changer
- Safety First: By heat-treating the flour and omitting eggs, we create a 100% safe-to-eat dough that maintains that classic, nostalgic texture.
- Textural Contrast: You get the crunch of honey graham crackers, the snap of semi-sweet chips, and the gooey, charred softness of a toasted marshmallow in every mouthful.
- Sophisticated Flavor: The addition of a dark chocolate drizzle and fine sea salt flakes cuts through the sweetness, providing a balanced, adult-friendly profile.
- Visual Perfection: The contrast between the pale gold dough and the deep, glossy chocolate ganache makes these treats a dream for food photography and social sharing.
The Anatomy of a Perfect No Bake S’mores Cookie Dough Bite
Before we dive into the process, let’s talk about the specific components that make these bites structurally sound and visually stunning. We are building a foundation of flavor that relies on both visible inclusions and invisible stabilizers.
Heat-Treated All-Purpose Flour: 1 1/2 cups (185g). Flour must be heated to 160°F (71°C) to eliminate any bacteria, ensuring the dough is safe for raw consumption while providing the necessary structure.
Unsalted Butter (Softened): 1/2 cup (113g). High-quality butter provides the “dense, creamy, pale gold” base described in our visual blueprint, acting as the primary fat source for a melt-in-your-mouth feel.
Light Brown Sugar: 3/4 cup (150g). Packed light brown sugar contributes molasses notes that mimic the flavor of a baked cookie and keep the dough moist and pliable.
Granulated Sugar: 1/4 cup (50g). This adds a clean sweetness and a slight crystalline texture that contrasts beautifully with the creamier elements.
Heavy Cream: 2-3 tbsp (30-45ml). This acts as the binding liquid in place of eggs, giving the dough its luxurious, truffle-like consistency.
Pure Vanilla Extract: 1 tsp (5ml). A foundational aromatic that bridges the gap between the buttery dough and the toasted marshmallow topping.
Mini Semi-Sweet Chocolate Chips: 1/2 cup (90g). Using “tiny” chips ensures that every bite has a consistent distribution of chocolate without overwhelming the graham cracker chunks.
Honey Graham Crackers: 1/2 cup (60g) crushed. These should be broken into “golden graham cracker chunks” rather than a fine powder to provide a significant, satisfying crunch.
Mini Marshmallows: 24-30 pieces. One for each bite, these will be toasted until they achieve a “perfectly toasted caramelized brown char.”
Dark Chocolate Drizzle: 1/2 cup (85g) dark chocolate chips melted with 1 tsp coconut oil. This creates a “thick, glossy drizzle” that sets slightly but remains luscious.
Fine Sea Salt Flakes: A generous pinch for garnishing. Salt is the secret weapon that makes the chocolate and marshmallow flavors pop.
Essential Tools for Professional Results
To achieve the “perfectly toasted” and “glossy drizzle” look, you will need a few specific kitchen tools. Don’t worry if you don’t have a professional kitchen; these are easily accessible items.
A Kitchen Torch is the best way to get that authentic charred top on your marshmallows without melting the entire cookie dough bite. If you don’t have one, a very quick pass under a high broiler can work, though it requires extreme vigilance.
A Small Cookie Scoop (about 1-tablespoon capacity) is vital for ensuring all your No Bake S’mores Cookie Dough Bites are uniform in size. Uniformity isn’t just about aesthetics; it ensures the ratio of dough to marshmallow is perfect every time.
Finally, a Fine-Mesh Sieve is useful for heat-treating the flour. It helps break up any clumps that form during the heating process, ensuring your dough is smooth and creamy rather than gritty.
Step-by-Step Instructions: Crafting the Perfect S’mores Bite
1. Heat-Treating for Safety and Texture
Spread your 1 1/2 cups (185g) of flour onto a parchment-lined baking sheet. Bake at 350°F (175°C) for about 5-7 minutes, or until the flour reaches an internal temperature of 160°F (71°C).
Once heated, let it cool completely. Use a whisk or sieve to break up any lumps; this step is crucial for achieving that “soft, dense core” described in our visual guide.
2. Creaming the Gold Cookie Dough Base
In a large mixing bowl, beat the softened butter, brown sugar, and granulated sugar together until light and fluffy. This should take about 2-3 minutes of high-speed mixing.
Add the vanilla extract and 2 tablespoons of heavy cream. Mix until combined, then gradually add the cooled flour and a pinch of salt. The dough should be thick and creamy—if it feels too crumbly, add the remaining tablespoon of cream.
3. Folding in the Textural Elements
Gently fold in the tiny semi-sweet chocolate chips and the crushed graham cracker chunks. Be careful not to over-mix; you want the graham crackers to stay in distinct pieces for that “golden chunk” visual.
Scoop the dough into 1-inch (2.5cm) balls and place them on a tray lined with a linen napkin or parchment paper. Chill in the refrigerator for 20 minutes to firm up.
4. The Glossy Dark Chocolate Drizzle
Melt your dark chocolate and coconut oil in the microwave in 20-second bursts, stirring between each, until smooth and glossy. The oil ensures the chocolate has a beautiful sheen and doesn’t crack when you bite into it.
Using a spoon, create a “thick, glossy drizzle” over each ball, allowing some of the ganache to “slowly drip down the side” as specified in our Midjourney prompt.
5. Toasting the Marshmallow Crown
Press one mini marshmallow into the center of each chocolate-drizzled bite. Using a kitchen torch, carefully char the top of each marshmallow until it is a deep, caramelized brown.
Immediately sprinkle with a few flakes of sea salt and a dusting of fine graham cracker crumbs while the marshmallow and chocolate are still slightly tacky.
Expert Tips for Edible Cookie Dough Success
- Temperature Control: Ensure your butter is truly room temperature. If it’s too cold, the dough will be lumpy; if it’s melted, the bites won’t hold their shape.
- Sifting is Key: Heat-treated flour can become quite dense and clumpy. Sifting it back into the bowl ensures a “creamy, pale gold” texture rather than a grainy one.
- The “Bite” Test: For the most authentic look, serve these at room temperature. The dough will have that soft, yielding texture that shows a perfect bite mark.
- Ganache Consistency: If your chocolate drizzle is too thin, let it sit for 5 minutes to thicken before drizzling. This helps achieve those beautiful, slow-moving drips.
Serving Suggestions and Pairings
These No Bake S’mores Cookie Dough Bites are versatile enough to stand alone as a decadent treat, but they also pair beautifully with other desserts. If you are hosting a party, consider serving these alongside some rich cookie dough cheesecakes for a themed dessert bar.
For those looking for a balanced spread, these bites are the perfect “sweet” to follow a savory meal like a one-pan taco skillet. The deep chocolate and charred marshmallow provide a satisfying conclusion to a spicy or savory dinner.
If you’re planning a late-night movie marathon, these bites fit right in with other gourmet midnight snacks. They are small enough to graze on but rich enough to satisfy a craving quickly.
How to Store and Preserve Your Bites
Because these bites contain dairy but no raw eggs, they have a decent shelf life. Store them in an airtight container in the refrigerator for up to 7 days. For the best texture, let them sit at room temperature for 10 minutes before serving.
You can also freeze these bites! Place them on a tray to freeze individually, then transfer them to a freezer bag for up to 3 months. This is perfect for when you need a quick birthday party treat or a sudden sugar fix.
Frequently Asked Questions
While a torch gives the best ‘charred’ result, you can place the bites under a high broiler for 30-60 seconds. Watch them very closely to prevent the dough from melting.
Absolutely! However, dark chocolate provides a better flavor balance against the sweet marshmallow and cookie dough base.
Yes, because they contain butter and cream, they should be kept refrigerated for safety and to maintain their firm, bite-sized structure.
Stored in an airtight container in the refrigerator, these bites will stay fresh and delicious for up to 7 days.
Yes, provided you heat-treat the flour to 160°F (71°C). This kills any potential bacteria, making the raw flour safe for consumption in no-bake recipes.
The Ultimate No Bake S’mores Cookie Dough Bites Recipe
No Bake S’mores Cookie Dough Bites: The Ultimate Edible Gourmet Treat
Ingredients
Equipment
Method
- Bake flour at 350°F (175°C) until it reaches 160°F (71°C), then cool and sift.
- Beat butter and sugars until fluffy, then add vanilla and cream.
- Fold in cooled flour, then chocolate chips and graham cracker chunks.
- Scoop into 1-inch balls and chill for 20 minutes.
- Top with dark chocolate drizzle and a marshmallow; toast the marshmallow with a torch.
- Sprinkle with sea salt flakes and graham dust.
Notes
Use a kitchen torch for the best charred marshmallow flavor.

Closing & Call to Action
These No Bake S’mores Cookie Dough Bites are a testament to the fact that you don’t need a campfire to enjoy the magic of s’mores. With their creamy core, charred topping, and professional finish, they are sure to become a staple in your dessert rotation. The combination of salt, dark chocolate, and honey graham crackers creates a flavor profile that is truly addictive.
Did you try this recipe? We would love to see your results! Leave a comment below telling us how your marshmallow char turned out, or share your photos and tag us. Don’t forget to follow themindfulfeast on Pinterest for more elevated dessert inspiration and easy weeknight meals.