There is nothing quite like the sensory explosion of a perfectly executed chili lime chicken. Imagine walking into a kitchen where the air is thick with the scent of citrus-infused steam and the smoky aroma of caramelized poultry. This dish isn’t just a meal; it’s a visual and culinary masterpiece that brings restaurant-quality results to your home dining table. By combining high-heat roasting techniques with a balanced, acidic marinade, we achieve that elusive professional finish: deep golden-brown charred edges, glistening wet glazes, and vegetables that have been blistered to sweet perfection.
In this guide, we are diving deep into the forensics of flavor. Inspired by professional food photography, we are recreating a rustic sheet pan feast that features succulent sliced chicken thighs nestled among softened red onion wedges and vibrant bell peppers. The final touch of freshly chopped cilantro and a dusting of red chili flakes ensures every bite is as beautiful as it is delicious. Whether you are prepping for a busy week or hosting a weekend gathering, this recipe is designed to impress both the palate and the eyes.
Why This Vibrant Sheet Pan Dinner is a Total Game Changer
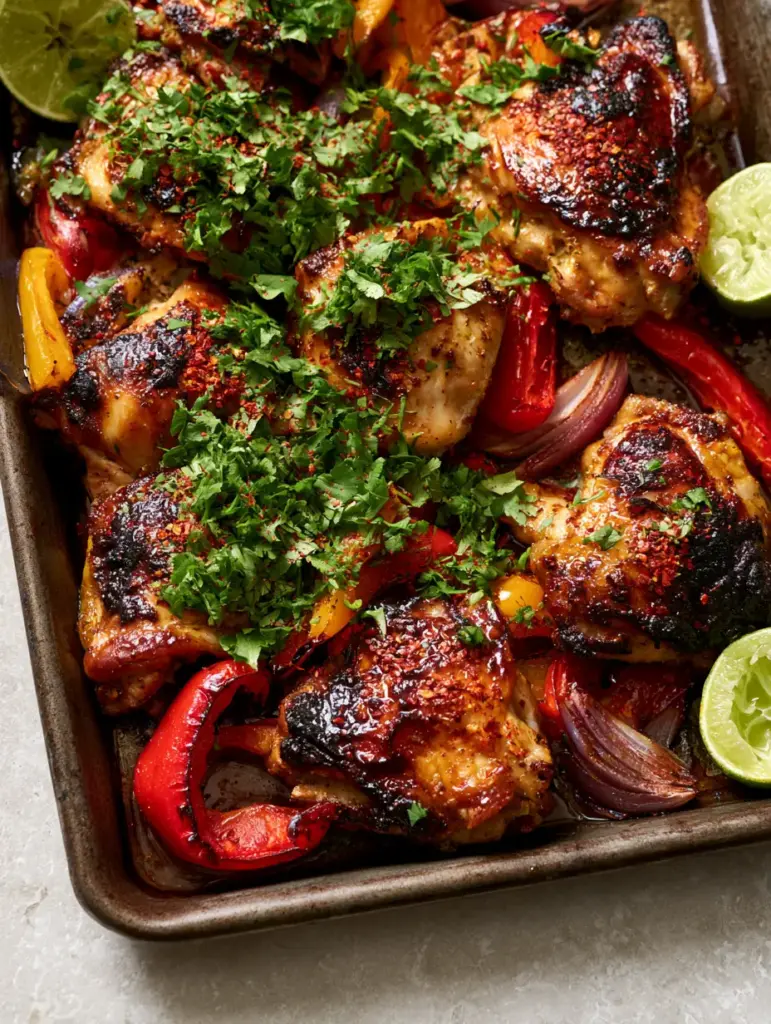
- Textural Contrast: You will experience the crunch of deep golden-brown charred skin against the tender, juicy fibers of perfectly cooked chicken thigh meat.
- Visual Brilliance: The combination of blistered red and yellow bell peppers provides a stunning color palette that pops against a rustic dark metal pan.
- The Glistening Factor: Our specialized chili lime glaze creates a high-gloss highlight on the meat, making it look as though it was plucked straight from a professional photoshoot.
- Aromatic Depth: Roasted garlic bits and fresh lime halves tucked into the corners release essential oils that permeate the entire dish during the roasting process.
- One-Pan Simplicity: Despite its complex appearance, this dish maximizes flavor while minimizing cleanup, making it superior to a standard ground turkey taco skillet.
The Essential Ingredients for Zesty Chili Lime Success
Every element in this chili lime chicken recipe serves a specific culinary purpose. To achieve the visual blueprint of charred edges and glistening glaze, we must select ingredients that react predictably to high heat.
Chicken Thighs (Skin-On, Boneless): 2 lbs (907g). We use thighs because their higher fat content allows for a deep char without drying out the meat, providing those beautiful “meat fibers” seen in high-resolution photography.
Red and Yellow Bell Peppers: 2 large (approx. 300g each). These are sliced into thick strips to ensure they blister on the outside while remaining “softened” and sweet on the inside.
Red Onion: 1 large (150g). Cutting the onion into thick wedges allows them to caramelize and become “softened wedges” rather than burning into thin wisps.
Fresh Limes: 3 whole limes. Two are used for the juice in the glaze, while one is halved and tucked into the pan to create those “visible juice droplets” and aesthetic appeal.
Honey or Agave Nectar: 2 tbsp (30ml). This is the “invisible” foundational ingredient required to create the glistening, wet zesty glaze that catches the light.
Garlic: 4 cloves (12g), minced. These become the “roasted garlic bits” that provide textural contrast and savory depth to the chicken skin.
Extra Virgin Olive Oil: 3 tbsp (45ml). Essential for conducting heat and ensuring the vegetables achieve a true blister rather than just steaming.
Chili Powder and Red Chili Flakes: 1 tbsp (7g) and 1 tsp (2g). The powder provides the base color, while the flakes offer the visual “dusting” that indicates spice level.
Fresh Cilantro: 1/2 cup (15g), chopped. A “heavy garnish” of bright green cilantro provides the necessary color contrast against the dark, charred meat.
The Best Kitchen Gear for Maximum Char
To replicate the “rustic dark metal sheet pan” look and achieve the necessary heat transfer, your equipment matters. A standard thin aluminum tray may warp or fail to provide the high-gloss highlights we desire.
We recommend using a heavy-duty, dark rimmed baking sheet. Darker pans absorb more heat, which is the secret to getting those “deep golden-brown charred edges” on the chicken thighs. You will also need a sharp chef’s knife to create clean “chicken thigh slices” after roasting. A silicone pastry brush is vital for applying the final layer of glaze to ensure it looks wet and zesty when served.
Master the Art of the Perfect Chili Lime Glaze
Preparing the Zesty Marinade
In a medium bowl, whisk together the juice of 2 limes (approx. 60ml), 2 tbsp (30ml) of honey, 3 tbsp (45ml) of olive oil, the minced garlic, and the chili powder. The honey is crucial here; it’s what creates the “glistening” effect by emulsifying with the fats from the chicken. Whisk until the mixture is uniform and slightly thickened. This glaze will act as both a marinade and a finishing sauce.
Achieving the Perfect Vegetable Blister
Toss your red and yellow bell pepper strips and red onion wedges in a light coating of oil and salt. Arrange them on the dark metal sheet pan, leaving enough space for the chicken. By roasting the vegetables at a high temperature (425°F / 220°C), the skins of the peppers will begin to bubble and char—this is the “blistered” effect we are looking for. It transforms the texture from raw and crunchy to silky and caramelized.
Searing and Roasting for Charred Perfection
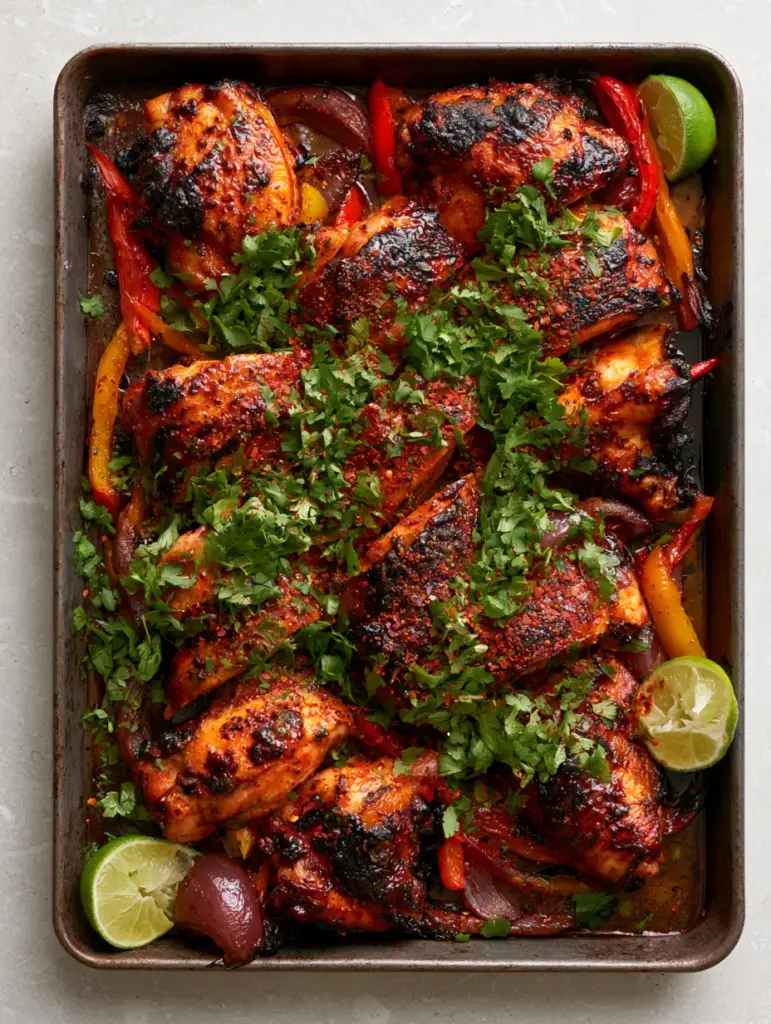
Place the chicken thighs skin-side up on the pan. Season them generously with salt and a light dusting of red chili flakes. As they roast, the fat will render out, and the honey in the glaze will begin to caramelize. Watch for the sensory cue: you should hear a vigorous sizzle and see the edges of the chicken turning a deep mahogany brown. This indicates the Maillard reaction is working its magic, creating that professional food photography aesthetic.
The Final Garnish and Presentation
Once the chicken reaches an internal temperature of 165°F (74°C), remove the pan from the oven. Brush the remaining glaze over the hot chicken slices—this creates the “wet zesty glaze” look. Scatter the chopped cilantro heavily across the pan and place the lime halves in the corners. The heat from the pan will cause the limes to slightly wilt, making the “visible juice droplets” even more prominent and appetizing.
Pro Secrets for That Restaurant-Style Blister
- Don’t Overcrowd the Pan: If the chicken and peppers are too close, they will steam instead of char. Use two pans if necessary to ensure air circulation.
- Pat the Chicken Dry: Before marinating, use paper towels to remove excess moisture from the chicken skin. Moisture is the enemy of a “deep golden-brown charred” finish.
- The Broiler Trick: If your chicken is cooked but not charred enough, pop the pan under the broiler for 2-3 minutes. Stay close and watch for the “blistered” skin to develop.
- Rest Before Slicing: Allow the chicken to rest for 5 minutes before slicing. This keeps the “meat fibers” moist and prevents all that glistening glaze from running off the cutting board.
Preserving Your Chili Lime Leftovers
This chili lime chicken stores exceptionally well, making it a favorite for meal prep. Place the sliced chicken and blistered peppers in an airtight container and refrigerate for up to 4 days. When reheating, avoid the microwave if possible; a quick toss in a hot skillet will help maintain the “charred edges” and prevent the vegetables from becoming soggy.
For freezing, store the chicken and glaze separately from the fresh lime halves and cilantro. It will remain delicious for up to 3 months. Simply thaw overnight in the refrigerator and reheat in a 350°F (175°C) oven until the glaze is glistening once again.
Creative Pairings for a Full Mexican Feast
While this dish is a star on its own, pairing it with the right sides can elevate the experience. For a lighter lunch, consider serving the sliced chicken over a spicy jalapeño chicken salad. The creaminess of the salad provides a wonderful contrast to the charred, acidic notes of the lime.
If you are looking for a heartier dinner, these chicken thighs are incredible when served alongside cheesy bean and cheese enchiladas. The smoky chili notes in the chicken complement the earthy tones of the beans perfectly. For those who enjoy a bit of crunch, tuck the chicken slices into freshly charred tortillas for a twist on a classic taco night.
Common Questions About Making Chili Lime Chicken
You can, but breasts dry out faster at high heat. To keep them juicy, reduce the cook time and monitor the internal temperature closely until it hits 165°F (74°C).
The secret is adding a liquid sweetener like honey or agave to the lime marinade and brushing a final layer of the glaze onto the chicken immediately after it comes out of the oven.
The ‘zesty’ flavor comes from a combination of fresh lime juice and lime zest, paired with the pungent kick of roasted garlic bits and red chili flakes.
Peppers need high heat and direct contact with the pan or hot air. Ensure your oven is at least 425°F (220°C) and avoid overcrowding the pan so they roast rather than steam.
The Ultimate Chili Lime Chicken Recipe
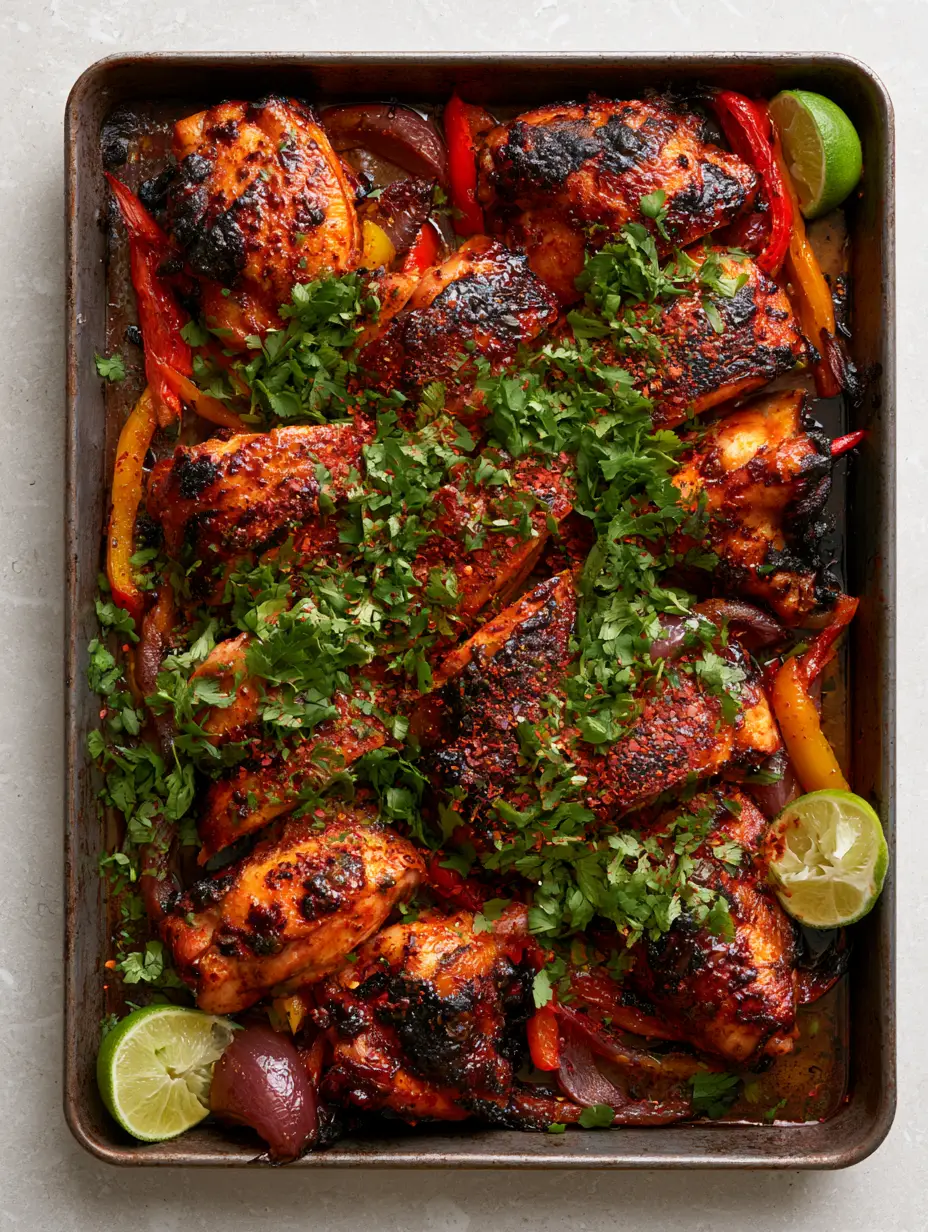
Chili Lime Chicken with Blistered Peppers and Glistening Zesty Glaze
Ingredients
Equipment
Method
- Preheat your oven to 425°F (220°C). Whisk lime juice, honey, olive oil, minced garlic, and chili powder in a bowl to create the glaze.
- Place chicken thighs, bell pepper strips, and red onion wedges on the rustic dark metal sheet pan. Drizzle with half the glaze and toss the vegetables to coat.
- Roast for 20-25 minutes. Look for the visual cue of deep golden-brown charred edges on the chicken and blistered skins on the peppers.
- Remove from oven. Brush the remaining glaze over the chicken for a wet, glistening look. Garnish heavily with cilantro, red chili flakes, and the lime halves.
Notes
If the chicken isn't charred enough, use the broiler for the last 2 minutes.
Final Thoughts on This Zesty Masterpiece
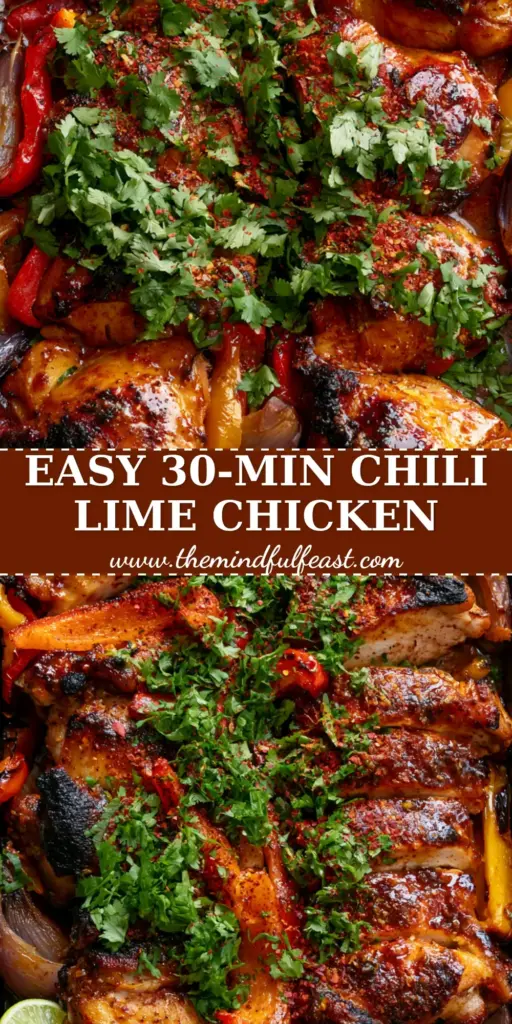
Mastering the chili lime chicken is a rite of passage for any home cook looking to blend technical skill with visual artistry. The combination of the acidic lime, the heat of the chili, and the sweet glistening glaze creates a profile that is universally loved. We hope this recipe brings a touch of professional flair to your kitchen and results in a meal that looks every bit as good as it tastes.
Did you manage to get that perfect blister on your peppers? We’d love to hear about your results! Leave a comment below, sign up for our newsletter for more visual recipe blueprints, and be sure to share your creations to Pinterest to inspire other foodies.


