Baked Parmesan Zucchini Fries are the ultimate solution for anyone craving a salty, crispy snack without the heavy feeling of deep-fried potatoes. These vibrant spears offer a stunning contrast between a thick, jagged golden-brown crust and a tender, steaming green interior. When you pull these out of the oven, the aroma of toasted cheese and savory garlic immediately fills the kitchen, signaling that the perfect healthy-ish appetizer is ready.
Achieving that specific “shatter-crisp” texture requires more than just a quick toss in breadcrumbs. By focusing on the synergy between flaky panko and melted parmesan cheese, we create a structural masterpiece that holds its shape from the baking sheet to the dipping bowl. Whether you are looking to use up a garden harvest or simply want a sophisticated snack, these fries deliver a professional-grade culinary experience right at home.
As you lift a single fry, you will notice the beautiful textures of toasted cheese bits and airy panko clinging to the vegetable. Served on a bed of crumpled white parchment paper with a side of herb-flecked ranch, this dish is as visually stunning as it is delicious. Let’s dive into the science of the perfect vegetable fry and how to ensure your zucchini never turns out soggy.
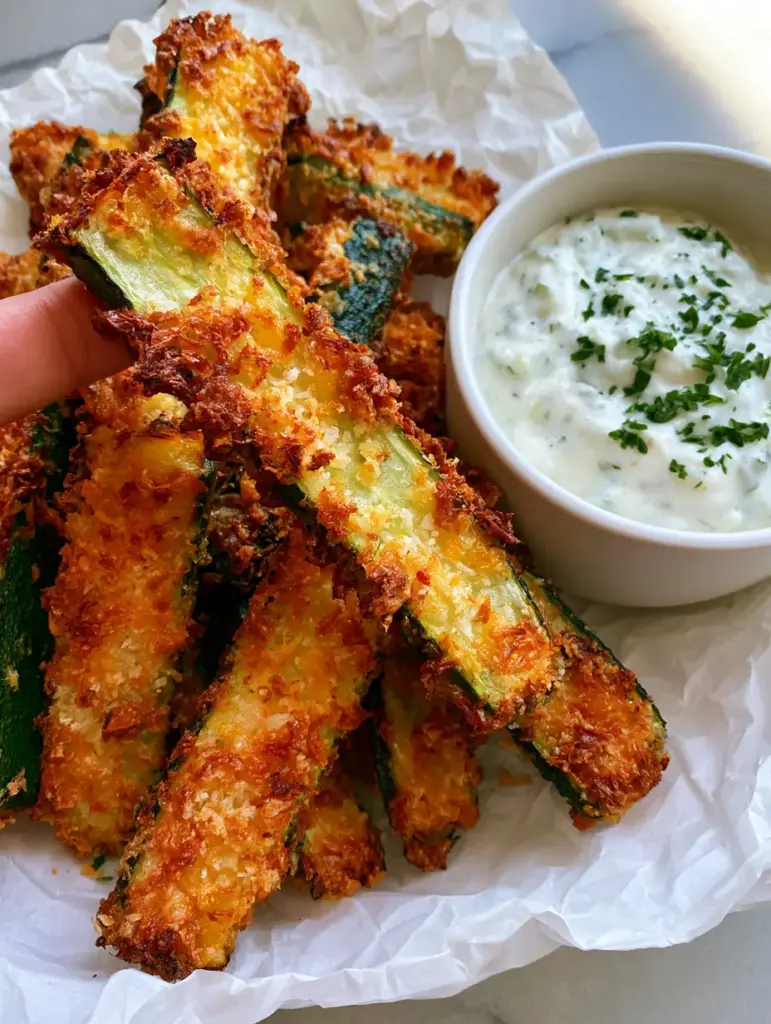
Why You Will Love These Extra-Crispy Zucchini Spears
- Sensory Contrast: You get a satisfyingly loud crunch from the panko-parmesan shell that gives way to a buttery, tender zucchini center.
- Technique-Driven Texture: We utilize a specific three-step dredging process to ensure the crust is thick, jagged, and refuses to fall off during baking.
- Visual Appeal: The bright green of the zucchini skin peeking through a golden-brown crust, garnished with fresh parsley, makes this a centerpiece-worthy side dish.
- Healthier Indulgence: By oven-baking at a high temperature, we mimic the results of a deep fryer using only a fraction of the oil.
Essential Ingredients for the Perfect Golden Crust
Fresh Zucchini: Look for medium-sized zucchini that are firm to the touch and have a vibrant green skin. Avoid oversized “baseball bat” zucchinis, as they tend to be watery and have large seeds which can compromise the structural integrity of your fries.
Panko Breadcrumbs: You will need 2 cups (120g) of Japanese-style panko to achieve that signature jagged texture. Unlike traditional fine breadcrumbs, panko flakes are larger and airier, allowing them to crisp up significantly without absorbing too much moisture.
Grated Parmesan Cheese: Use 1 cup (90g) of finely grated parmesan, preferably the kind found in the refrigerated section rather than the shelf-stable shaker. The proteins and fats in the parmesan melt into the panko, acting as a savory “glue” that creates those tiny toasted cheese bits we love.
All-Purpose Flour: You need 1/2 cup (64g) of flour to act as the primary moisture barrier. This first layer dries the surface of the zucchini so the egg wash has something to cling to, preventing the dreaded “slipping” crust.
Large Eggs: Two large eggs provide the protein structure needed to bind the heavy panko-parmesan mixture to the vegetable. Whisk them thoroughly until no streaks of white remain for an even coating.
Seasoning Trio: A combination of 1 tsp (5g) sea salt, 1/2 tsp (2g) black pepper, and 1 tsp (3g) garlic powder is essential. These foundational seasonings penetrate the zucchini and the crust, ensuring flavor in every bite.
Fresh Parsley and Dill: Use 2 tbsp (8g) of finely chopped parsley for the final garnish and 1 tsp (1g) of dried or fresh dill for the dipping sauce. These herbs add a refreshing top note that cuts through the richness of the cheese and ranch.
Professional Kitchen Tools for Maximum Crispiness
To achieve the results seen in our visual blueprint, you need a large, heavy-duty rimmed baking sheet. A heavy pan distributes heat more evenly, which is crucial for browning the bottom of the fries without burning them. You will also need a wire cooling rack that fits inside the baking sheet; elevating the zucchini allows hot air to circulate 360 degrees, preventing a soggy bottom.
Crumpled white parchment paper is another “secret” tool—not just for the aesthetic seen in our photos, but for easy cleanup and moisture management. Finally, ensure you have three wide, shallow bowls for your dredging station to keep the process organized and mess-free. If you enjoy this vegetable-forward approach, you might also like exploring a variety of zucchini recipes for your weekly meal prep.
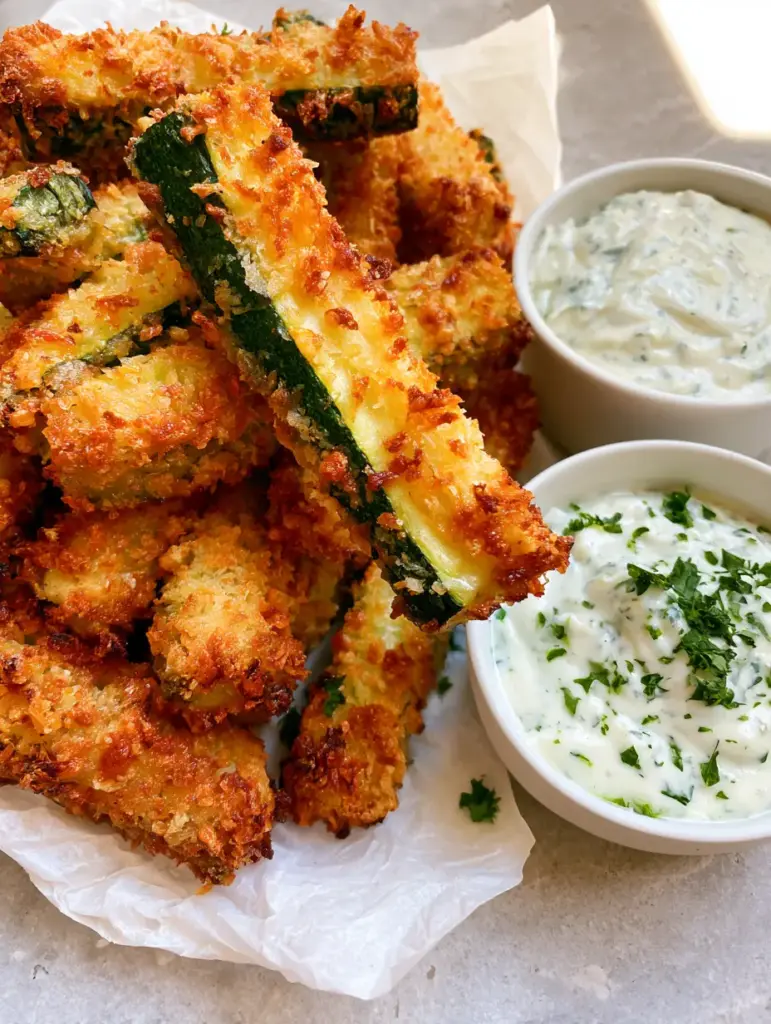
Step-by-Step Guide to Achieving a Thick Jagged Coating
Preparing the Zucchini Spears
Begin by washing 3 medium zucchinis (about 1.5 lbs / 680g) and patting them completely dry with a lint-free towel. Slice off the ends, then cut each zucchini in half crosswise. Slice each half into 4 to 6 even spears, depending on the thickness of the vegetable. If the centers are particularly seedy, you can lightly trim the inner edge to ensure the fries stay firm during the baking process.
The Triple-Dredge Method
Set up your three bowls: the first with flour and garlic powder, the second with beaten eggs, and the third with a mixture of panko and parmesan. Take a zucchini spear and dredge it in the flour, shaking off any excess. Dip it into the egg wash, ensuring it is fully submerged. Finally, press the spear firmly into the panko-parmesan mixture. Use your fingers to manually press extra breadcrumbs onto the spear to create that “thick, jagged crust” described in our visual prompt.
Baking for Golden Perfection
Preheat your oven to 425°F (220°C). Arrange the coated spears on the wire rack over the baking sheet, ensuring they do not touch. This space is vital for the Maillard reaction to occur on all sides. Bake for 18–22 minutes. You are looking for a deep, toasted golden-brown color and a visible “bubbling” of the cheese bits within the crust. The panko should look flaky and dry, not oily.
Creating the Creamy Dill Ranch
While the fries bake, whisk together 1/2 cup (120g) of Greek yogurt or sour cream, 1/4 cup (60ml) of mayonnaise, a splash of lemon juice, and the fresh dill. This creates the “thick, creamy herb-flecked ranch” that perfectly complements the salty fries. If you’re a fan of these flavors, you should also try this sassy scotty chicken salad which features a similarly bright flavor profile.
Pro Tips for Preventing Soggy Zucchini Fries
- The Salt Sweat: If you have time, sprinkle the raw zucchini spears with salt and let them sit for 10 minutes. Pat away the extracted moisture before starting the flour dredge.
- High Heat is Key: Do not be tempted to lower the oven temperature. High heat (425°F/220°C) is required to crisp the exterior before the interior becomes overly mushy.
- Avoid Overcrowding: If the fries are too close together, they will steam each other rather than roast. Use two baking sheets if necessary.
- Immediate Serving: Like all fried or breaded vegetables, these are best served within 5-10 minutes of leaving the oven. The crumpled parchment paper helps absorb any residual steam.
How to Store and Reheat for Day-Two Crunch
Leftover Baked Parmesan Zucchini Fries can be stored in an airtight container in the refrigerator for up to 2 days. However, the zucchini will naturally release moisture over time, softening the crust. To restore the crunch, avoid the microwave at all costs. Instead, place the fries back on a wire rack in a 400°F (200°C) oven or air fryer for 3–5 minutes until the cheese sizzles again.
For more inspiration on using summer produce, check out our summer vegetable gratin or this hearty yellow squash and zucchini casserole.
The Ultimate Pairing Guide for Zucchini Sticks
These fries are incredibly versatile and can act as a snack or a sophisticated side dish. For a Mediterranean-inspired lunch, serve them alongside a crisp cucumber salad. If you are looking for a fuller meal, they pair beautifully with a savory chicken cordon bleu or a plate of sausage and peppers.
For those building a snack board, these fries fit perfectly into adult lunchable ideas, providing a warm, crunchy element to contrast with cold meats and cheeses. If you have leftover zucchini after making this recipe, don’t let it go to waste! You can easily grate it to make crispy zucchini fritters or even a loaf of moist chocolate zucchini bread.
Frequently Asked Questions
Yes! Air fry them at 400°F (200°C) for 8-10 minutes, shaking the basket halfway through. Ensure you don’t stack them too deep to maintain the crispy crust.
Absolutely. You can substitute gluten-free panko or even crushed pork rinds for a low-carb version. The parmesan cheese will still provide excellent browning and crunch.
No, you should keep the skin on. The skin provides structural integrity and contains most of the nutrients, plus it creates a beautiful visual contrast with the golden breading.
The secret is the flour dredge. Coating the zucchini in flour first dries the surface, allowing the egg wash to stick firmly, which in turn holds the heavy panko-parmesan layer.
Soggy fries usually result from overcrowding the pan or not using a wire rack. High heat and proper spacing are essential to allow moisture to evaporate rather than steam the vegetable.
The Ultimate Baked Parmesan Zucchini Fries Recipe
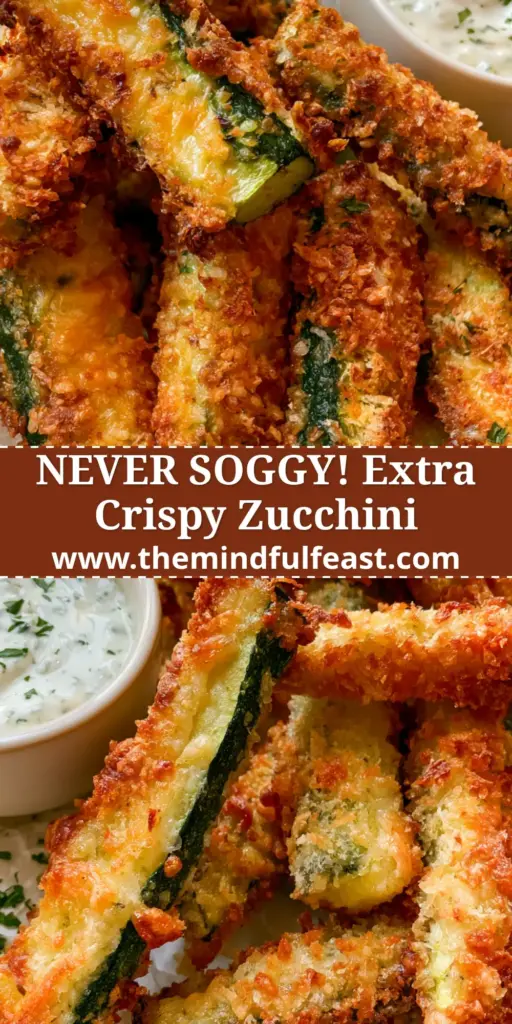
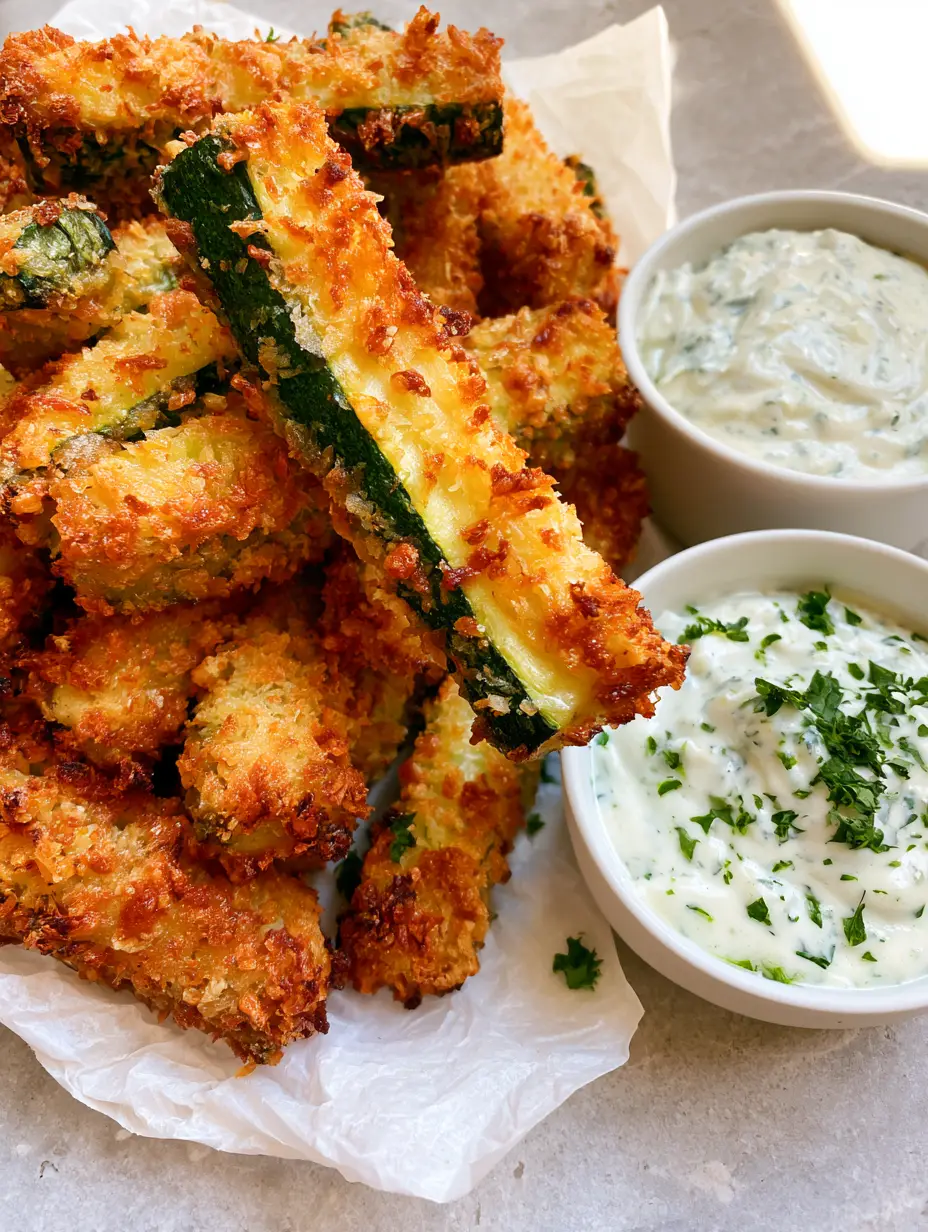
Baked Parmesan Zucchini Fries with Creamy Dill Ranch
Ingredients
Equipment
Method
- Preheat oven to 425°F (220°C). Place a wire rack over a large baking sheet and line the bottom with parchment paper for easy cleanup.
- Slice zucchinis into even spears, ensuring they are all roughly the same size for uniform cooking.
- Set up three bowls: Flour/Garlic powder, Beaten Eggs, and Panko/Parmesan/Salt/Pepper.
- Dip each spear in flour, then egg, then press firmly into the panko mixture until a thick, jagged crust forms.
- Arrange spears on the rack. Bake for 18-22 minutes until the crust is deep golden-brown and extra crispy.
- Sprinkle with fresh parsley and serve immediately with the dill ranch sauce.
Notes
Always serve immediately after baking to enjoy the best texture.
Final Thoughts and Kitchen Success
Mastering Baked Parmesan Zucchini Fries is a gateway to enjoying more vegetables in a way that feels truly indulgent. By following the forensic details of our visual blueprint—focusing on that jagged panko crust and the herb-flecked ranch—you are guaranteed a result that looks just like a professional food photograph. The combination of high-heat baking and a proper dredging station ensures success every time.
We would love to see your results! If you enjoyed this recipe, please leave a comment below and share your photos with us on Pinterest. For more delicious kitchen inspiration, sign up for our newsletter to get the latest recipes delivered straight to your inbox.


