When searching for the most impressive pancake ideas, nothing captures the imagination quite like the gravity-defying Japanese souffle pancake. These aren’t your standard flapjacks; they are ethereal, cloud-like creations that wobble with every movement and melt the moment they hit your tongue.
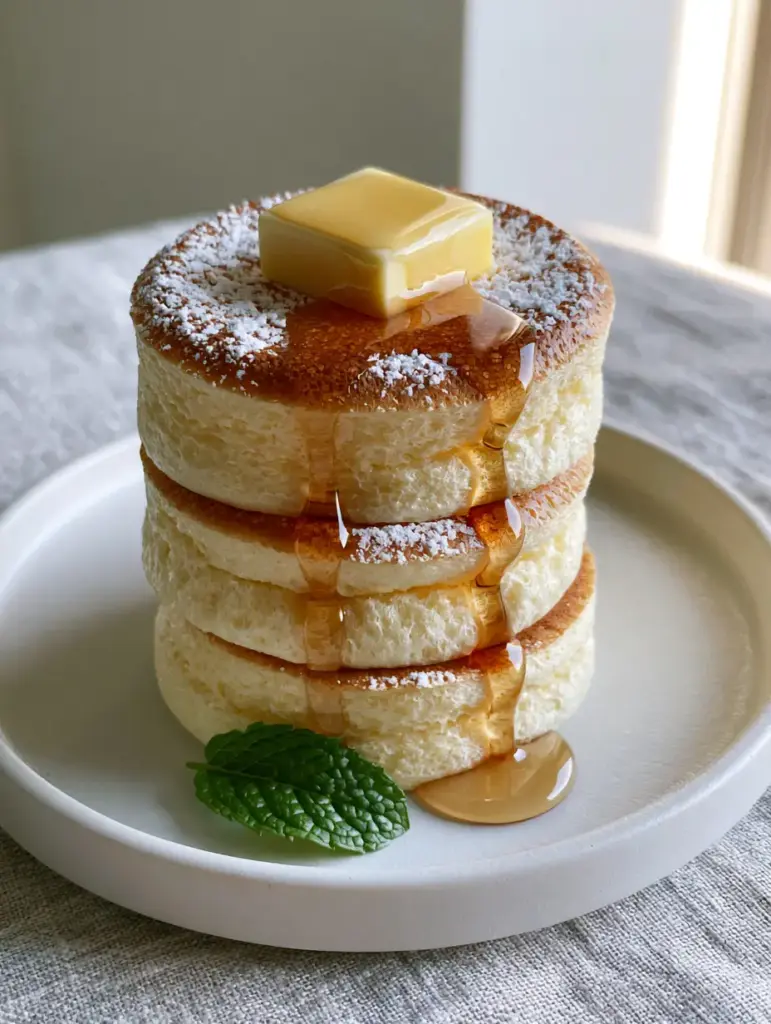
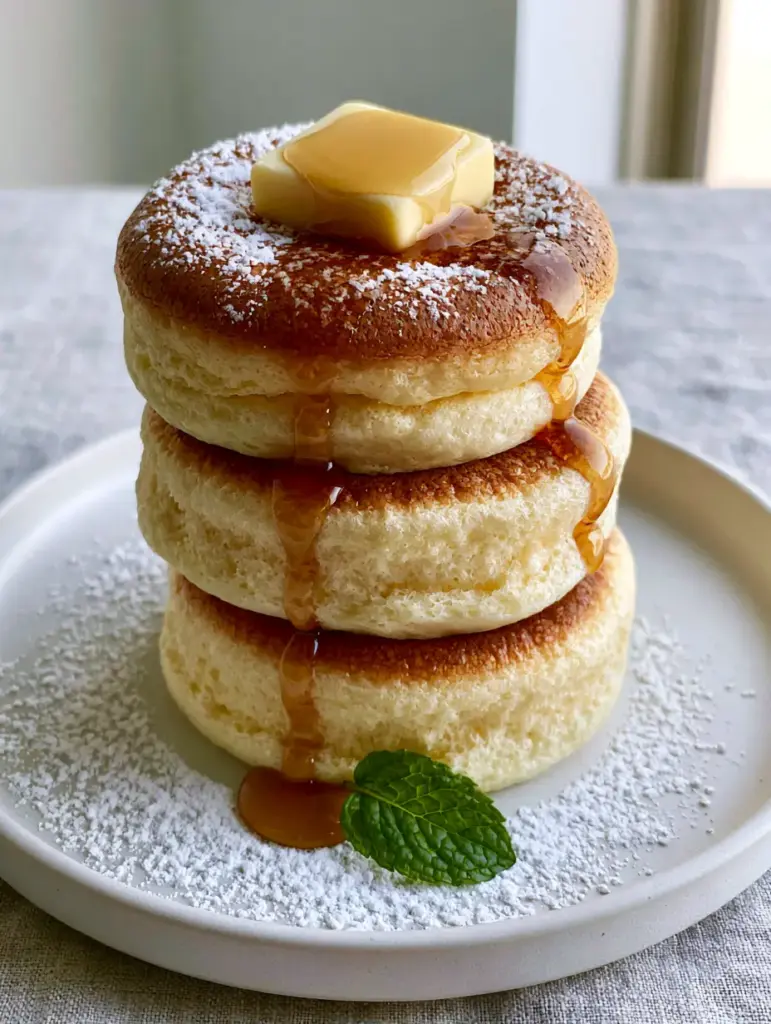
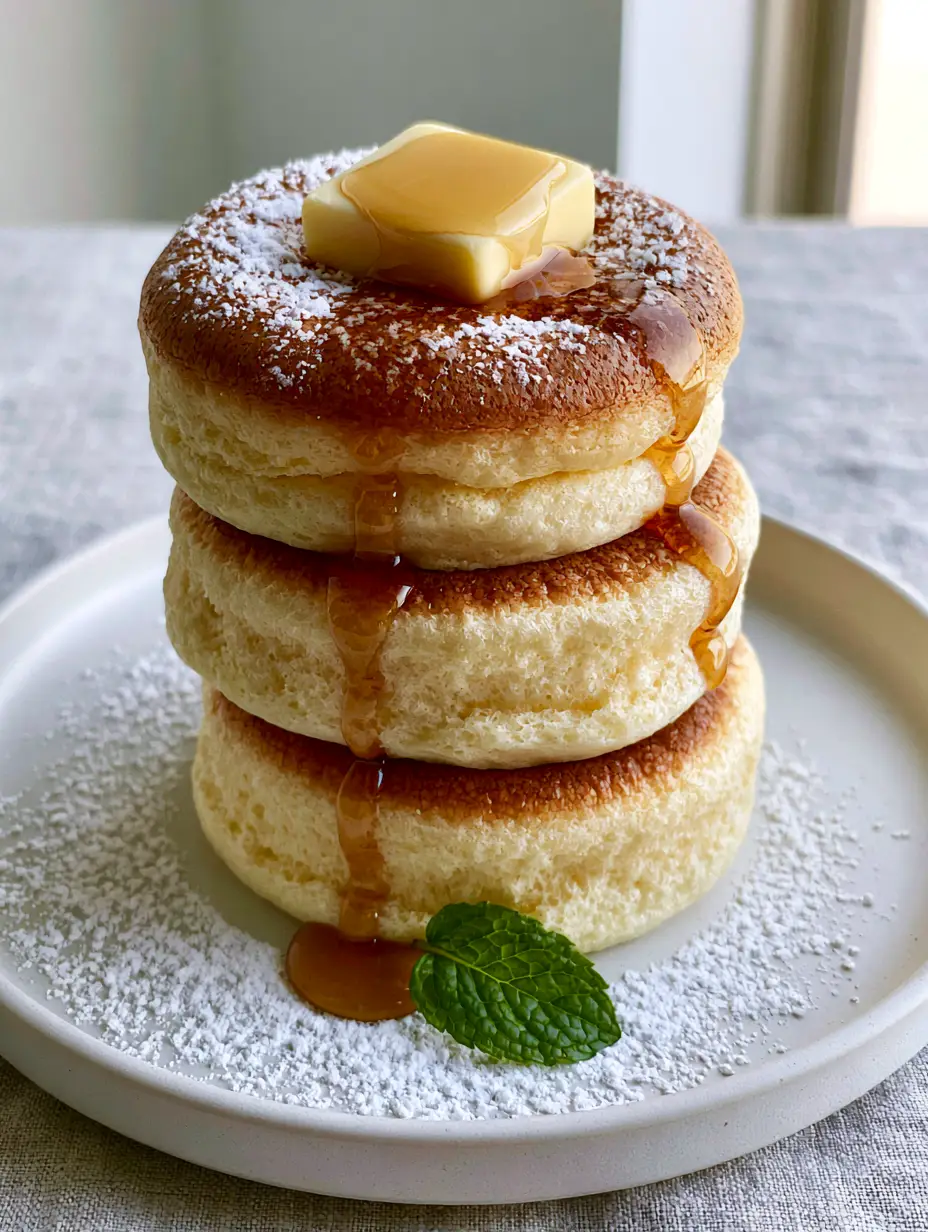
The visual appeal of these pancakes is legendary, featuring a stack of three extremely tall, wobbly rounds with pale, airy sides and perfectly uniform golden-brown seared tops. Whether you are hosting a celebratory brunch or simply want to elevate your weekend routine, this recipe provides the scientific blueprint to achieve restaurant-quality results at home.
By mastering the art of the stabilized meringue and controlled steam-cooking, you will transform basic pantry staples into a gourmet masterpiece. Let’s dive into the culinary mechanics of creating the fluffiest breakfast you have ever experienced.
Why These Japanese Souffle Pancake Ideas Rank Above the Rest
- Structural Integrity: Unlike thin crepes, these pancakes stand nearly 3 inches (7.5cm) tall thanks to a precision-whipped meringue base.
- Gourmet Textures: You will achieve a dual-texture experience with a soft, sponge-cake-like interior and a delicate, seared crust on the top and bottom.
- Visual Showstopper: The combination of melting unsalted butter, trailing amber maple syrup, and a fine dusting of powdered sugar makes this the “crown jewel” of pancake ideas.
- Sensory Delight: The hint of fresh mint at the base provides a sharp, aromatic contrast to the rich, sweet profile of the syrup and butter.
Essential Ingredients for the Perfect Souffle Lift
Large Eggs (Separated): You will need 2 large eggs, carefully separated. The yolks provide richness and structure, while the whites are whipped into a voluminous foam that acts as the primary leavening agent.
Cake Flour: Use 4 tbsp (32g) of cake flour rather than all-purpose. Cake flour has a lower protein content, which ensures the “airy sponge” texture remains tender rather than chewy.
Whole Milk: 2 tbsp (30ml) of cold whole milk thins the yolk mixture just enough to incorporate the flour without overworking the gluten.
Granulated Sugar: 2.5 tbsp (35g) of sugar is essential for stabilizing the egg white proteins. Without it, your tall pancakes would collapse the moment they hit the pan.
Baking Powder: 1/2 tsp (2g) acts as a secondary insurance policy. While the meringue does the heavy lifting, the baking powder ensures a consistent rise during the steaming process.
Cream of Tartar: 1/4 tsp (1g) of this acidic stabilizer helps the egg whites reach their maximum volume and prevents them from “weeping” or deflating before they cook.
Pure Vanilla Extract: 1/2 tsp (2.5ml) provides the foundational aromatic profile that distinguishes these from plain bread-like stacks.
Unsalted Butter: You will need 1 tbsp (14g) for the pan and a thick, square pat of premium unsalted butter for the final garnish to achieve that “slow melt” look.
Amber Maple Syrup: High-quality, Grade A amber syrup provides the perfect translucent trail down the pillowy sides of the stack.
Powdered Sugar & Mint: A fine dusting of sugar and one fresh green mint leaf provide the final “high-resolution” gourmet finish described in our visual blueprint.
Precision Equipment for Tall Pancake Success
To execute these pancake ideas successfully, you cannot rely on standard flipping techniques alone. A heavy-bottomed, non-stick skillet with a tight-fitting lid is non-negotiable, as the lid traps the steam necessary to cook the center of the tall pancakes without burning the bottoms.
An electric hand mixer or stand mixer is required to reach the “stiff peak” stage of the meringue. Doing this by hand is possible but rarely yields the consistency needed for a 3-inch (7.5cm) height. Additionally, a wide, thin offset spatula will allow you to flip the delicate rounds without deflating the airy structure.
The Step-by-Step Blueprint to Souffle Perfection
1. Preparing the Yolk Base
In a medium bowl, whisk the 2 egg yolks with the 2 tbsp (30ml) of milk and 1/2 tsp (2.5ml) of vanilla extract until pale and slightly frothy. Sift in the 4 tbsp (32g) of cake flour and 1/2 tsp (2g) of baking powder.
Whisk gently until just combined; do not overmix. Over-mixing at this stage develops gluten, which will make your “airy sponge sides” tough rather than tender. The consistency should be thick but smooth.
2. Mastering the Meringue
In a separate, perfectly clean glass or metal bowl, begin beating the 2 egg whites on low speed. Once they become foamy, add the 1/4 tsp (1g) of cream of tartar. Gradually increase the speed to medium-high.
Slowly add the 2.5 tbsp (35g) of granulated sugar one tablespoon at a time. Continue beating until the whites form stiff, glossy peaks. You will know it is ready when you lift the beaters and the “beak” of the meringue stands straight up without drooping.
3. The Gentle Fold
This is the most critical step for these pancake ideas. Take one-third of the meringue and whisk it into the yolk mixture to lighten it. Then, using a silicone spatula, gently fold the remaining meringue into the batter using a “cut and fold” motion.
Stop the moment no white streaks remain. Every fold removes air, and air is what creates the “wobbly” Japanese texture. If the batter becomes runny, the pancakes will spread flat in the pan instead of standing tall.
4. The Low-and-Slow Steaming Process
Preheat your non-stick skillet on the lowest possible setting. Lightly grease the surface with a paper towel dipped in oil or melted butter. Use a large scoop or spoon to place three high mounds of batter onto the pan.
Add 1 tsp (5ml) of water to the empty spaces in the pan (away from the batter) and immediately cover with the lid. The water creates steam, which cooks the tall sides. Let them cook for 5-6 minutes. You are looking for a “pale, airy” side appearance and a set base.
5. The Flip and Finish
Add another small scoop of batter to the top of each pancake to increase the height, then carefully flip them over. Add another teaspoon of water, cover again, and cook for an additional 4-5 minutes.
Look for the visual cue: a “perfectly uniform golden-brown seared top” and sides that feel springy to the touch. Once cooked, remove them immediately to a minimalist matte white ceramic plate to prevent further browning.
Expert Tips for Pancake Success
- Cold Eggs are Key: While many recipes call for room-temperature eggs, cold egg whites actually create a more stable, smaller-bubbled meringue which is less likely to collapse during the long cook time.
- The Water Trick: Never skip the water in the pan. Without the steam, the outside of the pancake will burn before the interior “sponge” is fully set.
- Avoid the Draft: Japanese souffle pancakes are sensitive to temperature changes. Serve them immediately on a warmed plate to maintain their “wobbly” height.
- Consistency Check: If your pancakes are spreading too much, your meringue was likely under-beaten or you folded too aggressively. Aim for a “shaving cream” consistency.
How to Serve and Pair Your Souffle Stack
To achieve the look of our gourmet photography, stack three pancakes vertically. Place a square pat of unsalted butter on the top, allowing the residual heat to start the melting process. Drizzle the amber maple syrup slowly, letting it trail down the sides.
For a complete breakfast spread, consider pairing these with some light savory sides or even a fresh cucumber salad to balance the sweetness. If you’re looking for more creative inspiration, you might enjoy browsing pancake and waffle wall art to decorate your kitchen.
For those who enjoy a variety of morning textures, these pancakes go beautifully with German banana quark balls or a side of savory zucchini fritters for a “sweet and salty” brunch experience.
Storage and Reheating Advice
Souffle pancakes are best enjoyed within minutes of cooking to appreciate their maximum volume. However, if you have leftovers, store them in an airtight container in the refrigerator for up to 24 hours. Their “wobbly” nature will diminish, but the flavor remains excellent.
To reheat, do not use a microwave as it will make the sponge-cake texture rubbery. Instead, place them back in a non-stick skillet over very low heat with a lid and a drop of water for 2 minutes until warmed through.
Frequently Asked Questions
No. The height comes from the air bubbles trapped in the meringue. If the batter sits, the bubbles will pop and the pancakes will be flat. Cook the batter immediately after mixing.
You can, but the pancakes will be slightly denser. To mimic cake flour, remove 1/2 tablespoon of all-purpose flour and replace it with 1/2 tablespoon of cornstarch.
Yes. The lid is essential to trap steam, which cooks the tall sides of the pancake. Without it, the bottom will burn before the top and middle are safe to flip.
Maintain a very low, consistent heat. If your pan is too hot, the top will sear too darkly before the pancake has risen. A heavy-bottomed pan helps distribute heat evenly.
Souffle pancakes naturally lose some height as they cool, but rapid collapse is usually due to under-whipped egg whites or under-cooking the center. Ensure you have stiff peaks and use the steam method to set the interior.
The Ultimate Souffle Pancake Recipe Card
Pancake Ideas: The Ultimate Tall and Fluffy Japanese Souffle Recipe
Ingredients
Equipment
Method
- Whisk egg yolks, milk, and vanilla until pale. Sift in cake flour and baking powder, whisking until just combined.
- Beat egg whites with cream of tartar, gradually adding sugar until stiff, glossy peaks form.
- Gently fold the meringue into the yolk mixture in three stages, keeping as much air as possible.
- Scoop mounds into a low-heat skillet, add a teaspoon of water to the pan, and cover with a lid for 5-6 minutes.
- Carefully flip, add another teaspoon of water, cover, and cook for 4-5 minutes until golden-browned and set.
Notes
Serve immediately to prevent the souffle from deflating.
Closing & Call to Action
Mastering these Japanese souffle pancake ideas is a rite of passage for any serious home cook. The combination of technical precision and visual beauty results in a breakfast that is as much a work of art as it is a meal. The pillowy texture and golden sear provide a sensory experience that standard recipes simply cannot match.
Did your stack wobble? We want to hear about your results! Leave a comment below with your success stories or questions. If you loved this visual guide, be sure to share it with your fellow foodies and save it to your favorite boards on Pinterest.


