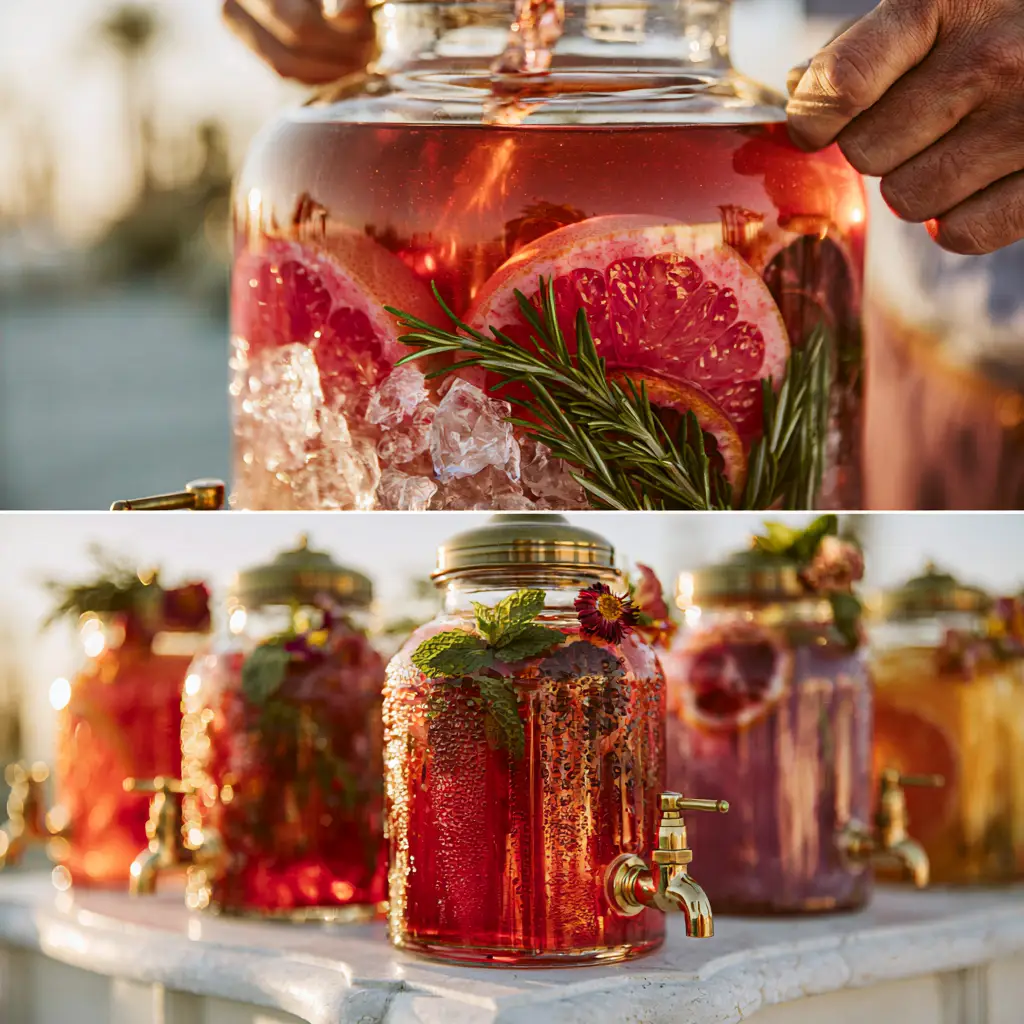
Imagine the sun dipping below the horizon, casting a warm, golden glow over a beautifully set white stone table. As your guests mingle, they are drawn to a stunning DIY beverage station where vibrant, translucent ruby-red liquid glistens inside premium glass dispensers with polished brass spigots. This is the essence of outdoor wedding drinks—a perfect blend of visual artistry and refreshing flavor that elevates any celebration.
Creating a signature drink for a large gathering requires more than just mixing juices; it is an exercise in culinary layering and aesthetic precision. This Blood Orange Hibiscus and Rosemary mocktail (which easily converts to a cocktail) is designed to be the centerpiece of your event. With layers of bright pink grapefruits, deep crimson blood oranges, and aromatic rosemary sprigs, it offers a sensory experience that begins long before the first sip.
In this guide, we will break down the science of large-batch infusions, ensuring your outdoor wedding drinks remain cold, flavorful, and visually breathtaking from the first pour to the last. Whether you are a professional planner or a DIY bride, these techniques will help you master the art of the wedding pour.
The Anatomy of a Perfect Wedding Refreshment
What makes a beverage truly stand out at an outdoor event? It is the intersection of temperature control, flavor complexity, and “the pour.” By using specific botanical elements, we ensure that the drink tastes as sophisticated as it looks.
- Chromatic Depth: The translucent ruby-red hue is achieved through a concentrated hibiscus steep, providing a natural, stain-like color that glows under natural light.
- Textural Contrast: Using crushed artisanal ice creates a dense foundation that holds fruit slices against the glass, ensuring the “mosaic” look remains intact as the liquid level drops.
- Aromatic Foundation: Fresh rosemary sprigs aren’t just for show; they infuse the liquid with a woody, resinous scent that balances the tartness of the citrus.
- Effervescent Finish: A splash of sparkling mineral water added just before serving provides the crisp mouthfeel necessary for warm-weather celebrations.
Botanical Elements for the Perfect Signature Pour
To achieve the exact visual described in our blueprint, every ingredient must be selected for both its flavor profile and its structural integrity within the dispenser.
Dried Hibiscus Flowers (1 cup / 60g): These provide the intense ruby-red base. Steeped into a concentrate, they offer a tart, cranberry-like flavor and an unbeatable natural pigment.
Blood Oranges (6-8 large): Sliced into thin rounds, these show-stoppers provide a dark orange and deep red contrast. They are less acidic than standard navel oranges, offering a complex sweetness.
Pink Grapefruits (4-5 large): The bright pink pith and flesh add a lighter color tier to the dispenser. Their slight bitterness is essential for cutting through the sugar of the infusion.
Fresh Rosemary Sprigs (12-15 large stems): Look for sturdy, woody stems. These will be tucked into the ice to stay upright, releasing oils slowly throughout the day.
Artisanal Crushed Ice (10-15 lbs / 5-7kg): Unlike standard cubes, crushed ice packs tightly, allowing you to “pin” fruit slices against the glass walls for that professional lifestyle look.
Simple Syrup or Agave (1 cup / 240ml): A foundational sweetener is necessary to balance the tart hibiscus. You can infuse this syrup with extra rosemary for deeper flavor.
Filtered Water and Sparkling Club Soda: Use filtered water for the base infusion to ensure clarity, and top with club soda for a refreshing fizz.
Edible Hibiscus Flowers and Fresh Mint: These serve as the final garnishes for the gold-rimmed glassware, adding a touch of elegance to every individual serving.
Essential Equipment for a DIY Beverage Station
To replicate the high-end look of our outdoor wedding drinks station, you will need a few specific tools that prioritize both form and function.
First and foremost, invest in high-quality glass beverage dispensers. Plastic can cloud over time and lacks the refractive quality of glass, which is essential for that “glistening condensation” effect. Look for dispensers featuring brass spigots; not only do they add a vintage, elegant touch, but they are also more durable than plastic toggles.
You will also need a long-handled stirring paddle to incorporate the liquid without bruising the fruit. For the glassware, gold-rimmed tumblers provide a sophisticated touch that complements the brass hardware of the station. Finally, a white stone or marble slab for the table surface provides a neutral, high-end backdrop that makes the ruby-red liquid pop.
Mastering the Art of Large-Batch Infusion
The secret to successful outdoor wedding drinks is a two-stage process: creating the flavor concentrate and then assembling the visual masterpiece.
Step 1: The Hibiscus and Rosemary Concentrate
In a large pot, bring 4 cups (1 liter) of filtered water to a soft boil. Add your dried hibiscus flowers and 4 sprigs of rosemary. Remove from heat and let steep for 15-20 minutes until the liquid is a deep, opaque purple-red.
Strain the mixture through a fine-mesh sieve into a large pitcher, discarding the solids. While the liquid is still warm, stir in your simple syrup or agave until fully dissolved. Allow this concentrate to chill completely in the refrigerator—pouring warm liquid over your ice will cause immediate dilution and ruin the aesthetic.
Step 2: Preparing the Citrus Mosaic
While the concentrate chills, slice your blood oranges and pink grapefruits into 1/4 inch (6mm) rounds. Consistency is key here; even slices look more professional. Pick through your mint leaves and rosemary, selecting only the most vibrant green specimens.
If you are also serving food, consider how these citrus notes might pair with a crisp cucumber salad or even a savory summer vegetable gratin during the reception.
Step 3: The Vertical Build
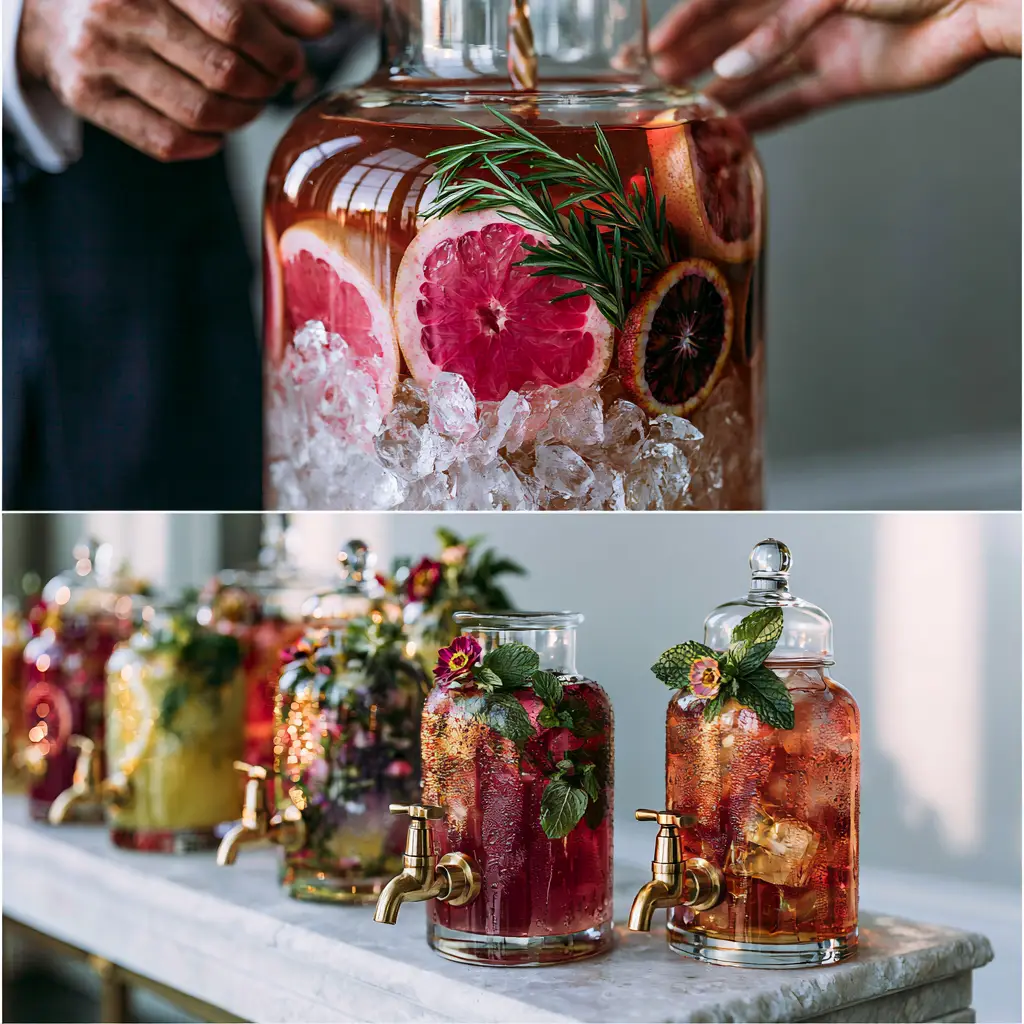
This is where the forensic visual accuracy comes into play. Start by placing a 2-inch (5cm) layer of crushed ice at the bottom of the glass dispenser. Using long tweezers or your hands, press slices of grapefruit and blood orange vertically against the glass walls.
Tuck rosemary sprigs between the fruit and the glass. Add more ice to “lock” these elements in place. Continue this layering process until the dispenser is three-quarters full of ice and fruit. This structure ensures that the fruit doesn’t just float to the top once the liquid is added.
Step 4: The Final Pour
Slowly pour your chilled hibiscus concentrate over the ice. The liquid should weave through the crushed ice, creating a beautiful translucent ruby-red glow. Top the dispenser with chilled sparkling water, leaving an inch of space at the top.
Give the mixture a very gentle stir with your paddle—just enough to mix the layers without dislodging your fruit mosaic. The brass spigots should be tested at this point to ensure a steady, drip-free flow.
Expert Tips for Success
- The Dilution Factor: Since outdoor wedding drinks often sit in the sun, use “extra-large” ice chunks at the very center of the dispenser to slow down melting while using crushed ice on the periphery for aesthetics.
- Clarity is King: Always use filtered water. Impurities in tap water can cause the hibiscus tea to look cloudy rather than translucent.
- Pre-Chilling: Chill the glass dispensers themselves in a walk-in cooler or with ice water before assembly. This encourages the “glistening condensation” look seen in the lifestyle photography.
- Garnish Station: Keep a separate bowl of fresh mint and edible hibiscus flowers next to the gold-rimmed glasses so guests can customize their drinks.
Strategic Pairings for a Wedding Menu
When planning your beverage station, consider the overall menu flow. These tart and floral drinks act as an excellent palate cleanser. They pair beautifully with light appetizers like crispy zucchini fritters or even a sophisticated gourmet chicken salad.
If you’re looking for a more substantial pairing for a late-night snack, the acidity of the citrus and hibiscus cuts through the richness of savory sausage and peppers. The goal is to create a cohesive culinary experience where the drinks enhance the food rather than competing with it.
Storage and Preparation Ahead of Time
You can prepare the hibiscus concentrate up to 3 days in advance and keep it refrigerated in an airtight container. The citrus can be sliced the morning of the wedding and kept in damp paper towels to prevent drying out.
Do not assemble the ice and fruit mosaic more than 30 minutes before the ceremony begins. Once the sparkling water is added, the carbonation will naturally begin to dissipate, so the final “top-off” should happen just as the first guest approaches the table.
Frequently Asked Questions
Yes! This base pairs beautifully with botanical gin, silver tequila, or vodka. Replace 2 cups of the sparkling water with your spirit of choice when mixing the large batch.
Use a ‘double ice’ method: place large, solid ice blocks in the center of the dispenser for slow cooling, and pack the outer edges with crushed ice for the aesthetic. Also, ensure all liquids are thoroughly chilled before assembly.
The liquid concentrate can be made 3 days ahead. However, you should wait until 30-45 minutes before guest arrival to assemble the ice and fruit mosaic to maintain the best visual clarity and carbonation.
Edible hibiscus flowers are often sold dried in syrup at specialty food stores or online. They add a sophisticated, chewy texture and deep red color to the individual glasses.
Because the rosemary is added as whole sprigs in the cold dispenser, the infusion is slow and subtle. To prevent bitterness, avoid bruising the leaves during assembly.
The Signature Outdoor Wedding Drink Recipe
Outdoor Wedding Drinks: The Ultimate Blood Orange Hibiscus and Rosemary Infusion
Ingredients
Equipment
Method
- Bring 4 cups (1L) of water to a boil, add dried hibiscus and 4 rosemary sprigs, then remove from heat. Steep for 20 minutes until the liquid turns a deep, translucent ruby-red.
- Strain the liquid into a pitcher, stir in the agave or syrup until dissolved, and refrigerate until completely cold.
- Place a layer of crushed ice in the dispenser. Press slices of blood orange and grapefruit against the glass, using more ice to hold them vertically in place. Tuck fresh rosemary sprigs into the ice.
- Slowly pour the chilled hibiscus concentrate over the ice mosaic. Top with chilled sparkling club soda and stir gently once to combine.
Notes
Use extra-large ice cubes in the center of the dispenser to prevent rapid melting while keeping the crushed ice on the outside for looks.
Closing & Call to Action
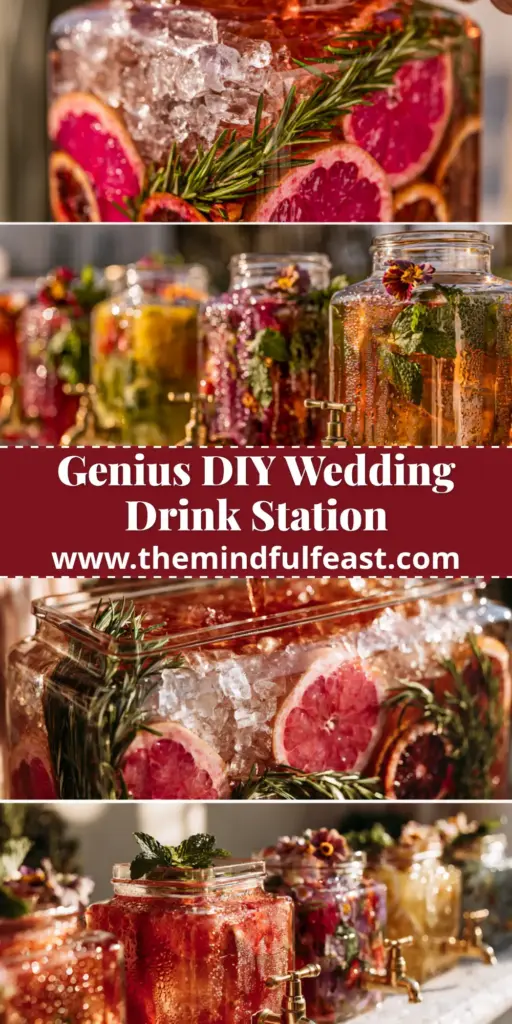
Mastering outdoor wedding drinks is about more than just a recipe; it’s about creating a moment of beauty for your guests. The combination of translucent ruby-red liquid, polished brass, and fresh botanicals creates a DIY station that looks like it was pulled straight from a high-end magazine. The balance of tart hibiscus and aromatic rosemary ensures that the flavor lives up to the visual promise.
If you enjoyed this guide to creating the perfect wedding beverage station, please leave a comment below with your favorite flavor combinations! Don’t forget to share your creations and tag us on Pinterest so we can see your beautiful event setups.


