When the craving for a decadent, bakery-style treat hits but you only have five minutes, microwave mug snacks are the ultimate solution. This isn’t just another dry, spongy microwave cake; we are creating a professional-grade, molten-center masterpiece. Imagine a warm, golden-brown cookie dough base that yields to a deeply gooey center oozing with melted milk chocolate pools.
The magic lies in the culinary science of small-batch microwaving. By balancing the fats and sugars, we achieve that specific soft-baked texture seen in high-end handheld food photography. Every bite offers a contrast of warm, glossy caramel and the sharp crunch of flaky sea salt crystals, making this the king of all quick desserts.
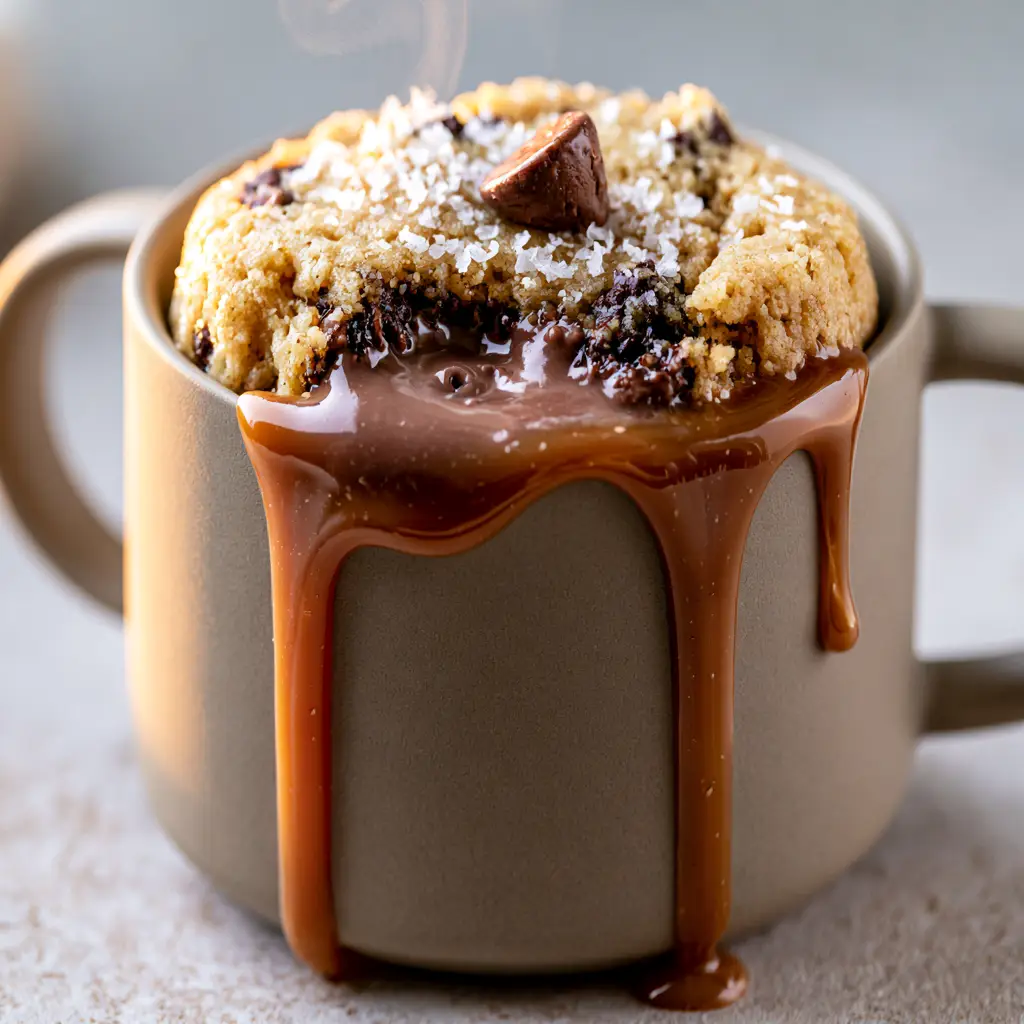
The Anatomy of a Perfect Gooey Mug Cake
- Golden-Brown Texture: A specific ratio of brown sugar to flour ensures a rich, caramelized color rather than a pale, floury appearance.
- Molten Core: We utilize a “lava” technique by burying milk chocolate in the center to create those iconic melted pools.
- Glossy Finishing Touches: A thick caramel drizzle adds both visual height and a professional flavor profile.
- Sensory Balance: Flaky sea salt crystals cut through the sweetness, highlighting the richness of the milk chocolate.
Essential Components for Your Decadent Cookie Base
Unsalted Butter (1 tbsp / 14g): Melted butter provides the essential fat for a tender crumb and that signature “cookie” mouthfeel. It also helps conduct heat evenly during the rapid microwave process.
Brown Sugar (2 tbsp / 25g): Packed brown sugar is non-negotiable for achieving the golden-brown base. The molasses content keeps the dough moist and prevents the snack from becoming rubbery.
Egg Yolk (1 large): Using only the yolk is a professional secret. The white contains proteins that can make microwave snacks feel “bread-like,” whereas the yolk adds pure richness and a custard-like gooeyness.
All-Purpose Flour (1/4 cup / 32g): This provides the necessary structure to hold the molten chocolate pools without making the cake dense or heavy.
Milk Chocolate Chips (2 tbsp / 30g): High-quality milk chocolate melts at a lower temperature, ensuring those deep, gooey pools of chocolate remain fluid even as the cake cools slightly.
Caramel Sauce (1 tbsp / 15ml): Used for the glossy drizzle, this adds a professional finish that mirrors the decadent aesthetic of premium magical Disney-inspired food.
Flaky Sea Salt (A pinch): These crystals are the “bridge” ingredient, enhancing the cocoa notes and providing a sophisticated visual garnish.
Kitchen Tools for Rapid Success
To achieve the visual result shown in our photography, you will need a 10-12 ounce matte ceramic mug. A wider mug allows for more surface area for the caramel drizzle, while a narrower mug creates more height. You will also need a small whisk or fork to ensure the “invisible” ingredients like baking soda are fully incorporated to prevent metallic aftertastes.
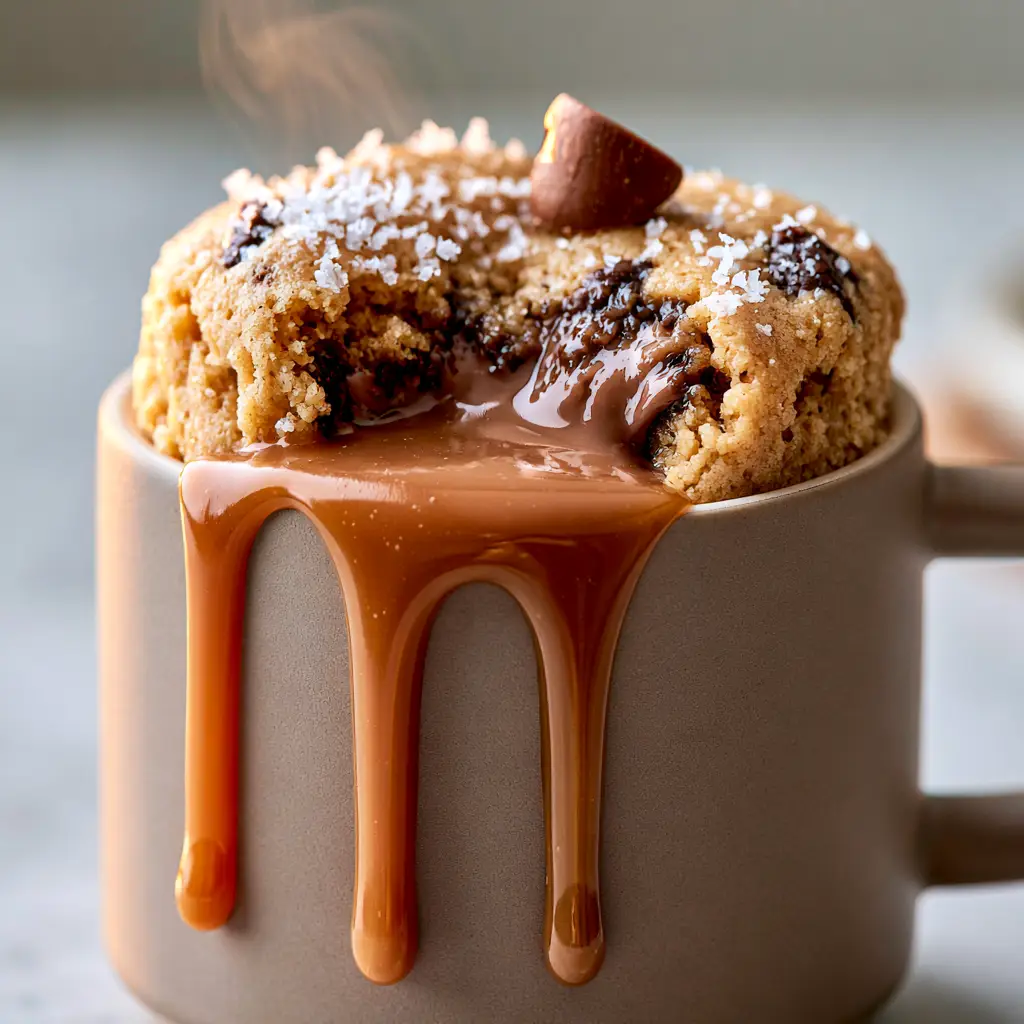
Precision Steps for a Soft-Baked Masterpiece
Step 1: The Flavor Foundation
In your ceramic mug, melt the butter in the microwave for 20 seconds until liquid. Whisk in the brown sugar and a splash of vanilla extract. You should see a glossy, cohesive syrup forming—this is the base for your golden-brown color.
Step 2: Incorporating the Structure
Add the egg yolk and stir vigorously. Gradually fold in the flour and a tiny pinch of baking soda. Unlike making moist zucchini brownies, you want to avoid over-mixing here; stir just until the flour disappears to keep the texture soft-baked and tender.
Step 3: Creating the Molten Center
Fold in half of the milk chocolate chips. Then, take the remaining chips and press them into the very center of the batter. This ensures that as the microwave works from the outside in, the center remains a molten, oozing chocolate core.
Step 4: The Strategic Micro-Bake
Microwave on high for 50-60 seconds. Look for the “visual cue”: the edges should be set and matte, while the center still looks slightly damp and “shimmery.” Do not overcook, as the cake will continue to set through residual heat.
Step 5: The Professional Garnish
Immediately drizzle the glossy caramel sauce so it runs down the side of the mug. Top with a single half-melted chocolate chip and a delicate sprinkle of flaky sea salt. You should see a subtle wisp of steam rising, indicating the perfect temperature for serving.
Pro Tips for Microwave Snack Perfection
- The Power Factor: Every microwave is different. If yours is very powerful (over 1000W), try cooking at 80% power to maintain the gooey center.
- Resting is Cooking: Let the mug sit for 60 seconds before eating. This allows the starches to set, turning a “wet” batter into a “soft-baked” dough.
- Mug Choice: A matte ceramic mug doesn’t just look good for photos; it retains heat better than glass, keeping your chocolate pools melted longer.
- Salt Timing: Add the flaky sea salt only at the very end so it doesn’t dissolve into the caramel.
When to Serve These Gourmet Treats
These microwave mug snacks are the perfect transition from a savory meal to something sweet. If you’ve just enjoyed a light refreshing cucumber salad or perhaps some fast weeknight meals, this mug cake provides the ultimate indulgence without the cleanup of a full sheet of cookies.
Frequently Asked Questions
Yes, you can substitute the all-purpose flour with a 1:1 gluten-free flour blend. Ensure the blend contains xanthan gum for the best structure.
Mug cakes are best enjoyed immediately. If you must store it, wrap it tightly in plastic wrap to keep it moist, but the chocolate pools will solidify upon cooling.
Look for the edges to pull away slightly and appear matte, while the center should still look slightly damp and ‘shimmery.’ It will finish setting as it rests.
Milk chocolate chips or chopped high-quality chocolate bars work best because they have a higher fat content and melt more easily than dark chocolate or semi-sweet chips.
Sponginess is usually caused by using a whole egg. Using only the egg yolk provides the fat needed for a fudgy, gooey texture without the rubbery protein from the egg white.
The Ultimate Decadent Mug Cake Recipe
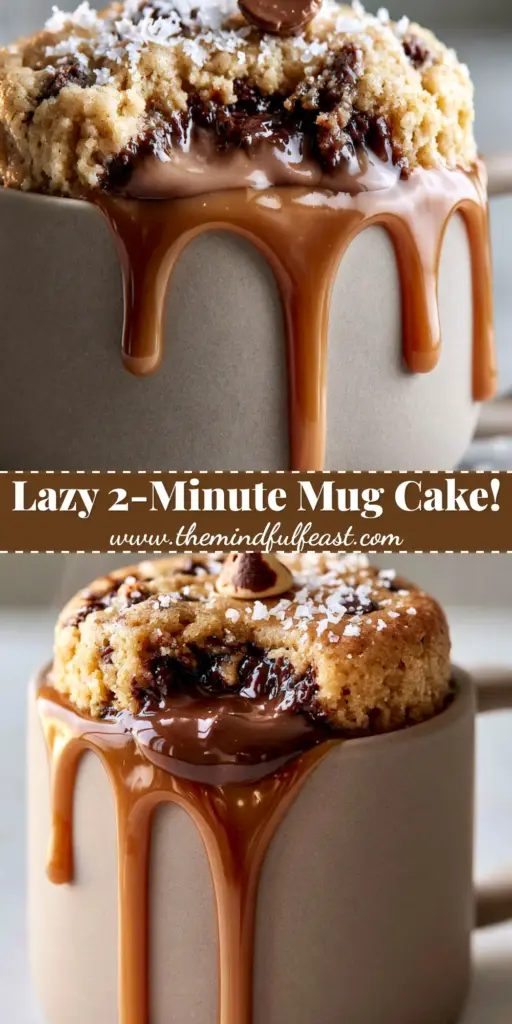
Microwave Mug Snacks: The Ultimate Molten Chocolate Chip Cookie Mug Cake
Ingredients
Equipment
Method
- Melt the butter in a 12oz ceramic mug for 20 seconds. Stir in brown sugar and vanilla until glossy.
- Whisk in the egg yolk. Fold in the flour and baking soda until just combined.
- Fold in half the chocolate chips, then press the remaining chips into the center of the batter for a molten core.
- Cook on high for 50-60 seconds until edges are set but the center remains slightly shimmery.
- Drizzle with caramel sauce, top with a chocolate chip, and sprinkle with sea salt while warm.
Notes
Use only the egg yolk to avoid a spongy, rubbery texture.
Closing & Final Thoughts
The beauty of microwave mug snacks lies in their ability to deliver high-end culinary satisfaction in a fraction of the time. By focusing on the visual cues—the golden-brown base and those molten chocolate pools—you can transform a simple mug cake into a gourmet experience. If you enjoyed this recipe, please leave a comment below and share your results! Don’t forget to follow us on Pinterest for more decadent inspirations.


