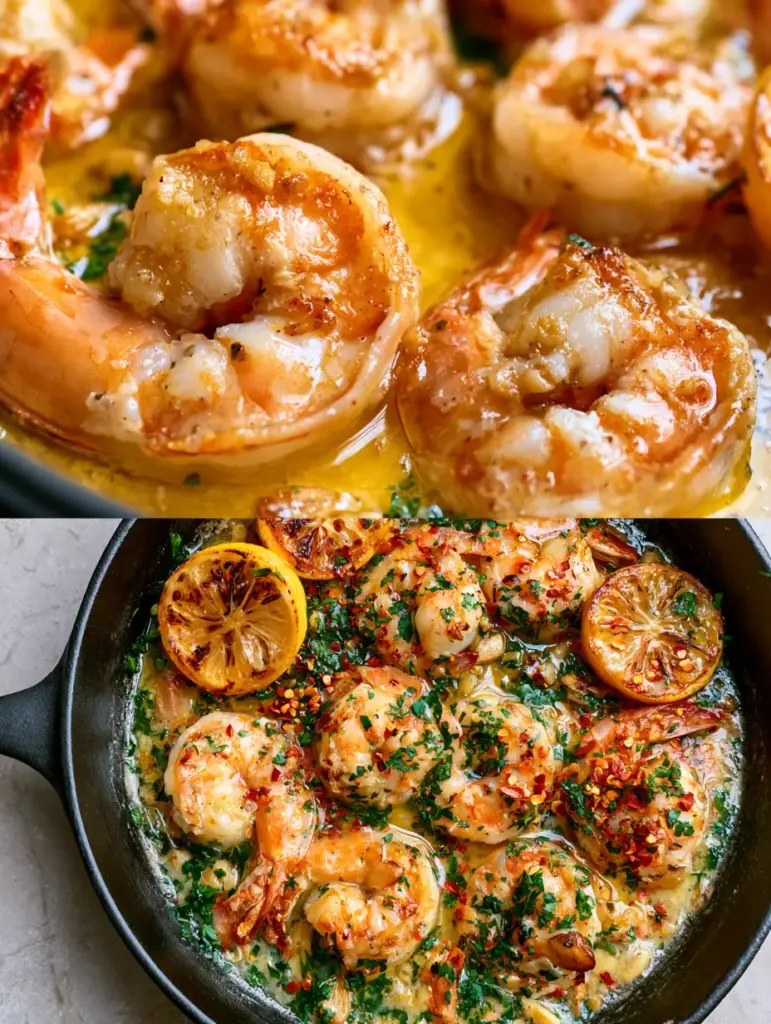
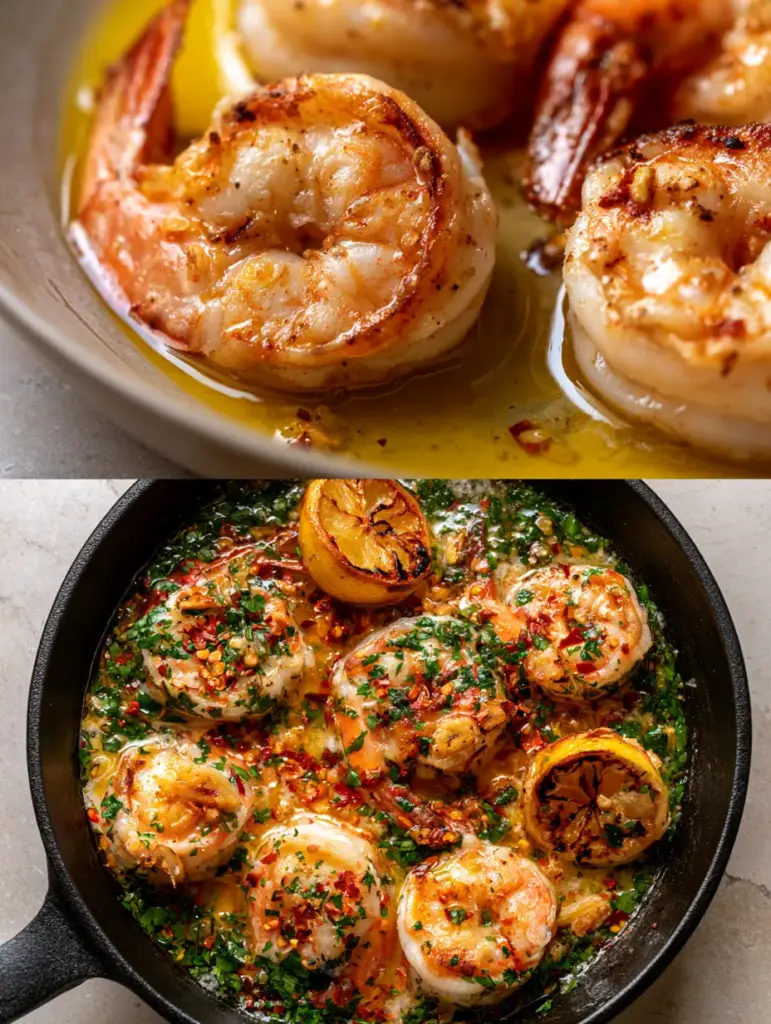
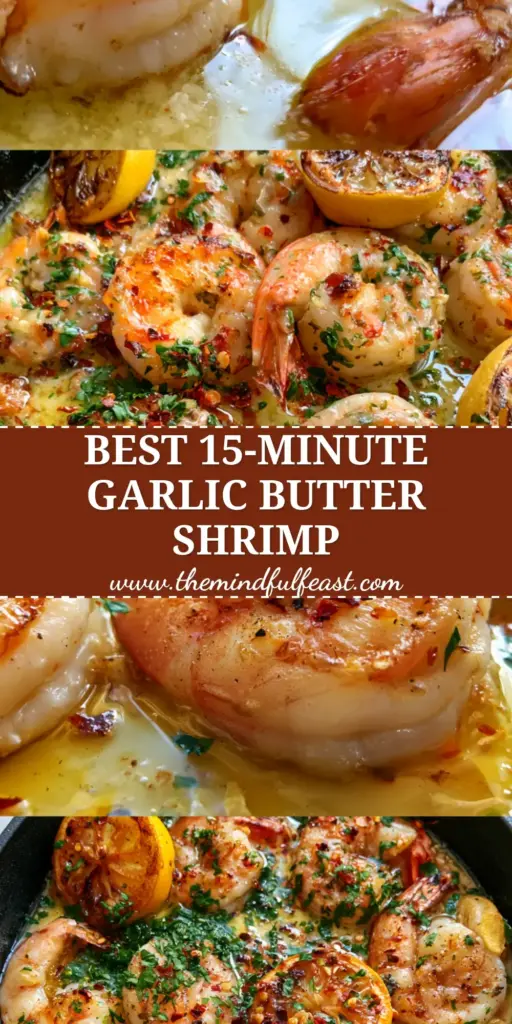
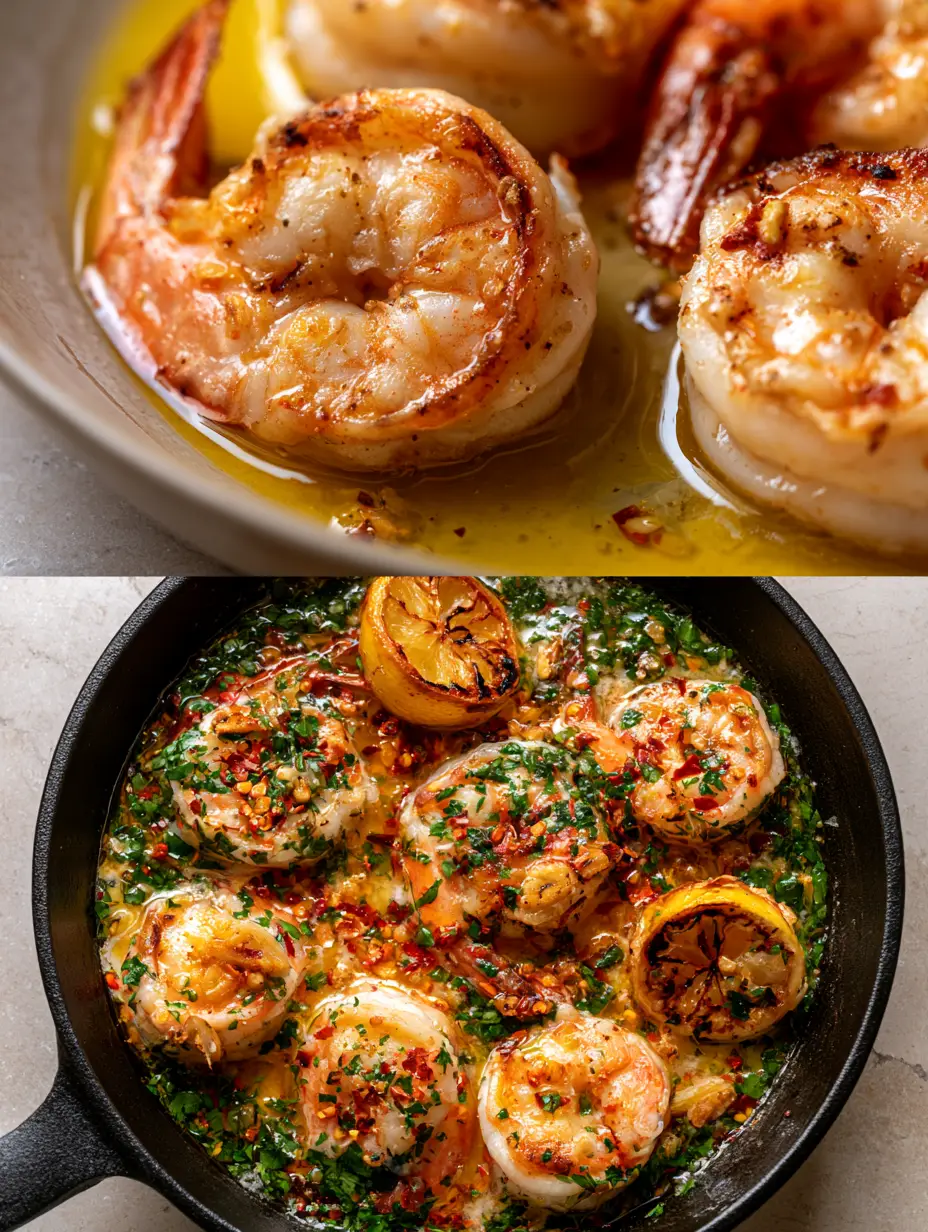
When you imagine the perfect Garlic shrimp recipe, your mind likely drifts to a scene of sizzling textures and vibrant colors. Picture jumbo, succulent shrimp with a golden-pink hue, their edges rendered slightly crispy from a high-heat sear in a seasoned cast iron skillet. They rest in a shimmering, glossy pool of golden-yellow lemon garlic butter sauce that clings to every curve, promising a burst of citrus and savory aromatics in every bite. This isn’t just a meal; it is a culinary event designed to engage every sense, from the sound of the initial sizzle to the visual feast of heavy green parsley and vibrant red chili flakes scattered across the pan.
Achieving this level of gourmet quality at home requires more than just tossing ingredients together; it demands an understanding of heat management and flavor layering. By using clarified butter and a matte black cast iron skillet, we create the ideal environment for the Maillard reaction to work its magic on the seafood without burning the delicate garlic. Whether you are preparing this for a quick weeknight indulgence or as the centerpiece of a sophisticated dinner party, this recipe delivers a restaurant-grade aesthetic that looks just as good as a professional smartphone food blog photo.
Why This Is the Best Garlic Shrimp Recipe You Will Ever Make
- Visual Masterpiece: The contrast between the pink shrimp, the golden sauce, and the charred lemon wedges creates a stunning presentation that is instantly mouth-watering.
- Textural Contrast: We achieve crispy, seared edges on the shrimp while maintaining a tender, juicy interior, complemented by the crunch of toasted minced garlic.
- Emulsified Sauce: Unlike broken, oily sauces, this method creates a thick, glossy lemon butter emulsion that coats the shrimp perfectly.
- Depth of Flavor: By charring the lemons directly in the skillet, we unlock a smoky, concentrated acidity that cuts through the rich clarified butter.
Pantry Staples for This Skillet Seafood Sensation
Jumbo Tail-on Shrimp (1 lb / 454g): Large shrimp are essential for a proper sear; smaller varieties will overcook before they develop that golden-pink crust. Leaving the tails on not only adds visual flair but also contributes deep oceanic flavor to the butter sauce.
Clarified Butter or Ghee (1/2 cup / 110g): Clarified butter has a much higher smoke point than regular butter, allowing us to sear the shrimp at high heat without the milk solids burning and turning bitter. It provides a pure, concentrated buttery richness that is the backbone of the dish.
Fresh Garlic (6 cloves / 30g): We use a generous amount of finely minced garlic, divided. Half is toasted to a golden brown for texture, while the other half is gently infused into the sauce for that signature pungent aroma.
Fresh Lemon (2 large): One lemon is juiced for the sauce, while the other is halved and charred in the skillet. Charring the fruit caramelizes the natural sugars, creating a complex, smoky citrus profile.
Fresh Flat-Leaf Parsley (1/4 cup / 10g): Finely chopped parsley adds a necessary burst of herbal freshness and a vibrant green color that pops against the matte black of the skillet.
Dried Red Chili Flakes (1 tsp / 2g): These provide a subtle, lingering heat that balances the richness of the butter. The vibrant red flakes are also a key visual component of the final garnish.
Kosher Salt and Coarse Black Pepper (to taste): Essential for drawing out the natural sweetness of the shrimp and grounding the bright acidity of the lemon.
Essential Tools for a Professional Finish
Seasoned Cast Iron Skillet: The heavy thermal mass of cast iron is non-negotiable for this Garlic shrimp recipe. It retains heat exceptionally well, ensuring the temperature doesn’t drop when the cold shrimp hit the pan, which is the secret to those crispy edges.
Stainless Steel Tongs: Precision is key when flipping jumbo shrimp. Tongs allow you to turn each piece individually to ensure an even, golden-pink hue on both sides.
Microplane or Sharp Chef’s Knife: To achieve the “finely minced” garlic and parsley described in our visual blueprint, a sharp blade or a microplane is necessary to prevent bruising the ingredients.
Mastering the Perfect Pan-Sear
Preparing the Jumbo Shrimp
Start by ensuring your 1 lb (454g) of jumbo shrimp are completely dry. Use paper towels to pat them down thoroughly; any moisture on the surface will create steam, preventing the shrimp from developing that desired golden crust.
Season the shrimp lightly with kosher salt and black pepper just before cooking. If you season them too early, the salt will draw out moisture, again interfering with the searing process. While prepping, you might also consider planning your sides, like this creamy garlic butter shrimp and rice for a full meal.
Charring the Lemons and Toasting Garlic
Place your cast iron skillet over medium-high heat and add 1 tbsp (15ml) of the clarified butter. Once shimmering, place the lemon halves cut-side down in the pan. Sear them for 2-3 minutes until the faces are deeply charred and caramelized, then remove and set aside.
Add another tablespoon of butter and half of your minced garlic. Fry the garlic for about 60 seconds, stirring constantly, until it turns a light toasted brown. Immediately remove the toasted garlic bits with a slotted spoon; these will be used as your final crunchy garnish to match the visual blueprint.
Achieving the Golden-Pink Hue
Increase the heat to high and add the remaining clarified butter. Once the butter is hot but not smoking, add the shrimp in a single, uncrowded layer. You may need to work in batches to avoid overcrowding the pan, which leads to boiling rather than searing.
Sear the shrimp for 90 seconds on the first side without moving them. You are looking for a deep golden-pink hue and crispy edges. Flip the shrimp and cook for another 60 seconds. The shrimp should be opaque and starting to curl into a “C” shape, not a tight “O” which indicates overcooking.
Emulsifying the Glossy Butter Sauce
Reduce the heat to medium-low and add the remaining fresh minced garlic and red chili flakes. Stir for 30 seconds until fragrant. Pour in 2 tbsp (30ml) of fresh lemon juice, using a wooden spoon to scrape up any browned bits (fond) from the bottom of the skillet.
Toss the shrimp to coat them in the shimmering pool of golden-yellow sauce. The sauce should appear glossy and thick, clinging to the curves of the seafood just like a gourmet smartphone photo. If you enjoy this flavor profile, you’ll love these honey garlic shrimp bowls for your next meal prep.
Chef Secrets for the Glossiest Butter Sauce
- Control the Temperature: If the skillet is too hot when you add the lemon juice, the sauce can break. Lowering the heat ensures a smooth, thick emulsion.
- The Power of Fond: Those brown bits stuck to the bottom of the cast iron are concentrated flavor. The lemon juice deglazes the pan, incorporating that savoriness into the sauce.
- Freshness Matters: Always use fresh lemon juice. Bottled juice lacks the bright enzymatic activity and volatile oils that make this dish sing.
- Finish with Herbs: Add the flat-leaf parsley at the very last second. Residual heat will wilt it slightly, but it will maintain its vibrant green color for the best visual appeal.
Make-Ahead and Leftover Strategies
This Garlic shrimp recipe is best enjoyed immediately while the shrimp are at their peak texture. However, if you have leftovers, store them in an airtight container in the refrigerator for up to 2 days. To reheat, do not use the microwave, as it will turn the shrimp rubbery.
Instead, gently warm the shrimp in a skillet over low heat with a splash of water or extra butter. Cover the pan for 1-2 minutes until just heated through. For a different take on leftover seafood, you might try incorporating it into a refreshing shrimp salad the next day.
Perfect Pairings for a Mediterranean Feast
To balance the richness of the clarified lemon garlic butter, serve this dish alongside light, textured sides. A crusty baguette is essential for soaking up every drop of the glossy sauce. You could also serve it over a bed of al dente pasta or alongside a cold bean salad for a contrast in temperatures.
If you are looking for a lower-carb option, these shrimp pair beautifully with Italian stuffed zucchini or a simple cauliflower mash. The acidity of the charred lemons also makes this dish a great companion to a crisp glass of Sauvignon Blanc or a homemade peach lemonade.
Common Culinary Questions regarding Garlic and Shellfish
Yes, but they must be completely thawed and patted extremely dry. Any excess moisture will prevent the shrimp from developing a golden-pink crust.
While other pans work, cast iron is superior for its heat retention. It stays hot when the shrimp are added, ensuring a fast sear rather than steaming the seafood.
Rubbery shrimp are a result of overcooking. Sear jumbo shrimp for no more than 2-3 minutes total. Look for a ‘C’ shape; if they curl into a tight ‘O’, they are overdone.
Charring the lemons caramelizes their natural sugars and concentrates the juice, providing a smoky, complex acidity that is much deeper than raw lemon juice.
Clarified butter has the milk solids removed, giving it a higher smoke point. This allows you to sear the shrimp at high temperatures for crispy edges without the butter burning or becoming bitter.
The Ultimate Skillet Garlic Shrimp Recipe
Garlic Shrimp Recipe: The Ultimate Cast Iron Lemon Butter Experience
Ingredients
Equipment
Method
- Pat the jumbo shrimp dry with paper towels to ensure a crispy sear.
- Sear lemon halves cut-side down in 1 tbsp clarified butter in a cast iron skillet until charred.
- Fry half the minced garlic in butter until golden and crispy; remove and set aside.
- Add remaining butter and sear shrimp on high heat for 90 seconds per side until golden-pink.
- Reduce heat, add remaining garlic and chili flakes, then deglaze with lemon juice to create a glossy sauce.
Notes
Pat shrimp completely dry for the best crispy edges.
Conclusion: Bring the Gourmet Feast Home
Creating a world-class Garlic shrimp recipe is about mastering the details: the sear of the cast iron, the clarity of the butter, and the brightness of the citrus. By following these steps, you’ve created a dish that isn’t just a meal, but a sensory experience worthy of a professional gallery. The combination of toasted garlic, fresh parsley, and charred lemons creates a flavor profile that is both timeless and sophisticated.
We would love to see how your skillet shrimp turned out! Did you achieve those perfect crispy edges? Leave a comment below and share your results. Don’t forget to follow us on Pinterest for more visually stunning recipe inspiration and kitchen tips!


