There is a specific culinary magic that happens when high-heat cast iron meets the water-rich flesh of seasonal vegetables. This Skillet summer squash recipe is designed to shatter the stereotype of the soggy, mushy zucchini side dish. By focusing on a high-temperature sear and a “lacy” cheese application, we transform simple garden staples into a gourmet experience.
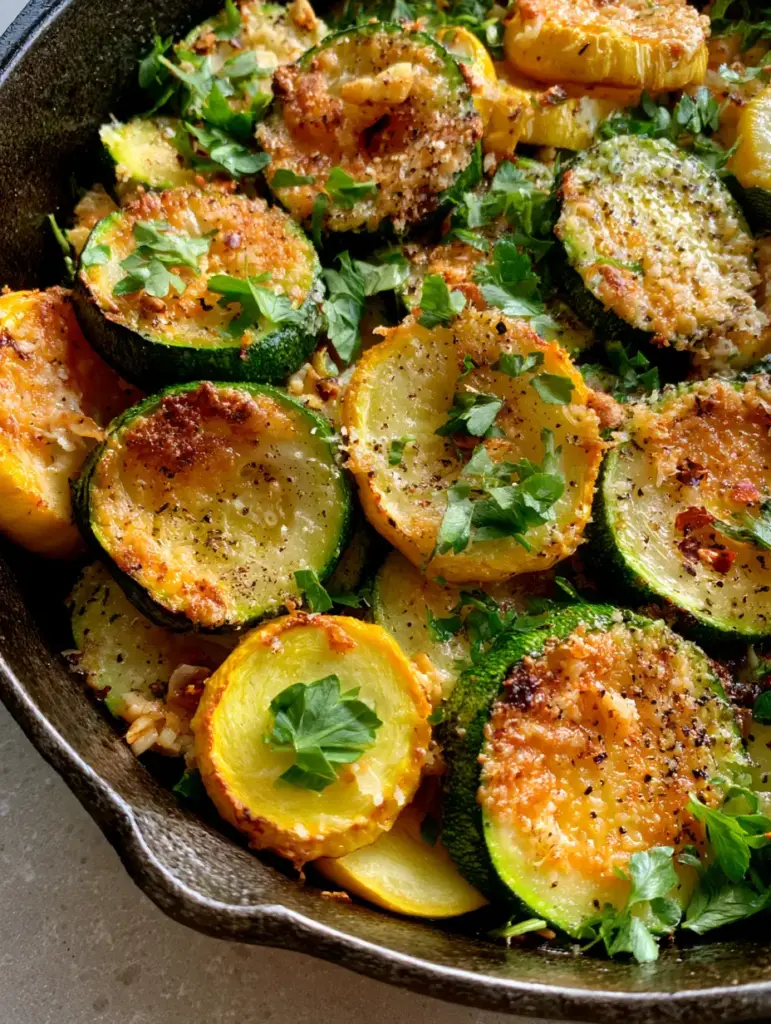
Imagine vibrant green zucchini and bright yellow squash coins, each boasting a distinct, golden-brown seared edge. The texture is firm yet tender-crisp, entirely devoid of the greyish steam usually associated with sautéed vegetables. This is a 10-minute masterclass in texture and flavor contrast, pulling together the sharpness of aged cheese and the aromatic punch of toasted garlic.
Whether you are looking for a quick weeknight addition or a stunning visual centerpiece for a weekend brunch, this dish delivers. The olive oil sheen catches the light, while the freshly chopped parsley adds a pop of herbaceous life. This isn’t just a side dish; it’s a celebration of summer’s bounty executed with forensic precision.
Why This 10-Minute Skillet Method Works Every Time
- The No-Steam Guarantee: By using a wide cast iron surface and high heat, we evaporate moisture instantly, ensuring the squash sears rather than boils in its own juices.
- Lacy Parmesan Texture: We don’t just melt the cheese; we fry it against the pan to create a crispy, golden “frico” crust that clings to every squash round.
- Aromatic Garlic Infusion: Minced garlic is toasted to a perfect golden brown, providing a nutty depth that complements the sweetness of the yellow squash.
- Visual Vibrancy: The combination of deep green zucchini and neon yellow squash creates a high-contrast plate that looks professional with zero effort.
The Essential Produce for a Vibrant Skillet Side
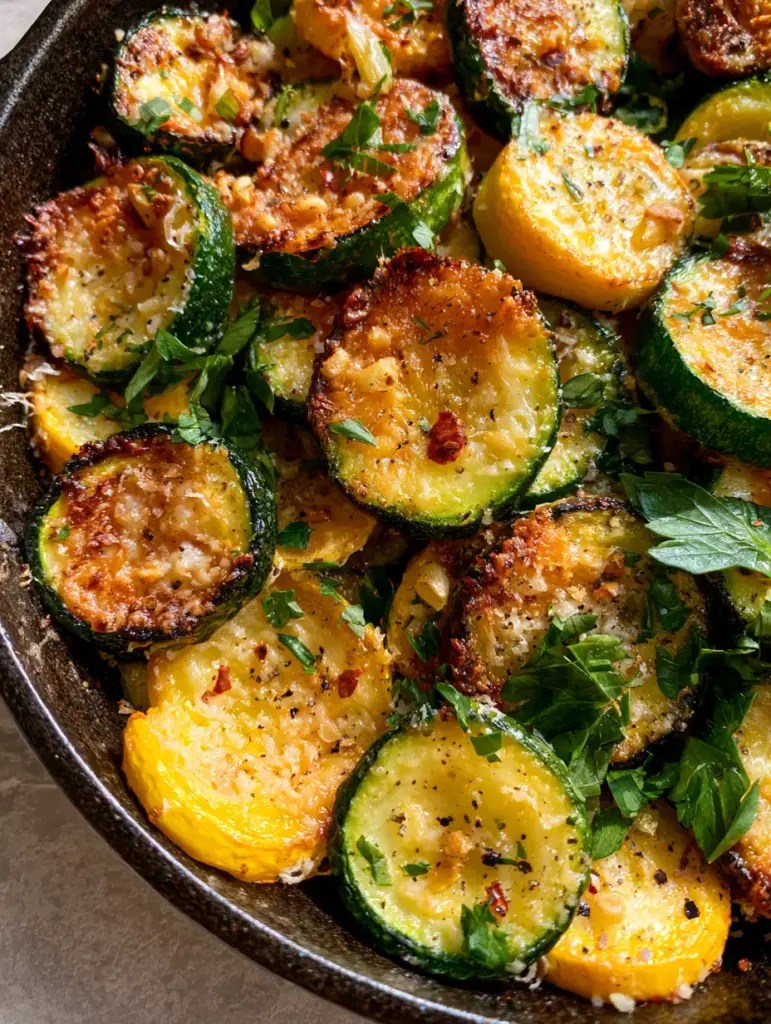
To achieve the visual result seen in our blueprint, you must start with the right raw materials. Select zucchini and yellow squash that are firm to the touch and medium in size. Larger squash tend to have higher water content and larger seeds, which can compromise the “tender-crisp” integrity of the final dish.
Zucchini and Yellow Squash: 2 medium zucchini (approx. 300g) and 2 medium yellow squash (approx. 300g). These provide the base colors and the essential “coin” shape for even searing.
Extra Virgin Olive Oil: 2 tbsp (30ml). This foundational fat is necessary for the Maillard reaction and provides the characteristic “olive oil sheen” that makes the vegetables look lush and appetizing.
Fresh Garlic: 3 cloves (approx. 15g), finely minced. Minced garlic toasts faster than sliced, allowing it to become golden-brown and crispy within the short 10-minute window.
Aged Parmesan Cheese: 1/2 cup (45g), finely grated. Use high-quality Parmigiano-Reggiano for the best “lacy” melt; pre-shredded cheese with anti-caking agents will not form the desired crust.
Fresh Flat-Leaf Parsley: 1/4 cup (10g), finely chopped. This garnish provides the bright green contrast and a fresh finish to cut through the richness of the fried cheese.
Red Pepper Flakes and Black Pepper: 1/2 tsp (1g) each. These provide the “visible texture” and a gentle heat that wakes up the palate without overpowering the squash.
The Professional Kitchen Tools You Will Need
The most critical piece of equipment is a 12-inch (30cm) cast iron skillet. The heavy bottom retains heat better than stainless steel, which is vital for creating that instantaneous sear. If your pan is too small, the squash will overlap, creating steam and resulting in a soft texture.
You will also need a sharp chef’s knife for uniform slicing. Consistent thickness—aim for 1/2 inch (1.25cm)—ensures that every piece of Skillet summer squash finishes cooking at the exact same moment. A microplane is recommended for the parmesan to achieve that “dusting” effect.
The Secret to Searing Without Soggy Results
Preparing the Squash for the Pan
Begin by washing your zucchini and yellow squash thoroughly. Pat them completely dry with a lint-free towel; any surface moisture is the enemy of a good sear. Slice them into 1/2 inch (1.25cm) rounds, ensuring the thickness is uniform across all pieces.
Mastering the High-Heat Sear
Place your cast iron skillet over medium-high heat and add the 2 tbsp (30ml) of olive oil. Wait until the oil is shimmering and just starting to wisps of smoke. Arrange the squash coins in a single layer, ensuring they do not overlap. You may need to work in batches to maintain the heat.
Creating the Crispy Parmesan Crust
Let the squash sear undisturbed for 3-4 minutes until the bottom side is deep golden-brown. Flip the pieces and immediately sprinkle the toasted minced garlic and half of the parmesan cheese over the top. The cheese will slide down the sides and hit the hot skillet, forming that lacy, crispy crust we are looking for.
The Final Touches and Visual Cues
Once the second side is seared and the cheese is bubbling and browning (about 2-3 more minutes), remove the skillet from the heat. The squash should look firm yet yield slightly to a fork. Dust with the remaining finely grated parmesan, the chopped parsley, red pepper flakes, and a generous crack of coarse black pepper.
Expert Tips for a Perfect Skillet Summer Squash
- Salt at the End: Do not salt the squash before it hits the pan. Salt draws out moisture, which will cause the vegetables to steam rather than sear.
- Single Layer Only: If you crowd the pan, the temperature will drop. This is the primary reason skillet vegetables turn out mushy.
- Room Temp Produce: If possible, let your squash sit at room temperature for 20 minutes before cooking. Cold vegetables can cause the skillet temperature to plummet.
- Visual Indicators: Look for the “lacy” edges of the parmesan cheese turning a dark caramel color. This is the signal that the flavor is fully developed.
The Best Ways to Store and Reheat Leftovers
While this Skillet summer squash is best enjoyed immediately for maximum crispness, you can store leftovers in an airtight container for up to 3 days. To reheat, avoid the microwave as it will make the squash rubbery.
Instead, place the squash back in a dry skillet over medium heat for 2-3 minutes. This will help re-crisp the parmesan edges and warm the centers without overcooking the vegetables. Freezing is not recommended for this recipe, as the cellular structure of the squash breaks down upon thawing.
What to Serve with This Vibrant Summer Side
This versatile dish pairs beautifully with a variety of proteins and grains. For a light, Mediterranean-inspired dinner, serve it alongside Mediterranean Salad and a piece of grilled fish. The acidity of the salad cuts through the richness of the parmesan crust perfectly.
If you are looking for a more heart meal, this squash is the ideal companion for Honey Mustard Chicken or even a juicy Patty Melt. The tender-crisp texture provides a much-needed vegetable contrast to heavier comfort foods.
For a vegetarian feast, try serving the Skillet summer squash over a bed of pasta, such as our Spring Pea and Lemon Pasta. The lemon notes in the pasta will highlight the natural sweetness of the yellow squash.
Common Questions About Sautéing Squash
For this specific recipe, it is not recommended. Pre-grated cheese often contains anti-caking agents that prevent it from melting into a ‘lacy’ crispy crust. Use freshly grated aged parmesan for the best results.
No, the skin is thin and edible. Keeping the skin on helps the squash rounds maintain their shape and provides the vibrant green and yellow colors essential for this dish.
The secret is high heat and a single layer. Never salt the squash before cooking, as this draws out moisture. Use a cast iron skillet to maintain a high temperature that sears the exterior instantly.
Yes! This skillet summer squash is naturally low in carbohydrates and high in fiber, making it an excellent choice for keto or anti-inflammatory diets.
Aim for 1/2 inch (1.25cm). Any thinner and they will turn to mush before they sear; any thicker and the centers will remain raw by the time the parmesan crust forms.
The Ultimate 10-Minute Skillet Summer Squash Recipe
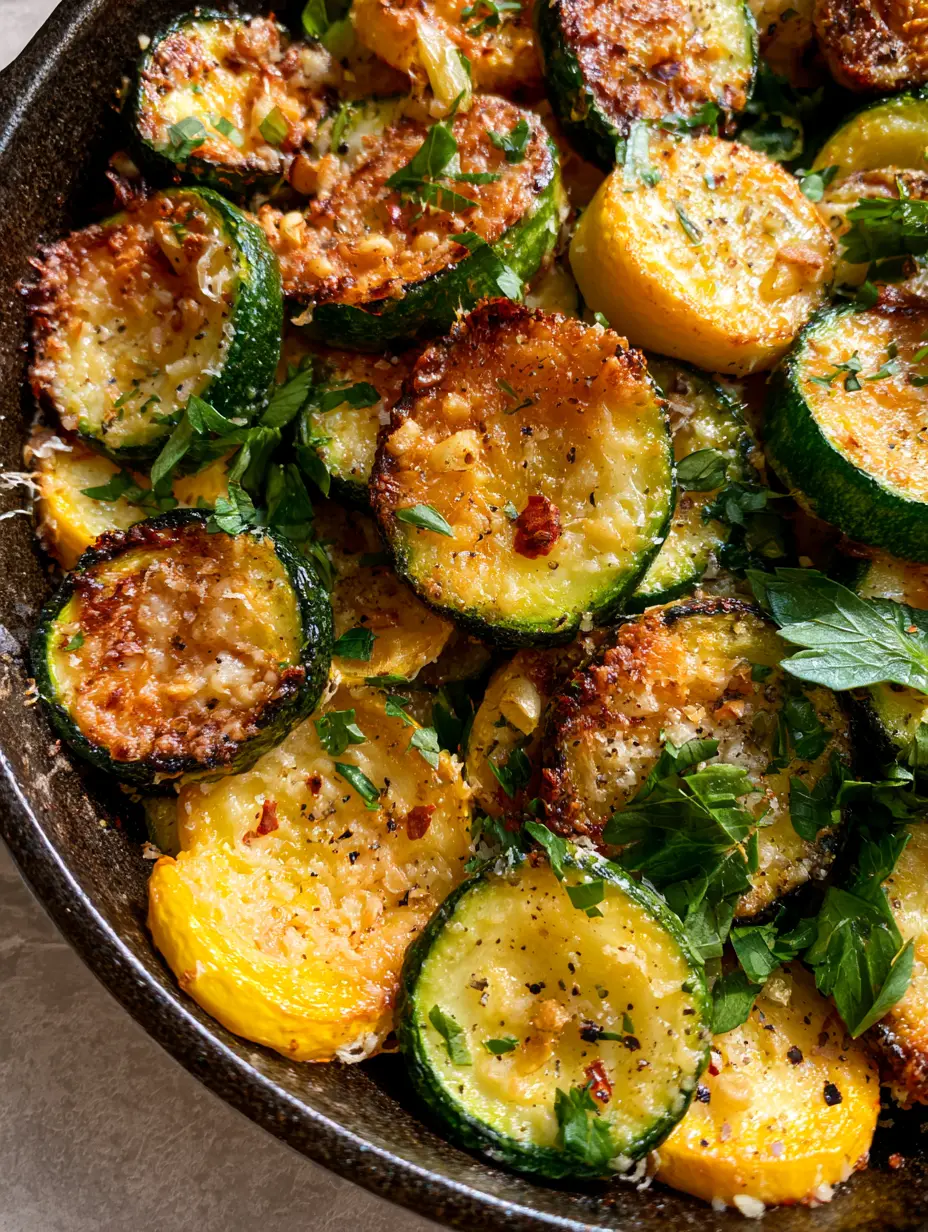
Skillet summer squash with a Crispy Garlic Parmesan Crust
Ingredients
Equipment
Method
- Slice zucchini and yellow squash into 1/2 inch (1.25cm) uniform rounds. Pat dry with a paper towel to remove surface moisture.
- Heat olive oil in a 12-inch (30cm) cast iron skillet over medium-high heat until shimmering. Place squash in a single layer.
- Sear for 3-4 minutes without moving until a deep golden-brown crust forms on the bottom. Flip each piece carefully.
- Immediately add minced garlic and half of the parmesan. Cook for 2-3 more minutes until the cheese melts into a lacy, crispy crust.
- Remove from heat. Top with remaining parmesan, fresh parsley, red pepper flakes, and cracked black pepper.
Notes
Do not salt the squash until the very end to prevent sogginess.
Mastering the Art of Seasonal Cooking
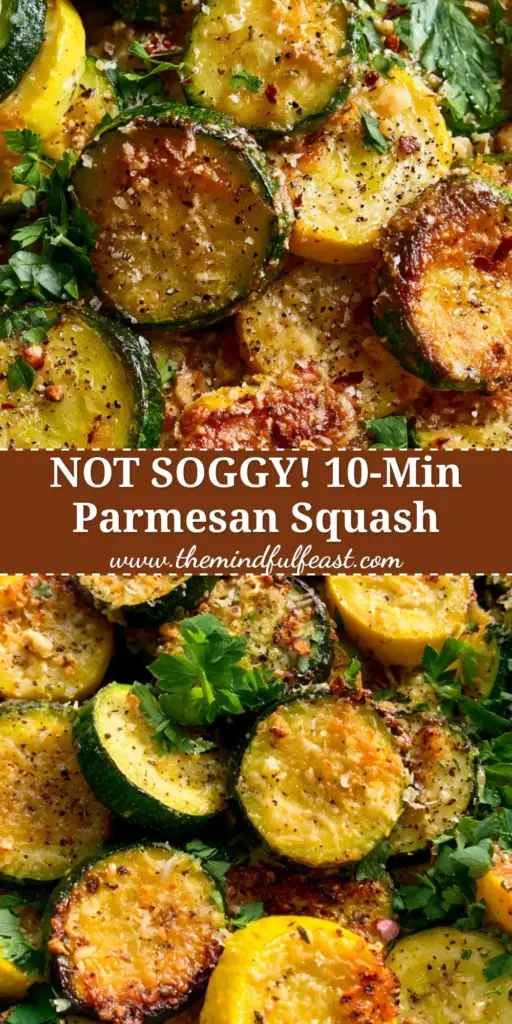
Bringing this Skillet summer squash to your table is more than just making a side dish—it’s about mastering the heat and timing required to let simple ingredients shine. The contrast between the vibrant green and yellow rounds and the rustic black cast iron makes for a stunning presentation that requires no filter.
We hope you love the “lacy” parmesan crust and the aromatic toasted garlic as much as we do. If you make this recipe, please leave a comment below and let us know how your sear turned out! Don’t forget to share your photos and follow us on Pinterest for more culinary inspiration.


