There is nothing quite as satisfying as a perfectly executed Easy Chicken Breast Recipe that delivers professional-grade results in a home kitchen. Imagine three thick, succulent chicken breasts resting in a rustic cast iron skillet, their surfaces boasting a deep golden-brown sear with beautifully caramelized, crispy edges. This isn’t just another weeknight dinner; it is a masterclass in texture and flavor, where every element—from the shimmering butter sauce to the pungent roasted garlic—works in harmony.
The visual appeal of this dish is undeniable, characterized by a glossy, translucent garlic butter sauce that pools around the meat, glistening under the light with tiny, golden bubbles of flavor. It is a sensory experience that begins the moment the chicken hits the hot iron and ends with a vibrant scatter of emerald-green parsley and a hit of cracked black pepper. This recipe bridges the gap between simple home cooking and the elevated aesthetics of a high-end bistro.
Why This Seared Chicken Skillet Will Become Your Weeknight Hero
- Unmatched Texture: Achieve a restaurant-quality crust while maintaining an incredibly juicy interior using specific heat-management techniques.
- Gourmet Flavor Profile: The combination of rustic chunks of minced golden-fried garlic and a bright lemon infusion creates a complex, savory-sweet profile.
- Visual Brilliance: The heavy scatter of freshly chopped parsley against the golden meat makes this Easy Chicken Breast Recipe a centerpiece-worthy meal.
- One-Pan Simplicity: Utilizing a single cast iron skillet ensures maximum flavor retention and minimal cleanup for the busy home cook.
Premium Components for the Ultimate Pan-Seared Results
To achieve the visual and culinary perfection seen in our blueprint, every ingredient must serve a specific purpose. We don’t just use salt; we use it to draw out moisture for a better sear.
Thick-Cut Chicken Breasts: Use 3 thick chicken breasts (approx. 1.5 lbs / 680g) to ensure they can withstand high heat without drying out before the crust forms. The thickness is essential for that “extreme close-up” look where the meat appears substantial and hearty.
Unsalted Butter: 4 tbsp (56g) of high-quality butter provides the base for our glossy, translucent sauce. Using unsalted butter allows us to control the sodium levels while achieving those beautiful shimmering fats and tiny bubbles.
Fresh Garlic: 6 cloves (approx. 30g) of garlic, minced into rustic chunks, provide the “minced roasted garlic bits” described in the visual prompt. These will fry in the butter until they reach a perfect golden-brown hue.
Neutral High-Smoke Point Oil: 2 tbsp (30ml) of avocado or grapeseed oil is necessary for the initial sear. Unlike butter, these oils won’t burn at the temperatures required to create caramelized edges.
Fresh Parsley: 1/4 cup (10g) of finely chopped emerald-green parsley adds the essential color contrast and a fresh, herbaceous finish. It must be fresh to achieve the “vibrant” look required.
Lemon: One bright yellow lemon slice, partially submerged in the butter, provides the necessary acidity to cut through the richness of the fats. It also adds a pop of primary color to the skillet.
Seasoning: A generous amount of Kosher salt and cracked black pepper (approx. 1 tsp / 5g each). The cracked pepper should be visible on the surface of the meat for that rustic, textured aesthetic.
Professional Tools for a Perfectly Caramelized Crust
The secret to this Easy Chicken Breast Recipe lies in the equipment. To mirror the “rustic black cast iron skillet” from our visual guide, you must use heavy-bottomed cookware.
A 12-inch (30cm) cast iron skillet is non-negotiable for this recipe. Cast iron has superior heat retention, which is critical for creating the deep golden-brown sear and caramelized edges without the temperature dropping when the meat is added. If you don’t have cast iron, a heavy stainless steel pan is the second-best option.
You will also need a sharp chef’s knife for mincing the garlic into rustic chunks and finely chopping the parsley. An instant-read meat thermometer is the “invisible” tool that ensures your chicken is cooked to a safe 165°F (74°C) without becoming tough or rubbery.
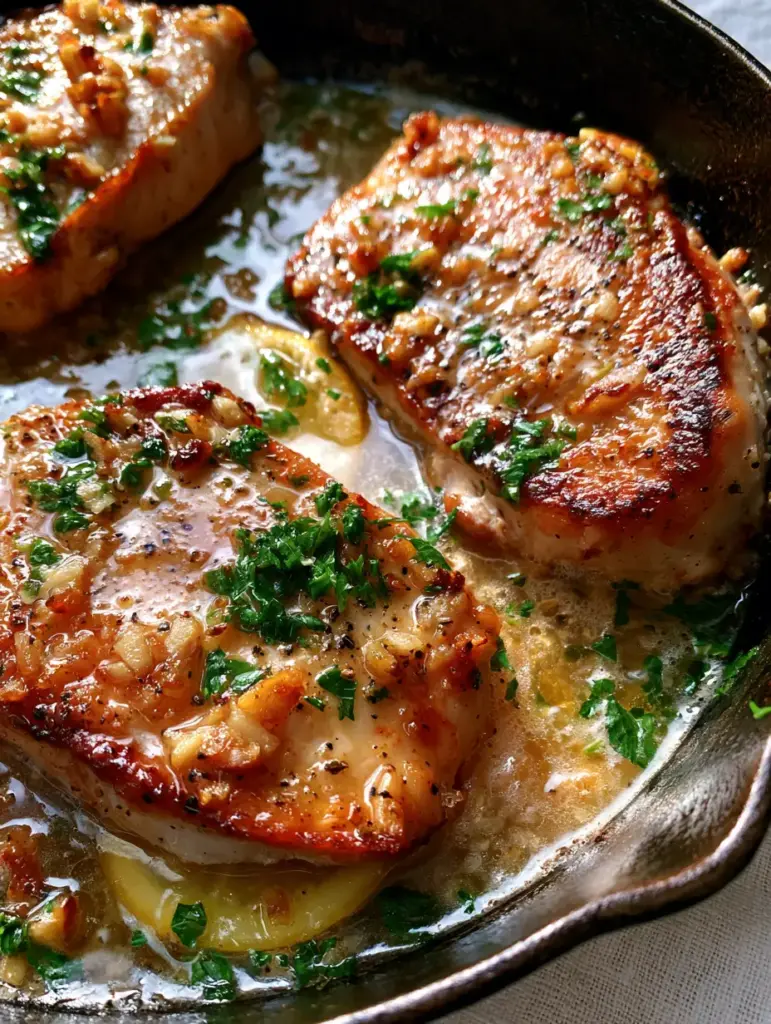
Step-by-Step: Mastering the Art of the Golden Skillet Sear
Preparing the Chicken for Maximum Searing Potential
Start by patting the chicken breasts extremely dry with paper towels. Any surface moisture will create steam, preventing the formation of that deep golden-brown crust we are looking for. Season both sides aggressively with Kosher salt and the first half of your cracked black pepper.
Allow the chicken to sit at room temperature for about 10-15 minutes. This “tempering” process ensures the meat cooks evenly and prevents the fibers from seizing up when they hit the hot skillet, resulting in a more tender bite.
Achieving the Deep Golden-Brown Crust
Place your cast iron skillet over medium-high heat and add the neutral oil. Wait until the oil is shimmering and just starting to send up a tiny wisp of smoke—this is the sensory cue that the pan is ready. Carefully lay the three thick chicken breasts into the pan, laying them away from you to avoid oil splatters.
Do not move the chicken for at least 5-6 minutes. You are looking for the “caramelized edges” to become visible from the side. Once the chicken releases easily from the pan and shows a stunning golden-brown sear, flip them over to sear the other side for another 4-5 minutes.
The Garlic Butter Emulsion and Finishing Touches
Lower the heat to medium and add the 4 tbsp (56g) of butter to the skillet. As the butter melts and begins to foam—creating those “tiny bubbles”—add the rustic chunks of minced garlic and the single lemon slice. Use a large spoon to continuously baste the chicken with the shimmering garlic butter.
As the garlic bits turn a golden-fried brown and the sauce becomes glossy and translucent, add the remaining cracked black pepper. Just before serving, scatter the heavy emerald-green parsley over the top. The parsley should wilt slightly into the hot butter but remain vibrantly green for that perfect handheld smartphone photo aesthetic.
The Chef’s Secret to Juicy, Never-Dry Chicken
- The Carryover Cooking Factor: Remove the chicken from the pan when the internal temperature hits 160°F (71°C). The residual heat will bring it up to the safe 165°F (74°C) while it rests.
- Basting is Key: Continually spooning the garlic butter over the chicken not only adds flavor but acts as a thermal jacket, keeping the top of the breast warm and moist.
- Garlic Timing: Never add the garlic at the start of the sear. Garlic burns at high temperatures; adding it with the butter at the end ensures it toasts into “golden-fried” perfection rather than bitter black bits.
- Skillet Crowding: Ensure there is space between the three breasts. If they touch, they will steam rather than sear, ruining the “rustic” caramelized look.
Preserving Freshness: Storage and Reheating Methods
If you have leftovers of this Easy Chicken Breast Recipe, store them in an airtight container with all the remaining garlic butter sauce drizzled over the top. This will keep the meat moist in the refrigerator for up to 3 days.
To reheat, avoid the microwave if possible, as it can make the chicken rubbery. Instead, place the chicken back in a skillet over low heat with a splash of water or chicken broth. Cover the pan to create a gentle steam environment that will revive the glossy sauce without overcooking the meat.
Perfect Pairings to Complete Your Skillet Feast
The richness of the garlic butter sauce pairs beautifully with starches that can soak up the golden fats. Consider serving this alongside a high-protein chicken orzo or a portion of spring pea and lemon pasta for a bright, seasonal contrast.
For a lower-carb option, this chicken is incredible when served over a skillet summer squash or a crisp mediterranean salad. If you have extra butter sauce left in the pan, don’t let it go to waste—it is the perfect dip for a piece of toasted breakfast toast.
Your Questions About Mastering Pan-Seared Chicken
For the best visual and textural results, use fresh or completely thawed chicken. Frozen chicken releases too much moisture as it thaws in the pan, which will steam the meat instead of searing it.
Use an instant-read meat thermometer to check for an internal temperature of 165°F (74°C). Cutting into the meat while it’s in the pan lets the precious juices escape, resulting in dry chicken.
The secret is using a high-smoke point oil in a preheated cast iron skillet and leaving the chicken undisturbed for at least 5 minutes. This allows the Maillard reaction to create a deep sear before flipping.
While not strictly mandatory, cast iron is highly recommended for its heat retention, which is what creates the ‘rustic’ caramelized edges and deep golden color shown in the recipe images.
A broken sauce usually happens if the heat is too high when adding the butter. Lower the heat to medium before adding the butter to create a creamy, glossy emulsion with the chicken juices.
The Ultimate Easy Chicken Breast Recipe for Home Cooks
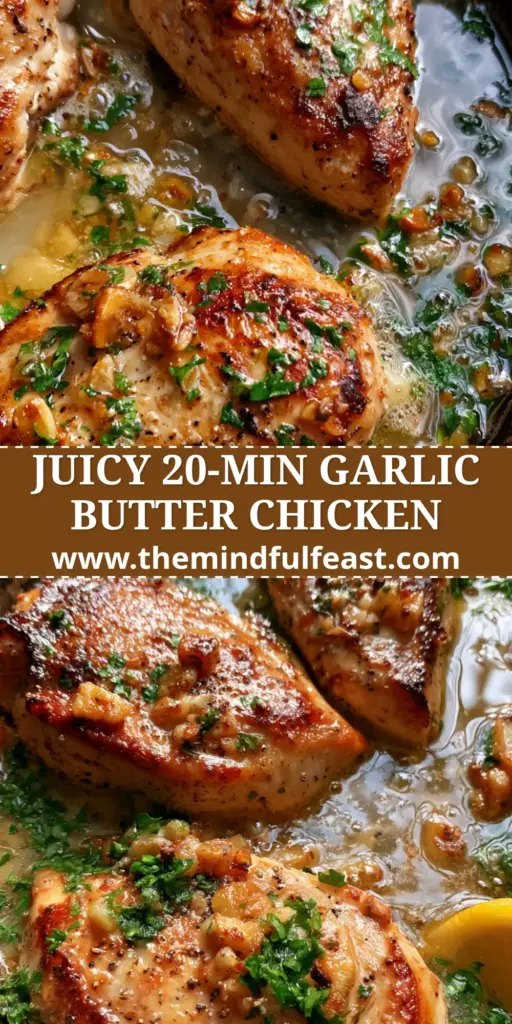
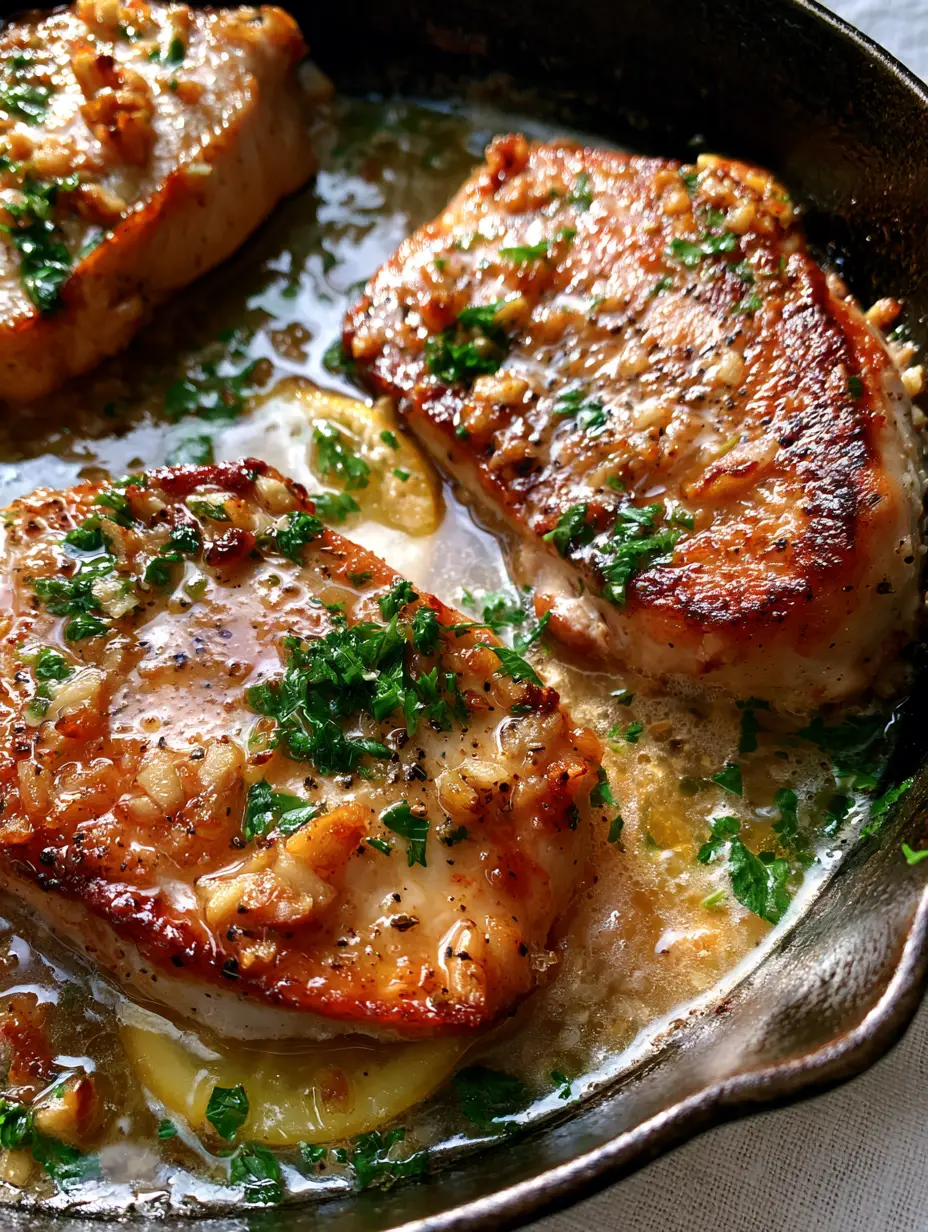
Easy Chicken Breast Recipe with Glossy Garlic Butter and Golden Roasted Garlic
Ingredients
Equipment
Method
- Pat the 3 chicken breasts completely dry with paper towels. Season both sides heavily with salt and half the cracked black pepper.
- Heat oil in a cast iron skillet over medium-high until shimmering. Place chicken in the pan and sear for 5-6 minutes until a deep golden-brown crust and caramelized edges form.
- Flip the chicken and cook for another 4-5 minutes on the second side.
- Lower heat to medium. Add butter, garlic chunks, and the lemon slice. As the butter foams with tiny bubbles, spoon it over the chicken repeatedly until the garlic is golden-fried and the chicken reaches 165°F (74°C).
- Scatter with chopped parsley and remaining cracked black pepper before serving directly from the skillet.
Notes
Use an instant-read thermometer to avoid overcooking the thick breasts.
Closing & Call to Action
Mastering this Easy Chicken Breast Recipe is a gateway to more confident home cooking. The combination of professional searing techniques and the simple luxury of a garlic butter sauce creates a meal that looks and tastes like it came from a professional kitchen. We hope you enjoy the sizzle and the aroma of the golden-fried garlic as much as we do!
If you made this recipe, please leave a comment below and let us know how your sear turned out! Don’t forget to follow us and share your creations on Pinterest for more culinary inspiration and visual recipe guides.


