There is a specific kind of culinary magic that occurs when the humble breakfast pancake is transformed into a towering, jiggly masterpiece. Japanese soufflé pancakes are not merely a meal; they are an architectural feat of aerated batter and precise temperature control. These three-inch thick delights have taken the world by storm, offering a texture that sits somewhere between a delicate chiffon cake and a cloud.
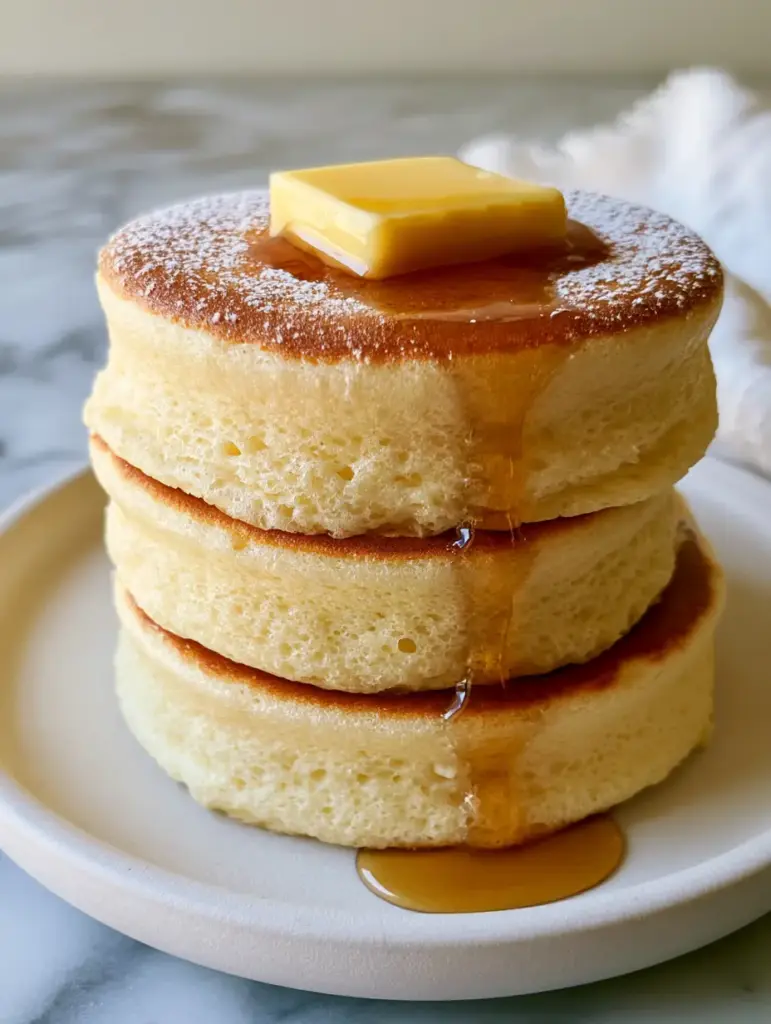
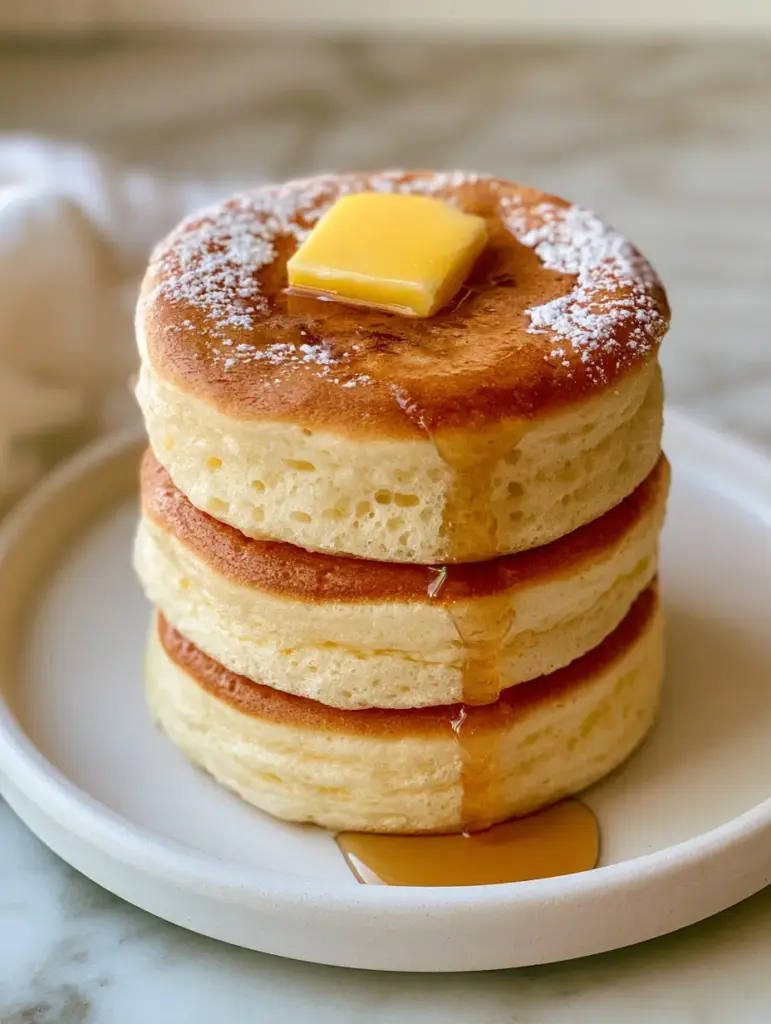
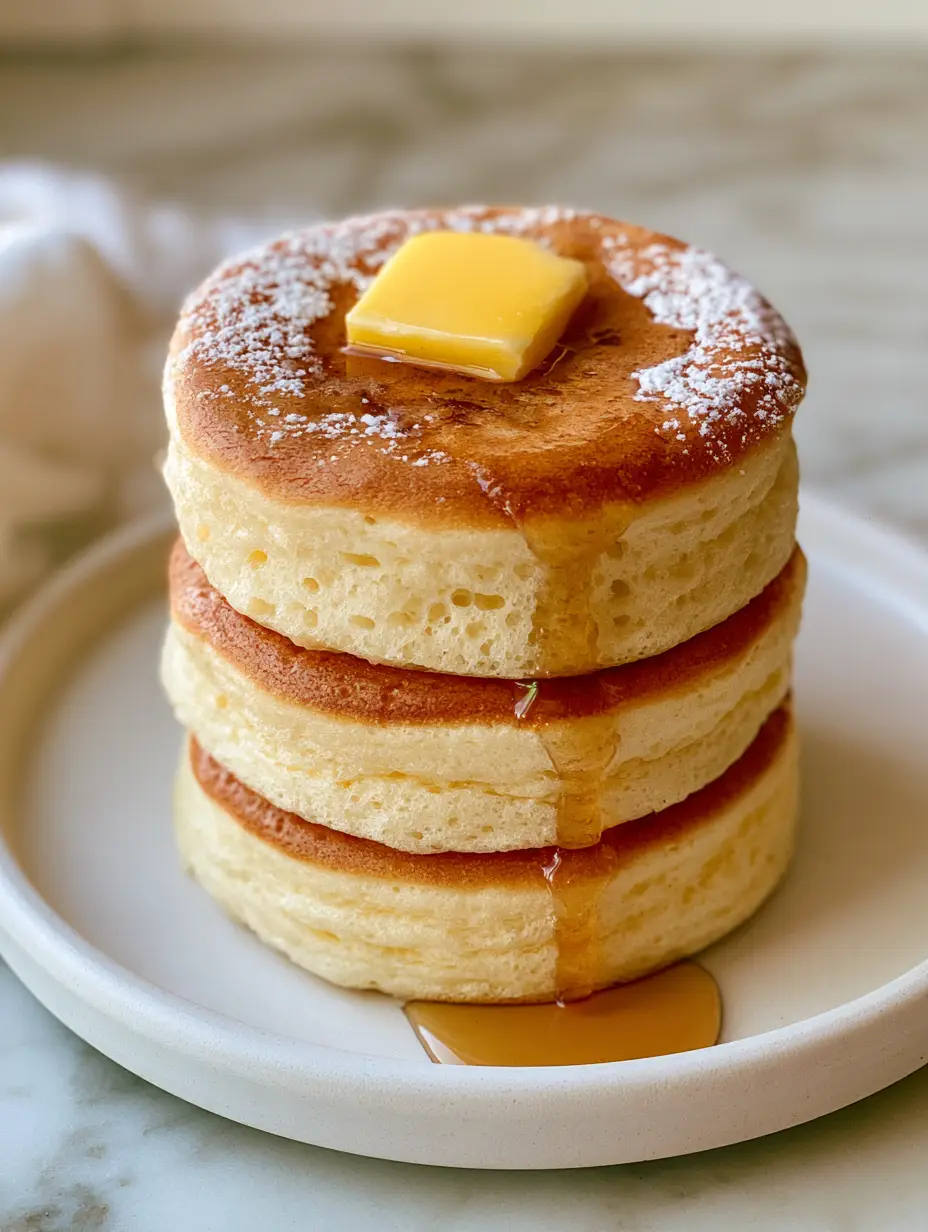
Imagine cutting into a stack where the exterior is a perfectly seared golden-brown, but the interior remains impossibly light and creamy. As you watch a square of salted, grass-fed butter melt into the center, a thick, viscous stream of amber maple syrup begins its slow journey down the aerated sides. This recipe is designed to help you replicate that exact professional cafe experience in your own kitchen.
Achieving this level of height and fluffiness requires more than just a standard batter. It demands an understanding of meringue stability and the thermodynamics of steaming on a stovetop. In this guide, we will break down every forensic detail to ensure your pancakes stand tall and proud without collapsing.
The Aesthetic Allure: Why You Will Love These Fluffy Pillars
- Extreme Verticality: Unlike traditional flat cakes, these stand a full three inches high, creating a stunning visual centerpiece for any brunch table.
- The Signature “Jiggle”: Thanks to the high volume of whipped egg whites, these pancakes possess a playful, wobbly movement that signals their lightness.
- Contrasting Textures: You get a crisp, golden-brown seared top and bottom that protects a pale, creamy, aerated center with visible tiny air bubbles.
- Decadent Finishes: The combination of melting butter, a snowy dusting of powdered sugar, and glistening syrup creates a sensory experience that is as beautiful as it is delicious.
If you enjoy experimenting with unique breakfast textures, you might also find the contrast of chocolate chip pancakes interesting, though the Japanese version offers a much more delicate crumb. While Waffle House waffles are known for their thin, crispy profile, these soufflé pancakes occupy the opposite end of the density spectrum.
The Anatomy of an Airy Batter: Essential Ingredients
Large Cold Eggs (2): The foundation of the soufflé. Cold egg whites are more stable when whipped into the stiff peaks required for that signature 3-inch lift.
Cake Flour (1/4 cup / 32g): Cake flour has a lower protein content than all-purpose flour. This ensures a fine, tender crumb that doesn’t become chewy or tough.
Whole Milk (1 tbsp / 15ml): A small amount of liquid provides the necessary hydration for the flour without weighing down the delicate egg structure.
Granulated Sugar (2 tbsp / 25g): Sugar isn’t just for sweetness; it binds with the water in the egg whites to create a flexible, stable meringue that won’t deflate in the pan.
Baking Powder (1/2 tsp / 2g): While the air in the eggs does most of the heavy lifting, a touch of baking powder provides a secondary chemical lift as soon as the batter hits the heat.
Vanilla Extract (1/4 tsp): This adds a classic aromatic depth that cuts through the richness of the egg yolks.
Cream of Tartar (1/8 tsp): An acidic stabilizer that helps the egg white proteins knit together. If you don’t have this, a few drops of lemon juice will suffice.
Neutral Oil (for the pan): A light coating of grape-seed or vegetable oil is essential for achieving that even, golden-brown sear without smoking.
The Garnish Trio: A square of salted grass-fed butter, high-quality amber maple syrup, and a fine dusting of powdered sugar to complete the visual blueprint.
Professional Tools for Peak Performance
To achieve the visual result described in our blueprint—specifically those pale, aerated sides—you need the right equipment. A non-stick electric griddle or a high-quality non-stick frying pan with a tight-fitting lid is mandatory. The lid is the “secret” tool; it traps steam, which cooks the tall sides of the pancake without burning the bottom.
You will also need a stainless steel whisk and a silicone spatula. A handheld electric mixer is highly recommended for the meringue. Attempting to whip egg whites to stiff peaks by hand is possible but often leads to inconsistent results. Finally, a small squeeze bottle or a large ice cream scoop helps in stacking the batter vertically to reach that three-inch height.
The Step-by-Step Blueprint to 3-Inch Perfection
Phase 1: Creating the Rich Yolk Base
Separate your cold eggs, placing the whites into a large, grease-free metal bowl and the yolks into a medium bowl. To the yolks, add the milk and vanilla extract, whisking until the mixture is pale and slightly frothy. Sift the cake flour and baking powder directly over the yolk mixture.
Whisk gently until just combined. Over-mixing at this stage can develop gluten, which will make your pancakes heavy rather than cloud-like. Set this thick yellow paste aside while you focus on the most critical element: the meringue.
Phase 2: Engineering the Perfect Meringue
Add the cream of tartar to your egg whites. Begin whipping on low speed until small bubbles form, then increase to medium-high. Gradually add the sugar in three stages. Continue whipping until you achieve “stiff peaks”—when you lift the beaters, the points should stand straight up without drooping.
The meringue should look glossy and thick, resembling shaving cream. This is what provides the structural integrity for the aerated pale sides and the visible air bubbles seen in the final dish.
Phase 3: The Delicate Folding Technique
Take one-third of the meringue and whisk it vigorously into the yolk batter. This “sacrificial” scoop lightens the base so the remaining meringue won’t collapse. Now, switch to your silicone spatula.
Add half of the remaining meringue and fold it in using a “cut and turn” motion. Be extremely gentle. You want to see streaks of white disappearing into the yellow, but you must stop the moment the color is uniform. Repeat with the final portion of meringue until you have a voluminous, airy batter.
Phase 4: The Stacking and Steaming Process
Preheat your non-stick pan on the lowest possible setting. Lightly grease the surface and wipe away any excess oil with a paper towel. Place three large scoops of batter onto the pan, spacing them well apart. After 2 minutes, add another scoop on top of each base to build height.
Add 1 tablespoon (15ml) of water to the empty spaces in the pan (avoiding the pancakes) and immediately cover with the lid. The steam will cook the centers through while keeping the sides pale and moist. Cook for 5-6 minutes until the bottoms are a light golden-brown.
Phase 5: The Flip and Final Sear
Carefully lift the lid. The pancakes should have risen significantly. Use a wide spatula to gently flip each pancake. They will be jiggly and delicate. Add another teaspoon of water, cover again, and cook for another 4-5 minutes.
Once finished, the pancakes should feel firm to a light touch but still have a distinct wobble. Remove them from the pan and stack them three-high on a matte white ceramic plate. Immediately top with the butter, syrup, and powdered sugar while the surface is still hot enough to melt the fats.
Expert Tips for Success
- Temperature is King: If your pan is too hot, the bottom will burn before the three-inch center is cooked. Use the lowest setting on your largest burner.
- The Water Trick: Don’t skip the water in the pan. Without steam, the pancakes will dry out and lose their “cloud-like” texture.
- Grease-Free Bowls: Even a tiny speck of yolk or oil in your egg white bowl will prevent the meringue from reaching stiff peaks. Wipe your bowl with a little lemon juice before starting.
- Freshness Matters: Use the freshest eggs possible. Older egg whites have a broken-down protein structure that doesn’t hold air as efficiently as fresh ones.
The Best Way to Store and Reheat
Japanese soufflé pancakes are best enjoyed immediately. Because they rely on air bubbles for their structure, they will naturally begin to deflate within 15-20 minutes of leaving the pan. However, if you have leftovers, you can store them in an airtight container in the refrigerator for up to 24 hours.
To reheat, do not use a microwave as it will make them rubbery. Instead, place them back in a non-stick pan on low heat with a lid and a teaspoon of water for 2 minutes. This gently re-steams the crumb. Freezing is not recommended for this specific recipe as the delicate cell walls of the aerated batter will collapse upon thawing.
What to Serve With These Fluffy Pancakes
To balance the sweetness and rich texture of this breakfast, consider serving it with a light, acidic side. A Japanese cucumber salad provides a refreshing crunch that cleanses the palate between bites of airy pancake. If you are looking for a more savory brunch spread, a creamy chicken salad or a portion of Greek quinoa salad offers the protein needed to round out the meal.
For those who prefer a completely sweet experience, pairing these with blueberry pie bars or a side of fresh seasonal berries and whipped cream is a decadent choice. If you’re on a health kick but still want that “bready” feel, you might even try a slice of paleo zucchini bread on the side.
Frequently Asked Questions
You can, but the texture will be slightly denser. To mimic cake flour, remove 1 tablespoon of all-purpose flour from the 1/4 cup and replace it with 1 tablespoon of cornstarch.
While ring molds make it easier, you can achieve the height by ‘stacking’ the batter. Place one scoop, let it set for a minute, then place another scoop directly on top. The stiff meringue should hold its shape.
The lowest possible setting on your stove is best. These pancakes are thick and need a long time to cook through without burning the exterior.
This is intentional and a hallmark of the style! The tops and bottoms are seared against the pan, while the tall sides are cooked by steam, keeping them pale, moist, and airy.
Deflation is usually caused by an under-whipped meringue or over-mixing the batter. Ensure you reach stiff peaks and fold gently. A small amount of deflation is natural after 15 minutes, but they should hold their 3-inch height during serving.
The Ultimate Recipe for 3-Inch Japanese Soufflé Pancakes
Japanese Soufflé Pancakes: The Ultimate Guide to Fluffy 3-Inch Tall Clouds
Ingredients
Equipment
Method
- Whisk egg yolks, milk, and vanilla. Sift in flour and baking powder; mix until a thick paste forms.
- Whip egg whites with cream of tartar, gradually adding sugar until stiff, glossy peaks form.
- Gently fold meringue into the yolk paste in three additions, keeping the batter voluminous.
- Scoop batter onto a low-heat pan, stack for height, add water, and cover for 6 minutes. Flip and repeat for 5 minutes.
Notes
Cold egg whites are more stable for the long cook time.
Master the Art of the Soufflé Pancake
Creating these pancakes is a rewarding culinary challenge that results in a breakfast unlike any other. By focusing on the stability of your meringue and the precision of your steaming technique, you can achieve that iconic 3-inch height and jiggly texture. The golden sear combined with the pale, aerated sides creates a visual and gustatory masterpiece that is sure to impress.
We would love to see your towering creations! If you found this guide helpful, please leave a comment below and share your results. Don’t forget to sign up for our newsletter for more deep-dives into culinary science and follow us on Pinterest for daily inspiration.


