When it comes to mastering pancake recipes, the goal is always the same: achieving that elusive, cloud-like texture and a perfectly golden-brown finish. But let’s be honest, standing over a hot griddle flipping individual cakes for a crowd is not the relaxing morning we envision. Enter the sheet pan revolution.
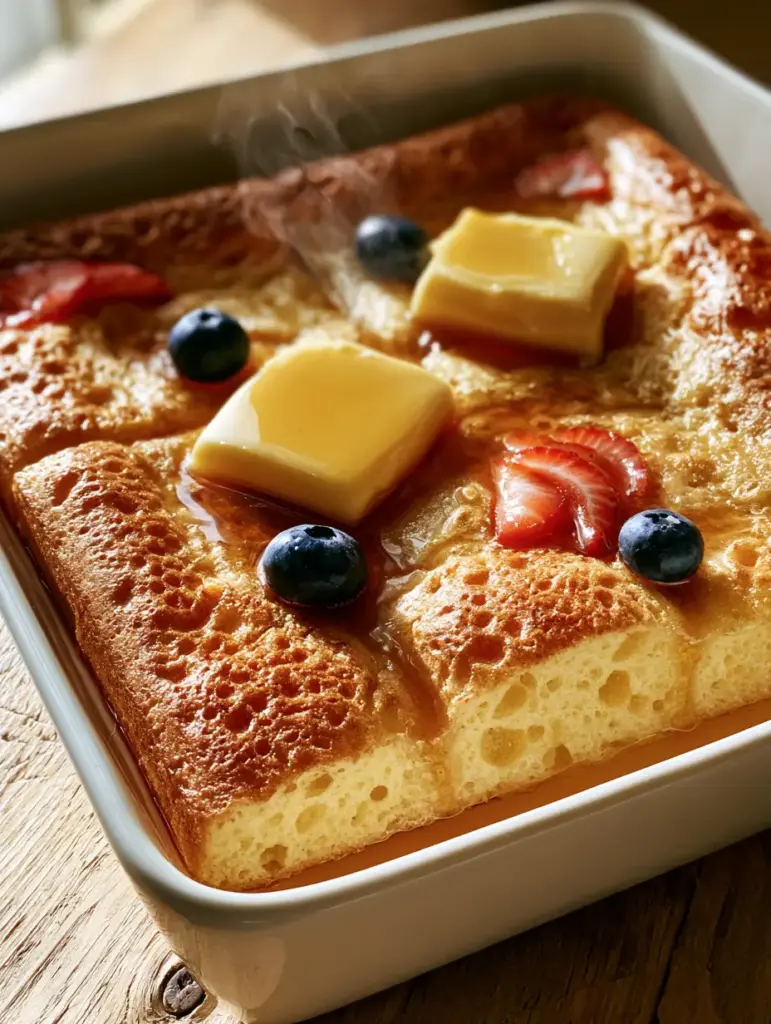
This recipe transforms the traditional breakfast staple into a visually stunning, effortlessly thick, and aerated masterpiece. Imagine a single, massive pancake baked to perfection in a modern white ceramic dish, then sliced into clean, perfect squares. The surface is lightly pitted and golden-brown, providing the ideal landscape for melting slabs of grass-fed butter to pool.
As the steam rises from the fresh-baked crumb, you’ll notice the vibrant pop of whole blueberries and thin strawberry slices embedded in the surface. This isn’t just a meal; it’s a high-resolution breakfast experience designed for those who value both culinary precision and rustic aesthetic appeal. Whether you are hosting a brunch or simply upgrading your Saturday morning, this method is the gold standard for modern home cooks.
Why These Are the Best Pancake Recipes for Busy Mornings
- Consistent Aerated Texture: Unlike stovetop versions that can be dense, this baked method ensures a uniform, sponge-like crumb throughout every square.
- Golden-Brown Perfection: The high-sided white ceramic dish promotes even heat distribution, resulting in a lightly crisped, pitted golden surface.
- Effortless Serving: No more “first pancake” failures; simply bake, slice into perfect squares, and serve the entire family at once.
- Visually Stunning Presentation: The contrast of red strawberries, blue berries, and amber maple syrup against a rustic wooden surface is a food photographer’s dream.
The Science of the Sponge: Secret Ingredients for Aerated Pancakes
To achieve the specific “aerated, sponge-like crumb texture” required for elite pancake recipes, we must focus on chemical leavening and protein structure. The interaction between acids and bases is what creates those beautiful tiny air pockets you see in high-quality food photography.
All-Purpose Flour (2 cups / 250g): This provides the structural foundation. We use a moderate protein content to ensure the pancake holds its square shape without becoming tough or bread-like.
Baking Powder (2 tbsp / 24g): This is the primary leavening agent responsible for the “fluffy” lift. It reacts twice—once when mixed with liquid and again when exposed to the heat of the oven.
Baking Soda (1/2 tsp / 3g): Since we are using buttermilk, the soda neutralizes the acid and creates immediate carbon dioxide bubbles for that pitted surface texture. It also aids in the “golden-brown” browning reaction (Maillard reaction).
Granulated Sugar (3 tbsp / 38g): Sugar doesn’t just add sweetness; it interferes with gluten development to keep the crumb tender and helps achieve the toasted color described in our visual blueprint.
Sea Salt (1/2 tsp / 3g): Salt is a flavor enhancer that cuts through the richness of the butter and maple syrup, making the blueberry and strawberry flavors pop.
Buttermilk (1 3/4 cups / 420ml): The acidity in buttermilk breaks down long gluten strands. This results in a pancake that is tender enough to melt in your mouth but sturdy enough to be sliced.
Melted Unsalted Butter (4 tbsp / 56g): Fat provides the “mouthfeel.” By folding melted butter into the batter, we ensure the crumb remains moist even after being baked in a dry oven.
Large Eggs (2 units): The proteins in the eggs set as they bake, trapping the air bubbles created by the baking powder to lock in that sponge-like crumb.
Vanilla Bean Paste (1 tsp / 5ml): While vanilla extract works, paste adds those tiny black specks that elevate the visual appeal and provide a deeper aromatic profile.
Essential Equipment for the Perfect Square Cut
To replicate the “modern white ceramic baking sheet” look, you need a shallow rectangular baking dish (approx. 9×13 inches). Ceramic is preferred over metal because it retains heat more gently, preventing the edges from burning before the center is aerated.
You will also need a sharp chef’s knife or a bench scraper to achieve those “perfect squares.” Using a dull blade will compress the sponge-like crumb, ruining the visual texture. A large stainless steel whisk is also vital for incorporating air into the wet ingredients before they hit the dry flour.
Step-by-Step Instructions to Achieve the Visual Recipe Blueprint
Step 1: Preparing the Ceramic Vessel
Preheat your oven to 425°F (220°C). Grease your white ceramic baking dish generously with butter. This ensures that the bottom of the pancake develops a lightly crisped texture similar to a traditional griddle cake.
Step 2: Mixing for Maximum Aeration
In a large bowl, whisk together your flour, baking powder, baking soda, sugar, and salt. In a separate jug, whisk the buttermilk, eggs, melted butter, and vanilla. Make sure your buttermilk is at room temperature to prevent the melted butter from seizing.
Step 3: The Fold and Rest Technique
Pour the wet ingredients into the dry. Use a spatula to fold the mixture until *just* combined. Over-mixing is the enemy of fluffy pancake recipes. Leave small lumps; these will disappear during the bake and contribute to the pitted, aerated surface.
Step 4: Embedding the Fresh Fruit
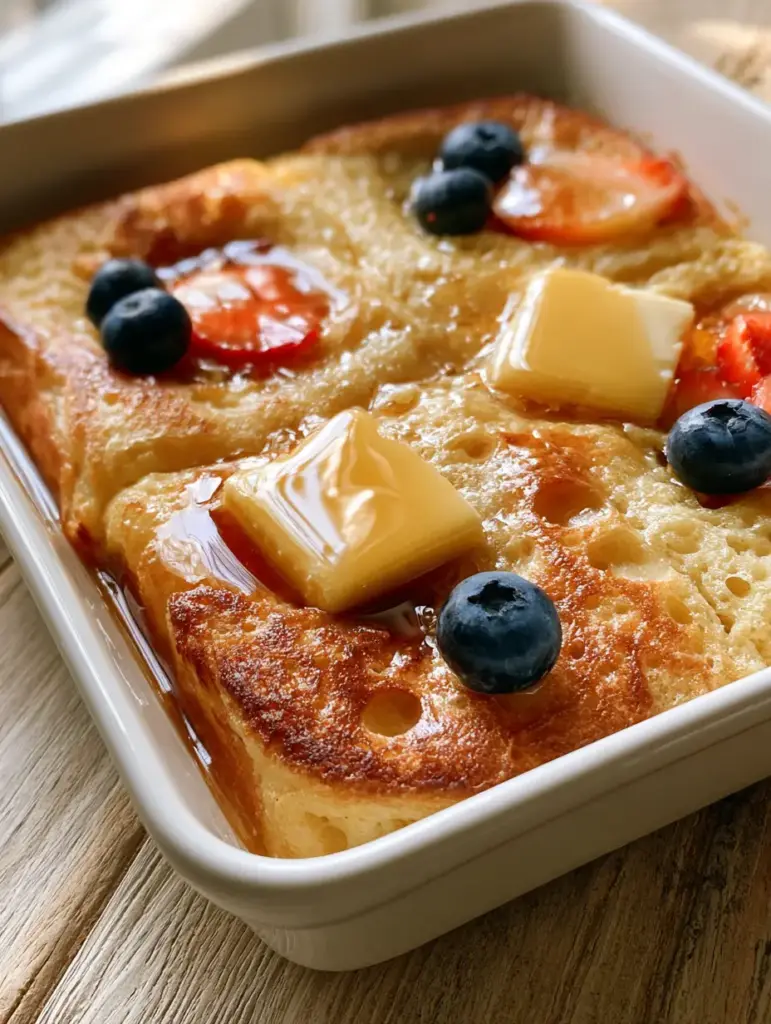
Pour the batter into the prepared dish, smoothing the top with an offset spatula. Scatter the fresh whole blueberries across the top. Take your sliced red strawberries and lay them in a natural, scattered pattern. The heat will cause the berries to soften and release a small amount of juice, creating beautiful “glistening” pockets of color.
Step 5: The High-Heat Bake
Bake for 15-18 minutes. Watch for the “Visual Cue”: the top should be a deep golden-brown, and the center should spring back when lightly touched. The edges will pull away slightly from the white ceramic, indicating a perfect cook. You should see visible pits on the surface where air bubbles have escaped.
Step 6: Slicing and Styling
Remove from the oven and let rest for 3 minutes. This allows the steam to settle so the crumb doesn’t tear. Use a sharp knife to cut into 12 perfect squares. Place three thick slabs of yellow grass-fed butter onto the warm squares and watch as they begin to melt and pool in the crevices.
Expert Tips for Success
- Temperature Control: Ensure your eggs and buttermilk are not ice-cold. Room temperature ingredients emulsify better, leading to a more consistent rise.
- The Flour Fluff: Always spoon your flour into the measuring cup rather than scooping it. Scooping packs the flour, leading to a dense, heavy pancake.
- Don’t Peek: Keep the oven door closed! Opening it mid-bake causes a temperature drop that can lead to the “fluffy” center collapsing.
- Butter Quality: Since this recipe features “slabs of yellow grass-fed butter” as a visual focal point, use a high-fat European-style butter for the best flavor and color.
Creative Pairings and Serving Suggestions
While these pancakes are a meal on their own, they thrive when paired with contrasting textures. If you’re looking for an easy family dinner idea, try serving “breakfast for dinner” with a side of savory protein. For those who enjoy a bit of crunch, a Japanese cucumber salad offers a refreshing palate cleanser between bites of sweet maple syrup.
If you have leftover berries, you might also enjoy making blueberry pie bars for a treat later in the week. For a high-protein start to your day, serve a square of this pancake alongside a creamy chicken salad wrap for a unique brunch-style platter.
Storage, Reheating & Freezing
These square-cut pancakes are excellent for meal prep. Store leftovers in an airtight container in the refrigerator for up to 3 days. To reheat while maintaining the “lightly crisped” surface, use a toaster oven or an air fryer at 350°F (175°C) for 3-4 minutes.
To freeze, place the squares on a baking sheet in a single layer until frozen solid, then transfer to a freezer-safe bag. They will keep for up to 2 months. You can reheat them directly from frozen in the oven at 375°F (190°C) for about 8 minutes, which helps restore that sponge-like crumb texture.
Pancake Recipes: Frequently Asked Questions
You can, but the berries may sink to the bottom. Placing them on top ensures they stay visible and glistening, creating the high-resolution aesthetic of professional pancake recipes.
Yes, but be careful. Metal conducts heat faster than ceramic, so check for doneness 2-3 minutes earlier to prevent the edges from over-browning.
This comes from the reaction between buttermilk and baking soda. Ensure your oven is fully preheated to 425°F so the air bubbles expand rapidly as the surface sets.
Avoid the microwave if possible. Use an air fryer or toaster oven to maintain the lightly crisped edges and aerated internal texture.
The most common reasons are expired baking powder or over-mixing the batter. Over-mixing develops gluten, which makes the crumb dense rather than aerated and sponge-like.
The Ultimate Sheet Pan Pancake Recipe Card
Pancake Recipes: The Ultimate Fluffy Sheet Pan Baked Pancakes
Ingredients
Equipment
Method
- Preheat your oven to 425°F (220°C). Generously grease a white ceramic baking dish with butter.
- In a large bowl, whisk together the flour, baking powder, baking soda, sugar, and salt until airy.
- In a separate jug, whisk the buttermilk, eggs, melted butter, and vanilla bean paste.
- Pour the wet ingredients into the dry. Fold with a spatula until just combined; do not over-mix. The batter should be thick and lumpy.
- Pour the batter into the ceramic dish and smooth the top. Scatter whole blueberries and sliced strawberries evenly across the surface.
- Bake for 15-18 minutes until the top is golden-brown and pitted, and the crumb is sponge-like and springy.
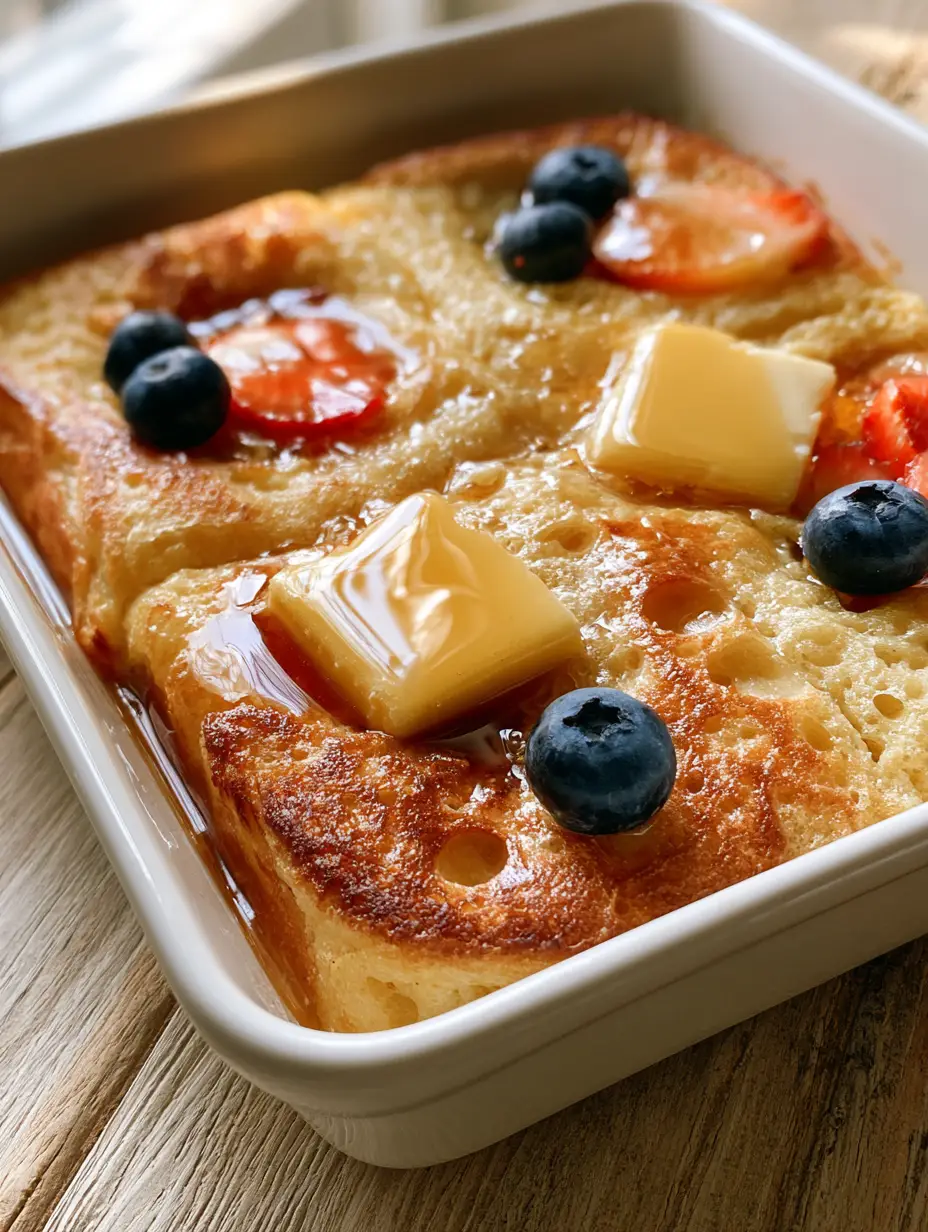
- Rest for 3 minutes, then cut into perfect squares. Top with slabs of yellow butter and a generous drizzle of amber maple syrup while still steaming.
Notes
Use a high-quality amber maple syrup for the best glistening effect in photos.
Closing & Call to Action
Mastering pancake recipes doesn’t have to mean laboring over a stove. This sheet pan method delivers the aerated crumb, golden-brown crust, and vibrant fruit toppings that make breakfast feel like a luxury. The combination of melting grass-fed butter and amber maple syrup over a sponge-like base is truly unbeatable.
If you enjoyed this recipe, please leave a comment below and tell us how yours turned out! Don’t forget to share your photos and tag us. For more morning inspiration, follow authenticflavorfinds on Pinterest and save this recipe to your “Breakfast Ideas” board!


