When the afternoon sun hits your kitchen counter just right, there is only one craving that truly hits the spot: something cold, creamy, and decadently chocolate-covered. These Peanut Butter Frozen Yogurt Bars are the sophisticated, high-protein answer to your childhood ice cream truck favorites.
Imagine biting through a thin, snappy dark chocolate shell into a velvety reservoir of golden peanut butter, all supported by a thick, tangy Greek yogurt base. It is a textural masterpiece that balances the brine of flaky sea salt with the rich earthy notes of roasted peanuts.
Whether you are looking for a post-workout recovery snack or a refined no-bake dessert, these bars deliver a forensic level of flavor precision. Best of all, they require zero specialized equipment—just a few pantry staples and a little patience while they set in the freezer.
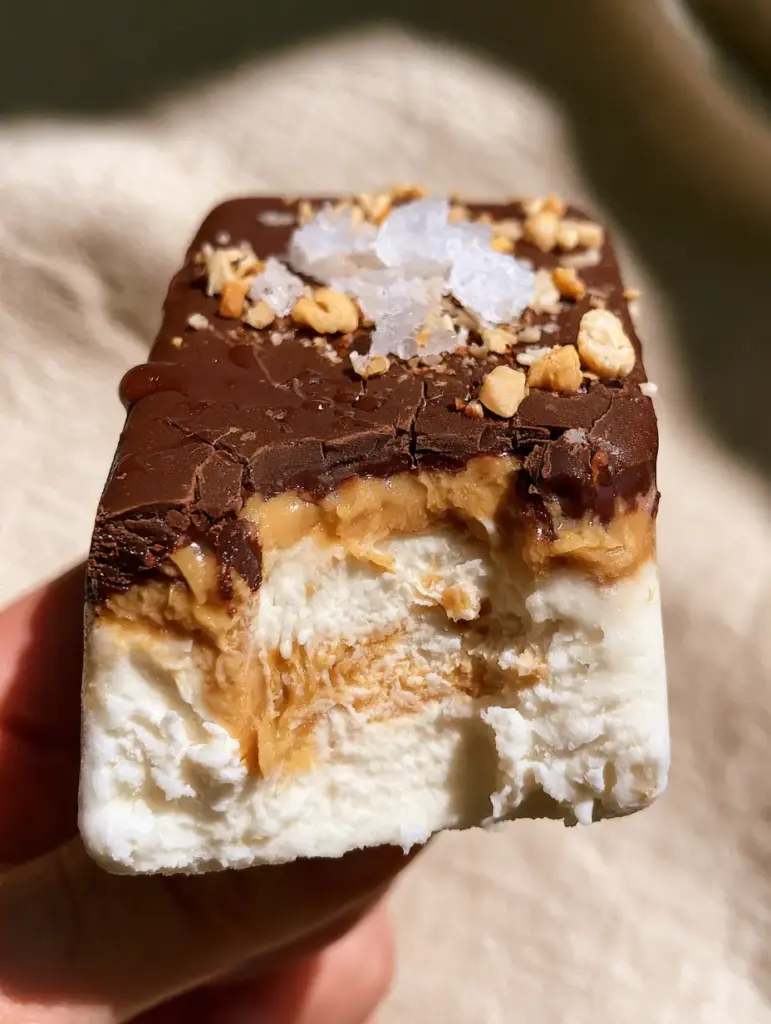
The Anatomy of a Perfect High-Protein Frozen Treat
To achieve the visual and textural results seen in professional culinary photography, we have to look closely at the structural components of the Peanut Butter Frozen Yogurt Bars. This isn’t just about mixing ingredients; it’s about layering textures for maximum sensory impact.
- The Creamy Foundation: We use full-fat Greek yogurt to ensure a dense, luxurious mouthfeel that resists the “icy” texture often found in low-fat frozen treats.
- The Gooey Core: A generous swirl of natural, creamy peanut butter provides a soft, semi-frozen contrast to the firm yogurt base.
- The Snappy Exterior: A dark chocolate “magic shell” made with coconut oil ensures that satisfying crack when you take your first bite.
- The Sensory Finish: Large crystals of flaky sea salt and the crunch of crushed roasted peanuts cut through the richness, balancing the sweetness perfectly.
The Scientific Essentials: Ingredients and Functional Substitutions
Every ingredient in these Peanut Butter Frozen Yogurt Bars serves a specific structural purpose. Understanding these “invisible” functions is the key to culinary success in your own kitchen.
2 cups (450g) Full-Fat Greek Yogurt: This provides the bulk of the bar’s structure. The high fat content is crucial for preventing large ice crystals from forming, ensuring your bars remain creamy even when fully frozen.
1/3 cup (80ml) Honey or Maple Syrup: Beyond sweetness, liquid sweeteners lower the freezing point of the yogurt. This keeps the bars “soft-serve” pliable rather than brick-hard.
1 tsp (5ml) Pure Vanilla Extract: Vanilla acts as a flavor enhancer, rounding out the tang of the yogurt and making the peanut butter notes pop.
1/2 cup (125g) Creamy Natural Peanut Butter: Ensure your peanut butter is well-stirred and “runny.” If it is too stiff, it won’t swirl beautifully into the yogurt base.
1 cup (170g) Dark Chocolate Chips: We recommend at least 70% cocoa for that deep, sophisticated bitterness that pairs so well with salty peanuts.
1 tbsp (15ml) Coconut Oil: This is the secret to the “cracked” chocolate shell. It lowers the melting point of the chocolate and creates that signature snap.
2 tbsp (20g) Crushed Roasted Peanuts: These add essential texture and visual appeal, signaling the flavor profile of the bar before the first bite.
1 tsp (5g) Flaky Sea Salt: A high-quality finishing salt like Maldon provides a briny crunch that elevates the entire experience from basic snack to gourmet dessert.
Must-Have Kitchen Tools for Professional Results
While you don’t need an ice cream maker for these Peanut Butter Frozen Yogurt Bars, having the right assembly tools makes a significant difference in the final aesthetic.
An 8×8 inch (20x20cm) square baking pan is the ideal size for achieving that thick, handheld thickness seen in the photos. You will also need parchment paper with enough overhang to act as “handles” for easy removal once the bars are frozen.
A small offset spatula is your best friend here. It allows you to smooth the yogurt base into a perfectly level layer and helps in swirling the peanut butter without over-mixing it into the yogurt.
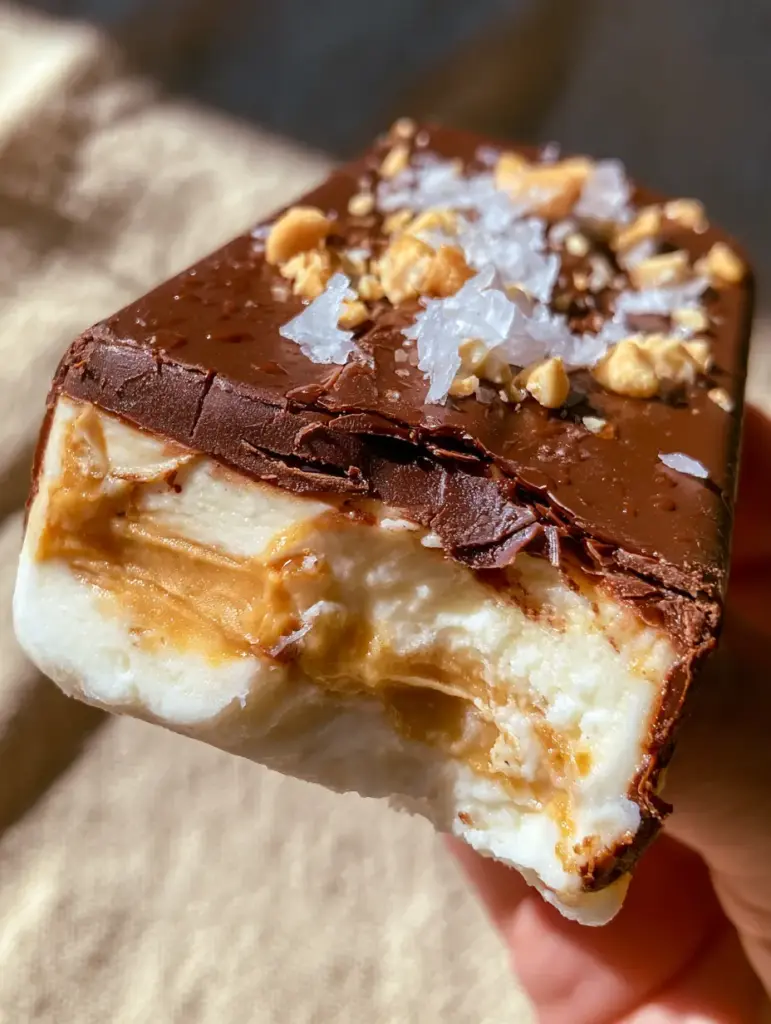
Step-By-Step: Constructing the Perfect Frozen Bar
Preparing the High-Protein Yogurt Base
Begin by lining your baking pan with parchment paper. In a medium mixing bowl, whisk together the Greek yogurt, honey, and vanilla extract until the mixture is completely smooth and glossy.
Pour the mixture into the prepared pan. Use your offset spatula to spread it into an even layer, ensuring it reaches all four corners. Tap the pan firmly on the counter three times to remove any trapped air bubbles.
Mastering the Peanut Butter Swirl
If your peanut butter is firm, microwave it for 15-20 seconds until it is easily pourable. Drop tablespoon-sized dollops of peanut butter across the top of the yogurt base.
Using a toothpick or the tip of a knife, gently drag the peanut butter through the yogurt in a figure-eight motion. Do not over-swirl! You want distinct, visible ribbons of golden peanut butter, not a beige-colored yogurt mix.
The First Freeze: Setting the Foundation
Place the pan in the freezer for at least 2 to 3 hours. You are looking for a “semi-firm” state. If the yogurt is too soft, the chocolate shell will sink into it; if it’s too hard, the toppings won’t adhere properly.
Crafting the Snappy Dark Chocolate Shell
Combine the dark chocolate chips and coconut oil in a microwave-safe bowl. Heat in 30-second intervals, stirring in between, until the mixture is silky and completely melted.
Remove the yogurt base from the freezer. Working quickly, pour the melted chocolate over the top and tilt the pan to coat it evenly. While the chocolate is still wet, immediately sprinkle the crushed peanuts and flaky sea salt over the top.
The Final Cure and Slicing
Return the pan to the freezer for another 2 hours until the bars are completely solid. To slice, lift the parchment paper handles out of the pan. Run a sharp knife under hot water, wipe it dry, and press firmly through the chocolate shell to create 8 to 10 rectangular bars.
Expert Tips for Culinary Success
- Prevent Icy Texture: Avoid using fat-free yogurt. The water content in fat-free varieties is too high, leading to a “crystalline” or crunchy texture rather than a creamy one.
- The Perfect Snap: Don’t skip the coconut oil in the chocolate. Without it, the dark chocolate will be too hard to bite through and will likely shatter into messy shards.
- Visual Cues: Watch for small droplets of condensation to form on the chocolate shell once you take them out to serve; this is a sign of a perfectly tempered and frozen bar.
- The Clean Cut: If the chocolate shell is cracking too much when you slice, let the pan sit at room temperature for 3 minutes before cutting.
Strategic Pairings and Serving Suggestions
These Peanut Butter Frozen Yogurt Bars are a fantastic standalone treat, but they also fit beautifully into a larger meal plan. If you’ve just finished a savory dinner like our garlic butter chicken pasta, these bars provide the perfect cooling contrast.
For those looking for more protein-focused meals, consider serving these after a light lunch of creamy chicken salad. If you enjoy the combination of fruit and nuts, you might also like our blueberry pie bars for your next meal prep session.
Looking for a savory crunch to balance the sweetness? A side of home-baked zucchini chips makes for an excellent afternoon snack duo. These bars are also a great follow-up to a fresh Japanese cucumber salad on a hot summer day.
Storage and Shelf Life
To maintain the “snappy” chocolate and “creamy” interior, store these bars in an airtight container in the freezer. Place a small piece of parchment paper between each bar to prevent them from sticking together.
For the best texture, let the bars sit at room temperature for 2 to 4 minutes before eating. This allows the yogurt to soften just enough to reach a “chewable” consistency, similar to premium gelato. They will keep well for up to 3 weeks, though they are usually devoured much sooner!
Frequently Asked Questions
Yes, you can substitute the Greek yogurt with a thick coconut-based yogurt or almond milk yogurt. Ensure it is a ‘Greek style’ to maintain the thickness required for bars.
The key is to pour the chocolate over the yogurt when it is semi-frozen. If the yogurt is too hard, the chocolate may slide off. Adding coconut oil to the chocolate also helps it adhere and stay flexible enough to bite.
When stored in an airtight container with parchment paper between layers, they stay fresh and delicious for up to 3 weeks.
Natural ‘drippy’ peanut butter is best. If your peanut butter is thick or from the bottom of the jar, warm it in the microwave for 15 seconds to make it pourable before swirling.
Icy texture usually occurs if you use fat-free or low-fat yogurt. The higher water content in those varieties freezes into crystals. Stick to full-fat Greek yogurt for a creamy result.
The Ultimate Peanut Butter Frozen Yogurt Bars Recipe
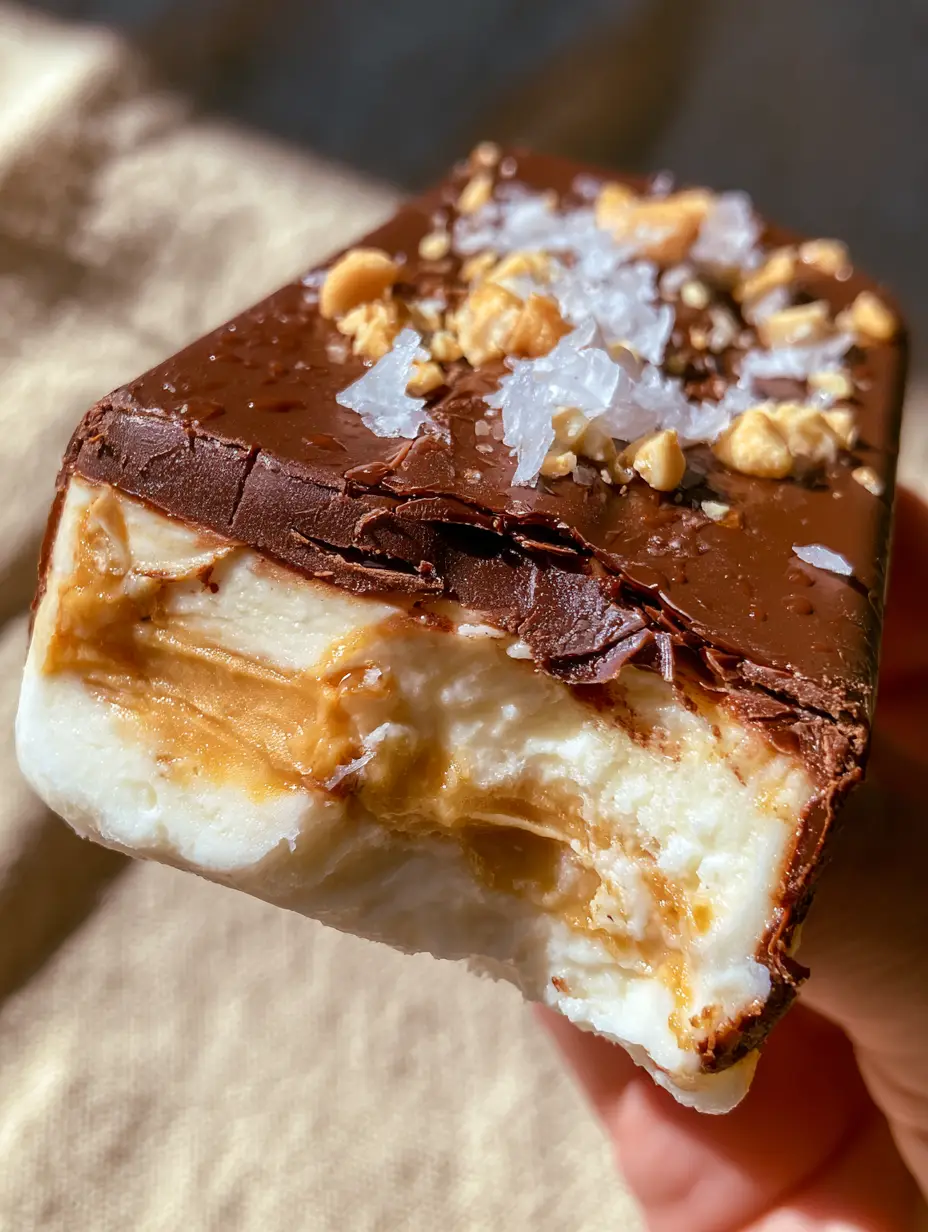
Peanut Butter Frozen Yogurt Bars: The Ultimate Three-Layer Healthy Snack
Ingredients
Equipment
Method
- Whisk Greek yogurt, honey, and vanilla in a bowl until smooth.
- Pour into a lined 8x8 pan and smooth with an offset spatula.
- Dollop creamy peanut butter over the yogurt and swirl gently with a toothpick.
- Freeze for 2-3 hours until semi-firm.
- Melt chocolate chips with coconut oil in 30-second bursts until silky.
- Pour over the yogurt base, tilt to coat, and immediately sprinkle with crushed peanuts and sea salt.
- Freeze for another 2 hours until completely solid.
Notes
Run your knife under hot water for cleaner slices through the chocolate shell.
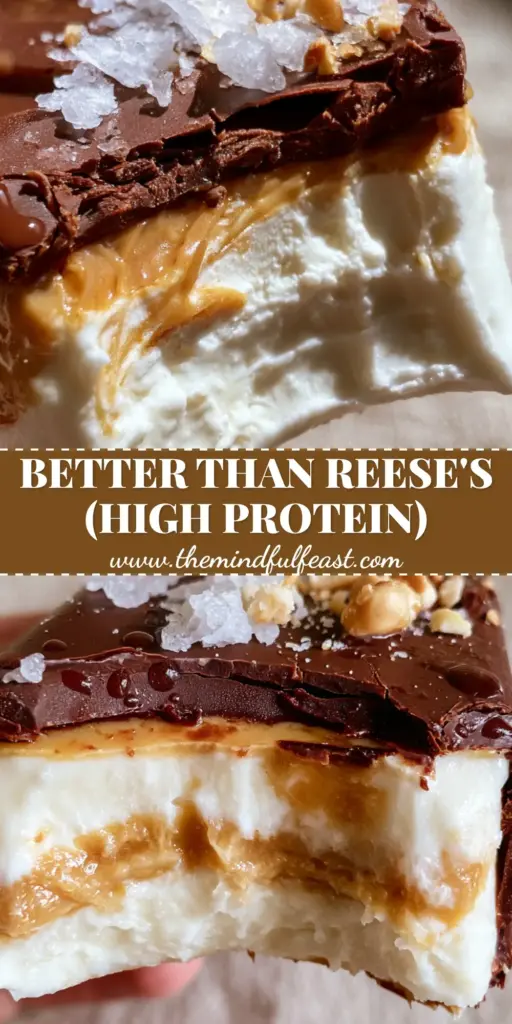
The Bottom Line: A Guilt-Free Gourmet Snack
These Peanut Butter Frozen Yogurt Bars prove that healthy eating doesn’t have to be boring. With their professional-grade layers and artisanal toppings, they satisfy every dessert craving while providing a boost of protein and healthy fats.
If you enjoyed this recipe, please leave a comment below and let us know how your peanut butter swirls turned out! Don’t forget to share your creations and follow us on Pinterest for more culinary inspiration.


