There is a specific, visceral joy in a perfectly executed pork chops recipe that most home cooks struggle to capture. We have all been there: a grey, uninspiring exterior and a dry, chalky interior that requires a gallon of applesauce to swallow. This ends today.
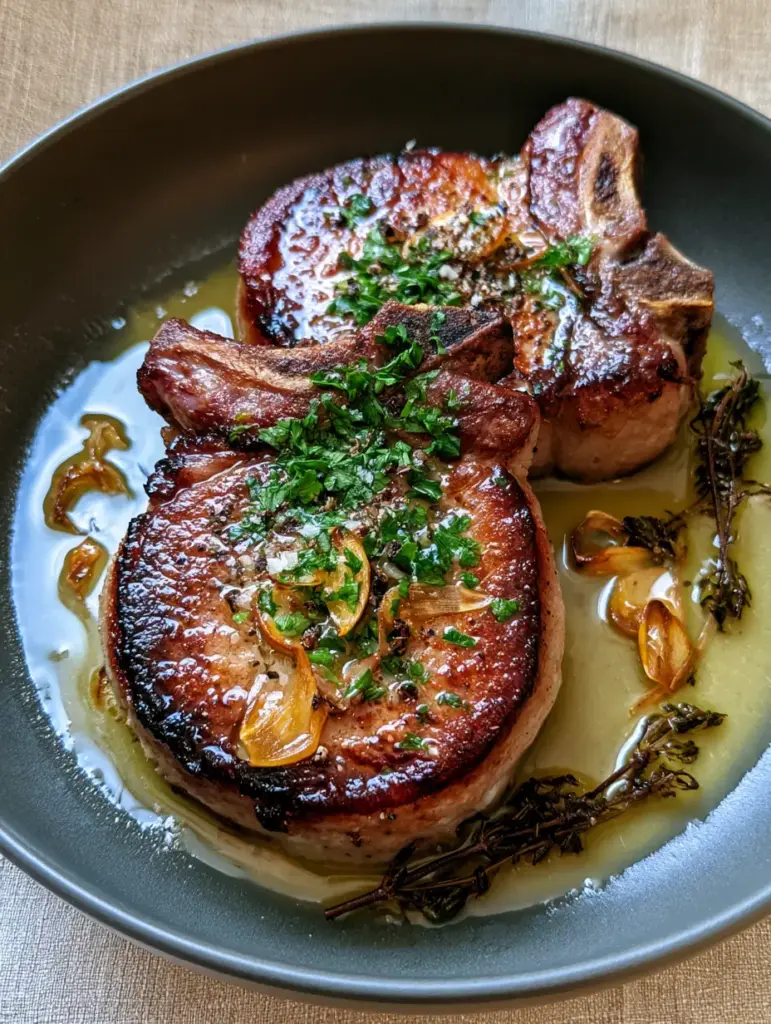
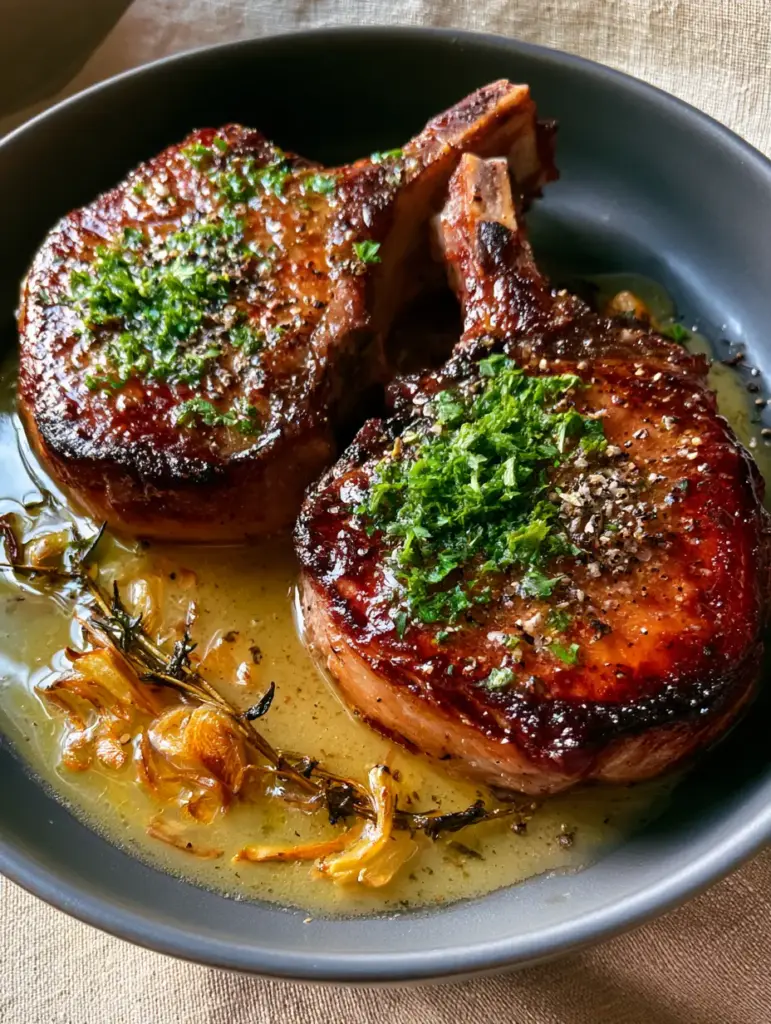
Imagine two thick-cut, bone-in pork chops resting on a dark matte plate, glowing with a deep mahogany caramelized sear. The surface is flecked with coarse cracked black pepper and a vibrant dusting of fresh parsley, while a golden, translucent garlic butter sauce pools at the base.
This isn’t just a meal; it is a masterclass in the Maillard reaction and butter-basting technique. By following this guide, you will achieve that exact glistening moisture and restaurant-quality finish using professional culinary forensics and simple, high-quality ingredients.
Why This Bone-In Pan-Seared Pork Chops Recipe Works
- The Mahogany Crust: We utilize a high-smoke point oil and a bone-in cut to ensure the meat withstands the heat necessary for a deep, flavorful caramelization.
- Aromatic Depth: The inclusion of toasted garlic slivers and fried thyme sprigs infuses the fat, which we then spoon back over the meat to create layers of flavor.
- Structural Integrity: By selecting thick-cut chops, we maintain a succulent, juicy center while the outside reaches that stunning dark-brown visual benchmark.
- Glossy Finish: The final “butter bath” creates a professional-grade glaze that coats the meat in a translucent, golden sheen.
The Anatomy of a Perfect Pork Chops Recipe: Essential Ingredients
2 Thick-Cut Bone-In Pork Chops (approx. 1.5 inches / 3.8cm): The bone acts as an insulator, keeping the meat near it tender, while the thickness prevents overcooking during the searing process. Look for “center-cut” for the best fat-to-meat ratio.
2 tbsp (30ml) High-Smoke Point Oil: Use avocado oil or grapeseed oil to achieve that deep mahogany sear without the oil breaking down and becoming bitter or smoky in the kitchen.
4 tbsp (56g) Unsalted Butter: This is the foundation of our glossy sauce. Using unsalted butter allows us to control the seasoning precisely while providing the milk solids needed for browning.
6 Cloves Garlic, Thinly Slivered: Instead of mincing, we use slivers to achieve the “toasted golden-brown” look described in our visual blueprint. These provide a nutty, sweet crunch rather than a sharp bite.
4-5 Stems Fresh Thyme: Frying whole stems allows the oils to permeate the butter. These will become crisp and “fried” in the pan, adding a rustic, elegant aesthetic to the final plate.
1/4 cup (10g) Fresh Parsley, Finely Chopped: A vibrant dusting of bright green parsley provides a visual and flavor contrast to the rich, dark tones of the seared meat.
1 tbsp (6g) Coarse Cracked Black Pepper: The coarse texture is vital for the visual “grainy” look on the meat’s surface and provides a spicy punch that cuts through the rich butter.
Kosher Salt: Essential for drawing out moisture and creating the dry surface required for the Maillard reaction to take place effectively.
Professional Equipment for the Ultimate Sear
To achieve the results seen in our imagery, a standard non-stick pan will not suffice. You need a heavy-bottomed vessel, preferably a 12-inch (30cm) cast-iron skillet or a heavy stainless steel pan, which retains heat better and promotes even browning.
A pair of long-handled tongs is necessary for flipping the chops and holding them on their fatty edges to render. Additionally, a large metal spoon is required for the “arrose” (butter-basting) technique to keep the meat basted in hot aromatics.
Finally, an instant-read meat thermometer is your best friend. Relying on time alone is the fastest way to ruin a pork chops recipe; internal temperature is the only metric that matters for juicy results.
How to Master the Mahogany Sear: Step-by-Step Instructions
Phase 1: Preparing the Surface for Success
Remove your pork chops from the refrigerator at least 30 minutes before cooking. Cold meat hitting a hot pan causes the muscle fibers to tense up, resulting in a tougher texture and uneven cooking.
Use a paper towel to pat the chops extremely dry on all sides. Moisture is the enemy of a deep mahogany sear; if the surface is wet, the meat will steam instead of caramelizing.
Season generously with Kosher salt and half of the cracked black pepper. Press the seasoning into the meat so it adheres during the high-heat searing process.
Phase 2: Achieving the Deep Mahogany Crust
Place your skillet over medium-high heat and add the oil. Wait until the oil is shimmering and just starting to send up a faint wisp of smoke—this is the signal that the pan is ready.
Carefully lay the chops into the pan, laying them away from you to avoid oil splashes. Press down lightly with your tongs to ensure even contact with the metal surface.
Sear the first side for 4-5 minutes without moving them. You are looking for a deep, mahogany-colored crust. Flip the chops and sear the other side for another 3-4 minutes.
Phase 3: The Butter Baste and Aromatic Infusion
Reduce the heat to medium. Add the butter, garlic slivers, and whole thyme stems to the pan. The butter will immediately begin to foam and sizzle; this is exactly what we want.
Tilt the pan slightly so the melting butter pools at the bottom with the garlic and thyme. Use your spoon to continuously pour this hot, flavored butter over the pork chops.
Continue basting for 2-3 minutes. Watch the garlic slivers closely; they should turn a toasted golden brown. If they darken too quickly, remove the pan from the heat momentarily.
Phase 4: The Critical Resting Period
Once the internal temperature reaches 140°F (60°C), remove the chops from the pan and place them on a warm plate. The temperature will rise to the food-safe 145°F (63°C) as they rest.
Pour the remaining glossy meat juices and garlic butter from the pan over the chops. Let them rest for at least 5-8 minutes. This allows the juices to redistribute, ensuring every bite is moist.
Expert Tips for a Flawless Pork Chops Recipe
- Don’t Crowd the Pan: If you are making more than two chops, cook them in batches. Crowding lowers the pan temperature and prevents that iconic mahogany sear.
- Render the Fat Cap: Use your tongs to stand the chops up on their sides, pressing the white fat strip against the hot pan for 60 seconds to make it crispy and delicious.
- The “Spoon Test”: If your butter isn’t foaming, it isn’t hot enough to baste. It should sound like a gentle rain when it hits the meat.
- Freshness Matters: Use fresh thyme stems rather than dried. The moisture in the fresh herbs allows them to “fry” in the butter without burning into bitter dust.
The Best Pairings for Your Garlic Butter Pork Chops
A dish this rich and savory demands sides that can either stand up to the flavor or provide a refreshing contrast. A light cucumber and dill salad is a fantastic way to cleanse the palate between bites of buttery pork.
For a more substantial meal, consider serving these chops alongside a creamy shrimp and orzo dish for a “turf and surf” dinner party vibe. If you prefer classic comfort, this pork chops recipe pairs beautifully with the same flavors found in a roasted chicken dinner bowl.
If you find yourself with extra garlic butter, it makes an incredible topping for a chicken and zucchini bake the following evening.
Storing and Reheating Your Leftovers
Store any leftover pork chops in an airtight container in the refrigerator for up to 3 days. To maintain the integrity of the mahogany sear, avoid the microwave if possible.
The best way to reheat is in a 300°F (150°C) oven with a splash of water or broth in the dish, covered with foil, until just warmed through. This prevents the meat from becoming rubbery.
You can also slice the cold pork thinly and use it as a protein boost for a traditional southern-style salad or inside a grilled sandwich.
Frequently Asked Questions
For this specific recipe, fresh thyme is required. Dried herbs will burn in the high-heat butter and become bitter, whereas fresh stems ‘fry’ in the butter and infuse it with aromatic oils.
The key is to pat the meat extremely dry with paper towels and use a heavy cast-iron skillet with high-smoke point oil over medium-high heat. Do not move the meat for at least 4 minutes to allow the Maillard reaction to occur.
Bone-in is superior for pan-searing. The bone helps the meat retain moisture and provides better flavor, while also preventing the meat from drying out as quickly as boneless cuts.
The USDA recommends an internal temperature of 145°F (63°C). Pull the chops from the pan at 140°F (60°C), as carry-over cooking during the rest period will bring them to the perfect final temperature.
Garlic burns quickly. Ensure you reduce the heat to medium before adding the butter and garlic slivers, and keep the butter moving by spooning it constantly over the meat.
The Ultimate Bone-In Garlic Butter Pork Chops Recipe
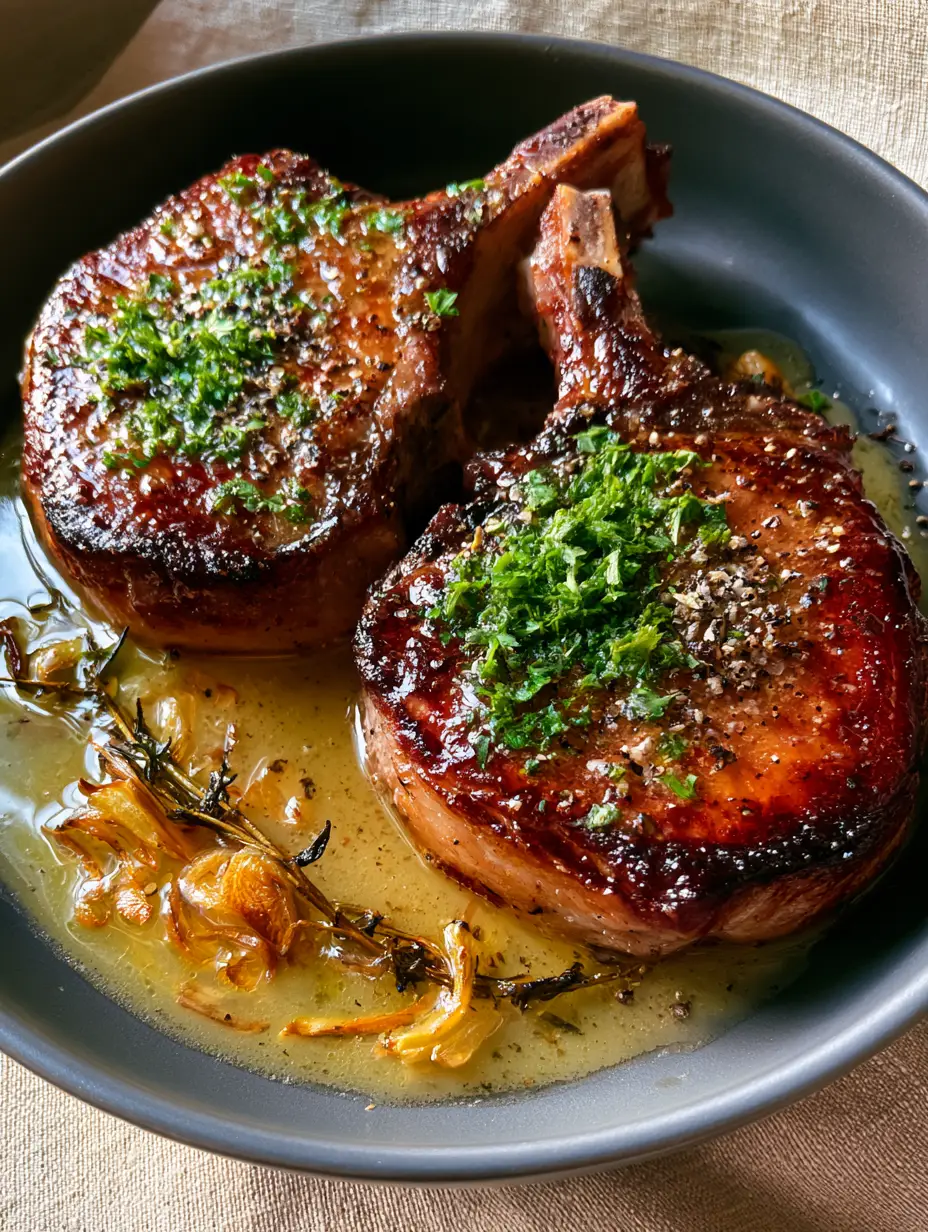
Pork Chops Recipe: The Secret to a Deep Mahogany Sear and Garlic Butter Bliss
Ingredients
Equipment
Method
- Remove pork chops from the fridge 30 minutes prior to cooking. Pat the meat extremely dry on all sides using paper towels.
- Season generously with Kosher salt and half of the cracked black pepper, pressing the spices into the meat fibers.
- Heat oil in a cast iron skillet over medium-high until shimmering. Sear chops for 4-5 minutes per side until a deep mahogany crust forms.
- Use tongs to hold the chops on their sides to render the fat cap until golden and crispy.
- Reduce heat to medium. Add butter, garlic slivers, and thyme. Once foaming, spoon the hot butter over the chops for 2-3 minutes.
- Remove chops at 140°F (60°C). Let rest for 8 minutes on a plate before garnishing with parsley and remaining pepper.
Notes
Ensure the pan is screaming hot before adding the meat for the best color.
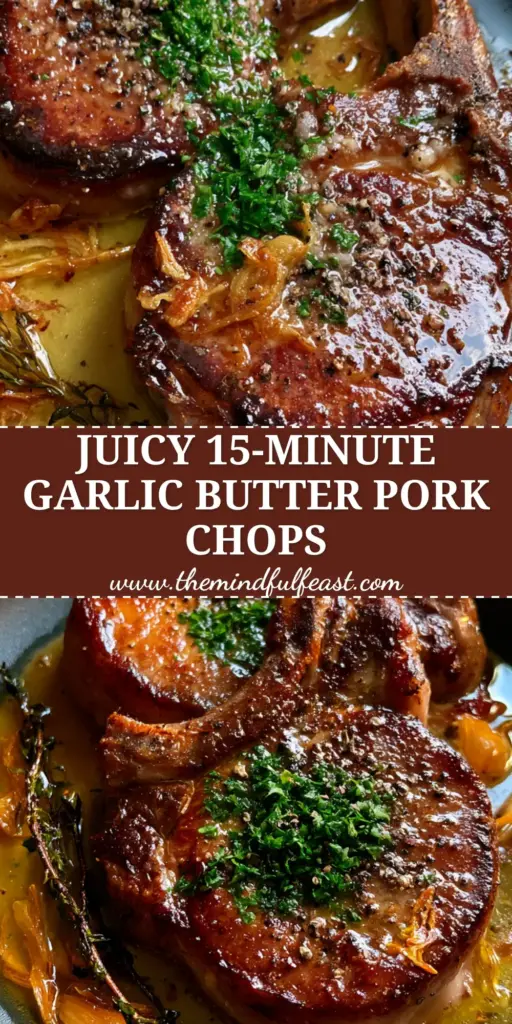
This pork chops recipe is a testament to how simple techniques—like proper drying, high-heat searing, and active butter-basting—can transform a humble cut of meat into a five-star dinner. The combination of toasted garlic and fried thyme creates a sensory experience that is as beautiful to look at as it is to eat.
If you enjoyed this recipe, please leave a comment below and let us know how your mahogany sear turned out! Don’t forget to save this to your favorite boards on Pinterest so you can find it the next time you’re craving a steakhouse-quality meal at home.