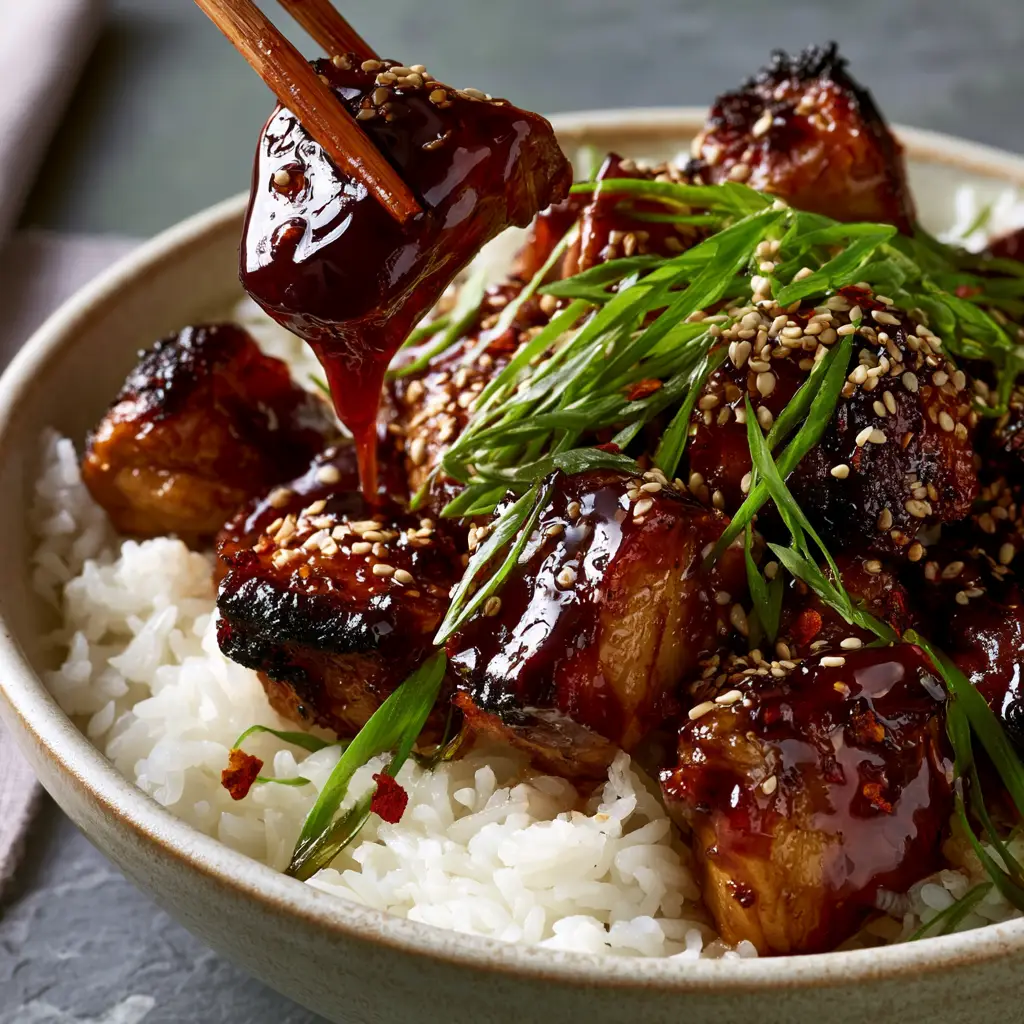
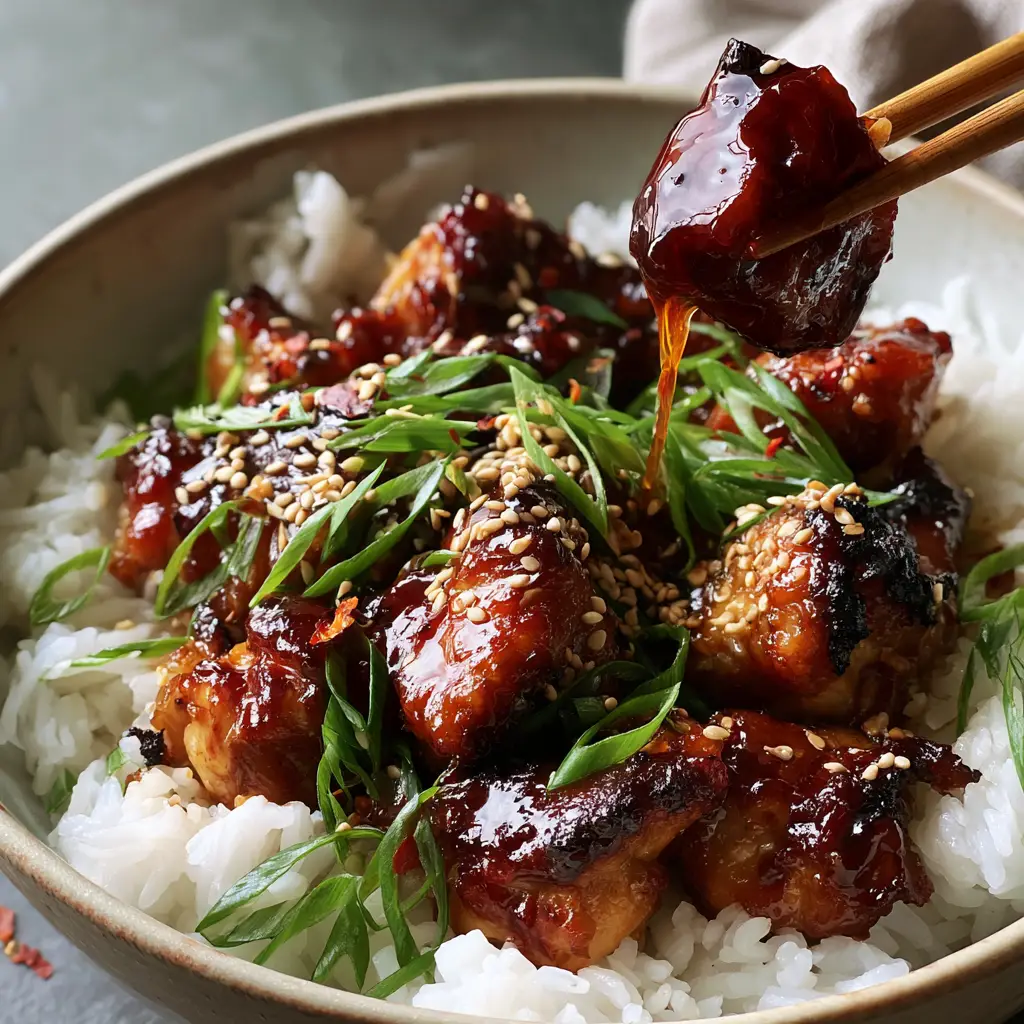
There is a specific visual magic to perfectly executed teriyaki chicken. It is found in that moment when a thick, translucent mahogany glaze clings stubbornly to seared edges of succulent chicken, shimmering under the light like liquid gold. This recipe is designed to recreate that exact high-end restaurant experience in your own kitchen.
Our journey begins with the foundation: a bed of steaming, aromatic jasmine rice where every individual grain is distinct and fluffy. We then layer on bite-sized pieces of chicken thigh, seared to achieve a crispy charred crust that stands up to the bold, savory-sweet intensity of a homemade teriyaki reduction.
Whether you are a seasoned home cook or just starting your culinary adventure, this teriyaki chicken provides the perfect balance of salty, sweet, and umami. The final flourish of toasted sesame seeds and sharply angled scallions adds the professional touch that makes this dish as beautiful as it is delicious.
Why This Is the Only Teriyaki Chicken Recipe You Need
- The Mahogany Glaze: Unlike thin, watery bottled sauces, this reduction is thick, glossy, and coats every crevice of the meat.
- Perfectly Seared Textures: By using high-heat techniques, we ensure the chicken has crispy charred edges while remaining incredibly juicy inside.
- Aromatic Foundation: Steaming jasmine rice provides the perfect neutral, floral base to soak up the extra sauce.
- Visual Contrast: The combination of bright green scallions and red pepper flakes creates a vibrant, professional presentation.
The Anatomy of Flavor: Essential Ingredients
Boneless Skinless Chicken Thighs (1.5 lbs / 680g): Thighs are non-negotiable for this recipe because they contain enough fat to remain tender during the high-heat searing process. Chop them into uniform 1-inch (2.5cm) pieces to ensure even cooking and maximum surface area for the glaze.
Jasmine Rice (2 cups / 370g): This long-grain variety offers a delicate floral aroma and a slightly sticky but distinct texture. It acts as the structural foundation for the dish, absorbing the mahogany sauce without becoming mushy.
Low-Sodium Soy Sauce (½ cup / 120ml): This provides the deep umami base and the salt required for the sauce. Using low-sodium allows us to reduce the sauce significantly without it becoming overly salty.
Mirin (¼ cup / 60ml): A Japanese rice wine that adds a subtle acidity and a distinct luster to the glaze. It is the secret to that “translucent” look described in professional culinary circles.
Light Brown Sugar (⅓ cup / 65g): The molasses in brown sugar helps achieve that deep mahogany color. It also provides the necessary sweetness to balance the soy sauce and aids in the caramelization process.
Fresh Ginger and Garlic (1 tbsp each / 15g): Freshly grated aromatics provide a sharp, spicy undertone that cuts through the sweetness of the sugar. Avoid powdered versions for this recipe to maintain the bright, punchy flavor profile.
Cornstarch Slurry (1 tbsp cornstarch + 1 tbsp water): This is the “invisible” structural ingredient. It ensures the sauce reaches that “dripping” thickness seen in the visual blueprint.
Neutral Oil (2 tbsp / 30ml): Use an oil with a high smoke point, like canola or grapeseed. This is essential for achieving the seared, charred edges on the chicken thighs.
Professional Tools for the Perfect Sear
To achieve the results seen on the dark grey slate surface of our visual guide, you need a heavy-bottomed skillet or a cast-iron pan. These materials retain heat exceptionally well, allowing for the Maillard reaction to occur rapidly on the chicken’s surface.
You will also need a fine-mesh strainer to rinse your jasmine rice. Rinsing removes excess surface starch, which is the secret to ensuring your grains remain “individual and visible” rather than clumped together.
Achieving the Ultimate Teriyaki Chicken: Step-by-Step
1. Preparing the Aromatic Rice Foundation
Start by rinsing 2 cups (370g) of jasmine rice under cold water until the water runs clear. This step is vital for the “fluffy” texture required in the blueprint.
Combine the rice with 2.5 cups (600ml) of water and a pinch of salt in a pot. Bring to a boil, then reduce to the lowest heat, cover, and simmer for 15 minutes. Let it stand covered for 5 minutes before fluffing with a fork.
2. Searing the Chicken Thighs
Pat your chicken pieces completely dry with paper towels. Moisture is the enemy of a good sear; we want crispy charred edges, not steamed meat.
Heat your neutral oil in the skillet over medium-high heat until it begins to shimmer. Add the chicken in a single layer, ensuring you don’t crowd the pan. Let them sit undisturbed for 3-4 minutes until a deep golden-brown crust forms.
Flip the pieces and cook for another 3 minutes. The chicken should be cooked through with visible charred bits. Remove the chicken from the pan and set aside.
3. Reducing the Mahogany Glaze
In the same pan, wipe out any excess oil but leave the browned bits (the fond). Add the soy sauce, mirin, brown sugar, grated ginger, and minced garlic.
Whisk the mixture over medium heat as it begins to bubble. In a small bowl, mix your cornstarch and water to create a slurry, then whisk it into the pan. Continue to simmer for 2-3 minutes until the sauce transforms into a thick, mahogany-colored translucent glaze.
4. The Final Glazing and Assembly
Add the seared chicken back into the pan. Toss the pieces vigorously until every bite is “heavily coated” in the sticky sauce. You want the sauce to have a “stretch” when the chicken is lifted.
Prepare your ceramic bowls by filling them with a generous bed of the steaming jasmine rice. Top with the glazed chicken, ensuring some of that extra sauce drizzles down into the rice grains.
The Art of the Garnish: Visual Precision
To match our visual blueprint exactly, the garnishing must be intentional. Take your fresh scallions and slice them on a very sharp, long diagonal. This creates elongated, bright green shards that provide height and professional flair.
Sprinkle a heavy dusting of toasted white sesame seeds across the top. The white against the mahogany sauce provides a striking contrast. Finally, scatter a few crushed red pepper flakes. This isn’t just for heat; the tiny pops of red against the green scallions and dark sauce complete the color palette of a high-RPM food blog photo.
Expert Tips for Success
- Don’t Rush the Reduction: If the sauce is too thin, it will soak into the rice too quickly. It should be thick enough to coat the back of a spoon.
- Use Fresh Aromatics: The difference between bottled ginger and fresh grated ginger is the difference between a flat dish and a vibrant one.
- Temperature Control: If the pan is too cold, the chicken will release juices and boil. Ensure the oil is shimmering before adding the meat.
- Resting the Rice: Never skip the 5-minute rest after the rice is done. This allows the moisture to redistribute, creating that fluffy texture.
What to Serve With Your Teriyaki Masterpiece
While this dish is a complete meal on its own, you might want to expand your menu. If you love these Japanese-inspired flavors, you should definitely try our savory chicken yakisoba for a noodle-based alternative. For those looking for a plant-based version of this glaze, our crispy teriyaki tofu is a fantastic option.
If you prefer a fruitier twist on this classic, check out our pineapple chicken teriyaki. For a different cooking method entirely, our perfectly grilled chicken techniques can be applied to this marinade for a smoky outdoor version.
Storage and Reheating Instructions
Storage: Store the chicken and rice in separate airtight containers in the refrigerator for up to 3 days. Keeping them separate prevents the rice from absorbing all the sauce and becoming soggy.
Reheating: Reheat the chicken in a skillet over low heat with a splash of water to loosen the glaze. The rice is best reheated in the microwave covered with a damp paper towel to restore its steaming, fluffy texture.
Frequently Asked Questions
Yes, you can use chicken breast, though thighs are preferred for their moisture. If using breast, cook it quickly over high heat to prevent it from drying out before the glaze is added.
The mahogany color comes from the combination of low-sodium soy sauce and light brown sugar being reduced. Avoid over-diluting with water and ensure the sugar fully caramelizes.
As written, it contains soy sauce and mirin which may contain gluten. To make it gluten-free, substitute the soy sauce with tamari and ensure your mirin is certified gluten-free.
The addition of mirin provides the shine, while a cornstarch slurry added at the end of the reduction provides the thick, translucent texture.
Clumping usually happens because of excess surface starch. Ensure you rinse the rice under cold water until the water runs completely clear before cooking.
The Ultimate Teriyaki Chicken Recipe
Teriyaki Chicken with Thick Mahogany Glaze and Fluffy Jasmine Rice
Ingredients
Equipment
Method
- Rinse jasmine rice until water is clear. Combine with 2.5 cups water and salt in a pot; bring to a boil.
- Reduce heat to low, cover, and cook for 15 minutes. Let rest for 5 minutes before fluffing.
- Heat oil in a skillet. Pat chicken dry and sear in a single layer until deep golden-brown charred edges appear (about 4 minutes per side).
- In the same pan, whisk soy sauce, mirin, sugar, ginger, and garlic. Add cornstarch slurry and simmer until thick and mahogany.
- Return chicken to pan to coat. Serve over rice and top with sesame seeds, scallions, and red pepper flakes.
Notes
Rinse the jasmine rice thoroughly to remove surface starch for individual visible grains.
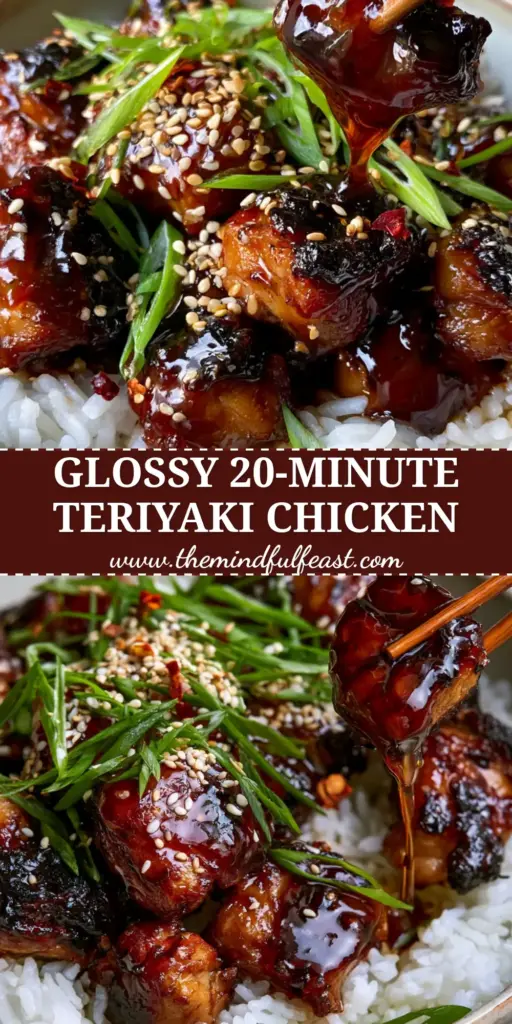
Closing & Call to Action
This teriyaki chicken is more than just a meal; it’s a sensory experience of textures and bold flavors. From the first bite of the sticky, charred chicken to the last grain of jasmine rice, it’s a dish that never fails to impress. We hope you enjoy bringing this restaurant-quality meal to your table.
If you made this recipe, please leave a comment below and let us know how it turned out! Don’t forget to follow us on Pinterest and share your creations by pinning our images. Your support helps us continue to develop elite recipes for home cooks everywhere!