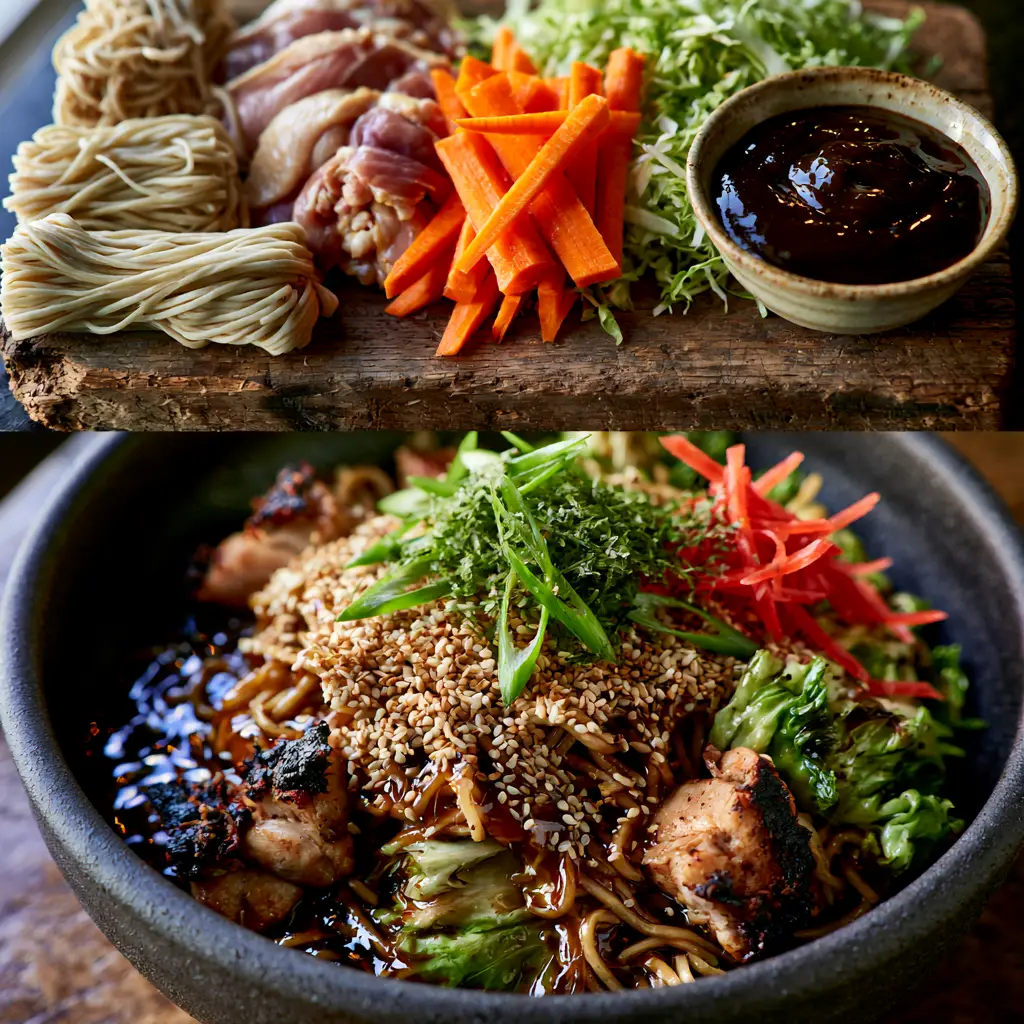
Experience the vibrant energy of a Japanese summer festival right in your own kitchen with this authentic Chicken Yakisoba. This dish isn’t just a meal; it’s a sensory journey featuring chewy noodles, deeply seared chicken thighs with charred edges, and a thick, glossy dark brown sauce that shimmers under the light. Whether you are a seasoned home cook or a stir-fry novice, this recipe delivers the perfect balance of savory, sweet, and tangy flavors.
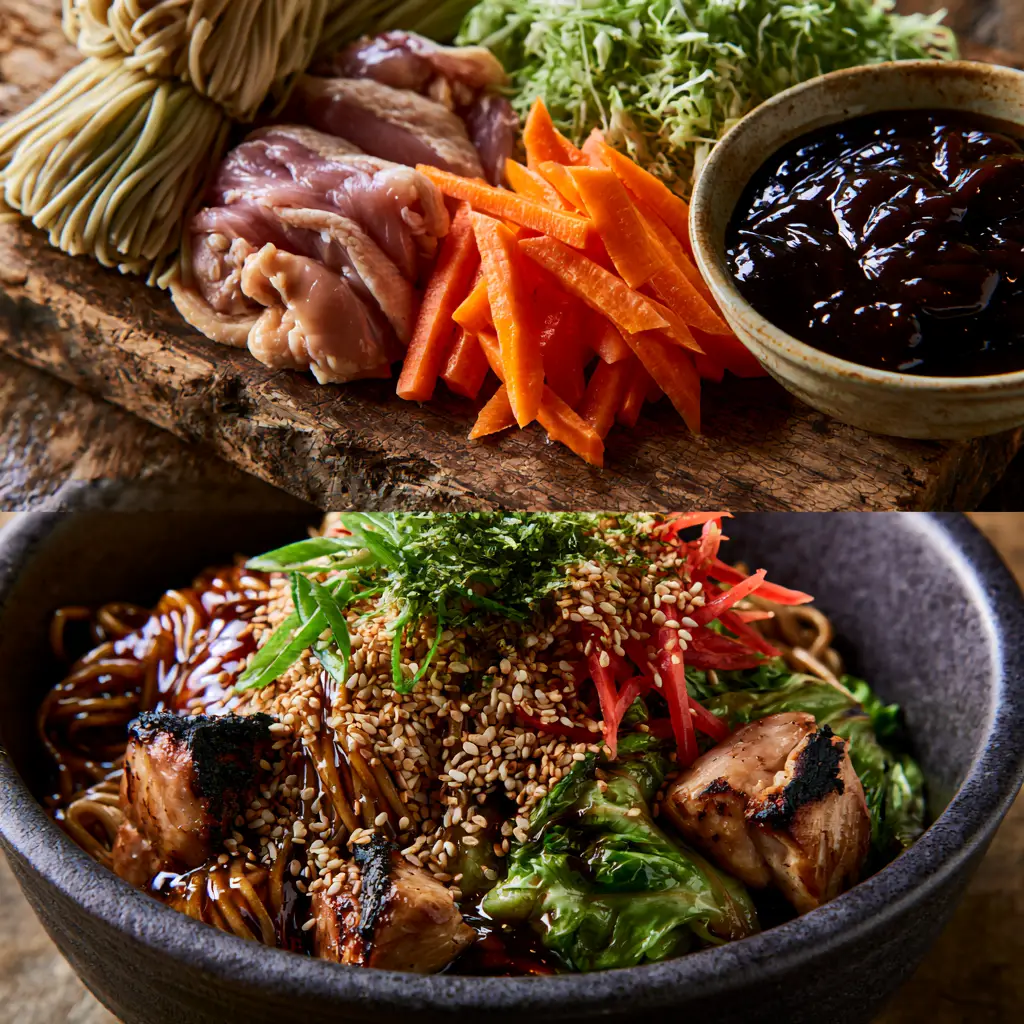
Visually, this dish is a masterpiece of contrast. The deep mahogany hue of the sauce-coated noodles provides a dramatic backdrop for julienned bright orange carrots, vibrant green cabbage, and the striking pop of red pickled ginger. When served in a dark matte stoneware bowl, the specular highlights of the viscous umami sauce create a professional, restaurant-quality aesthetic that is as pleasing to the eye as it is to the palate.
Why This Chicken Yakisoba Will Become Your New Weeknight Obsession
- Perfectly Seared Protein: By using high-heat techniques, we achieve chicken thigh chunks with crispy, charred edges that provide a smoky depth.
- Complex Umami Profile: The homemade yakisoba sauce is thick and glistening, clinging to every strand of noodle for maximum flavor delivery.
- Textural Harmony: We balance the soft, chewy yakisoba noodles with the slight crunch of julienned carrots and the tender wilt of fresh green cabbage.
- Visual Brilliance: The garnishes of bright green scallions, toasted white sesame seeds, and crimson red ginger make this a “photograph-first” meal.
Essential Components for the Ultimate Umami Balance
To achieve the specific visual and flavor profile of a professional stir-fry, every ingredient serves a purpose. From the structural integrity of the noodles to the aromatic garnishes, here is what you need.
Chicken Thighs: 1 lb (450g) of boneless, skinless thighs are preferred over a standard chicken breast because the higher fat content allows for those iconic charred, crispy edges without drying out the meat. Cut them into bite-sized 1-inch (2.5cm) chunks for even cooking.
Yakisoba Noodles: You will need 3 packs (approx. 15.8oz/450g) of pre-cooked, steamed yakisoba noodles (mushi-chukamen). These wheat-based noodles have the perfect elasticity to absorb the thick, dark sauce without becoming mushy.
Green Cabbage: 2 cups (150g) of shredded green cabbage provides the essential “bulk” and sweetness. We aim for a “wilted but vibrant” state, where the cabbage is tender but still retains its structural green color.
Julienned Carrots: 1 large (100g) carrot, cut into thin matchsticks, adds a necessary crunch and a high-saturation orange pop to the finished bowl. Consistent slicing ensures they cook at the same rate as the cabbage.
The Glossy Dark Sauce: A combination of 4 tbsp (60ml) Worcestershire sauce, 2 tbsp (30ml) soy sauce, 1 tbsp (15g) oyster sauce, 1 tbsp (15g) ketchup, and 2 tsp (8g) sugar creates that shimmering, viscous coating seen in high-end food photography.
Aromatic Garnishes: You cannot skip the 1 tbsp (8g) toasted white sesame seeds, 2 thinly sliced scallions (green parts), 1 tbsp (10g) shredded red pickled ginger (beni shoga), and 1 tsp (2g) dried green seaweed flakes (aonori). These provide the final layers of acidity, earthiness, and visual texture.
Foundational Additions: 2 tbsp (30ml) of high-smoke point neutral oil (like vegetable or canola) is required for searing, along with a pinch of sea salt and cracked black pepper for initial seasoning.
Must-Have Equipment for Wok-Style Success
To replicate the deep textures and seared finishes of this Chicken Yakisoba, the right tools are non-negotiable. While a traditional carbon steel wok is ideal for “wok hei” (breath of the wok), a large 12-inch (30cm) heavy-bottomed cast iron or stainless steel skillet will also produce excellent results.
You will also need a sharp chef’s knife for precision julienning of the carrots and a pair of long kitchen tongs or a wooden spatula to toss the noodles effectively. A small ceramic bowl is helpful for pre-mixing the thick sauce, ensuring a smooth, emulsified consistency before it hits the hot pan.
Mastering the Art of the Stir-Fry: Step-by-Step Execution
Phase 1: Searing the Chicken for Maximum Texture
Heat your oil in a large skillet or wok over medium-high heat until it begins to shimmer. Pat the chicken thigh chunks dry with a paper towel—this is the secret to achieving those crispy dark edges. Place the chicken in the pan in a single layer and let it sit undisturbed for 3 minutes.
Listen for a vigorous sizzling sound; this indicates the Maillard reaction is taking place. Flip the chunks once you see a deep golden-brown crust forming. Continue cooking until the chicken is fully opaque and the edges are distinctly charred, then remove them from the pan and set aside.
Phase 2: Softening the Aromatics and Vegetables
In the same pan, utilizing the leftover rendered chicken fat, toss in your shredded cabbage and julienned carrots. Stir-fry for 2-3 minutes. You are looking for a specific visual cue: the cabbage should be wilted and pliable but still hold a vibrant green hue, while the carrots should soften slightly but retain their snap.
If the pan looks too dry, add a teaspoon of oil. Unlike a teriyaki chicken stir-fry, we want the vegetables to stay distinct rather than swimming in liquid at this stage.
Phase 3: The Noodle Integration
Add the yakisoba noodles directly into the pan with the vegetables. If using refrigerated noodles, you may need to add a splash of water (about 1 tbsp / 15ml) to help loosen the strands. Use your tongs to gently pull the noodles apart, incorporating them with the cabbage and carrots.
Allow the noodles to sit against the hot surface of the pan for 1 minute without moving them. This creates occasional “toasted” spots on the noodles, mimicking the texture of authentic street-vendor yakisoba.
Phase 4: Glazing with the Umami Sauce
Pour your pre-mixed dark brown sauce over the noodles. Immediately return the seared chicken to the pan. Toss everything vigorously for 2 minutes over high heat. The sauce will begin to reduce and thicken, transforming from a liquid into a viscous, shimmering glaze that coats every ingredient.
The final result should show visible specular highlights on the noodles, indicating the sauce has emulsified with the fats and sugars correctly. Remove from heat immediately to prevent the noodles from becoming overcooked.
Expert Tips for a Flawless Chicken Yakisoba
- Don’t Overcrowd the Pan: If you are doubling the recipe, cook in batches. Overcrowding leads to steaming rather than searing, and you will lose those beautiful charred chicken edges.
- Noodle Temperature: Bring your pre-cooked noodles to room temperature before adding them to the pan. Cold noodles are more prone to breaking when you try to separate them.
- Sauce Thickness: If your sauce feels too thin, let it bubble for an extra 30 seconds. The ketchup and sugar in the base act as natural thickeners to create that “glossy” look.
- Acid Balance: The red pickled ginger (beni shoga) isn’t just a garnish; its sharp acidity cuts through the richness of the dark sauce and chicken fat. Don’t skip it!
Creative Pairings and Side Dish Inspirations
While this Chicken Yakisoba is a complete meal on its own, it pairs beautifully with other Asian-inspired textures. For a lighter side, consider a crispy ramen salad to provide a cold crunch against the warm noodles. If you are hosting a larger dinner, serving this alongside Filipino style skewers or even a sweet pineapple chicken can create a diverse buffet of flavors.
For those who prefer a different protein profile, this technique works equally well with thinly sliced pork belly or even prawns. If you enjoy the flavor profile but want a pasta-fusion twist, you might also enjoy exploring a spicier noodle variety.
Storage, Reheating, and Meal Prep Advice
Refrigeration: Store leftover Chicken Yakisoba in an airtight container for up to 3 days. The noodles actually absorb more flavor as they sit, though they may lose a bit of their initial chewiness.
Reheating: For the best results, reheat in a skillet over medium heat with a tiny splash of water to loosen the sauce. Avoid the microwave if possible, as it can make the cabbage soggy and the chicken rubbery.
Freezing: We do not recommend freezing this dish, as the texture of the steamed noodles and the cabbage changes significantly upon thawing, becoming overly soft.
Frequently Asked Questions About Japanese Stir-Fry
Yes, you can use chicken breast, but you must be careful not to overcook it. Thighs are recommended because they stay juicy and allow for better charring at high temperatures.
Ensure you use pre-cooked steamed noodles and don’t over-boil them. Stir-fry them on high heat quickly so they sear rather than steam with the vegetables.
If you cannot find beni shoga, you can use the pink pickled ginger usually served with sushi, though the flavor is slightly sweeter and less sharp.
The combination of Worcestershire sauce and soy sauce provides the dark color, while the sugar and ketchup caramelize in the hot pan to create a shimmering, viscous texture.
While both are wheat-based, Yakisoba noodles are usually steamed and slightly coated in oil before packaging, making them ideal for stir-frying without sticking. Ramen noodles are typically boiled in soup.
The Final Plate: Authentic Chicken Yakisoba Recipe
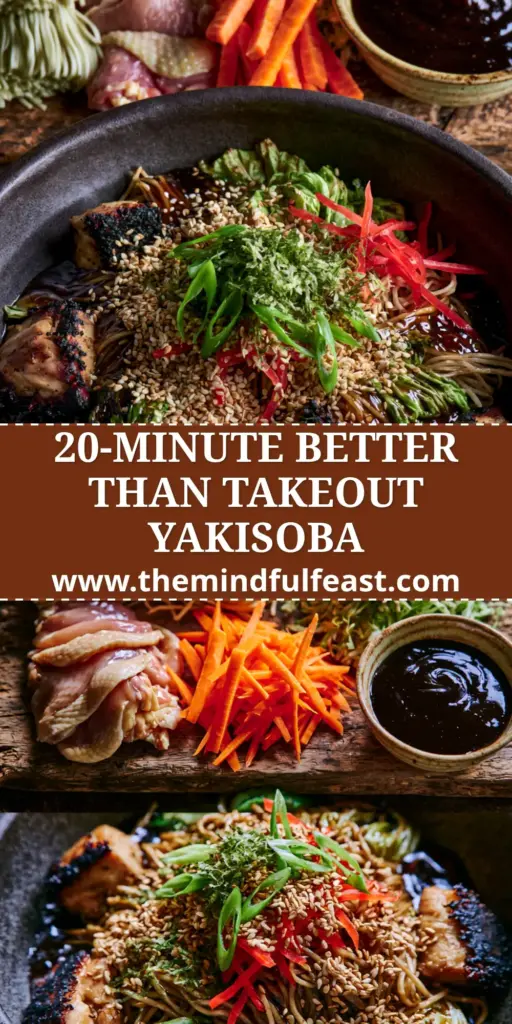
Chicken Yakisoba: The Ultimate Guide to Authentic Japanese Stir-Fried Noodles
Ingredients
Equipment
Method
- In a small bowl, whisk together the Worcestershire sauce, soy sauce, oyster sauce, ketchup, and sugar until smooth and glossy.
- Heat oil in a large skillet over medium-high heat. Add chicken thighs and sear until edges are charred and crispy, about 5-6 minutes. Remove and set aside.
- Add cabbage and carrots to the pan. Stir-fry for 2-3 minutes until the cabbage is wilted but still vibrant green.
- Add noodles and a splash of water. Toss until separated. Add chicken and sauce back to the pan, tossing for 2 minutes until the sauce is thick and glistening.
- Serve in bowls garnished with scallions, sesame seeds, red ginger, and seaweed flakes.
Notes
If you can't find beni shoga, pickled sushi ginger is a suitable substitute.
Bring the Taste of Japan Home
This Chicken Yakisoba recipe proves that you don’t need a professional kitchen to create food that looks and tastes like art. By focusing on the sear of the chicken and the gloss of the sauce, you bring professional culinary techniques into your daily routine. We would love to see your creations! Share your photos on social media and be sure to follow us on Pinterest for more visually stunning recipe inspiration.