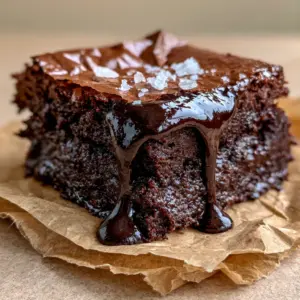
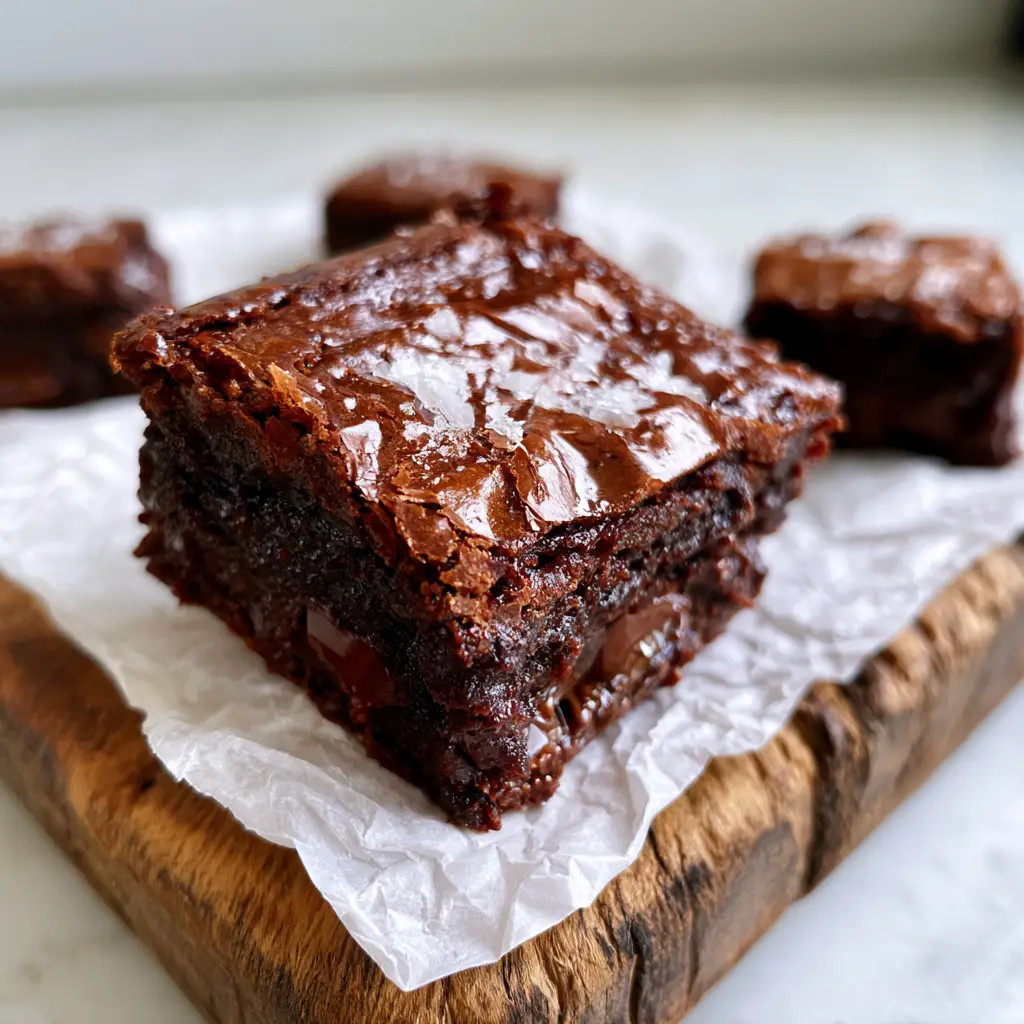
There is a specific kind of magic that happens when high-quality chocolate meets precision baking. This Fudgy Brownie Recipe isn’t just another dessert; it is a masterclass in texture, delivering an ultra-dense, gooey interior that contrasts perfectly against a paper-thin, shiny crinkle crust.
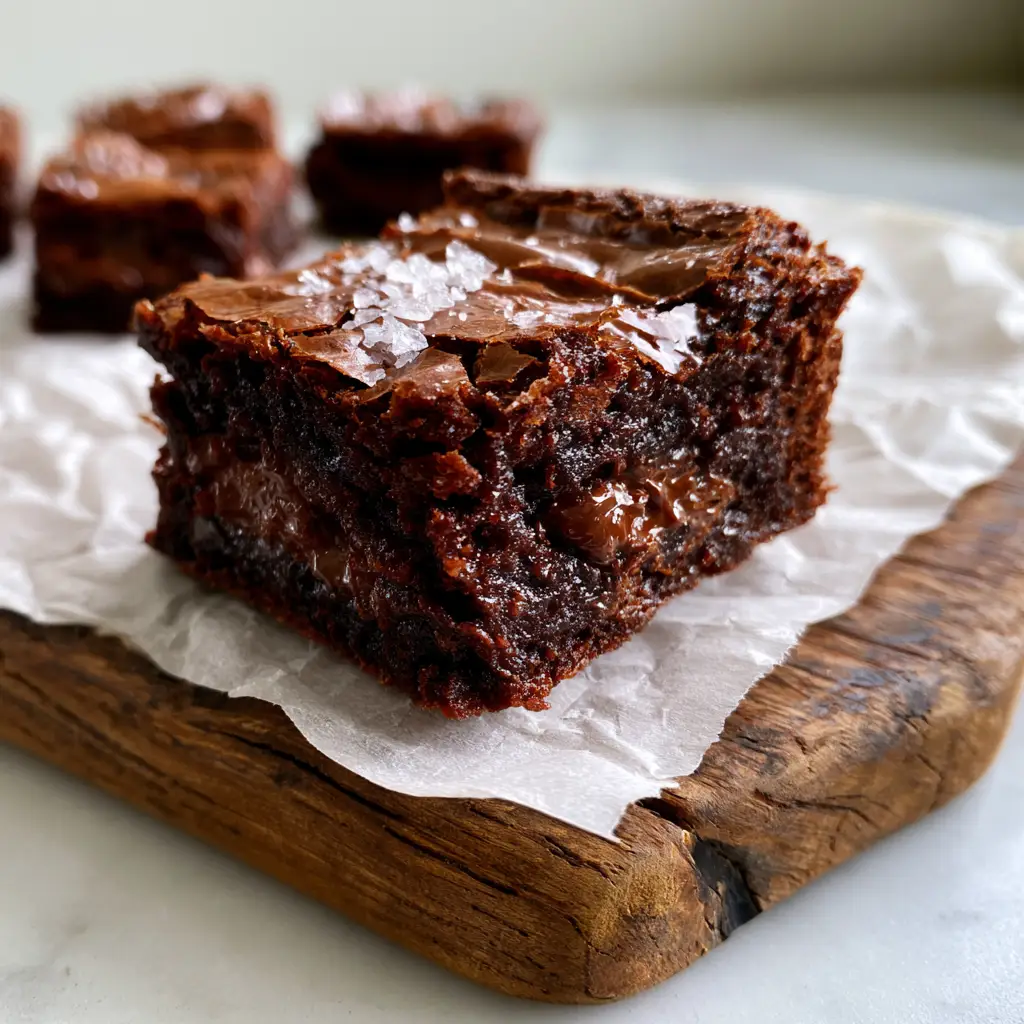
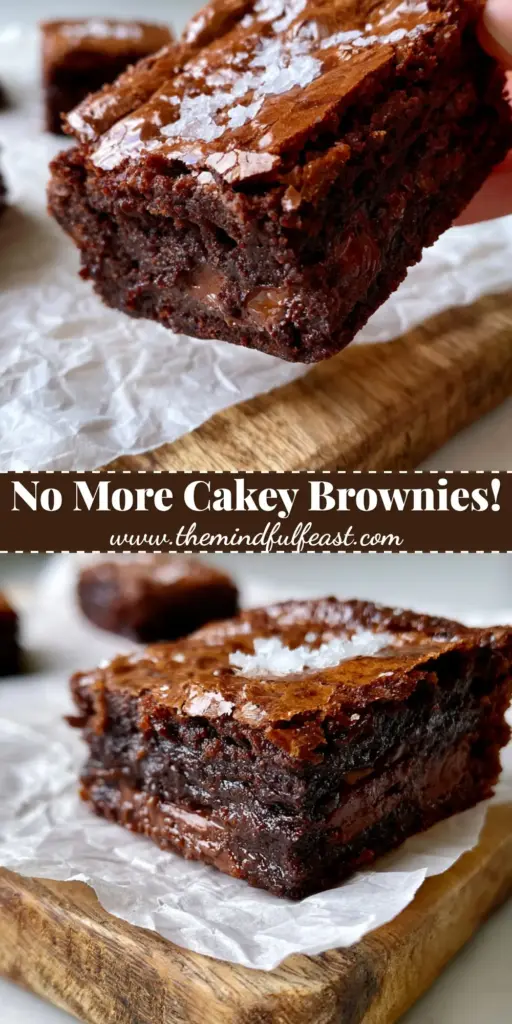
If you have ever scrolled through social media and drooled over a handheld photo of a brownie being lifted from rustic parchment paper, you know exactly the aesthetic we are chasing. We are talking about deep, dark brown layers so moist they practically melt on your tongue, punctuated by pockets of melting semi-sweet chocolate chunks.
Achieving this level of decadence requires more than just mixing ingredients; it requires understanding the science of sugar dissolution and fat emulsification. By the end of this guide, you will be producing bakery-quality squares adorned with flaky sea salt and rich chocolate crumbs that look like they belong in a professional food shoot.
The Anatomy of an Ultra-Dense Chocolate Masterpiece
What sets this Fudgy Brownie Recipe apart from the cake-like varieties found in boxes? It all comes down to the ratio of fat to flour and the specific technique used to create that signature top. Here is what you can expect from every single bite:
- The Iconic Crinkle Top: A delicate, meringue-like crust that shatters slightly when bitten, providing a necessary structural contrast to the dense base.
- Molten Chocolate Pockets: By folding in semi-sweet chocolate chunks rather than just chips, you create pools of liquid gold that remain soft even after cooling.
- Ultra-Moist Crumb: The interior remains extremely moist and dense, avoiding the dry, spongy texture often associated with over-leavened brownies.
- Flavor Complexity: A generous sprinkle of flaky white sea salt crystals cuts through the richness, elevating the dark cocoa notes to new heights.
Foundational Elements for the Perfect Fudgy Brownie Recipe
Every ingredient in this list serves a dual purpose: providing structural integrity and delivering intense flavor. We have calculated these measurements to ensure the perfect moisture balance while maintaining that handheld stability.
Unsalted Butter: 1 cup (225g). Butter provides the fat necessary for a fudgy mouthfeel and carries the flavor of the cocoa; using unsalted allows you to control the seasoning precisely.
Semi-Sweet Chocolate (70% Cacao): 8 oz (225g). We melt half of this into the batter for density and chop the other half into chunks for those visible melting pockets seen in the visual blueprint.
Granulated Sugar: 1 ½ cups (300g). Sugar is not just a sweetener; when whisked vigorously with eggs, it creates the crackly top that defines a professional Fudgy Brownie Recipe.
Light Brown Sugar: ½ cup (100g). The molasses in brown sugar adds a deep caramel note and contributes to the “gooey” factor by attracting moisture.
Large Eggs: 3 units, at room temperature. Room temperature eggs emulsify more easily into the fats, ensuring a smooth, cohesive batter that rises just enough without becoming cakey.
Pure Vanilla Extract: 1 tbsp (15ml). A high-quality vanilla acts as a flavor enhancer, making the chocolate taste “more like chocolate.”
All-Purpose Flour: 1 cup (125g). We use a relatively low amount of flour to ensure the brownies remain dense rather than bread-like.
Dutch-Process Cocoa Powder: ½ cup (45g). This cocoa is treated with alkali to neutralize acidity, resulting in a darker color and a smoother, more mellow chocolate flavor.
Fine Sea Salt: ½ tsp (3g). This foundational salt is whisked into the dry ingredients to balance the sugars within the batter.
Flaky Sea Salt: 1 tsp (for garnish). These large, crunchy crystals are applied post-bake to provide the visual and textural contrast seen in our rustic presentation.
The Baker’s Toolkit: Essential Gear for Success
To achieve the specific aesthetic of a freshly cut brownie lifted from a rustic wooden cutting board, you need the right tools. A standard 8×8 inch (20×20 cm) square metal baking pan is superior to glass for brownies, as metal conducts heat more efficiently, creating those crisp edges.
You will also need professional-grade parchment paper. Don’t just grease the pan; line it with a “sling” of parchment so you can lift the entire block out once cooled, ensuring clean cuts and rich chocolate crumbs along the edges. A sharp chef’s knife is essential for slicing through the semi-sweet chunks without crushing the delicate crinkle top.
Mastering the Batter: Step-by-Step Culinary Excellence
Preparing the Chocolate Base
Preheat your oven to 350°F (175°C). Start by melting your butter and 4 oz (113g) of the semi-sweet chocolate in a double boiler or in short bursts in the microwave. Stir until the mixture is glossy and smooth; this liquid chocolate is the secret to the ultra-dense interior of our Fudgy Brownie Recipe.
The Secret to the Crinkle Top
In a large bowl, combine the granulated sugar, brown sugar, and eggs. Use a whisk or a hand mixer to beat these together for at least 3-5 minutes. You are looking for a “ribbon stage” where the mixture becomes pale and doubled in volume—this aeration of the eggs and sugar is what creates the paper-thin, shiny top crust.
Integrating the Dry Ingredients
Gently fold the melted chocolate mixture into the egg mixture. Sift in your flour, cocoa powder, and fine sea salt. Use a spatula to fold until *just* combined. Over-mixing at this stage will develop gluten, turning your fudgy masterpiece into a chewy brownie recipe which is delicious, but not the ultra-dense goal we are aiming for here.
Adding Texture and Depth
Fold in the remaining 4 oz (113g) of chopped semi-sweet chocolate chunks. Pour the batter into your lined pan, smoothing the top with a spatula. You should see a slight sheen on the surface already. If you prefer a faster version for a midnight snack, you might look at a microwave brownie, but for this gourmet result, the oven is mandatory.
The Bake and The Sensory Cues
Bake for 22-27 minutes. Look for the visual cue: the edges should be set and slightly pulled away from the parchment, while the center should have a slight wobble. The top should be incredibly shiny with fine cracks appearing across the surface. Do not overbake! A toothpick inserted should come out with a few moist, rich chocolate crumbs attached.
Pro-Level Secrets for That Signature Paper-Thin Crust
If your brownies come out matte instead of shiny, it is usually because the sugar didn’t fully dissolve. By whisking the eggs and sugar until they are frothy and pale, you create a meringue-like layer that rises to the top during baking. This is a common technique used in fudgy cocoa brownies to ensure that professional finish.
Another tip: always use high-fat European-style butter if possible. The lower water content prevents the flour from hydrating too much, keeping the texture dense and gooey rather than cake-like. Finally, the flaky sea salt must be added the moment the pan comes out of the oven so the crystals adhere to the cooling chocolate.
Preserving Your Chocolate Treasure: Storage and Beyond
These brownies are even better the next day as the flavors have time to mature. Store them in an airtight container at room temperature for up to 4 days. If you prefer an almost fudge-like consistency, keep them in the refrigerator.
For long-term storage, wrap individual squares in plastic wrap and freeze them in a heavy-duty freezer bag for up to 3 months. When you are ready for a treat, let them thaw at room temperature or warm them slightly for that “freshly cut” gooey experience.
Perfect Pairings: What to Serve with Rich Brownies
While this Fudgy Brownie Recipe is a star on its own, it pairs beautifully with other homemade delights. For a decadent brunch, serve a square alongside a breakfast skillet recipe to balance the savory with the sweet.
If you are hosting a themed dinner, these brownies make a great follow-up to a hearty pepper steak recipe. For a lighter contrast, a refreshing mango boba recipe provides a fruity counterpoint to the intense dark chocolate.
Common Curiosities: Fudgy Brownie Recipe FAQs
This recipe uses both for the best texture. The melted chocolate provides density and a fudgy crumb, while the Dutch-process cocoa powder adds deep color and intense chocolate flavor.
The key is to whisk the eggs and sugar vigorously for 3-5 minutes until they become pale and frothy. This dissolves the sugar and creates a thin meringue-like layer that rises to the top during baking.
Look for a slight wobble in the center and edges that have just begun to set. A toothpick inserted into the center should come out with moist crumbs, not liquid batter, and definitely not clean.
Dutch-process cocoa powder is recommended for this recipe because it is less acidic and results in a darker, richer color that matches the ultra-dense visual profile we want.
Cakey brownies usually result from too much flour or the addition of leavening agents like baking powder. To keep them fudgy, use a higher fat-to-flour ratio and avoid over-mixing the batter.
The Ultimate Fudgy Brownie Recipe Card
Fudgy Brownie Recipe: The Ultimate Guide to Shiny Crinkle Tops
Ingredients
Equipment
Method
- Preheat your oven to 350°F (175°C) and line an 8x8 inch baking pan with parchment paper, leaving an overhang on the sides.
- Melt the butter and 4 oz (113g) of the chocolate together in a bowl until smooth and glossy.
- In a large bowl, vigorously whisk the granulated sugar, brown sugar, and eggs for 3-5 minutes until pale, thick, and doubled in volume.
- Fold in the vanilla and the melted chocolate mixture. Sift in the flour, cocoa powder, and fine salt, folding until just combined.
- Fold in the remaining 4 oz (113g) of semi-sweet chocolate chunks.
- Pour into the pan and bake for 22-27 minutes. The top should be shiny and crinkled, and the center should have a slight wobble.
- Remove from the oven and immediately sprinkle with flaky sea salt. Allow to cool completely in the pan to ensure clean cuts and rich chocolate crumbs.
Notes
Cool the brownies completely before slicing to maintain the gooey interior structure.
Closing & Call to Action
Mastering the Fudgy Brownie Recipe is a rite of passage for every home cook. The combination of the ultra-dense interior, melting chocolate chunks, and that elusive shiny crinkle top creates a sensory experience that is truly unmatched. Whether you are serving them on a rustic wooden board or packing them for a gift, they are guaranteed to impress.
Did you achieve the perfect crinkle? We want to see your results! Leave a comment below or share your photos on social media. For more visual inspiration and decadent dessert ideas, be sure to follow us on Pinterest and save this recipe to your “Baking Goals” board!