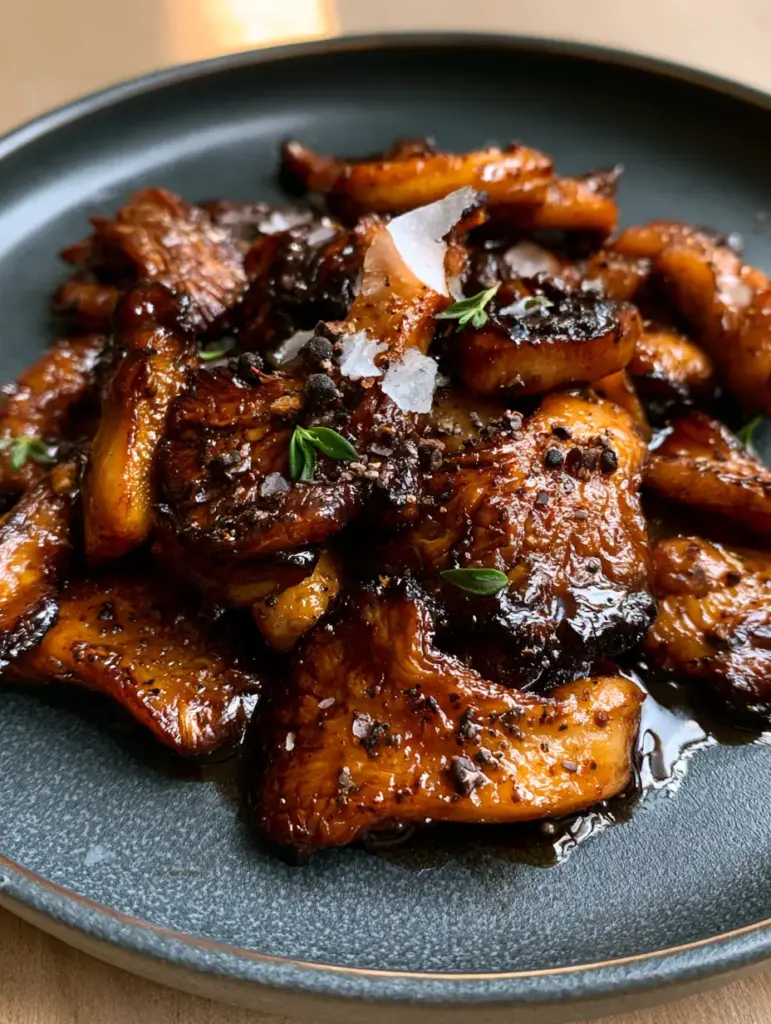
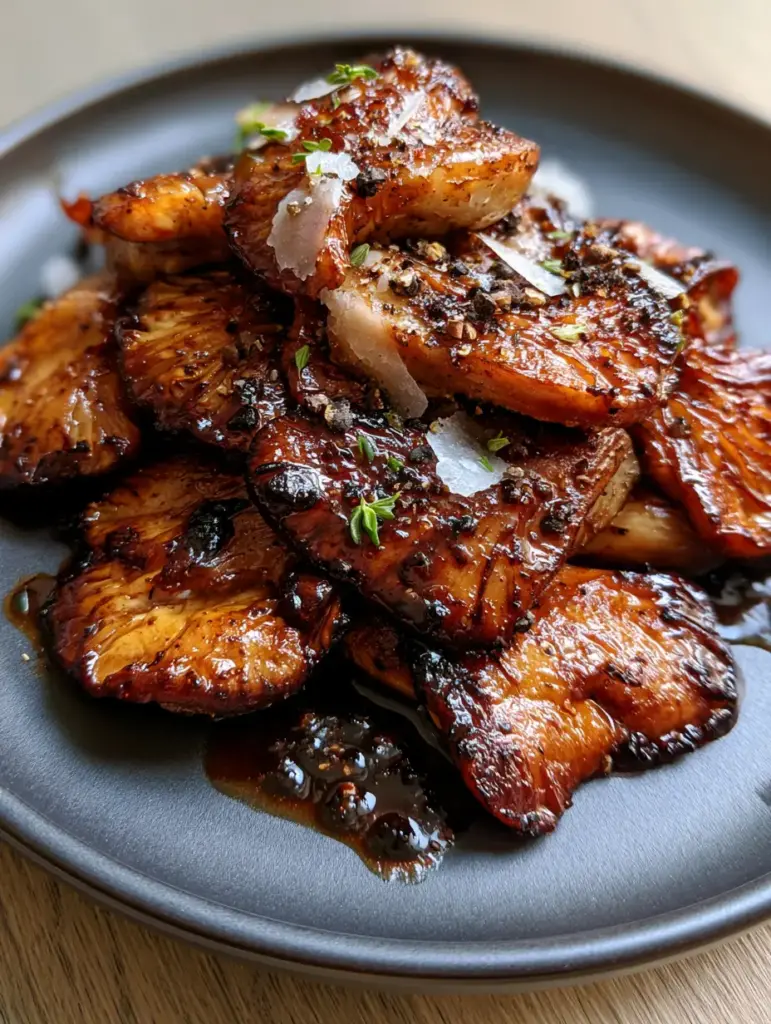
There is a specific culinary magic that happens when high-heat searing meets the deep, complex sweetness of a vinegar reduction. These Balsamic Glazed Oyster Mushrooms represent that intersection perfectly. Imagine a heap of mushrooms so deeply browned they border on crispy, their ruffled edges charred to perfection, all coated in a thick, dark, glossy balsamic umami glaze that pools elegantly in every crevice.
When you place these on a matte charcoal ceramic plate, the contrast is breathtaking. The soft natural daylight catching the glistening sauce highlights the texture of the mushroom ruffles, making them look as meaty as they taste. Sprinkled with large flakes of Maldon sea salt and cracked peppercorns, this dish isn’t just a side; it’s a centerpiece of authentic, high-quality home cooking.
Whether you are looking for a sophisticated plant-based appetizer or a robust accompaniment to a main course, these mushrooms deliver a flavor profile that is both rustic and refined. The addition of fresh, tiny green thyme leaves adds a floral top note that cuts through the richness of the reduction, creating a balanced bite every single time.
Why You Will Crave These Glossy Balsamic Mushrooms
- Meaty Texture: By using oyster mushrooms and high-heat techniques, we achieve a satisfying “steak-like” bite that is rare in vegetable dishes.
- Visual Masterpiece: The dark, glistening glaze against the charred edges creates a professional restaurant-quality aesthetic right in your kitchen.
- Umami Bomb: The combination of searing and balsamic reduction concentrates flavors, delivering an intense savory experience.
- Quick Yet Sophisticated: You can achieve this complex look and taste in under 25 minutes, making it perfect for both weeknights and dinner parties.
- Scientifically Sound: We utilize the Maillard reaction to ensure every mushroom has those signature crispy charred edges described in our visual blueprint.
The Essential Pantry for Deep Umami Flavor
To achieve the specific visual and flavor profile of these Balsamic Glazed Oyster Mushrooms, every ingredient serves a dual purpose: structural integrity and sensory impact. We don’t just want flavor; we want that specific “thick, dark, glossy” look.
Fresh Oyster Mushrooms: 1 lb (450g). These are the star of the show. Their ruffles are perfect for catching the glaze, and their low moisture content (compared to button mushrooms) allows them to sear rather than steam.
High-Smoke Point Oil: 2 tbsp (30ml). Use avocado or grapeseed oil. Since we are aiming for charred edges, we need an oil that won’t smoke out the kitchen before the mushrooms get crispy.
Unsalted Butter: 1 tbsp (15g). This is our “invisible” foundational ingredient. Adding butter at the end emulsifies with the balsamic to create that glistening, reflective sheen seen in the visual prompt.
Aged Balsamic Vinegar: 1/4 cup (60ml). The quality matters here. A thicker, aged balsamic provides the base for the dark glaze without needing excessive sugar.
Honey or Maple Syrup: 1 tsp (7g). This tiny addition ensures the glaze is “thick” and “glossy,” helping it pool in the crevices of the mushroom ruffles.
Fresh Thyme: 3-4 sprigs. We use only the whole tiny leaves for a pop of green color and a woodsy aroma that complements the earthiness of the fungi.
Maldon Sea Salt & Cracked Black Pepper: To taste. The large flakes of salt are critical for that “handheld smartphone photo” aesthetic, providing a bright white contrast against the dark glaze.
Must-Have Tools for the Perfect Sear
To replicate the deep browning and crispy edges, your choice of equipment is just as important as your ingredients. You cannot achieve a proper sear in a crowded, thin-bottomed non-stick pan.
A Cast Iron Skillet or a heavy-bottomed stainless steel pan is mandatory. Cast iron retains heat exceptionally well, which is necessary to create the charred edges described in the blueprint. If the temperature drops when the mushrooms hit the pan, they will release water and stew in their own juices.
You will also need Metal Tongs. These allow you to press the mushrooms down firmly against the hot surface, ensuring maximum contact and more efficient browning. Finally, a Small Whisk is helpful for emulsifying the balsamic and honey into a smooth, thick reduction before it hits the pan.
Mastering the Perfect High-Heat Sear
Preparing the Mushrooms for Maximum Surface Area
Do not wash your oyster mushrooms under running water; they act like sponges. Instead, wipe them with a damp paper towel. Tear the larger mushrooms into individual “petals” or small clusters rather than slicing them with a knife.
Tearing creates irregular, shaggy edges. These irregular surfaces are exactly what catch the heat to become “crispy charred edges” and provide the “ruffles” where the glaze will eventually pool.
The Art of the Dry Sear
Heat your skillet over medium-high heat until a drop of water flicked onto the surface dances and evaporates instantly. Add your 2 tbsp (30ml) of oil and swirl to coat. Carefully lay the mushrooms in a single layer—do not overcrowd the pan.
Here is the secret: do not touch them for at least 3-4 minutes. You want to hear a consistent sizzle. Look for the edges to begin curling and turning a deep golden brown. If you move them too early, you lose the Maillard reaction that creates the visual browning seen in the charcoal plate photo.
Deglazing and Building the Glossy Glaze
Once the mushrooms are deeply browned and crispy on both sides, turn the heat down to medium. Push the mushrooms to the outer edges of the pan and pour the balsamic vinegar and honey into the center. It will bubble vigorously.
Stir the liquid constantly as it reduces. Once it has thickened enough to coat the back of a spoon, toss the mushrooms back into the center. Add the 1 tbsp (15g) of butter. As the butter melts, it will combine with the vinegar to create that “thick, dark, glossy balsamic umami glaze” that makes the mushrooms glisten.
Expert Tips for Success
- Don’t Salt Early: Salt draws out moisture. If you salt the mushrooms at the start, they will become limp and soggy. Only add the Maldon sea salt at the very end for crunch and flavor.
- The “Weight” Trick: For extra crispy edges, place another heavy pan on top of the mushrooms for the first 2 minutes of searing to press them into the heat.
- Room Temperature Mushrooms: Cold mushrooms from the fridge will drop the pan temperature instantly. Let them sit out for 15 minutes before cooking.
- Control the Glaze: If the glaze becomes too thick or tacky, add a teaspoon of water to loosen it back up to a “pooling” consistency.
Serving Suggestions for a Complete Meal
These Balsamic Glazed Oyster Mushrooms are incredibly versatile. To lean into the umami profile, serve them over a bed of creamy orzo and mushrooms for a double dose of fungal flavor. The richness of the orzo balances the acidity of the balsamic beautifully.
For a meat-heavy dinner, these act as the perfect topping for an apple butter glazed pork tenderloin. The sweetness of the apple butter and the tang of the balsamic glaze create a sophisticated sweet-and-savory pairing. Alternatively, stack them high on a juicy turkey burger to elevate a casual meal into a gourmet experience.
Storage, Reheating & Freezing
Storage: These mushrooms are best enjoyed immediately to preserve the crispy edges. However, you can store leftovers in an airtight container in the refrigerator for up to 3 days.
Reheating: Do not use a microwave, as it will make the mushrooms rubbery. Reheat in a dry skillet over medium heat until warmed through. You may need a splash of balsamic to refresh the glossy look.
Freezing: We do not recommend freezing this dish. The cellular structure of the mushrooms will break down upon thawing, and the glossy glaze will lose its emulsion, resulting in a watery mess.
Frequently Asked Questions
While you can, oyster mushrooms are preferred for their unique ruffled texture which catches the glaze better and their ability to become ‘meaty’ and charred when seared at high heat.
The very bottom ‘woody’ base where the cluster connects should be trimmed, but the individual stems of oyster mushrooms are tender and delicious—no need to remove them!
To make this recipe 100% vegan, simply swap the butter for a high-quality vegan butter substitute or extra olive oil, and use maple syrup instead of honey for the glaze.
An aged balsamic vinegar is best as it is naturally thicker and sweeter. If using a thin, inexpensive balsamic, you may need to reduce it for longer or add an extra teaspoon of honey to achieve the glossy sheen.
Sogginess usually occurs if the pan is overcrowded or if you wash the mushrooms with water. Oyster mushrooms act like sponges; wipe them with a damp cloth instead. Also, ensure your pan is piping hot before adding them.
The Perfect Balsamic Glazed Oyster Mushrooms Recipe
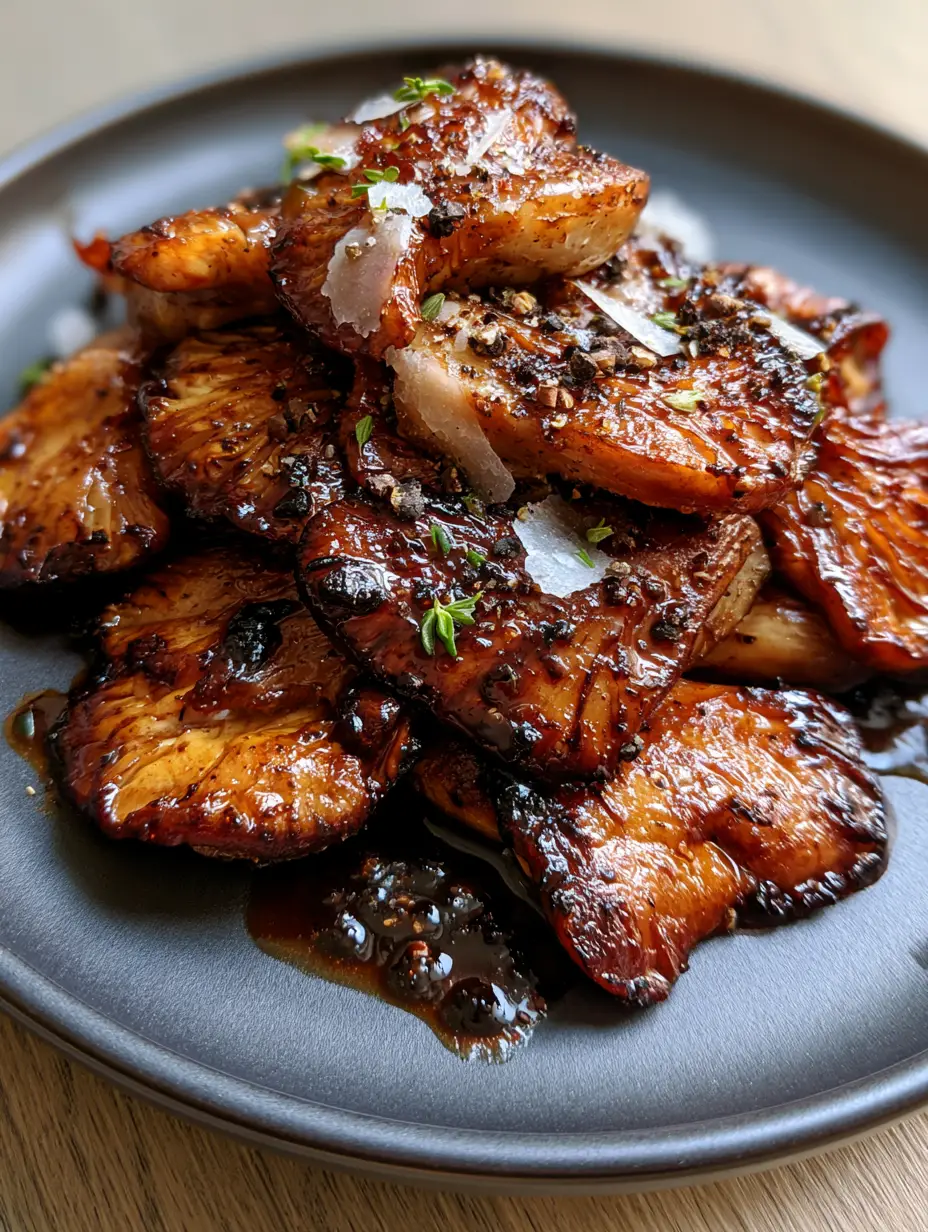
Balsamic Glazed Oyster Mushrooms: The Ultimate Umami Side Dish
Ingredients
Equipment
Method
- Wipe the oyster mushrooms clean with a damp towel. Tear them into bite-sized clusters or individual petals to create irregular edges for better charring.
- Heat oil in a cast iron skillet over medium-high heat until shimmering. Add mushrooms in a single layer and sear without moving for 3-4 minutes until deep golden-brown charred edges appear.
- Flip the mushrooms and cook for another 2 minutes. Reduce heat to medium, add balsamic vinegar and honey. Stir constantly as the liquid bubbles and reduces into a thick, dark sauce.
- Add the butter to the pan, swirling until melted and emulsified into a glistening glaze that coats every ruffle of the mushrooms.
Notes
Don't add salt until the very end to ensure the edges stay crispy.
Closing & Call to Action
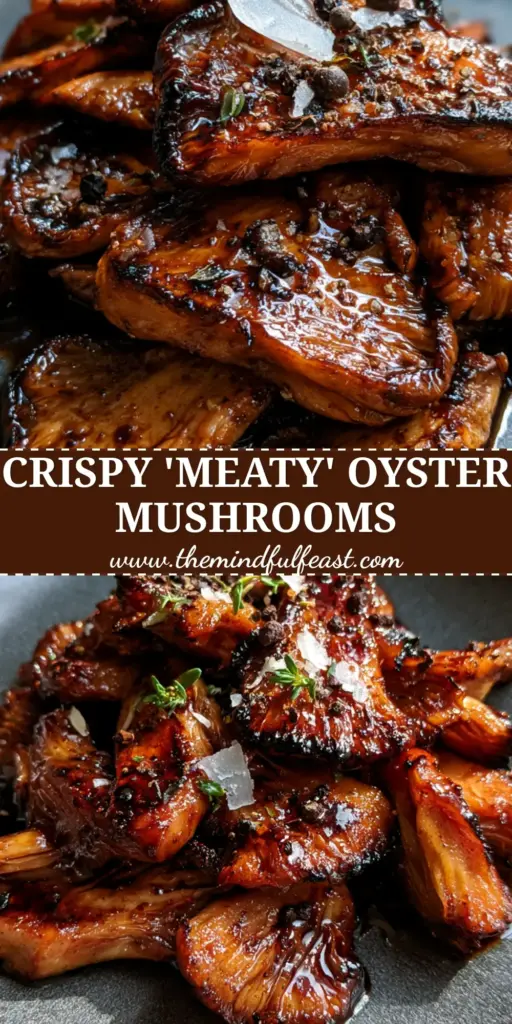
Creating restaurant-quality Balsamic Glazed Oyster Mushrooms at home is all about heat control and high-quality ingredients. The contrast between the charred, crispy edges and the thick, glossy reduction makes this a dish you will return to time and time again. The visual appeal of those glistening ruffles on a charcoal plate is enough to make anyone’s mouth water.
If you enjoyed this recipe, please leave a comment below and let us know how your sear turned out! Don’t forget to follow us on Pinterest for more visually stunning recipe inspiration. Share your creations by tagging @themindfulfeast—we love to see your home cooking masterpieces!