Coconut chicken tenders are the perfect fusion of tropical sweetness and savory crunch. If you have been searching for a restaurant-quality meal that feels like a getaway on a plate, these golden-brown, coconut-crusted delights are the answer. Every bite delivers a satisfying snap from the toasted shredded coconut, followed by tender, juicy chicken that melts in your mouth.
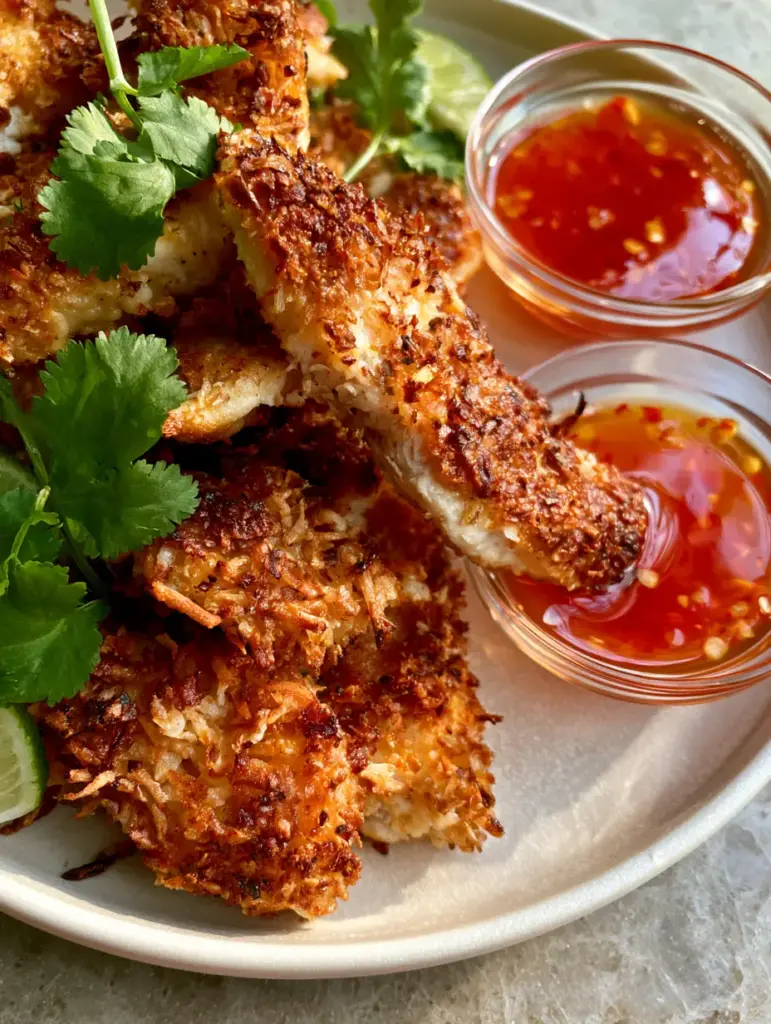
The secret to achieving that iconic, high-end food photography look lies in the contrast between the vibrant red sweet chili dipping sauce and the fresh green cilantro. Whether you are hosting a summer gathering or looking to spice up your weeknight routine, these tenders offer a visual and culinary experience that is truly unmatched. We have meticulously tested this recipe to ensure the crust stays attached and the coconut toasts to a perfect amber hue without burning.
Why These Golden-Brown Coconut-Crusted Tenders Win Every Time
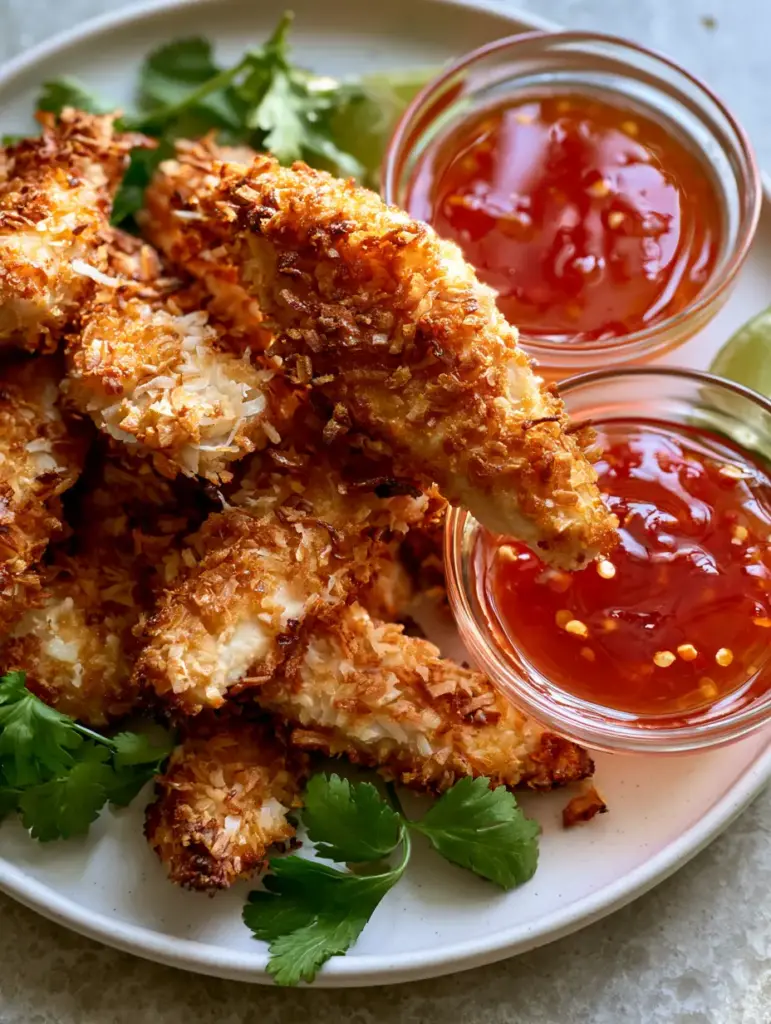
- Unrivaled Texture: We combine shredded coconut with a touch of panko to achieve the ultra-crispy visual confirmed in our blueprint.
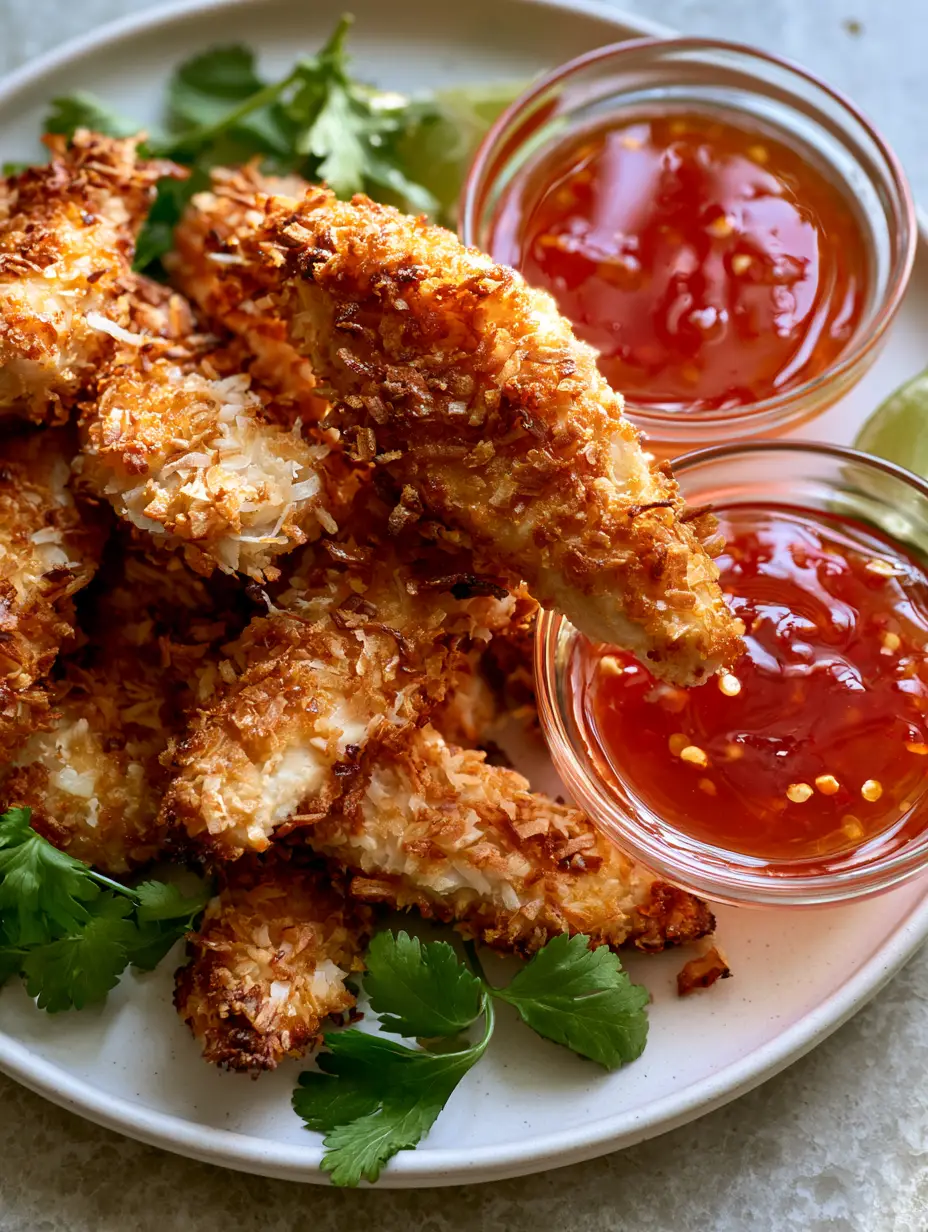
- Visual Contrast: The bright red chili seeds in the dipping sauce against the off-white ceramic plate create a stunning presentation.
- Perfectly Balanced Flavors: The natural sweetness of the coconut is cut by the acidity of fresh lime wedges and the heat of the chili.
- Scientifically Sound Coating: A three-stage dredging process ensures the toasted shredded coconut flakes adhere perfectly to every inch of the chicken.
Essential Ingredients for the Perfect Coconut Chicken Tenders
To recreate the exact dish seen in our visual guide, you will need a specific set of ingredients. We have balanced the moisture levels and fats to ensure the chicken remains succulent while the exterior develops that characteristic crunch.
Chicken Tenders: Use 1.5 lbs (680g) of fresh chicken tenderloins. If you are using full breasts, ensure you slice them into uniform strips to guarantee even cooking times, similar to our classic chicken breast techniques.
Unsweetened Shredded Coconut: You will need 2 cups (150g) of finely shredded coconut. Unsweetened is vital; sweetened coconut contains too much sugar, which will caramelize and burn before the chicken is fully cooked.
Panko Breadcrumbs: 1 cup (60g) of panko is the “invisible” hero here. It provides the structural integrity needed to support the coconut flakes and creates those jagged, crispy peaks.
All-Purpose Flour: 1/2 cup (64g) of flour serves as the primer for our coating. It absorbs surface moisture, allowing the egg wash to stick firmly to the protein.
Large Eggs: 3 large eggs act as the culinary glue. They provide the protein structure that binds the coconut and panko to the flour-dredged chicken.
Seasonings: 1 tsp (6g) sea salt, 1/2 tsp (1g) black pepper, and 1/2 tsp (1g) garlic powder. These enhance the natural flavors without overpowering the delicate coconut aroma.
High-Smoke Point Oil: 1/2 cup (120ml) of refined coconut oil or avocado oil. This is necessary for searing the tenders to a deep golden brown without creating smoke in your kitchen.
The Science of the Three-Step Dredging Station
Achieving the “ultra-crispy” look from the Midjourney prompt requires more than just tossing chicken in coconut. You must create a professional dredging station to ensure the coating doesn’t slide off in the pan.
First, the flour coating creates a dry surface. Next, the egg wash provides a sticky middle layer. Finally, the coconut-panko mixture is pressed firmly into the chicken. This pressure is the most important step; you are physically embedding the toasted shredded coconut flakes into the egg layer to ensure they don’t fall off during the flip.
If you love this tropical flavor profile, you might also enjoy our crispy coconut shrimp which uses a similar technique for a seafood twist. The principles of moisture control remain the same across all coconut-based coatings.
Required Kitchen Tools for Professional Results
To achieve the neutral stone surface aesthetic and the perfectly cooked interior, you will need the following equipment:
- Large Cast Iron or Non-Stick Skillet: Essential for even heat distribution to get that uniform golden-brown crust.
- Wire Cooling Rack: Placing cooked tenders on a rack prevents steam from making the bottom of the crust soggy.
- Shallow Breading Bowls: Three wide bowls make the dredging process efficient and clean.
- Instant-Read Thermometer: The only way to ensure the chicken reaches 165°F (74°C) without overcooking.
Step-by-Step Instructions to Coconut Perfection
Preparing the Chicken and Dredge
Pat the 1.5 lbs (680g) of chicken tenders dry with paper towels. This is a critical step; any surface moisture will cause the flour to clump and eventually lead to the breading falling off. In three separate shallow bowls, set up your station: Bowl 1 with flour and seasonings; Bowl 2 with whisked eggs; Bowl 3 with the shredded coconut and panko mix.
Coating for Maximum Crunch
Dip each tender into the flour, shaking off the excess until only a fine dust remains. Submerge it in the egg wash, then place it into the coconut mixture. Use your palms to firmly press the coconut onto the chicken. You want a thick, visible layer of toasted shredded coconut flakes, just like the visual blueprint suggests.
The Searing Process: Visual and Sensory Cues
Heat your oil in the skillet over medium heat. To test if the oil is ready, drop a single coconut flake in; if it sizzles immediately, you are ready. Carefully lay the tenders in the pan, ensuring they do not touch. Crowding the pan will lower the temperature and lead to oily, soggy chicken.
Cook for 3-4 minutes per side. Look for the visual cue of the coconut turning a rich, deep amber. Listen for a consistent, gentle sizzling sound. If the coconut is browning too fast but the chicken feels soft, lower the heat slightly. The final result should be ultra-crispy coconut-crusted chicken tenders with a firm texture.
Garnishing for the “Handheld Smartphone” Aesthetic
Once cooked to 165°F (74°C), transfer the tenders to an off-white ceramic plate. To match the prompt, pile them high to create depth. Add a small glass bowl of vibrant red sweet chili sauce to the side. Finish the plate with a handful of fresh green cilantro leaves and several sliced lime wedges. The lime isn’t just for show; the citric acid cuts through the richness of the fried coconut perfectly.
Expert Tips for Success
- Temperature Control: If your oil is too hot, the coconut flakes will burn before the chicken is safe to eat. Maintain a steady medium heat.
- Use Fresh Limes: Squeezing fresh lime juice over the tenders immediately after frying helps the salt adhere and brightens the flavors.
- Press, Don’t Sprinkle: Actually press the chicken into the coconut pile. This ensures the “thick, golden-brown crust” described in our visual guide.
- Avoid Sweetened Coconut: Always double-check the label. Sweetened coconut is meant for tropical desserts and will burn instantly in a frying pan.
How to Store and Reheat Your Tenders
Coconut chicken tenders are best enjoyed fresh, but they can be stored in an airtight container in the refrigerator for up to 3 days. To maintain the crispy texture, avoid the microwave.
For reheating, place the tenders on a baking sheet in a 350°F (175°C) oven for 8-10 minutes. Alternatively, an air fryer at 340°F (170°C) for 4 minutes will revive that “ultra-crispy” crust without drying out the meat. This makes them a great option for leftovers, much like our easy meal-prep chicken.
What to Serve With Coconut Chicken Tenders
While the vibrant red sweet chili dipping sauce is the classic choice, you can expand your tropical spread with these pairings:
For a complete meal, serve these tenders alongside a fresh tropical salad or a side of jasmine rice. If you are looking for more international chicken inspiration, consider the bold spices of Middle Eastern Kabsa or the savory notes of Japanese Yakisoba. For a lighter lunch, these tenders work beautifully sliced on top of a crispy garden salad.
If you have extra chicken, you can even repurpose the leftovers into a creamy tropical pasta or a unique twist on baked chicken dishes.
Frequently Asked Questions
Yes! Spray the tenders generously with coconut oil spray and air fry at 375°F (190°C) for 10-12 minutes, flipping halfway through, until the coconut is toasted and the internal temp is 165°F.
To get that vibrant look, use a high-quality Thai sweet chili sauce and stir in a teaspoon of red pepper flakes to make the chili seeds more visible.
This occurs if you use sweetened shredded coconut or if the oil temperature is too high. Always use unsweetened coconut and maintain a steady medium heat in your skillet.
This usually happens because the chicken was too wet before dredging or the breading wasn’t pressed firmly enough into the meat. Ensure you pat the chicken dry and use your palms to firmly embed the coconut flakes during the final breading step.
The Ultimate Coconut Chicken Tenders Recipe Card
Coconut Chicken Tenders: The Ultimate Ultra-Crispy Tropical Recipe
Ingredients
Equipment
Method
- Pat the chicken tenders dry with paper towels to ensure the breading adheres.
- Place flour in one bowl, beaten eggs in a second, and the coconut/panko mixture in a third bowl.
- Dredge each tender in flour, dip in egg wash, and then press firmly into the coconut mixture until a thick crust forms.
- Heat oil in a skillet over medium heat. Fry tenders for 3-4 minutes per side until the crust is a toasted golden-brown and the internal temperature is 165°F (74°C).
- Plate the tenders on an off-white ceramic plate. Garnish with fresh cilantro sprigs and lime wedges. Serve with a bowl of sweet chili sauce topped with visible chili seeds.
Notes
Press the breading firmly into the meat to ensure it stays attached during frying.
Experience the Crunch: A Final Word
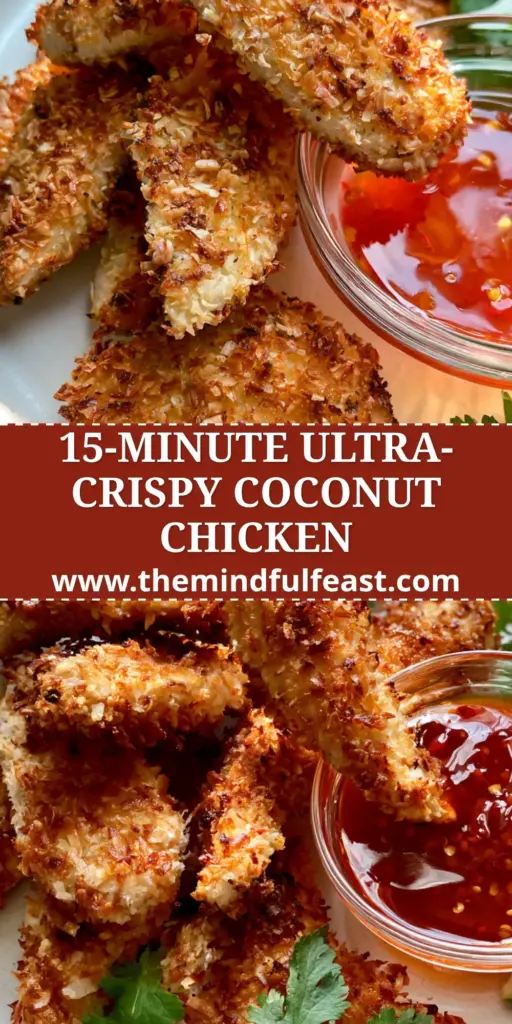
These Coconut chicken tenders are more than just a meal; they are a sensory experience. From the sound of the crunch to the vibrant colors of the chili sauce and cilantro, this dish is designed to impress. We hope this recipe brings a bit of tropical sunshine to your kitchen.
If you enjoyed this recipe, please leave a comment below and let us know how your crust turned out! Don’t forget to sign up for our newsletter for more elite culinary guides, and share your creations with us on Pinterest.