There is something primal and undeniably mouthwatering about steak kabobs sizzling over a high-heat flame. The sight of thick beef cubes developing a deep, caramelized crust while nestled against charred red onions and vibrant peppers is a culinary masterpiece. This recipe focuses on achieving that high-end food blog aesthetic: medium-rare steak glistening under a blanket of melting garlic herb butter.
When you bite into these steak kabobs, you aren’t just getting meat on a stick; you are experiencing a symphony of textures. The crunch of coarse sea salt, the bite of cracked black pepper, and the velvety richness of golden butter pools create an explosion of flavor. By following these professional techniques, you will master the art of the perfect sear and the ultimate compound butter finish.
Whether you are hosting a summer backyard gathering or looking for a high-protein weeknight dinner, these kabobs deliver. They bridge the gap between rustic outdoor cooking and refined gourmet dining. Let’s dive into the science of why this specific combination of ingredients creates the ultimate steak experience.
Why These Are the Absolute Best Steak Kabobs You Will Ever Make
- The Perfect Sear: We utilize high-smoke point oils and extreme heat to ensure deep charred grill marks while maintaining a juicy, medium-rare interior.
- Compound Butter Magic: The addition of melting garlic herb butter adds a glistening, wet surface that carries flavor into every crevice of the meat.
- Textural Contrast: Blistered red bell peppers and charred red onion petals provide a sweet, smoky counterpoint to the savory beef cubes.
- Visual Precision: Every element, from the vibrant green parsley flakes to the visible grains of coarse sea salt, is designed for maximum sensory appeal.
The Anatomy of a Perfect Kabob: Essential Ingredients
To achieve the result seen in professional food photography, you must choose your components with intention. We are looking for structural integrity and high flavor yields. Each ingredient serves a specific purpose in the Maillard reaction and the final flavor profile.
Top-Tier Beef Cubes: Use 1.5 lbs (680g) of top sirloin or ribeye cut into 1.5-inch (4cm) cubes. These cuts offer the ideal balance of fat and tenderness, holding their shape on the wooden skewers during the intense searing process.
Red Bell Peppers: You will need 2 large red bell peppers, cut into 1.5-inch (4cm) chunks. These provide the “blistered” effect mentioned in our visual blueprint, turning sweet and slightly smoky when exposed to direct heat.
Red Onion Petals: Use 1 large red onion, separated into individual petals. These caramelize at the edges, providing those beautiful charred margins that look as good as they taste.
The Garlic Herb Butter: This requires 4 tbsp (56g) of unsalted butter, 3 cloves of minced garlic, and 2 tbsp (8g) of finely chopped fresh parsley. This mixture creates the signature “golden pools” that drip down the sides of the seared beef.
Foundational Seasonings: Don’t overlook the 1 tsp (6g) of coarse sea salt and 1 tsp (2g) of cracked black pepper. These are added just before serving to maintain their visual grit and sharp flavor profile.
High-Heat Oil: Use 2 tbsp (30ml) of avocado oil or grapeseed oil. Unlike olive oil, these have high smoke points, which are necessary to get those deep charred grill marks without the oil breaking down and tasting bitter.
Professional Tools for Gourmet Results
Achieving a macro-level food blog finish requires more than just a heat source. You need tools that allow for precision and safety. Here is what you should have on your workstation before you begin.
Wooden Skewers: If using wood, ensure they are soaked in water for at least 30 minutes. This prevents the wood from burning to a crisp before the steak reaches its medium-rare perfection.
Heavy-Duty Cast Iron Skillet or Grill: To get the “deep charred grill marks” described in our blueprint, you need a surface that retains extreme heat. A cast iron grill pan is perfect for indoor cooking to mimic the outdoor aesthetic.
Digital Instant-Read Thermometer: This is the only way to guarantee a perfect medium-rare center. Aim for an internal temperature of 130°F (54°C) before resting.
Step-By-Step: Engineering the Perfect Sear
Preparing the Beef and Vegetables
Start by patting your beef cubes completely dry with paper towels. Moisture is the enemy of a good sear; if the meat is wet, it will steam rather than char. Once dry, toss the beef in a small amount of oil to lightly coat each surface.
Cut your red bell peppers and red onions into uniform sizes that match the beef cubes. This ensures that every component of the steak kabobs makes contact with the cooking surface at the same time. Thread them onto the skewers, alternating beef, pepper, and onion petals tightly but not overcrowded.
Mastering the High-Heat Sear
Heat your skillet or grill until it is screaming hot. You should see a faint wisp of smoke rising from the surface. Place the skewers down and leave them undisturbed for 2-3 minutes. You are looking for a “visual cue” of deep brown, almost black, grill marks forming on the bottom.
Rotate the skewers 90 degrees and repeat. As the meat cooks, you will notice the red peppers beginning to blister and the onion edges turning black. This “blistered” and “charred” appearance is exactly what our visual blueprint requires for a professional finish.
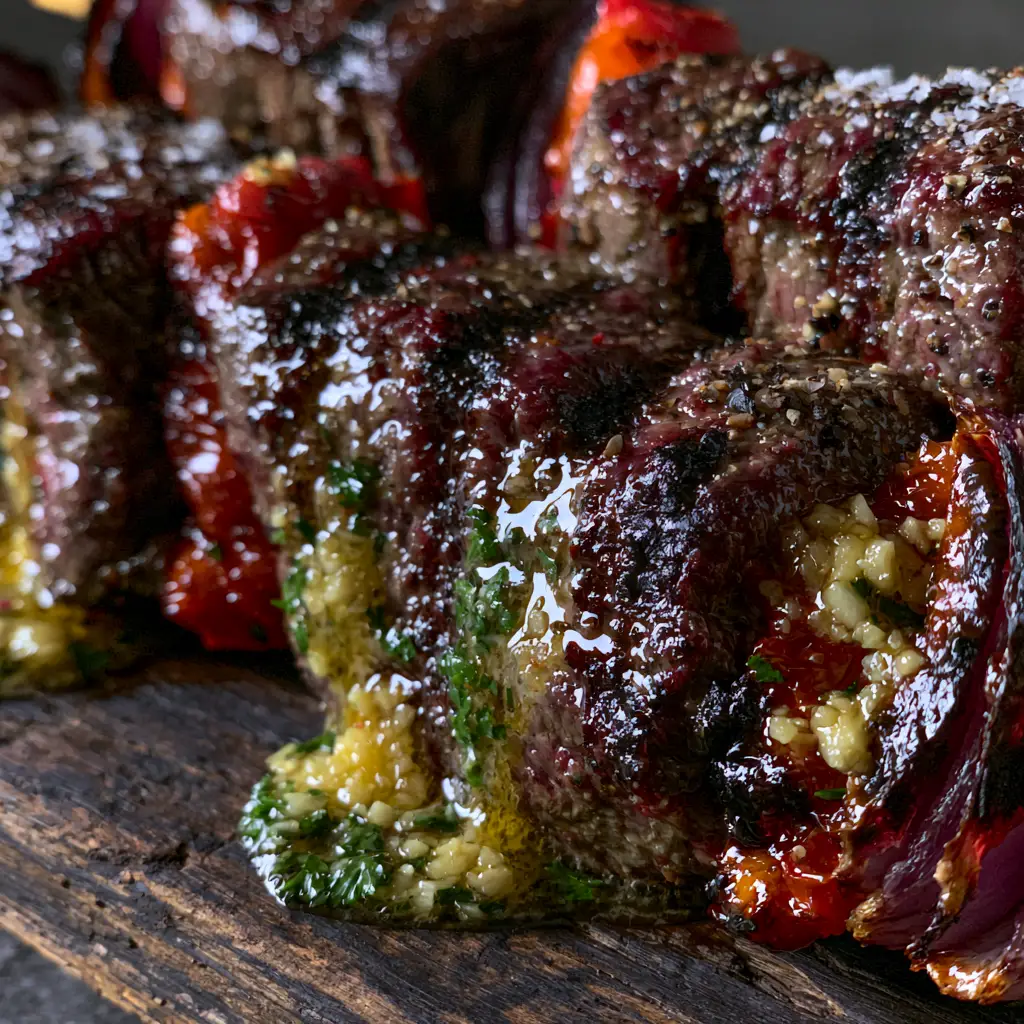
The Finishing Touch: Garlic Herb Butter Glaze
While the steak rests, melt your butter in a small saucepan over low heat. Add the minced garlic and chopped fresh parsley. Do not brown the garlic; you want it to remain translucent and aromatic, creating a bright yellow-gold liquid.
Generously spoon the warm butter over the kabobs while they are still hot. The butter should form “glistening, wet surfaces” and “golden pools” that mix with the natural meat juices. This is the secret to that high-gloss finish seen in handheld smartphone food photography.
Expert Tips for Success
- Room Temperature Meat: Take your steak out of the fridge 30 minutes before cooking. This ensures the center warms up evenly without overcooking the exterior.
- Don’t Crowd the Pan: If you put too many skewers in at once, the temperature of the pan will drop. Cook in batches if necessary to maintain that intense char.
- The Resting Period: Let the kabobs rest for 5 minutes after cooking. This allows the fibers to relax and the garlic butter to seep deep into the meat.
- Freshness Matters: Only use fresh parsley. Dried parsley will not provide the “vibrant green flakes” needed for the visual contrast against the dark charred meat.
Storage, Reheating, and Freezing Advice
Steak kabobs are best enjoyed immediately to appreciate the contrast between the hot, melting butter and the cool, medium-rare center. However, if you have leftovers, they can be stored in an airtight container in the refrigerator for up to 3 days.
To reheat, avoid the microwave, which will turn your steak into rubber. Instead, place them in a 300°F (150°C) oven for about 10 minutes until warmed through. Add a fresh pat of garlic butter after reheating to restore the glistening texture.
Freezing is not recommended for this specific recipe, as the texture of the blistered peppers and onions will become mushy upon thawing. For the best experience, keep these fresh and vibrant.
What to Serve With These Kabobs
These kabobs are incredibly versatile and pair well with a variety of textures. If you are looking for a classic pairing, try serving them alongside crispy garlic roasted potatoes which soak up the extra garlic butter perfectly.
For those following a specific lifestyle, these are excellent when added to a collection of low-carb recipes. The high protein and healthy fats from the butter make it a satiating meal. If you prefer a bowl-style presentation, slide the meat off the skewers and serve as a loaded steak bowl (coming soon) with rice or quinoa.
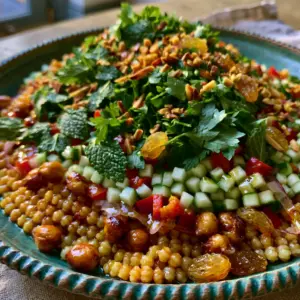
If you want to keep the meal light and fresh, a side of Mediterranean chickpea salad provides a bright acidity that cuts through the richness of the beef and butter.
Frequently Asked Questions
Yes! A cast iron grill pan or a heavy-bottomed skillet is perfect for stovetop kabobs. Use high heat and a high-smoke point oil to achieve the desired char.
Ensure you don’t overcook the meat by using a digital thermometer to pull them off at 130°F (54°C). Also, letting the meat rest for 5 minutes allows the juices to redistribute.
Soak your wooden skewers in water for at least 30 minutes before threading the meat and vegetables. This adds moisture to the wood so it resists the high heat of the grill or skillet.
While you can, this specific recipe relies on a high-heat sear and a finishing garlic herb butter for flavor. If you choose to marinate, avoid highly acidic ingredients that can break down the meat’s texture.
Top sirloin and ribeye are the best choices. Sirloin is lean and tender, while ribeye offers more fat for flavor. Both hold their shape well on skewers during high-heat searing.
The Final Word on This Steak Kabob Masterpiece
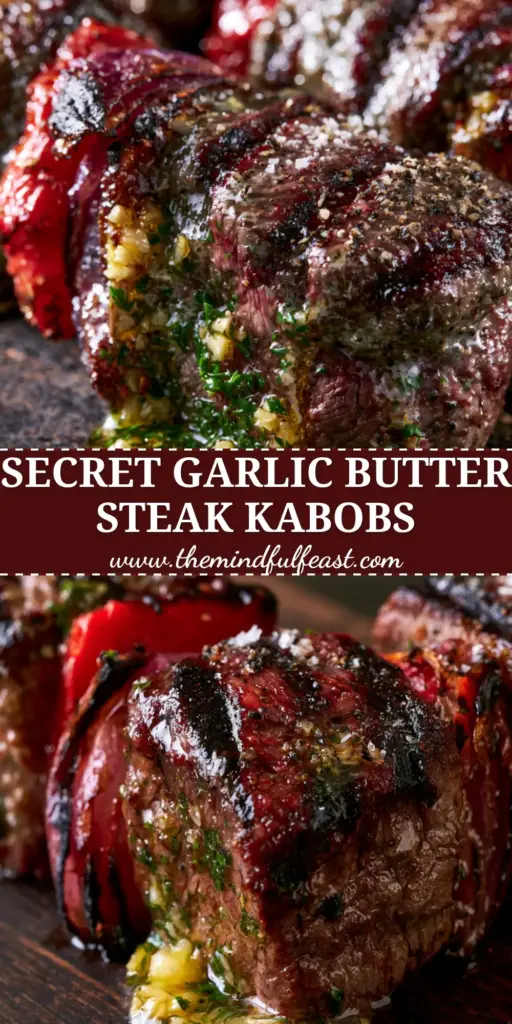
Steak Kabobs with Melting Garlic Herb Butter and Blistered Peppers
Ingredients
Equipment
Method
- Pat the beef cubes dry with paper towels. Toss with avocado oil to coat.
- Thread beef, pepper chunks, and onion petals onto soaked skewers, alternating for color and flavor.
- Heat a cast iron pan over high heat. Sear skewers for 2-3 minutes per side until deep charred marks appear and beef reaches 130°F (54°C).
- In a small pan, melt butter with minced garlic and parsley until aromatic but not browned.
- Drizzle the melting garlic butter over the hot kabobs. Sprinkle with coarse sea salt and cracked black pepper before serving.
Notes
Always soak wooden skewers to prevent them from catching fire under high heat.
Creating professional-quality steak kabobs is about mastering the details: the size of the beef, the heat of the pan, and the finishing touch of herb-infused butter. This recipe delivers a sensory experience that looks just as good as it tastes. The charred edges, the blistered skins of the peppers, and the glistening butter pools make this a dish you will return to again and again.
If you enjoyed this recipe, please leave a comment below and let us know how your sear turned out! Don’t forget to share your photos and tag us on Pinterest to show off those beautiful grill marks.