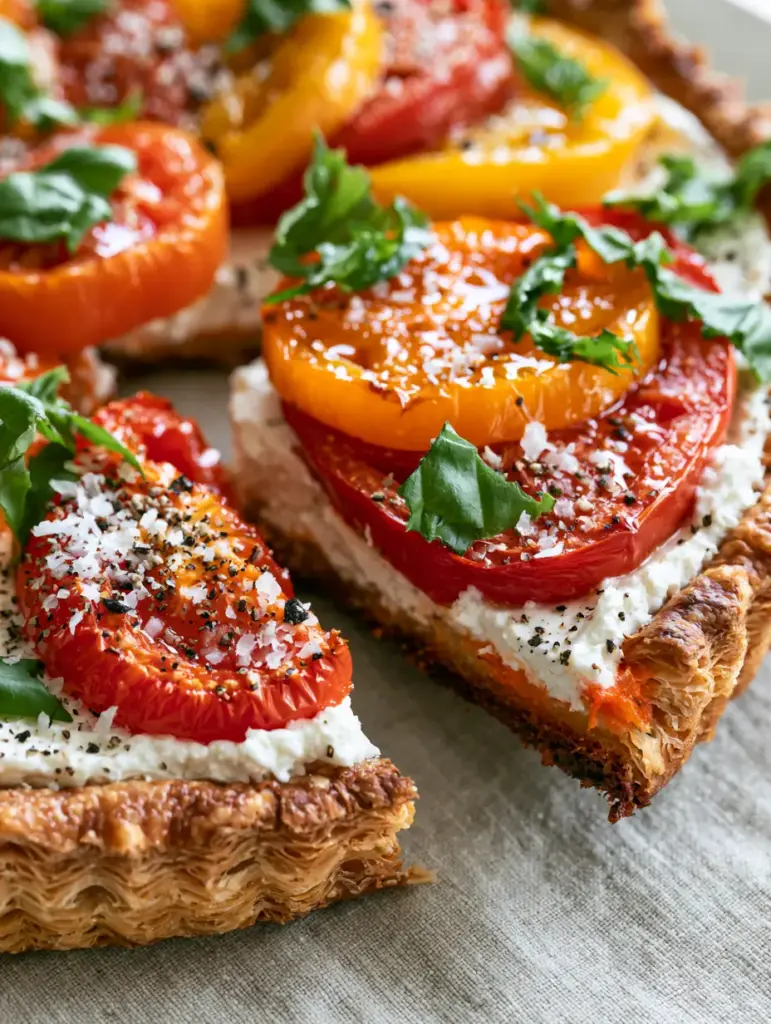
There is nothing quite like the first bite of a perfectly executed tomato tart, where the sound of shattering, buttery pastry layers meets the creamy tang of goat cheese and the sun-drenched sweetness of heirloom tomatoes. This recipe is designed to capture that exact moment—the vibrant colors of red and yellow tomatoes glistening under a light drizzle of olive oil, punctuated by the earthy aroma of fresh torn basil.
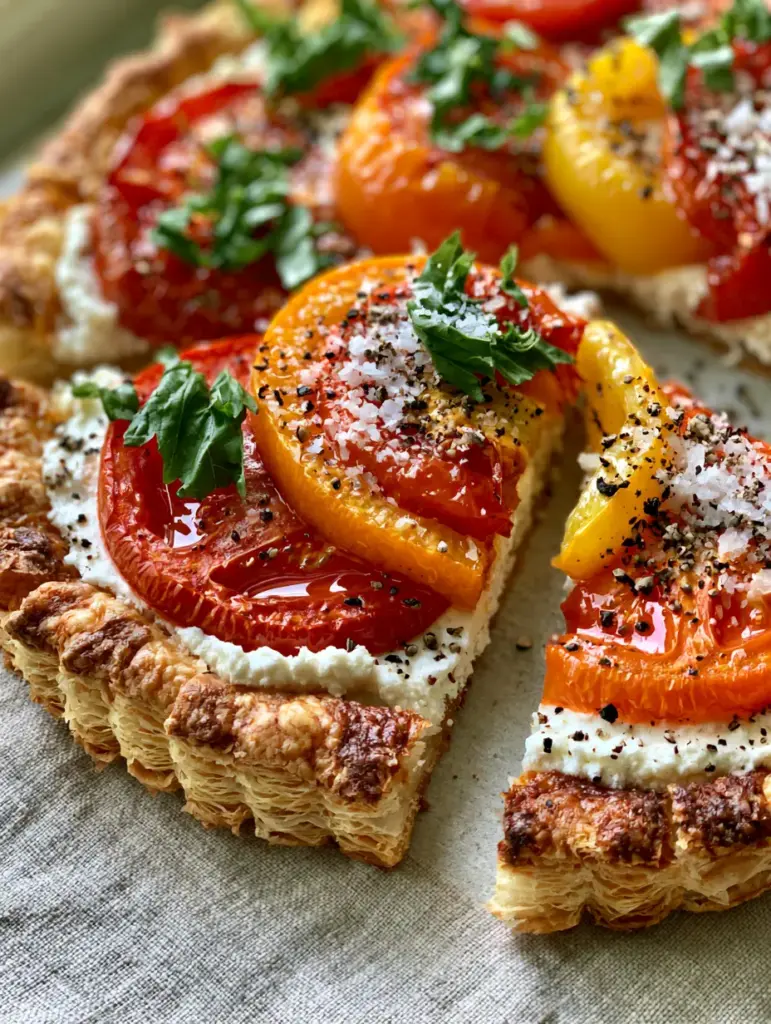
When you pull this tomato tart from the oven, you are greeted by a visual masterpiece: golden-brown edges that are ultra-flaky and multi-layered, holding a treasure trove of blistered tomato skins and coarse sea salt. Whether you are hosting a sophisticated brunch or looking for a light yet decadent dinner, this tart delivers professional-grade results with a handheld, rustic charm.
Achieving the “perfectly dry, crisp, browned bottom crust” described in our visual blueprint requires a few specific culinary techniques that we will dive into today. By managing the moisture of the tomatoes and mastering the par-bake, you can ensure your tomato tart looks just as hyper-realistic and appetizing as a high-resolution gourmet photograph.
Why You Will Love This Heirloom Tomato Masterpiece
- Shattered Pastry Texture: The base utilizes high-quality puff pastry to create visible, airy layers that provide a satisfying crunch in every single bite.
- Vibrant Visual Appeal: Using a mix of red, orange, and yellow heirloom tomatoes ensures a rainbow of colors that look stunning on any table setting.
- Perfectly Balanced Flavors: The creamy, acidic goat cheese acts as the perfect foil to the sweet, blistered tomatoes and the savory punch of cracked black pepper.
- Gourmet Finish: A final garnish of fresh emerald green basil and coarse sea salt elevates the dish from a simple bake to a restaurant-quality centerpiece.
The Anatomy of a Perfect Tomato Tart: Essential Ingredients
All-Butter Puff Pastry: You will need 1 sheet (approx. 250g) of high-quality, all-butter puff pastry. This is the foundation that provides those shattered airy layers; ensure it stays chilled until the very moment you are ready to score and bake it.
Creamy Goat Cheese (Chèvre): 5 oz (140g) of plain goat cheese provides the tangy, creamy white base. It acts as a moisture barrier between the juicy tomatoes and the pastry, helping to maintain that crisp bottom crust.
Heirloom Tomatoes: 1.5 lbs (680g) of mixed red, yellow, and orange heirloom tomatoes, sliced into thick 1/4-inch (6mm) rounds. These variety-rich tomatoes offer different levels of acidity and sweetness, creating a complex flavor profile that standard hothouse tomatoes simply cannot match.
Extra Virgin Olive Oil: 1 tbsp (15ml) for drizzling over the tomatoes before they hit the oven. This fat is essential for achieving those beautiful blistered tomato skins and a glistening, gourmet finish.
Fresh Basil Leaves: 1/4 cup (approx. 10g) of fresh emerald green basil, torn just before serving. Tearing the leaves instead of chopping them prevents bruising and releases the most potent aromatic oils.
Seasoning Essentials: 1 tsp (6g) coarse sea salt and 1/2 tsp (2g) freshly cracked black pepper. These seasonings are not just for flavor; the coarse salt adds a distinct visual texture and a crunch that contrasts the creamy cheese.
Egg Wash (Optional Foundation): 1 large egg beaten with 1 tsp (5ml) water. Brushing this on the exposed pastry edges is the secret to achieving that deep, golden-brown glow seen in professional food photography.
Professional Tools for a Crisp Bottom Crust
To ensure your tomato tart doesn’t end up with a soggy middle, the right equipment is non-negotiable. A heavy-duty rimmed baking sheet is the best choice for heat distribution, allowing the bottom of the pastry to brown evenly.
I highly recommend using professional-grade parchment paper or a silicone baking mat. These tools prevent sticking and allow you to slide the tart off the tray easily to check for that “perfectly dry, crisp, browned bottom.” A very sharp chef’s knife or a mandoline is also vital for getting those uniform, thick slices of heirloom tomatoes without crushing their delicate internal structure.
Step-by-Step Instructions for the Ultimate Tomato Tart
Preparing the Pastry Base
Start by preheating your oven to 400°F (200°C). Lay your thawed but chilled puff pastry sheet on a piece of parchment paper. Use a sharp knife to lightly score a 1-inch (2.5cm) border around the edge, being careful not to cut all the way through.
Dock the center of the pastry (the area inside the border) with a fork multiple times. This prevents the middle from rising too much, creating a flat “bed” for our goat cheese and tomatoes while allowing the edges to puff up into shattered airy layers.
The Goat Cheese Barrier
Crumble the 5 oz (140g) of goat cheese into a small bowl and mash it slightly with a fork to make it spreadable. Spread the cheese evenly within the scored border of your pastry. This layer is crucial; it seasons the tart from within and protects the pastry from the tomato juices.
If you find the goat cheese is too firm, you can add 1 tsp (5ml) of heavy cream or olive oil to loosen it. The goal is a thick, even spread that covers the entire inner rectangle of the tomato tart.
Arranging the Heirloom Jewels
Pat your sliced red and yellow heirloom tomatoes dry with a paper towel to remove excess surface moisture. Arrange them over the goat cheese in an overlapping shingle pattern, alternating colors for maximum visual impact. The vibrant orange, red, and yellow hues should completely cover the cheese.
Drizzle the 1 tbsp (15ml) of olive oil over the tomatoes. Sprinkle half of your coarse sea salt and all of the cracked black pepper over the top. This initial seasoning helps the tomatoes release a bit of liquid that will caramelize during the baking process.
Achieving the Golden-Brown Blister
Slide the tart into the oven and bake for 20-25 minutes. Look for the pastry edges to transform into a deep golden-brown. For those specific blistered tomato skins, you can turn on the broiler for the last 2 minutes of cooking, watching closely to ensure the edges don’t burn.
Use a spatula to slightly lift one corner of the tart. You are looking for a completely rigid, browned bottom. If it feels soft, give it another 3-5 minutes on the lowest rack of the oven. Once done, remove from the oven and let it rest for 5 minutes.
Expert Tips for Success
- Temperature Control: If the puff pastry becomes too warm and soft while you are working, slide the whole tray into the freezer for 10 minutes before baking. Cold butter is what creates those airy layers.
- Moisture Management: After slicing your heirlooms, let them sit on paper towels for 15 minutes. This prevents the tomato tart from becoming watery during the bake.
- Flavor Infusion: For a modern twist, you can whisk a little lemon zest into the goat cheese before spreading it on the pastry.
- Visual Flourish: Always wait until the tart has rested for a few minutes before adding the fresh basil. The residual heat will wilt the leaves slightly, but adding them too soon will turn them black.
Storage and Reheating Advice
This tomato tart is best enjoyed fresh from the oven to appreciate the contrast between the hot, blistered tomatoes and the crisp crust. However, if you have leftovers, store them in an airtight container in the refrigerator for up to 2 days.
To reheat, avoid the microwave, which will make the pastry rubbery. Instead, place the tart slices in a 350°F (175°C) oven or toaster oven for 5-8 minutes until the crust crisps up again. You can also use an air fryer at 320°F (160°C) for 3-4 minutes for a quick refresh.
What to Pair With Your Tomato Tart
This tart is incredibly versatile and pairs beautifully with light, acidic sides. If you are serving this for a summer lunch, consider a side of summer tomato burrata salad to double down on the seasonal produce. For a more substantial dinner, it serves as a wonderful appetizer before a main of creamy spring herb chicken orzo or even a light mediterranean salad.
To drink, the effervescence of a honey lemon butterfly fizz perfectly cuts through the richness of the goat cheese. If you’re looking for more global flavors to round out a spread, a crisp balela salad offers a great protein-rich accompaniment.
Frequently Asked Questions
While it’s best served fresh, you can assemble the tart and keep it in the fridge for up to 4 hours before baking. Reheat leftovers in the oven to restore the crispness.
Yes, high-quality store-bought all-butter puff pastry is excellent for this recipe. Just ensure it stays very cold until you are ready to put it in the oven.
To prevent a soggy bottom, pat the sliced tomatoes dry with paper towels to remove excess moisture and use a layer of goat cheese to act as a barrier between the fruit and the pastry.
No, there is no need to peel them. The skins blister beautifully in the oven, providing a gourmet texture and look that is essential for this dish.
Heirloom tomatoes are ideal because they offer a variety of colors and a rich, complex flavor. Roma tomatoes also work well as they have a lower water content.
The Best Heirloom Tomato Tart Recipe
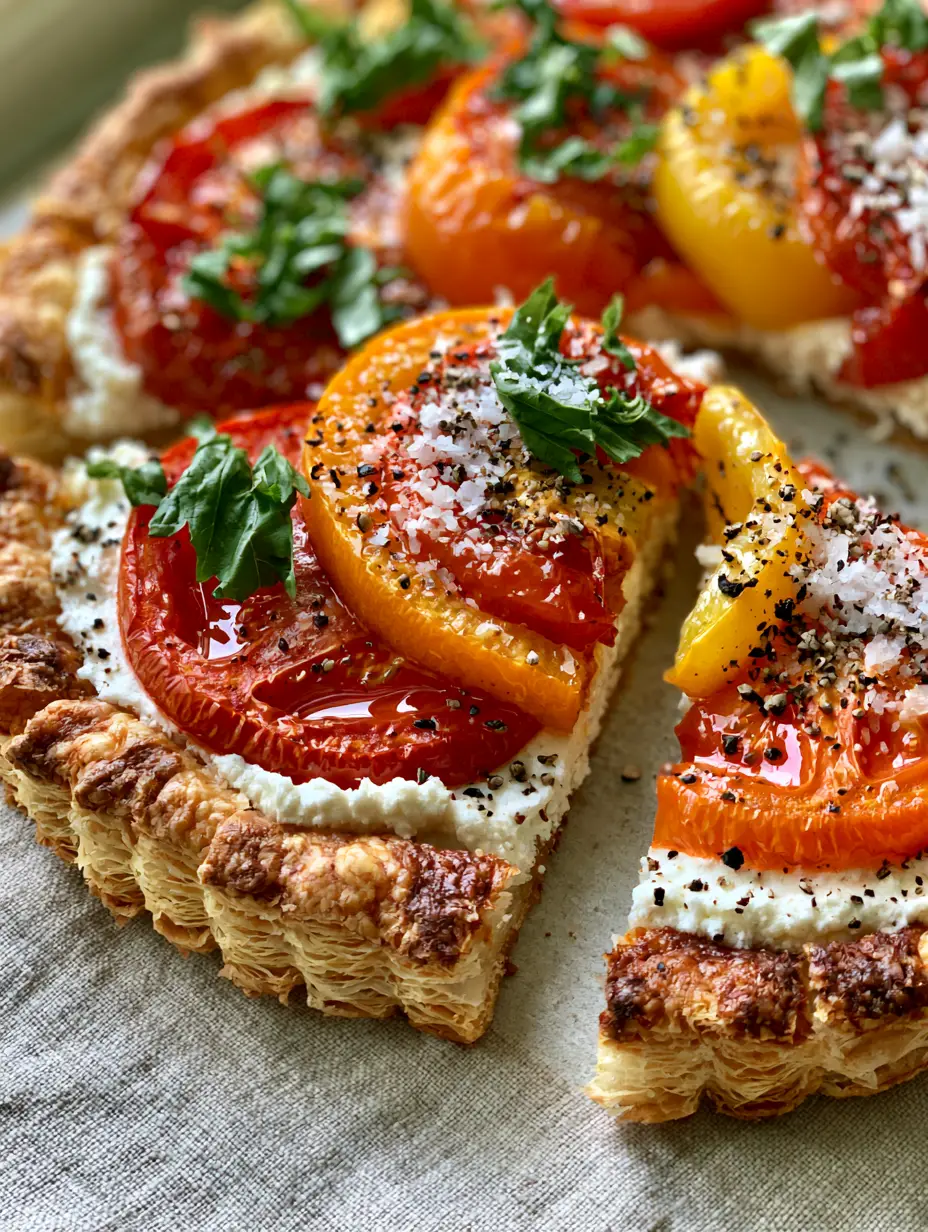
Tomato Tart with Flaky Puff Pastry and Heirloom Tomatoes
Ingredients
Equipment
Method
- Preheat oven to 400°F (200°C). Lay puff pastry on parchment paper and score a 1-inch border.
- Dock the center of the pastry with a fork to prevent uneven rising.
- Spread the softened goat cheese evenly within the scored border.
- Layer thick-sliced heirloom tomatoes over the cheese and drizzle with olive oil, salt, and pepper.
- Bake for 20-25 minutes until edges are golden-brown and bottom is crisp.
- Top with fresh torn basil and an extra pinch of sea salt before serving.
Notes
Keep puff pastry cold until the last second for maximum flakiness.
Closing & Call to Action
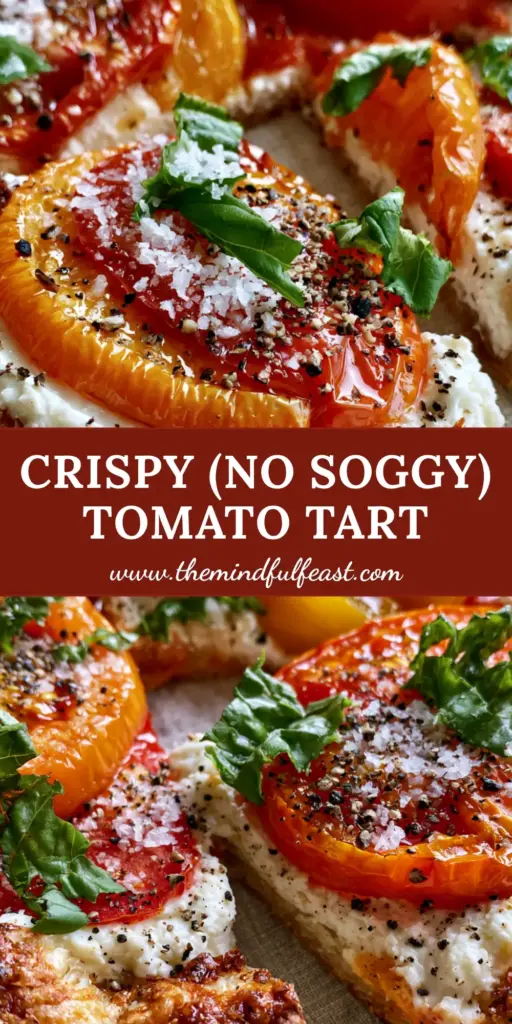
This tomato tart is more than just a meal; it is a celebration of simple, high-quality ingredients treated with care. The combination of the shattered puff pastry and the glistening heirloom tomatoes creates a sensory experience that is hard to beat. If you enjoyed making this, please leave a comment below and tell us how your blistered tomatoes turned out!
Don’t forget to share your creations and tag us! For more visual inspiration and to save this recipe for your next gathering, follow our boards on Pinterest. Happy baking!


