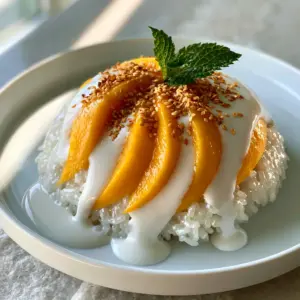
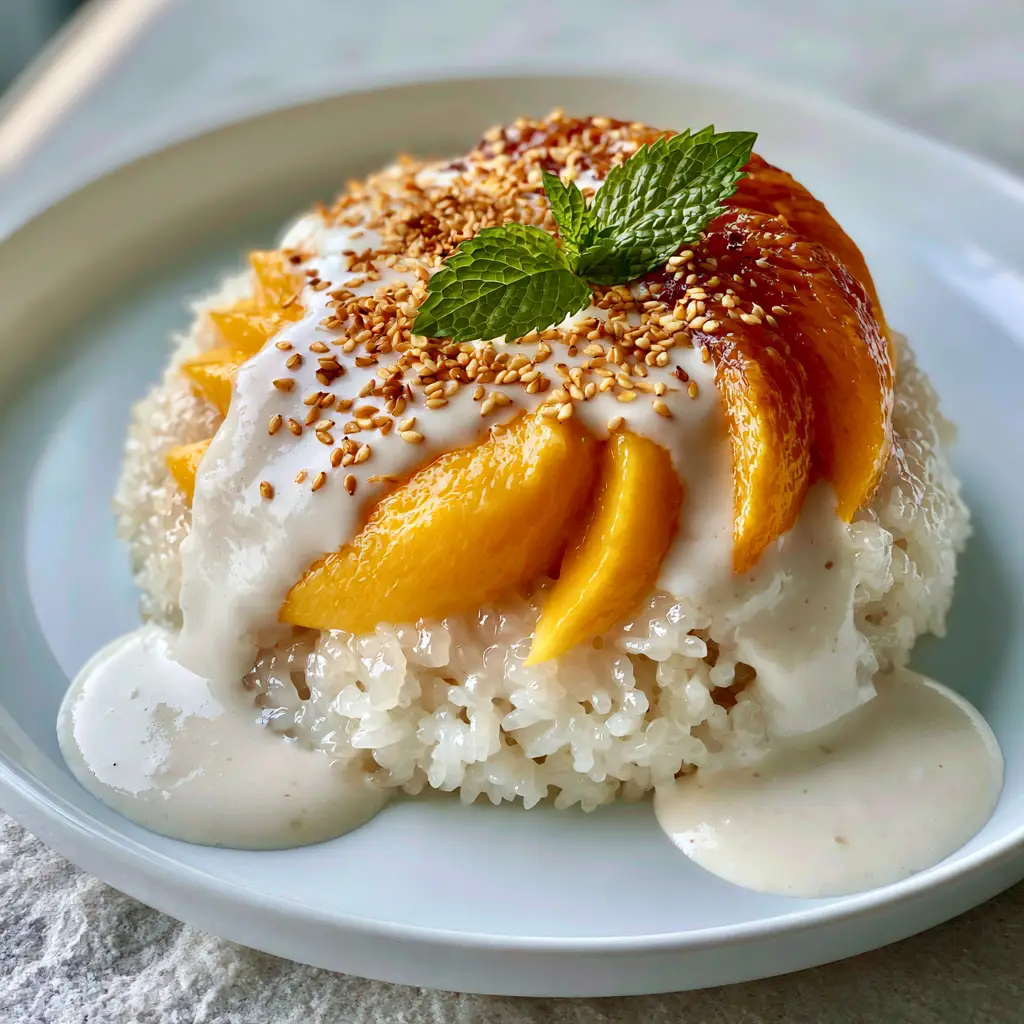
There is a specific kind of culinary magic that occurs when the tropical sweetness of honey mango meets the salty-sweet richness of coconut-infused grain. Mango sticky rice, known traditionally as Khao Niao Mamuang, is more than just a dessert; it is a masterclass in textural contrast. Imagine a mound of glistening, pearlescent sticky rice, fanned with vibrant, deep-orange honey mango slices that catch the soft morning sunlight.
When you take your first bite, the thick, opaque white coconut cream sauce, pooled slightly at the base, provides a velvet-smooth mouthfeel that balances the chew of the rice. A scattering of toasted golden sesame seeds adds a nutty crunch, while a single sprig of bright green mint provides a refreshing aromatic finish. This recipe is designed to help you replicate that exact professional-grade visual and sensory experience in your own kitchen.
The Irresistible Appeal of Homemade Mango Sticky Rice
- Sensory Harmony: The combination of warm, chewy glutinous rice and chilled, silky mango creates a temperature and texture play that is world-renowned.
- Visual Brilliance: The deep-orange honey mango fanned over white ceramic provides a high-contrast aesthetic perfect for any dinner party.
- Naturally Vegan & Gluten-Free: Using coconut cream and glutinous rice makes this a naturally inclusive dessert for various dietary needs.
- Restaurant Quality at Home: By mastering the soaking and steaming technique, you achieve the pearlescent finish seen in the finest Thai eateries.
The Anatomy of Ingredients for Perfect Results
Creating the perfect mango sticky rice requires specific varieties of ingredients. You cannot simply swap long-grain white rice for glutinous rice, as the starch profiles are fundamentally different and will result in a mushy mess rather than distinct, glistening grains.
Thai Glutinous Rice (Sweet Rice): 2 cups (400g). This is the backbone of the dish; it contains high amounts of amylopectin, which creates the signature “sticky” but distinct grain texture once steamed.
Full-Fat Coconut Milk: 1 can (400ml). Look for a brand with high fat content to ensure your sauce is thick and opaque, rather than watery and translucent.
Granulated Sugar: 1/2 cup (100g). Sugar is essential not just for sweetness, but for creating the syrup-like glaze that makes the rice glisten under the light.
Fine Sea Salt: 1/2 tsp (3g). Salt is the “invisible” hero here; it cuts through the heavy fat of the coconut and amplifies the floral notes of the honey mango.
Ripe Honey Mangoes (Ataulfo): 2 large mangoes. Honey mangoes are preferred for their lack of fibrous strings and their deep, vibrant orange color that contrasts beautifully against the white rice.
Toasted Golden Sesame Seeds: 1 tbsp (9g). These provide the essential golden hue and toasted aroma that breaks up the monochromatic sauce.
Fresh Mint: 1 sprig. A single sprig adds a pop of bright green, providing a visual anchor and a cooling scent that complements the tropical fruit.
Water for Steaming: 4 cups (950ml). Necessary for generating the indirect heat required to cook the rice without submerging it in liquid.
Essential Tools for Culinary Success
To achieve the visual results described in our blueprint, you will need a few specific items. A traditional bamboo steamer is ideal, but a standard steamer basket inside a large pot works perfectly for the home cook.
You will also need a fine-mesh sieve for rinsing the rice—this step is non-negotiable for removing excess surface starch that causes clumping. A sharp chef’s knife or paring knife is required to get those perfectly fanned, thin slices of mango without bruising the delicate fruit flesh.
While you might be used to making quick meals like an enchilada skillet, this recipe requires a bit more patience during the rice preparation phase. However, the active work time is quite low, making it a great addition to a menu featuring hearty vegetarian dinners (coming soon).
Mastering the Soak: Preparing the Glutinous Rice
Rinsing and Hydrating the Grains
Begin by placing your 2 cups (400g) of glutinous rice in a large bowl. Run cold water over the rice, swishing it gently with your hand until the water turns cloudy, then drain through a fine-mesh sieve.
Repeat this process 3 to 4 times until the water runs clear. This ensures the rice grains remain separate and glistening rather than sticking together in a gummy mass.
Cover the rinsed rice with at least 2 inches (5cm) of fresh water and let it soak for at least 4 hours, or ideally overnight. The grains must absorb enough moisture to soften the tough outer husk before the steaming process begins.
The Steaming Process
Drain the soaked rice one final time. Line your steamer basket with a piece of cheesecloth or a clean, thin kitchen towel to prevent the grains from falling through the holes.
Spread the rice in an even layer. Bring about 2 inches (5cm) of water to a boil in your pot, then place the steamer basket on top, ensuring the water does not touch the rice.
Cover and steam for 20 to 25 minutes. At the 15-minute mark, carefully flip the rice “cake” over to ensure even cooking; the rice is done when it looks pearlescent and feels tender but chewy to the bite.
Creating the Thick Coconut Cream Sauce
Infusing the Base
While the rice steams, open your can of full-fat coconut milk (400ml). Do not shake the can; instead, scoop out the thick cream from the top and set aside about 1/4 cup (60ml) for the final drizzle.
Pour the remaining milk and thinner liquid into a small saucepan over medium-low heat. Add 1/2 cup (100g) of sugar and 1/2 tsp (3g) of salt.
Stir constantly until the sugar is fully dissolved and the mixture begins to simmer gently. Do not let it reach a rolling boil, as this can cause the coconut milk to separate and lose its opaque, white appearance.
Marrying the Rice and Sauce
Transfer the hot, freshly steamed rice into a medium bowl. Immediately pour the warm coconut mixture (except for the reserved cream) over the rice.
Gently fold the rice to ensure every grain is coated. Cover the bowl with a plate or lid and let it rest for 20-30 minutes; this “curing” time allows the rice to absorb the coconut fats, resulting in that glistening, translucent finish.
The Art of Mango Preparation and Plating
Fanning the Honey Mango
Stand the honey mango on its end and cut down along the side of the flat pit to remove the “cheeks.” Use a sharp knife to peel the skin away from the flesh carefully.
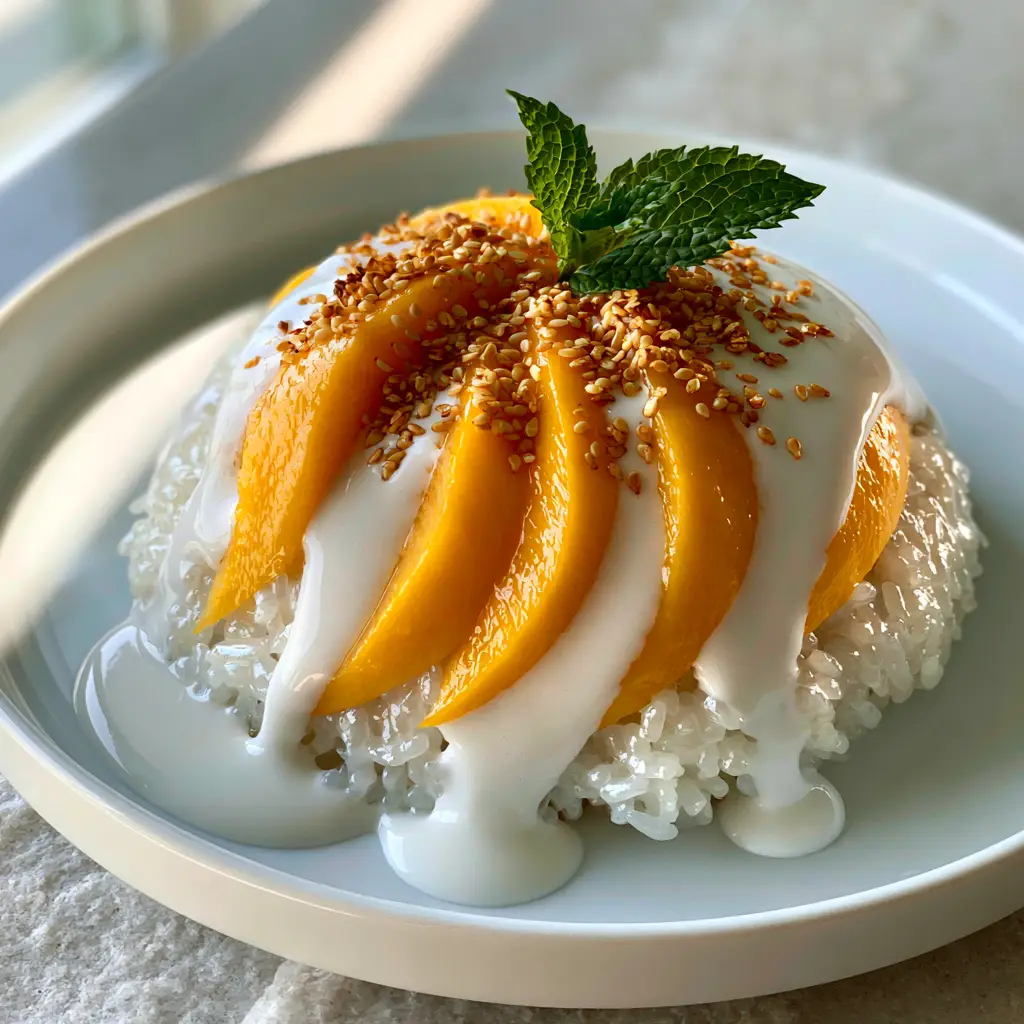
Place the mango cheek flat-side down on your cutting board. Make thin, longitudinal slices, keeping them attached at the very top if you prefer a tighter fan, or separating them for the “perfectly fanned out” look of our visual blueprint.
Gently press your fingers against the slices to slide them into a diagonal fan shape. The deep-orange flesh should be vibrant and moist, ready to be placed atop the rice.
Final Assembly for Visual Impact
Scoop a generous mound of the pearlescent sticky rice onto a white ceramic plate. Position the fanned mango slices directly on top, allowing them to drape slightly over the sides of the rice.
Take your reserved 1/4 cup (60ml) of thick coconut cream and drizzle it generously over the mango and rice. Aim for a pattern that allows the sauce to pool slightly at the base of the rice mound, just like the morning sunlight hitting a tropical shore.
Finish by scattering the toasted golden sesame seeds over the sauce. Place the single sprig of bright green mint at the peak for a final touch of professional contrast.
Expert Tips for Success
- Use the Right Mango: If honey mangoes aren’t available, look for Kent or Keitt mangoes, but avoid overly fibrous varieties like Tommy Atkins which are difficult to slice cleanly.
- Don’t Skip the Salt: Traditional Thai desserts rely heavily on salt to balance the richness; if your dish tastes “flat,” a tiny pinch of extra salt in the sauce usually fixes it.
- Temperature Control: Serve the rice warm or at room temperature. If the rice is refrigerated, the coconut fats will solidify, and the grains will become hard.
- Toasting Seeds: Toast your sesame seeds in a dry pan over medium heat for only 2-3 minutes; they turn from golden to burnt very quickly.
Storage, Reheating, and Make-Ahead Advice
Mango sticky rice is best enjoyed within 2 hours of assembly. However, you can prepare the components ahead of time. Store the steamed, coconut-soaked rice in an airtight container at room temperature for up to 6 hours.
If you must refrigerate the rice, it will become firm. To restore the texture, steam it for 5 minutes or microwave it with a damp paper towel for 30 seconds. Never refrigerate the mango once it is sliced, as it will lose its vibrant sheen and become mushy.
The coconut sauce can be made 2 days in advance and kept in the fridge. Simply warm it slightly in a saucepan to return it to a pourable, opaque liquid state before drizzling.
What to Serve With Mango Sticky Rice
This dessert is a wonderful conclusion to a vibrant, flavorful meal. If you have been enjoying savory rice dishes like smoked sausage and rice (coming soon), this sweet variation offers a refreshing change of pace.
For a complete Thai-inspired dinner, consider starting with a light protein like lemon herb butter trout or a zesty chicken tostada appetizer. The bright acidity of citrus-based mains prepares the palate for the heavy, creamy sweetness of the mango sticky rice.
If you are hosting a casual lunch, this dish pairs excellently after a fresh heirloom tomato sandwich (coming soon) or a light vegetable wrap.
Frequently Asked Questions
No, Jasmine rice lacks the necessary amylopectin starch to create the signature chewy and sticky texture. You must use Thai glutinous rice (labeled as sweet rice) for authentic results.
It is best served at room temperature. If refrigerated, the rice will harden as the coconut fats solidify. If you must store it, reheat gently with a splash of water or coconut milk to soften the grains.
Yes! Despite the name ‘glutinous’ rice, it contains no gluten. The name refers to the glue-like consistency of the rice when cooked.
Honey mangoes (also known as Ataulfo) are best because they are sweet, creamy, and fiber-free with a vibrant orange color. Thai Nam Dok Mai mangoes are the traditional choice if you can find them.
This usually happens if the rice wasn’t soaked long enough (minimum 4 hours) or if it was under-steamed. Ensure the grains are hydrated properly before they hit the steam.
The Perfect Mango Sticky Rice Recipe
Mango Sticky Rice: The Ultimate Guide to Authentic Thai Coconut Glutinous Rice
Ingredients
Equipment
Method
- Rinse glutinous rice until water runs clear. Soak in water for 4-24 hours.
- Steam the rice in a lined basket for 20-25 minutes until pearlescent and chewy.
- Heat coconut milk, sugar, and salt until dissolved. Reserve 1/4 cup for topping.
- Fold warm sauce into steamed rice. Cover and let sit for 20-30 minutes to glisten.
- Mound rice, top with fanned mango, drizzle with reserved cream, and garnish with sesame and mint.
Notes
Always serve at room temperature for the best texture.
Experience the Magic of Thai Flavors
Mastering mango sticky rice is a gateway to understanding the delicate balance of Thai cuisine. The combination of steaming techniques and high-quality tropical ingredients results in a dish that is as beautiful as it is delicious. Whether you are serving this for a special occasion or a simple weeknight treat, the glistening grains and vibrant fruit are sure to impress.
We would love to see your creations! Share your photos and tag us, or head over to our Pinterest to save this recipe for your next tropical craving. Don’t forget to leave a comment below telling us your favorite type of mango to use!