Fermented summer squash relish is the ultimate way to capture the fleeting brightness of July and August in a jar. Unlike traditional vinegar-based pickles that rely on heat, this lacto-fermented version preserves the raw, crisp texture of garden-fresh vegetables. You can practically see the life inside the jar, with tiny effervescent air bubbles dancing through a crystal-clear brine, signaling the work of healthy probiotics.
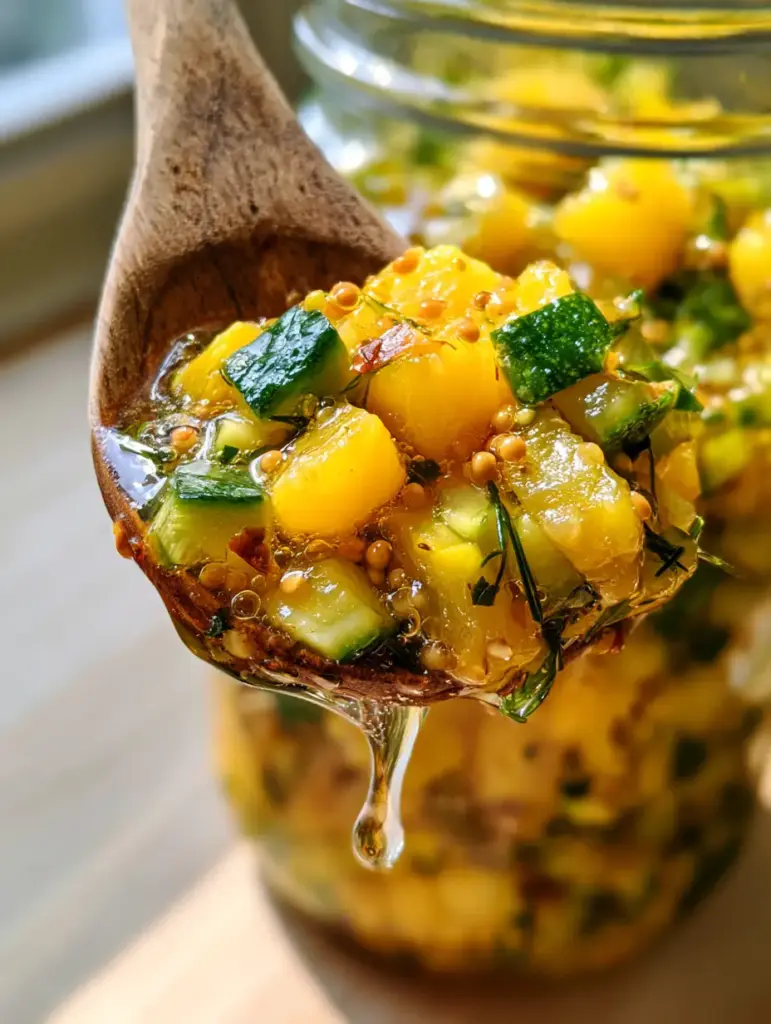
Imagine a rustic wooden spoon lifting a dripping scoop of vibrant yellow and emerald green relish from a vintage mason jar. The morning sunlight catches every droplet, highlighting the whole yellow mustard seeds and flecks of red chili that provide a gentle heat. This isn’t just a condiment; it’s a living, breathing transformation of simple garden staples into a culinary powerhouse.
Whether you are looking to top your favorite grilled meats or add a probiotic punch to your lunch, this fermented summer squash relish offers a depth of flavor that store-bought versions simply cannot match. The fermentation process mellows the raw squash while intensifying the aromatics of garlic and fresh dill, creating a profile that is both tangy and deeply savory.
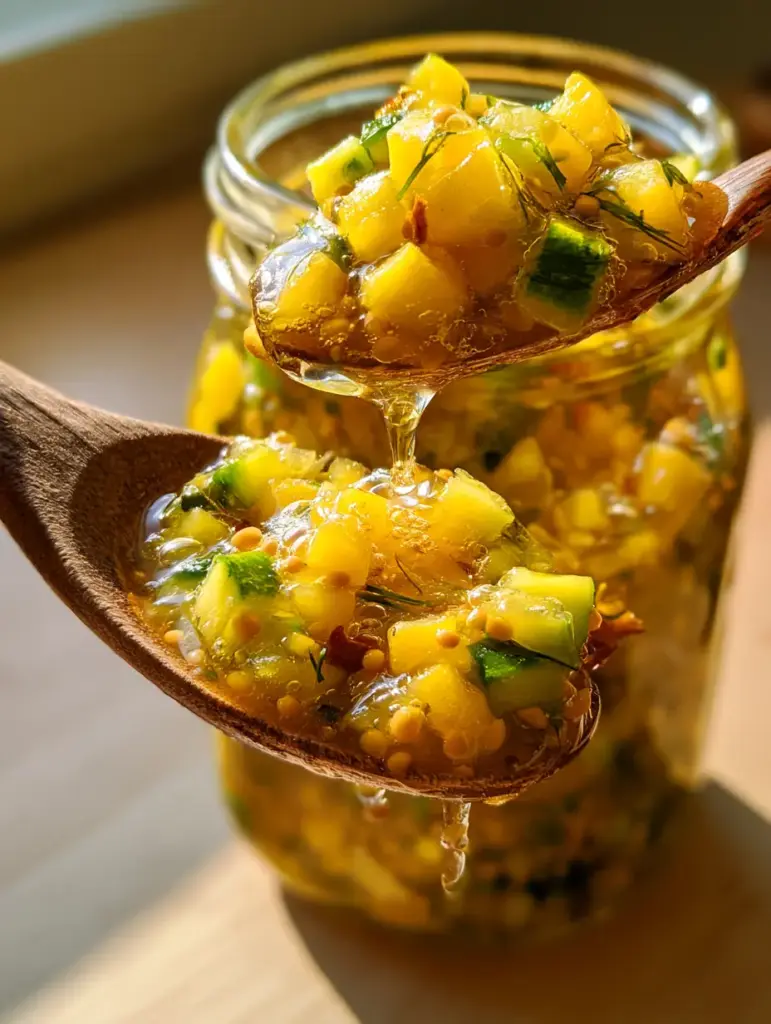
The Aesthetic and Flavor Profile of Live-Culture Relish
- Unrivaled Texture: By avoiding the canning kettle, we maintain a “snap” in every finely diced piece of yellow squash and zucchini.
- Effervescent Visuals: The active fermentation creates tiny bubbles that signify a successful lacto-fermentation process.
- Complex Aromatics: Fresh dill and garlic slivers infuse the brine, perfectly balanced by the earthy pop of whole mustard seeds.
- Vibrant Colors: The contrast between the bright yellow squash and the deep green zucchini skins makes this relish a visual centerpiece.
The Essential Components for Probiotic Success
To achieve the crisp, clear result seen in our visual blueprint, you need specific ingredients that support the growth of Lactobacillus while keeping the vegetables firm.
Yellow Summer Squash: Choose firm, medium-sized squash. We use 2 cups (approx. 300g) of finely diced squash to provide the base color and a mild, slightly sweet flavor profile.
Green Zucchini: You will need 1 cup (approx. 150g) of minced zucchini. The dark skin provides a beautiful visual contrast and a slightly more robust texture than the yellow variety.
Non-Iodized Sea Salt: Use 1.5 tbsp (25g) of high-quality sea salt. Salt is the most critical “invisible” ingredient; it inhibits bad bacteria while drawing out moisture through osmosis to create the brine.
Filtered Water: 2 cups (480ml) of room-temperature filtered water. Chlorine in tap water can kill the beneficial bacteria needed for fermentation, so filtration is key for success.
Aromatics and Spices: Whole yellow mustard seeds (1 tsp), dried red pepper flakes (1/2 tsp), and three cloves of garlic, thinly slivered. These provide the characteristic “deli” flavor and a hint of background heat.
Fresh Emerald Dill: 2 tbsp (10g) of finely chopped fresh dill. The oils in fresh dill are far superior to dried versions for achieving that signature fermented aroma.
The Culinary Toolkit for Precision Fermenting
To recreate the vintage macro-look of our recipe, you will need a few specific tools. A 1-quart (1-liter) wide-mouth mason jar is the gold standard for fermentation, allowing for easy packing and cleaning.
Precision cutting is vital for a relish. Use a sharp Chef’s knife to achieve that “finely diced” look rather than a food processor, which can turn squash into mush. A rustic wooden spoon is perfect for stirring and serving, as it won’t react with the acidic brine over time.
Finally, consider using a glass fermentation weight. This ensures all the vegetables stay submerged below the liquid line, preventing oxygen exposure which can lead to mold formation. If you don’t have one, a clean, smaller glass jar filled with water can act as a makeshift weight.
Mastering the Fermented Summer Squash Relish Process
Preparing the Squash and Zucchini
Begin by washing your yellow squash and zucchini thoroughly. Since we are keeping the skins on for that vibrant color, organic produce is highly recommended. Dice the yellow squash into uniform 1/4-inch (6mm) cubes.
For the zucchini, aim for a slightly smaller mince. This variation in size adds visual depth and ensures the relish has a variegated texture. Combine the diced vegetables in a large non-reactive bowl.
Creating the Probiotic Brine
In a separate pitcher, whisk together the filtered water and sea salt until the salt is completely dissolved. This creates a roughly 2.5% to 3% brine solution, which is the “sweet spot” for vegetable fermentation.
Add the whole mustard seeds, red pepper flakes, slivered garlic, and chopped dill directly to the bowl of squash. Toss everything together so the spices are evenly distributed throughout the vegetables.
Packing the Mason Jar
Transfer the squash mixture into your clean vintage mason jar. Use your wooden spoon to press the vegetables down firmly. You want them packed tightly to eliminate large air pockets.
Pour the brine over the squash until it is completely covered, leaving at least 1 inch (2.5cm) of headspace at the top of the jar. Place your fermentation weight on top to keep the vegetables submerged. You should see the brine rise above the weight, creating an anaerobic seal.
The Fermentation Window
Place the jar in a spot out of direct sunlight, ideally where the temperature stays between 65°F and 72°F (18°C-22°C). After 24 to 48 hours, look for the “Visual Cues” mentioned in our blueprint: tiny effervescent air bubbles rising to the top.
Taste the relish after day three. It should be pleasantly tangy and salty with a distinct garlic-dill aroma. Once it reaches your desired level of sourness (usually 4-7 days), remove the weight, screw on a lid, and move it to the refrigerator.
Expert Tips for the Perfect Batch
- Watch for Bubbles: If you don’t see tiny bubbles by day three, your room might be too cold. Move the jar to a slightly warmer spot, like the top of the refrigerator.
- Keep it Submerged: If any bits of squash float to the surface, they can develop white yeast (Kahm yeast). Simply scoop them out and ensure the weight is doing its job.
- Seasonal Variation: Summer squash has high water content. If your relish looks too watery, you can slightly increase the salt by a pinch to keep the cell walls of the squash rigid.
- The Garlic Mellow: Don’t be alarmed if the garlic slivers turn slightly blue or green; this is a natural reaction between the sulfur in garlic and the acid in the brine.
Creative Pairings for Your Relish
This relish is incredibly versatile. It provides a bright acidity that cuts through fatty proteins beautifully. Try spooning a generous amount over garlic butter beef and rice for a fresh contrast.
It also makes a fantastic addition to a summer spread alongside parmesan tomato zucchini bake, where the cold, fermented crunch balances the warm, roasted flavors. If you’re hosting a party, add a small bowl to your snackle box to serve with crackers and sharp cheddar cheese.
For a lighter meal, stir a tablespoon of the relish into a hearty vegetable salad to act as a built-in dressing, or serve it as a side to crispy zucchini fritters for double the squash goodness.
Maintaining Freshness and Storage
Because this fermented summer squash relish is a raw, living product, it must be stored in the refrigerator once the initial fermentation is complete. The cold temperature significantly slows down the bacterial activity, preserving the flavor for months.
Always use a clean utensil when scooping from the jar to prevent introducing foreign bacteria. The relish will typically stay fresh and crisp for up to 6 months, though the flavors will continue to deepen and mellow over time.
Do not freeze this relish. Freezing will destroy the cellular structure of the squash, turning your beautifully diced cubes into a soft, mushy texture once thawed, and it will kill the beneficial probiotic bacteria.
Frequently Asked Questions
It is best to use filtered or distilled water, as the chlorine in most tap water can inhibit or kill the bacteria needed for fermentation.
No, this is a lacto-fermented recipe. The tangy flavor comes naturally from lactic acid produced by beneficial bacteria, rather than added vinegar.
When kept submerged in its brine and refrigerated, this relish can stay fresh and crisp for up to 6 months.
Softness is usually caused by heat or too little salt. Ensure you use the full amount of sea salt and keep the jar in a cool environment (below 72°F).
Tiny air bubbles are a sign of active fermentation! They are carbon dioxide byproducts of the healthy bacteria at work.
The Ultimate Fermented Summer Squash Relish Recipe
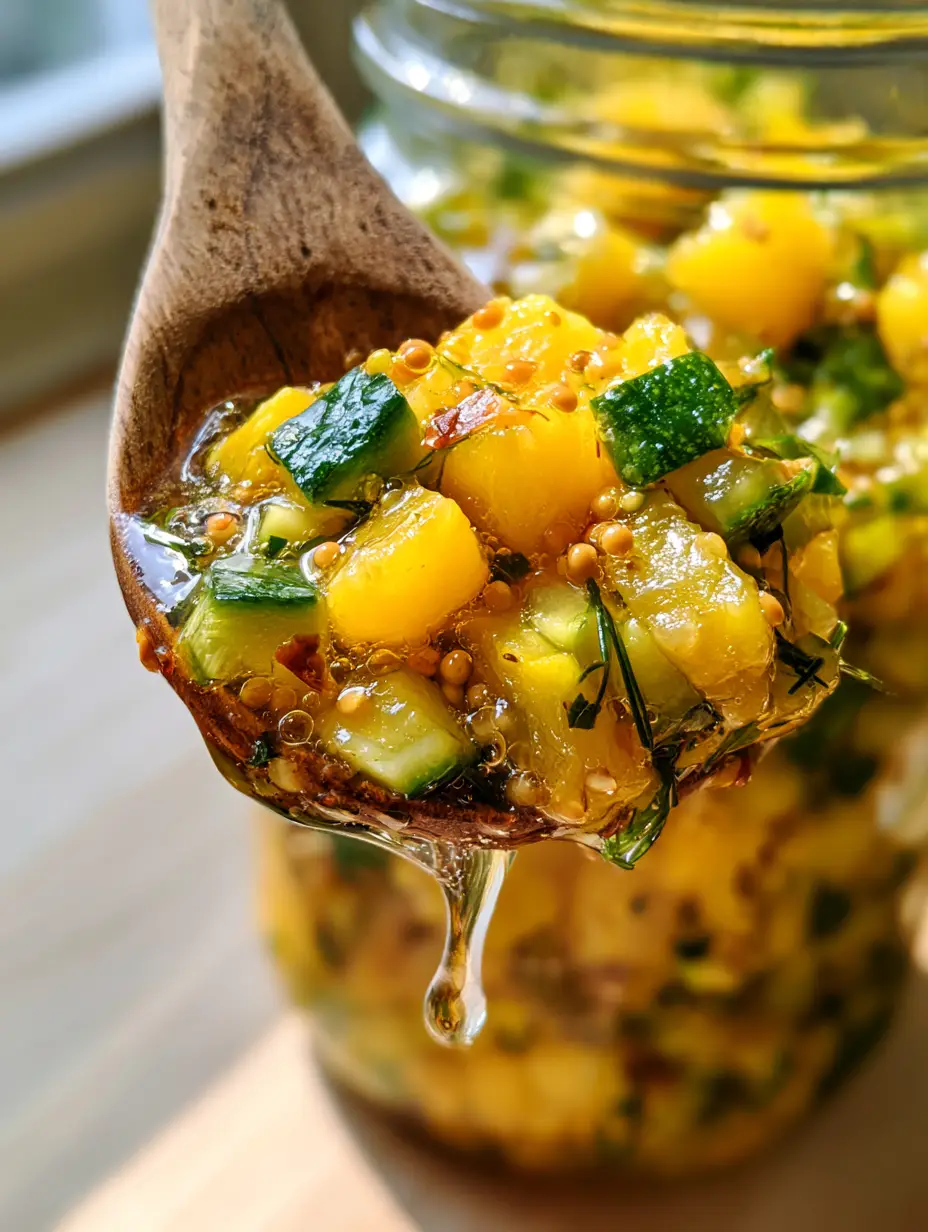
Fermented Summer Squash Relish with Zucchini and Fresh Dill
Ingredients
Equipment
Method
- Finely dice the yellow summer squash and mince the green zucchini into uniform pieces for a consistent texture.
- In a large bowl, toss the diced squash and zucchini with the slivered garlic, chopped dill, mustard seeds, and red pepper flakes.
- Whisk the sea salt into the filtered water until completely clear and dissolved.
- Pack the vegetable mixture into the mason jar using a wooden spoon, pressing down firmly to remove air pockets.
- Pour the brine over the vegetables, ensuring they are fully submerged. Place a fermentation weight on top and leave 1 inch of headspace.
- Store in a cool, dark place for 3 to 7 days. Look for tiny air bubbles and a pleasant tang before moving to the refrigerator.
Notes
If the brine becomes cloudy, don't worry—that is a normal sign of active fermentation.

Closing & Call to Action
Mastering the art of fermented summer squash relish is a rewarding way to preserve the harvest while boosting your gut health. The combination of crisp textures, vibrant colors, and that signature lacto-fermented tang makes it a staple in any modern kitchen. If you enjoyed this recipe, please leave a comment below and share your results! Don’t forget to follow us and save this recipe to your boards on Pinterest for your next summer preserving session.


