There is a specific, fleeting culinary magic that occurs when the humble summer squash meets a hot, oiled skillet. Zucchini fritters are the quintessential bridge between garden-fresh produce and indulgent comfort food, offering a textural contrast that few other vegetable dishes can replicate.
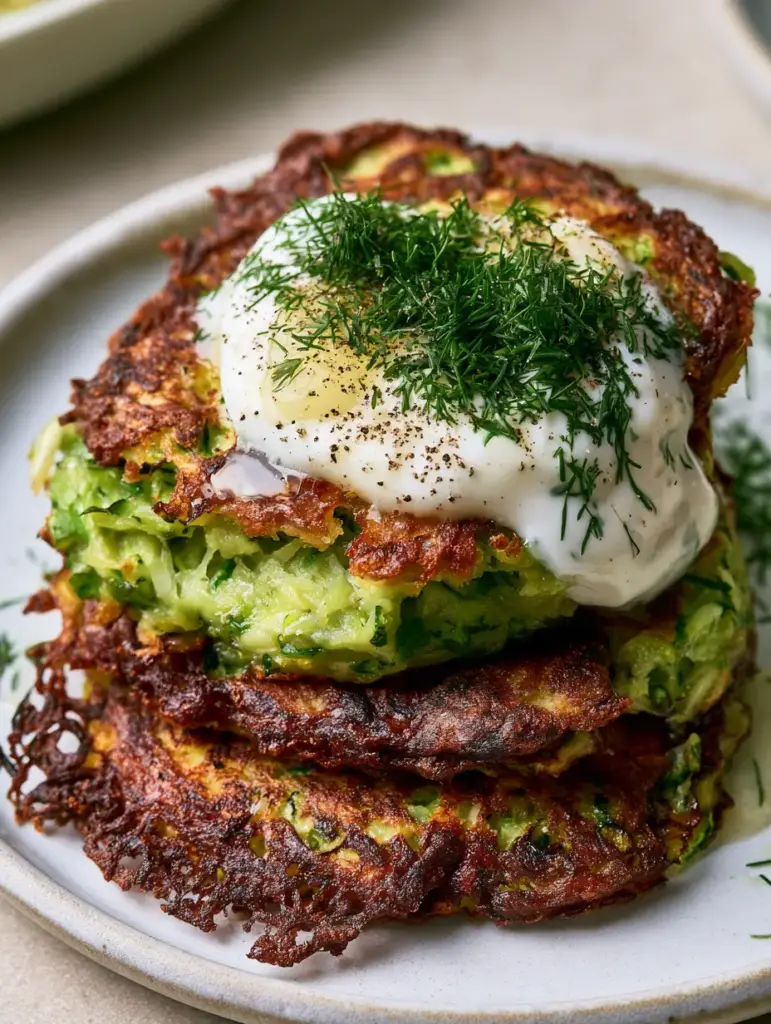
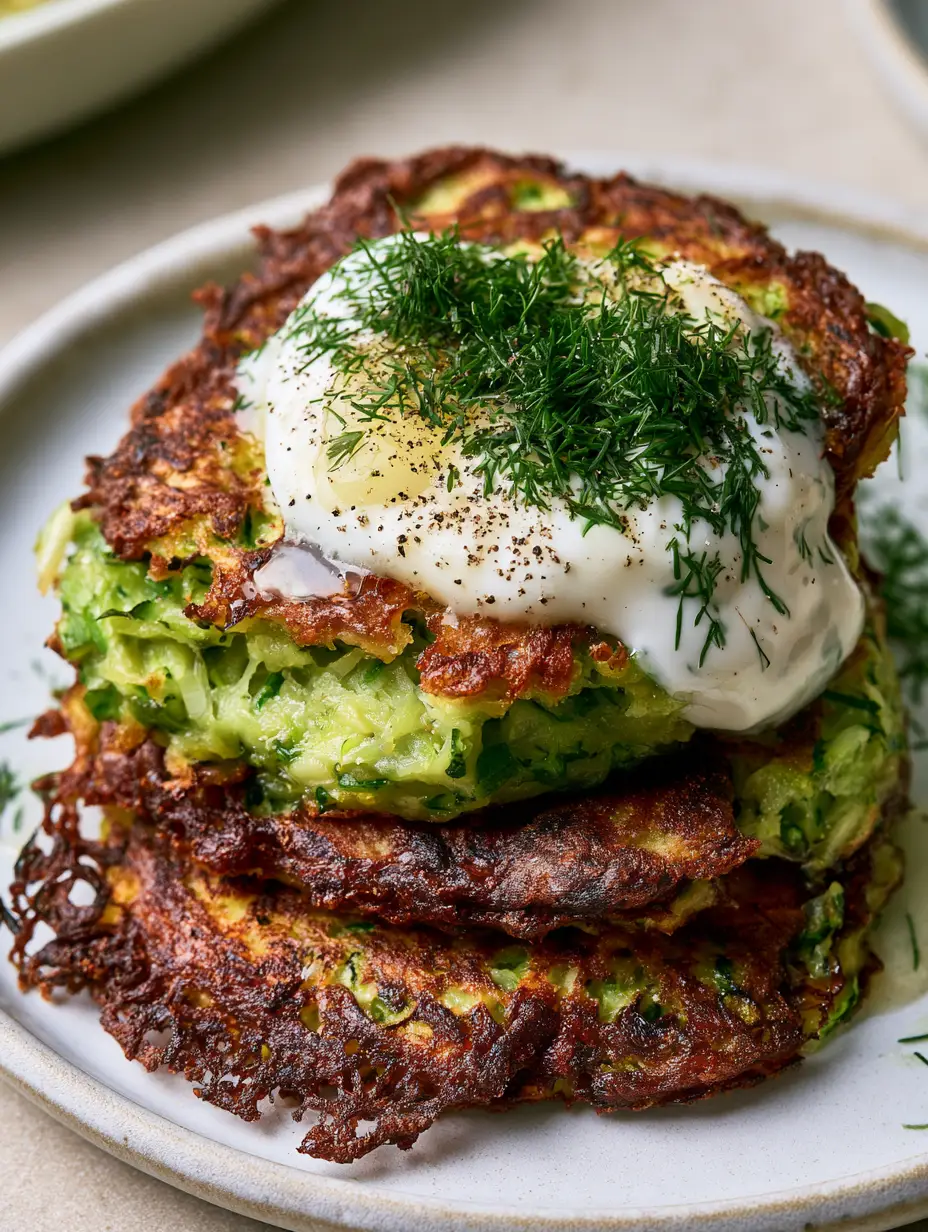
Imagine a stack of three ultra-crispy patties, each boasting a jagged, deep golden-brown crusted exterior with visible lacy, fried edges that shatter upon the first bite. When you snap one in half, a cloud of steam escapes to reveal a vibrant green interior of tender shredded zucchini and scallions, perfectly seasoned and aromatic.
To finish the plate, a thick dollop of cool white sour cream sits atop the stack, melting slightly into the warm crevices. A heavy crack of black pepper, a forest of finely chopped fresh emerald dill, and a glistening squeeze of bright lemon juice complete this sensory masterpiece, making these zucchini fritters a staple for any home cook.
The Science of the Perfect Golden-Brown Crunch
Achieving the visual result seen in professional food photography requires more than just mixing ingredients; it requires mastering moisture management and heat transfer. These zucchini fritters are designed to be structurally sound while maintaining that “melt-in-your-mouth” vegetable center.
- Ultra-Crispy Texture: By utilizing a specific moisture-wicking technique, we ensure the exterior achieves a jagged, fried edge without becoming greasy.
- Vibrant Interior: We use a quick-sear method to lock in the chlorophyll, keeping the shredded zucchini and scallions bright green and fresh.
- Sensory Contrast: The heat of the pan-fried patty against the cold, thick sour cream provides a professional-level dining experience.
- Balanced Acidity: The glistening lemon juice acts as a flavor brightener, cutting through the richness of the frying oil.
Essential Components for Visual and Flavor Success
Every ingredient in this list serves a dual purpose: providing the structural integrity needed for a tall stack and delivering the specific flavors found in our visual blueprint. We do not skip the foundational elements that ensure these zucchini fritters hold their shape.
Fresh Zucchini: You will need approximately 1.5 lbs (680g) of firm, medium zucchini. Their high water content is our biggest challenge, but their mild flavor is the perfect canvas for herbs.
Scallions (Green Onions): Use 3-4 large scallions (approx. 45g), finely sliced. These provide the “vibrant green” flecks inside the fritter and a mild, peppery bite that complements the squash.
All-Purpose Flour & Cornstarch: Use 1/2 cup (60g) flour and 2 tbsp (16g) cornstarch. This specific blend creates the lacy, jagged edges and a crispiness that lasts longer than flour alone.
Large Egg: One beaten egg (approx. 50g) acts as the protein binder. It ensures the shredded vegetables don’t fall apart when flipped in the pan.
Baking Powder: 1/2 tsp (2g) of baking powder is our “invisible” ingredient. It creates tiny air pockets, ensuring the fritter is light and steaming inside rather than dense and gummy.
High-Heat Frying Oil: Use 1/4 cup (60ml) of avocado oil or grapeseed oil. These oils have high smoke points, allowing you to achieve that deep golden-brown crust without the oil breaking down.
Sea Salt Flakes & Cracked Black Pepper: These are essential for the final visual “glisten” and a punch of seasoning. The salt draws out moisture during prep and seasons the final dish.
Fresh Dill & Sour Cream: 1/2 cup (120g) thick sour cream and 2 tbsp (8g) fresh chopped dill. These are the crowning glory, providing the cool, creamy, and herbaceous finish.
Fresh Lemon: One half lemon, squeezed fresh just before serving. This provides the glistening surface finish and essential acidity.
Must-Have Tools for Fritter Mastery
To achieve the “handheld smartphone photo” realism of a perfect fritter, your equipment matters as much as your ingredients. Using the right tools prevents the zucchini fritters from steaming rather than frying.
A box grater or food processor with a shredding disc is vital for uniform zucchini strands. Uniformity ensures that every piece of vegetable cooks at the same rate, preventing raw centers.
A clean kitchen towel or cheesecloth is perhaps the most important tool in this recipe. You will use this to physically wring the liquid out of the shredded squash, which is the secret to the ultra-crispy exterior.
A heavy-bottomed cast iron skillet or a high-quality stainless steel pan is preferred. These materials retain heat efficiently, ensuring that when the cold batter hits the oil, the temperature doesn’t drop too low.
The Step-by-Step Path to Golden Perfection
Preparing the Zucchini “Big Squeeze”
Start by grating your zucchini into a large bowl. Sprinkle with 1 tsp (6g) of sea salt and let it sit for at least 10 minutes; you will see water begin to pool at the bottom of the bowl.
Transfer the salted zucchini to a clean kitchen towel, gather the corners, and twist with all your might. You want to squeeze out as much green liquid as possible until the zucchini feels dry to the touch.
Mixing the Herbaceous Batter
In a separate large mixing bowl, whisk the egg, then stir in the dried zucchini and sliced scallions. Ensure the scallions are evenly distributed so every bite has that vibrant green interior.
Sift in the flour, cornstarch, and baking powder. Use a spatula to fold the mixture together until just combined; over-mixing can lead to a tough, bready texture rather than a light fritter.
Mastering the Pan-Sear
Heat your oil in the skillet over medium-high heat until it shimmers. Test the heat by dropping a small piece of batter in—if it sizzles immediately, you are ready to fry.
Scoop roughly 3 tbsp (45ml) of batter per fritter into the pan, flattening them slightly with the back of a spoon to create jagged, lacy edges. Do not crowd the pan, as this will lower the temperature and lead to sogginess.
Fry for 3-4 minutes per side. Look for the visual cue: a deep golden-brown crust that looks “jagged” and crisp. The edges should look slightly darker and very brittle.
The Final Garnish and Presentation
Remove the fritters and place them on a wire rack (not paper towels) to maintain their crunch. Stack three fritters high on a rustic white ceramic plate to mimic our visual blueprint.
Dollop a generous spoonful of sour cream on top, letting the residual heat melt it slightly down the sides. Sprinkle heavily with fresh chopped dill, sea salt flakes, and a very aggressive crack of black pepper.
Expert Tips for Success
- Temperature Control: If your oil is smoking, it’s too hot; if the fritters aren’t sizzling vigorously, it’s too cold. Aim for a steady, active bubble.
- The Flour Balance: If your batter feels too wet even after squeezing, add flour 1 tablespoon at a time. The mixture should hold together but not feel like dough.
- Avoid the Sog: Never stack hot fritters directly on top of each other for storage, as the steam from the bottom ones will soften the ones above.
- Uniform Shreds: Use the coarse side of your grater. Fine shreds tend to turn into a paste, whereas coarse shreds provide that beautiful interior texture.
Storing and Reheating Your Zucchini Fritters
While these are best served immediately for maximum crunch, you can store leftovers in an airtight container in the refrigerator for up to 3 days. To reheat, avoid the microwave at all costs.
Instead, place them in a 375°F (190°C) oven or an air fryer for 4-5 minutes. This will reactivate the oils and restore that signature golden-brown crispy crust.
What to Serve with Zucchini Fritters
These fritters are incredibly versatile. For a Mediterranean-inspired spread, pair them with a fresh cucumber feta salad or a bright chunky cucumber salsa.
If you are looking for a more substantial meal, they make an excellent side dish for crispy parmesan chicken or as a vegetable component alongside lemon garlic shrimp orzo.
For those who love a squash-focused feast, consider serving these alongside a parmesan tomato zucchini bake for varying textures of the same seasonal vegetable.
Common Questions About Fritters
While you can bake them at 400°F (200°C), they will not achieve the same deep golden-brown crust or jagged lacy edges as pan-frying. For best results, use a skillet.
Yes, you can substitute the all-purpose flour with a 1:1 gluten-free flour blend. Ensure the blend contains xantham gum for structural integrity.
The secret is using a combination of flour and cornstarch, along with high-heat oil. Flatten the batter slightly in the pan to allow the edges to fry into lacy, brittle textures.
Avoid the microwave, which makes them rubbery. Reheat in an air fryer or oven at 375°F (190°C) for a few minutes until the exterior becomes crisp again.
Sogginess is usually caused by excess moisture in the zucchini. You must salt the shredded zucchini and squeeze it firmly in a kitchen towel to remove all liquid before mixing the batter.
The Ultimate Crispy Zucchini Fritter Recipe
Zucchini Fritters: The Ultimate Guide to Ultra-Crispy Golden Perfection
Ingredients
Equipment
Method
- Grate the zucchini using a box grater. Toss with 1 tsp salt and let sit for 10 minutes.
- Place zucchini in a clean towel and wring out all excess moisture until the squash feels very dry.
- Combine zucchini, scallions, egg, flour, cornstarch, and baking powder in a bowl. Fold until just combined.
- Heat oil in skillet. Scoop 3 tbsp of batter per fritter. Fry for 3-4 minutes per side until deep golden-brown with jagged edges.
- Stack fritters, top with sour cream, fresh dill, cracked pepper, and a glistening squeeze of lemon juice.
Notes
Use a wire rack for cooling to prevent the bottoms from getting soggy.
Bring the Garden to Your Table
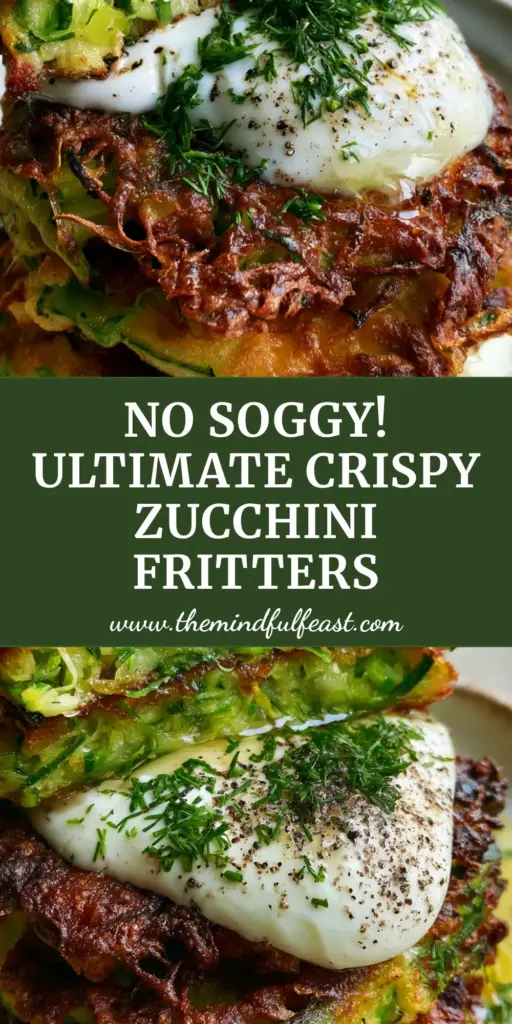
Mastering zucchini fritters is a rite of passage for every home cook who appreciates the balance of fresh vegetables and fried indulgence. The contrast of the steaming green interior and the jagged golden crust is a culinary triumph that never fails to impress.
If you enjoyed this recipe, please leave a comment below and let us know how your lacy edges turned out! Don’t forget to share your creations on Pinterest and follow us for more garden-to-table inspiration.


