When the craving for a decadent, deeply cocoa-infused dessert strikes, waiting forty-five minutes for a traditional oven-baked batch is simply not an option. Enter the microwave brownie, a single-serve miracle that defies the dry, spongy reputation of most mug cakes.
This isn’t just a quick fix; it is a culinary masterpiece designed to mimic the exact profile of a high-end bakery treat. Imagine a macro-level texture: a dense, warm crumb that gives way to a molten, liquid-gold center of melted semi-sweet chocolate chips, all housed in your favorite matte ceramic mug.
By using precise ratios and specific “invisible” ingredients, we achieve a glistening chocolate glaze that pools perfectly on top, catching the light just like a professional food photograph. This recipe is the bridge between instant gratification and gourmet quality, providing a rich, fudgy experience in under two minutes.
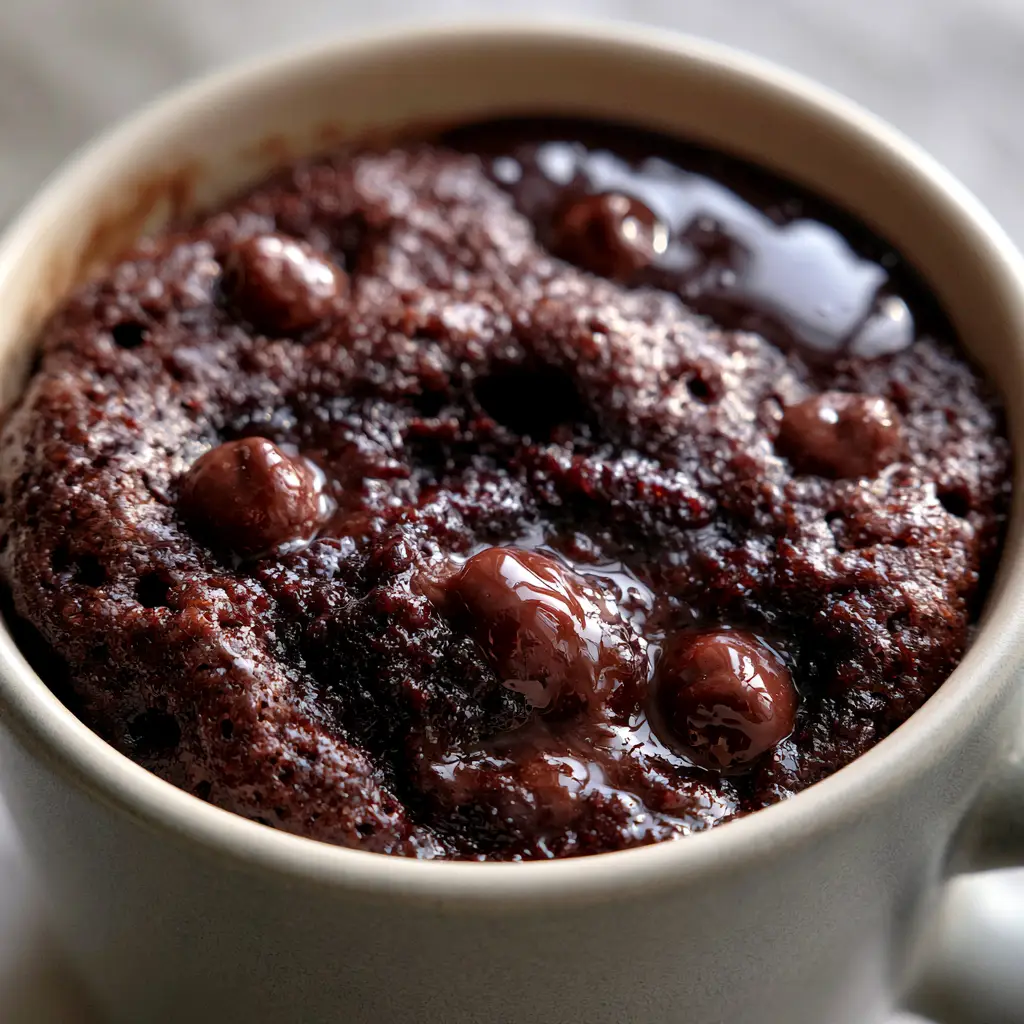
Why This Fudgy Single-Serve Dessert Redefines Convenience
- Molten Core Technology: Unlike cakey versions, this recipe uses a specific fat-to-flour ratio to ensure a dense, fudgy center that stays gooey even as it cools.
- Visual Sophistication: The contrast between the matte ceramic mug and the glossy, shimmering chocolate glaze creates a stunning, “unedited” aesthetic perfect for any home cook’s portfolio.
- Semi-Sweet Depth: By incorporating whole semi-sweet chocolate chips that partially melt during the microwave process, you get pockets of intense chocolate flavor in every bite.
- Scientific Precision: We’ve balanced the leavening agents to prevent the “rubbery” texture often associated with microwave baking, resulting in a tender, moist crumb.
The Elements of a Perfect Molten Brownie Base
All-Purpose Flour: 4 tbsp (30g). This provides the essential structure, but we keep the amount low to ensure the microwave brownie remains fudgy rather than bread-like.
Unsweetened Cocoa Powder: 2 tbsp (15g). High-quality Dutch-processed cocoa is best here to achieve that dark, rich color and intense chocolate aroma seen in the visual blueprint.
Granulated Sugar: 2 tbsp (25g). Sugar does more than sweeten; it liquefies as it heats, contributing significantly to the moist, dense texture of the center.
Neutral Oil or Melted Butter: 2 tbsp (30ml). Fat is the “invisible” hero that prevents the cake from becoming tough, ensuring the crumb remains tender and the mouthfeel stays luxurious.
Whole Milk: 2 tbsp (30ml). This provides the necessary hydration to activate the starches in the flour while keeping the batter smooth and pourable.
Semi-Sweet Chocolate Chips: 2 tbsp (30g). These are critical for the “molten center” visual; they melt into glossy pools that contrast against the matte crumb.
The “Invisible” Essentials: A pinch of fine sea salt and 1/4 tsp (1.25ml) of vanilla extract. Salt heightens the cocoa notes, while vanilla adds a layer of aromatic complexity that rounds out the sweetness.
Essential Kitchen Tools for Mug Baking
To achieve the authentic, handheld smartphone photo style result, you will need a 12-ounce (350ml) matte ceramic mug. The matte finish isn’t just for looks; ceramic retains heat evenly, which is vital for the gentle “baking” of the center without overcooking the edges.
You will also need a small silicone whisk or a fork to ensure there are no pockets of dry flour at the bottom of the mug. A microwave with adjustable power settings is ideal, as the difference between a 900W and 1200W machine can change the “glossy glaze” finish significantly.
How to Create the Glossy Microwave Brownie Step-by-Step
Whisking the Dry Foundation
In your matte ceramic mug, combine the 4 tbsp (30g) of flour, 2 tbsp (15g) of cocoa powder, 2 tbsp (25g) of sugar, and a pinch of salt. Whisk these together until the mixture is a uniform, pale chocolate color, ensuring no lumps of cocoa remain, as these will cause bitter pockets in your microwave brownie.
Integrating the Liquids for a Dense Crumb
Pour in the 2 tbsp (30ml) of milk, 2 tbsp (30ml) of oil or melted butter, and the vanilla extract. Stir gently with a fork, scraping the bottom edges of the mug where flour likes to hide, until a thick, glossy batter forms that looks like traditional rich fudgy brownie recipe batter.
The Molten Core Secret
Fold in 1.5 tbsp (22g) of the semi-sweet chocolate chips. Do not over-mix here; you want the chips to stay somewhat clustered so they create those specific “glossy melted chocolate” points mentioned in the visual prompt. Save the remaining chips for the very top to create the glistening glaze effect.
Microwaving for Sensory Cues
Place the mug in the center of the microwave and cook on high for 60 to 75 seconds. Watch for the “sensory cue”: the batter should rise nearly to the top and the surface should transition from wet to slightly “set” but still look glistening and moist. If the top looks completely dry and matte, it is overcooked!
Applying the Glossy Chocolate Glaze
Immediately after removing the mug from the microwave, sprinkle the remaining chocolate chips on top. Let them sit for 30 seconds to soften from the residual heat, then use the back of a spoon to gently swirl them into a thin, glossy pool. This creates the “slight glistening chocolate glaze” that characterizes a professional-grade dessert.
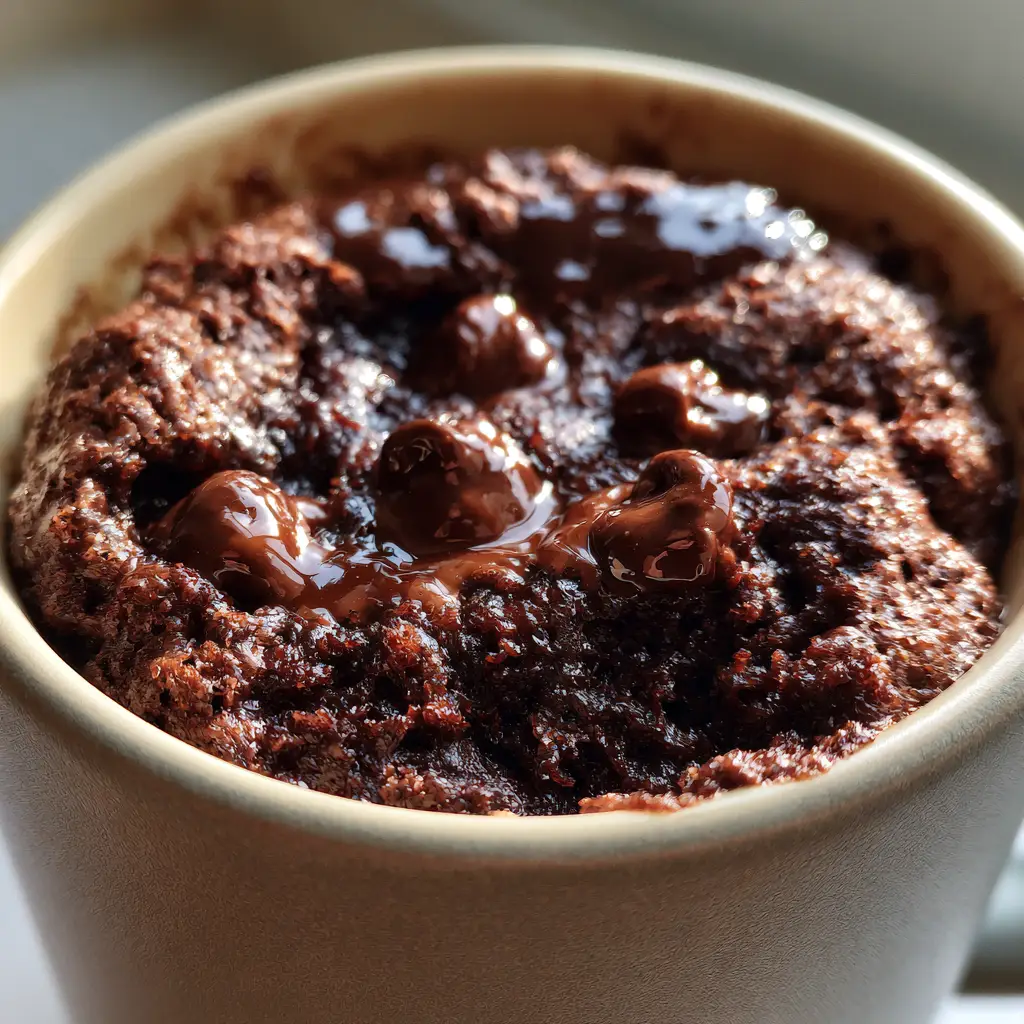
Expert Troubleshooting for the Perfect Mug Cake Texture
- Avoid the “Rubber” Effect: This usually happens from over-mixing the flour. Stir only until the white streaks disappear to keep the gluten development at a minimum.
- The Center Isn’t Molten: If your microwave is very powerful, try cooking at 80% power for 90 seconds instead of 100% for 60. This slower heat allows the chips to melt without drying out the batter.
- The Glaze Isn’t Glossy: If the chips don’t melt into a pool, add 1/2 tsp (2.5ml) of milk to the chips before swirling; this creates a quick “cheat” ganache that catches the light beautifully.
- Adjusting for Altitude: If you are at a high altitude, add an extra 1/2 tbsp (7ml) of milk to prevent the microwave brownie from becoming too dry.
Storage, Reheating, and Freshness Advice
This recipe is designed for immediate consumption while the center is in its molten, glistening state. However, if you have leftovers, cover the mug with plastic wrap and store it at room temperature for up to 24 hours.
To reheat, microwave for exactly 15 seconds. This is just enough to soften the fats and the glaze without further cooking the crumb. Do not freeze this dessert, as the delicate moisture balance in a microwave-baked item will be lost during the thawing process.
What to Serve With This Decadent Mug Cake
To balance the intensity of the chocolate, a side of fresh fruit is highly recommended. Try pairing it with these healthy banana bites for a playful mix of textures. If you want to lean into the rich dessert theme, follow this up with a light chocolate orange chia pudding for your meal prep the next day.
For those who prefer a more traditional chewy brownie texture, you might enjoy serving this mug cake with a small scoop of vanilla bean ice cream. The cold cream melting into the warm, glossy glaze creates a sensory experience that is hard to beat.
Common Questions about Microwave Baking
Yes, you can substitute the all-purpose flour with a 1:1 gluten-free flour blend. The texture will remain fudgy due to the high fat-to-flour ratio.
While you can use water, milk provides fats and sugars that contribute to a richer flavor and a more tender, less spongy crumb.
Add chocolate chips immediately after cooking. The residual heat melts them; swirl gently with a spoon to create that glistening, professional finish.
This recipe is optimized for a standard 1000W-1100W microwave. If your microwave is higher wattage (e.g., 1200W), reduce the power to 80% to ensure a molten center.
A rubbery texture is usually caused by over-mixing the batter, which develops too much gluten, or over-cooking. Microwave just until the top is set but still looks moist.
The Best Fudgy Microwave Brownie Recipe
Microwave Brownie: The Ultimate 2-Minute Fudgy Chocolate Mug Cake
Ingredients
Equipment
Method
- In a 12oz matte ceramic mug, whisk together flour, cocoa powder, sugar, and salt until uniform.
- Stir in the oil (or melted butter), milk, and vanilla. Whisk until a glossy, smooth batter forms with no dry pockets.
- Fold in 1.5 tbsp of the semi-sweet chocolate chips, leaving the rest for the topping.
- Cook on high for 60-75 seconds. Look for a surface that is set but still glistening; do not overcook until dry.
- Immediately top with the remaining chocolate chips. Let melt for 30 seconds, then swirl with a spoon into a glossy glaze.
Notes
Ensure the cocoa is Dutch-processed for that signature dark fudgy color.
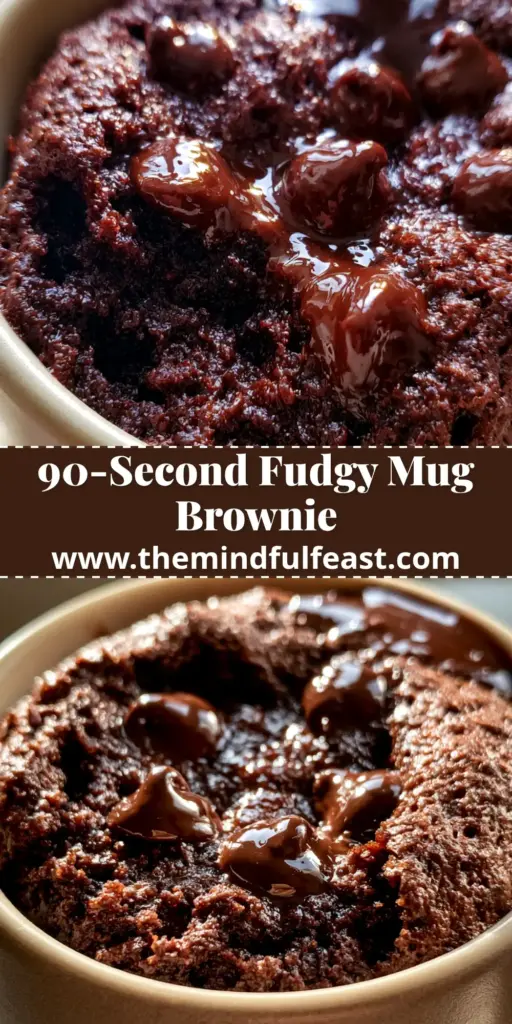
A Sweet Conclusion to Your Cravings
This microwave brownie is more than just a convenience; it’s a testament to what thoughtful culinary science can achieve in a single mug. From the matte ceramic finish to the glistening, molten center, every element is designed to satisfy the most demanding chocolate lover.
We invite you to try this recipe tonight and share your results! Did your glaze pool perfectly? Did you catch that soft natural side-light in your photo? Let us know in the comments below, and don’t forget to save this to your favorite dessert boards on Pinterest!