Banana bites are the undisputed champions of the freezer-snack world, offering a perfect trifecta of creamy, crunchy, and salty notes in every single mouthful. This recipe elevates the humble fruit slice into a sophisticated treat that rivals any store-bought confection, featuring a snap-perfect dark chocolate shell and a rich, velvety nut butter core.
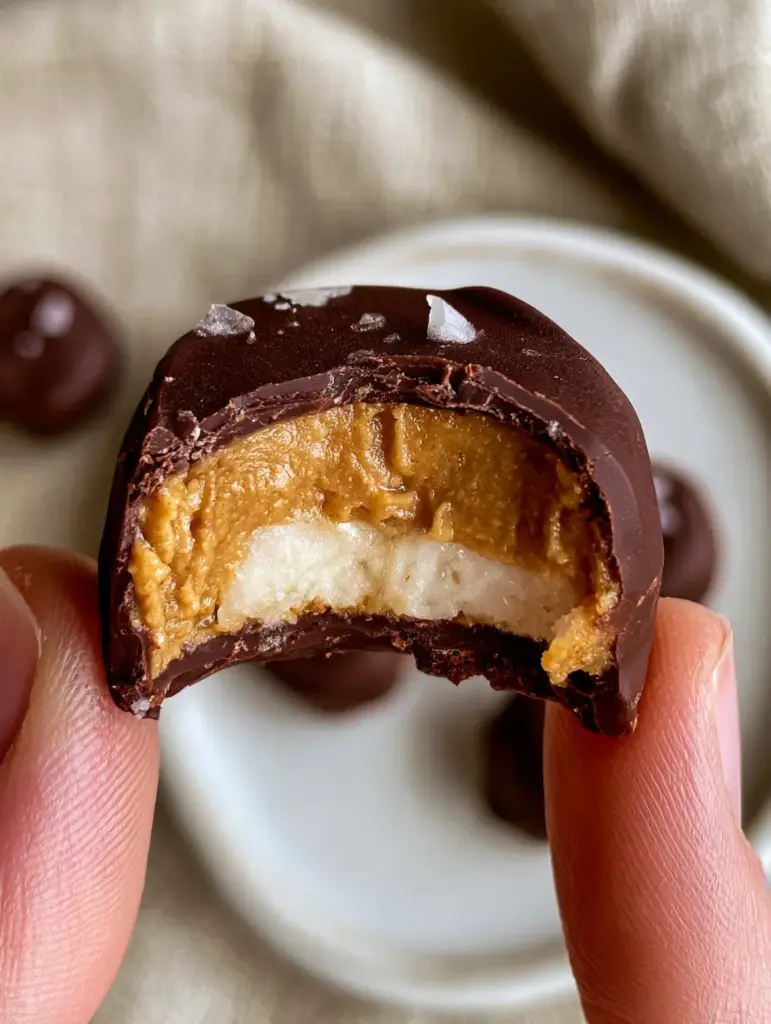
When you take that first bite, you will experience the distinct sensory contrast between the matte, ice-cold chocolate and the soft, yielding frozen banana. The addition of flaky sea salt isn’t just a garnish; it is a culinary bridge that enhances the sweetness of the fruit while cutting through the richness of the peanut butter.
Whether you are looking for a post-workout fuel or a late-night dessert that won’t leave you feeling sluggish, these banana bites deliver high-quality satisfaction. They are naturally gluten-free, can easily be made vegan, and provide a dose of potassium and antioxidants with every serving.
Why These Frozen Banana Bites Are the Ultimate Healthy Indulgence
- Textural Masterclass: You get the crisp “snap” of hardened dark chocolate followed by the luscious, thick texture of creamy peanut butter and a refreshing fruit center.
- Visually Stunning Garnish: The use of large-grain flaky sea salt creates a professional, artisanal look that makes these treats look like they came from a high-end chocolatier.
- Stable Freezer Life: Unlike other fruit snacks, these maintain their structural integrity for weeks, making them the perfect candidate for bulk meal-prep sessions.
- Kid-Approved Nutrition: While they taste like a candy bar, the primary ingredients are whole fruits and healthy fats, making them a parent’s favorite “secretly healthy” dessert.
Essential Components for the Perfect Three-Layer Snack
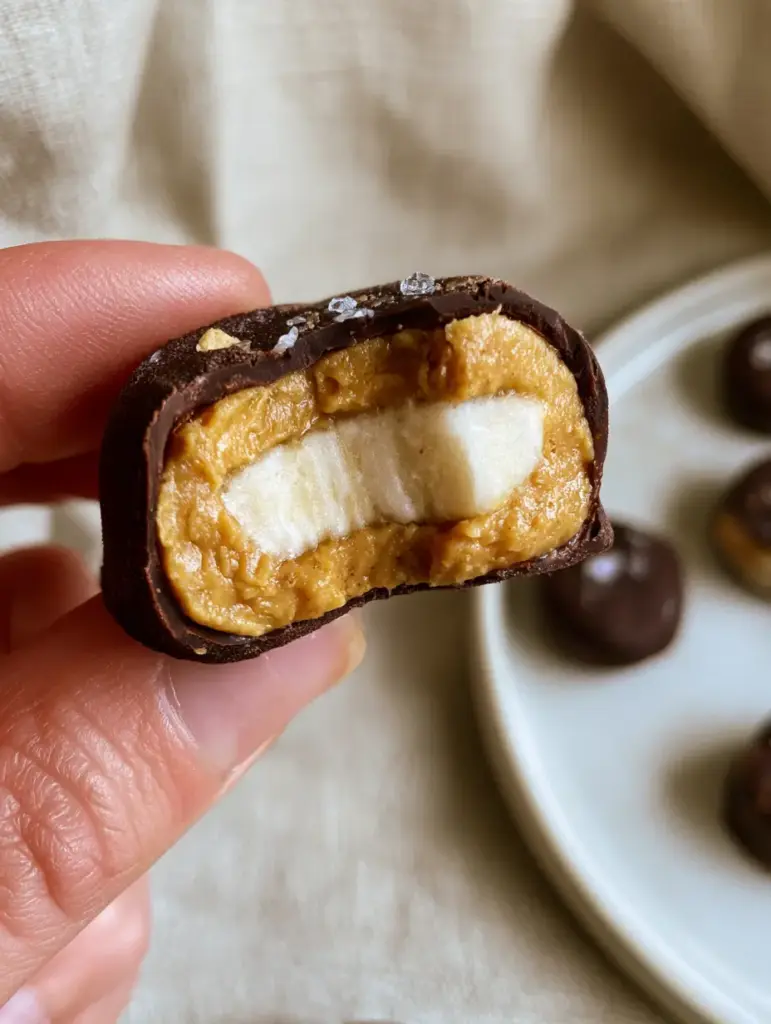
To achieve the specific matte frost finish and structural stability seen in professional culinary photography, every ingredient serves a specific chemical purpose. We are not just assembly-lining a snack; we are engineering a frozen dessert that resists melting the moment it hits your fingertips.
Ripe but Firm Bananas: You want bananas that are yellow with just a few brown speckles; they provide the necessary sweetness while being firm enough to hold the peanut butter weight. If the bananas are too mushy, the moisture will prevent the peanut butter from adhering properly.
Creamy Golden-Brown Peanut Butter: A thick, stabilized peanut butter works best here to ensure the “middle layer” remains distinct and doesn’t run during the dipping process. If you prefer a more protein-forward snack, you might even consider pairing these with high-protein banana cottage cheese waffles for a complete breakfast experience.
Dark Chocolate Morsels (60% Cacao or Higher): Dark chocolate provides the sophisticated bitterness needed to balance the natural sugars of the banana. The higher cocoa butter content also ensures a smoother melt and a more professional finish.
Refined Coconut Oil: This is the “invisible” hero that creates a “Magic Shell” effect, allowing the chocolate to harden instantly upon contact with the frozen fruit. It also provides that signature matte frost look when the banana bites are removed from the freezer.
Flaky Sea Salt (Maldon or Fleur de Sel): These crystals provide a bright mineral pop and a visual “sparkle” against the dark chocolate shell. Avoid table salt, which is too fine and will simply dissolve into the chocolate rather than sitting on top as a garnish.
Professional Equipment for Precision Dipping
Achieving a clean, unedited aesthetic requires the right tools to minimize handling and prevent fingerprints on the chocolate. You will need a standard rimmed baking sheet lined with high-quality parchment paper to ensure the bites don’t stick during the multiple freezing stages.
A small offset spatula or a piping bag is highly recommended for applying the peanut butter with surgical precision. For the chocolate dipping phase, a specialized dipping fork or even a standard dinner fork will allow excess chocolate to drain away, preventing a “puddle” at the base of your banana bites.
The Step-by-Step Architecture of a Banana Bite
Phase 1: Precision Slicing and the Initial Chill
Begin by peeling 3 large bananas (approx. 450g) and slicing them into uniform rounds roughly 1/2 inch (1.25cm) thick. Consistency in thickness is vital for ensuring that every bite freezes at the same rate and fits comfortably between your fingers.
Arrange the slices on your prepared parchment-lined tray, ensuring they are not touching. Place the tray in the freezer for at least 30 minutes; this “flash freeze” creates a dry, cold surface that allows the peanut butter to grip the fruit without sliding off.
Phase 2: Applying the Creamy Peanut Butter Core
Once the banana slices are firm to the touch, remove them from the freezer. Place approximately 1 tsp (5g) of thick creamy peanut butter onto the center of each slice. You can use a second spoon to scrape the peanut butter off, or for the cleanest look, pipe it through a small hole in a plastic bag.
Return the tray to the freezer for an additional 60 minutes. This step is critical; if the peanut butter isn’t frozen solid, it will mix with the warm chocolate during dipping, ruining the “three distinct layers” visual we are aiming for.
Phase 3: The Dark Chocolate Tempering and Dipping
In a small, deep microwave-safe bowl, combine 1 cup (175g) of dark chocolate chips with 1 tbsp (15ml) of refined coconut oil. Microwave in 30-second bursts, stirring vigorously between each, until the mixture is glossy and completely liquid.
Working quickly, remove the frozen banana-PB stacks from the freezer. Using a fork, submerge each stack into the chocolate, lift it out, and tap the fork against the side of the bowl to remove the excess. You should see the chocolate begin to set almost immediately, turning from shiny to a slight matte frost.
Phase 4: The Final Garnish and Set
While the chocolate is still slightly tacky (within 10-15 seconds of dipping), sprinkle a few crystals of flaky sea salt onto the top of each bite. This ensures the salt “locks” into the shell rather than bouncing off the surface.
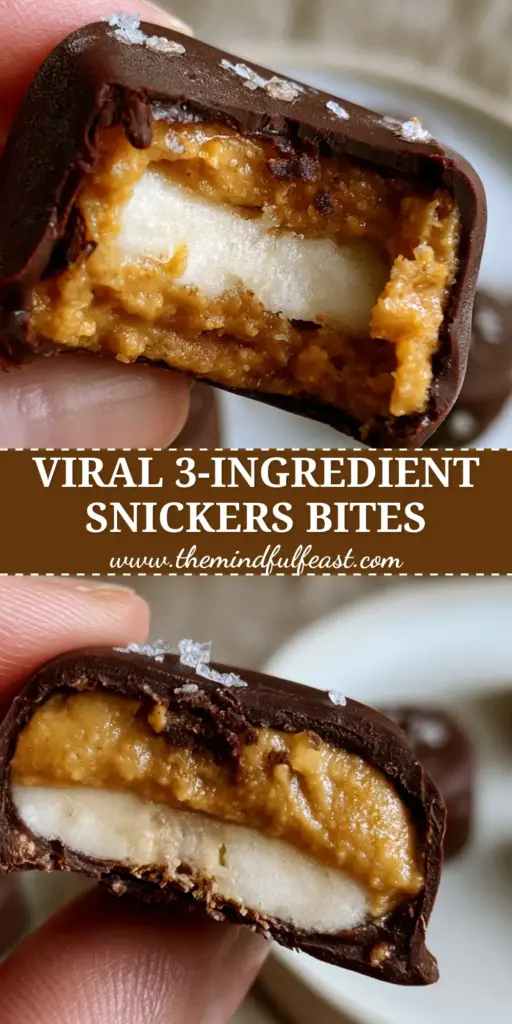
Return the completed banana bites to the freezer for a final 20 minutes to ensure the core is fully hardened. The final result should reveal a clean bite-through that shows the pale white banana, the golden peanut butter, and the dark shell.
Expert Tips for Success and Troubleshooting
- Avoid the “Soggy Banana” Syndrome: Never use overripe, black bananas. They have too much moisture and sugar, which prevents them from freezing into a solid, creamy disc and causes them to turn mushy quickly at room temperature.
- The Coconut Oil Secret: Do not skip the coconut oil in the chocolate. Without it, the chocolate will be too thick and brittle, cracking aggressively when you try to take a bite rather than yielding to the teeth.
- Temperature Control: If your kitchen is warm, work in small batches. Keep half of the banana bites in the freezer while you dip the first half to prevent the peanut butter from softening.
- Nut-Free Variations: If you have an allergy, sunflower seed butter or tahini makes an excellent substitute for peanut butter, though you may need to add a touch of maple syrup to stabilize the consistency.
Optimal Storage and Serving Suggestions
These banana bites should always be stored in the freezer in an airtight container or a heavy-duty freezer bag. They will stay fresh and flavorful for up to 2 months, though the texture is best within the first 3 weeks.
For the best eating experience, let the bites sit at room temperature for about 2-3 minutes before serving. This allows the banana to soften just slightly into a “nice-cream” consistency while the chocolate maintains its snap.
What to Serve With These Frozen Treats
These bites are a fantastic standalone snack, but they also pair beautifully with other textured desserts. If you are hosting a brunch, consider serving them alongside yogurt custard toast for a variety of fruit-forward options.
For those who love the banana-peanut butter flavor profile, these bites are a great precursor to more decadent items like banana pudding cupcakes or even banana cream pie cookies. If you want to lean into the “bite-sized” theme for a party, try adding mango coconut sushi bites to your platter for a tropical twist.
Frequently Asked Questions Regarding Frozen Snacks
Absolutely! Just ensure your dark chocolate chips are dairy-free. Most high-quality dark chocolates with 60% cacao or more are naturally vegan.
Yes, but be aware that milk chocolate has a lower melting point and more sugar, so the bites may soften faster at room temperature.
Freezing the slices immediately after cutting stops the enzymatic browning process. Once coated in chocolate, the banana is sealed from oxygen, preserving its pale color.
Coconut oil thins the chocolate for a smoother coating and creates a ‘magic shell’ that hardens quickly with a professional matte finish.
The bananas must be completely frozen before dipping. If they are sweating or at room temperature, the moisture will cause the chocolate to seize or slide off.
The Best 3-Layer Frozen Banana Bites Recipe
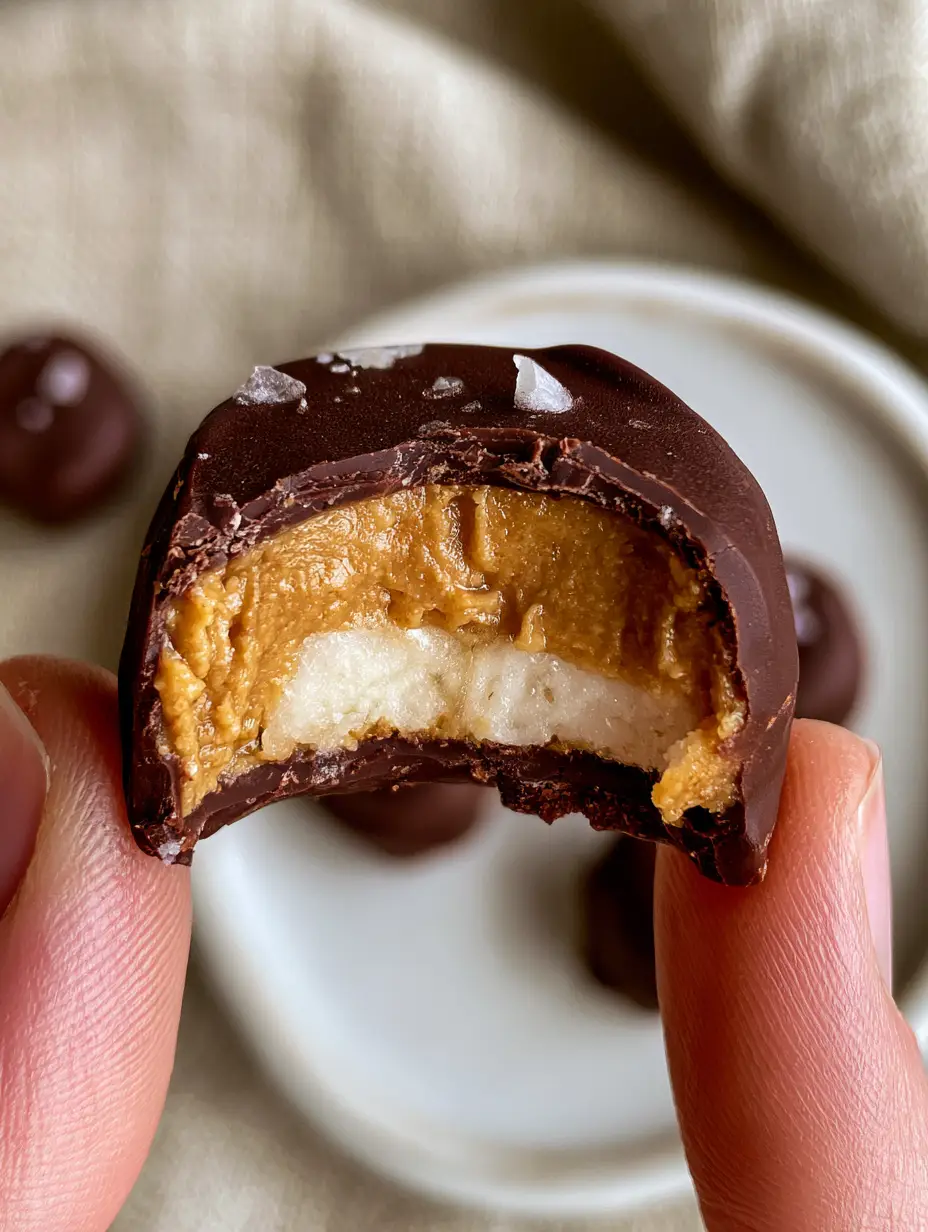
Banana Bites: The Ultimate Frozen Dark Chocolate and Peanut Butter Snack
Ingredients
Equipment
Method
- Peel and slice bananas into 1/2 inch (1.25cm) rounds and place on a parchment-lined tray.
- Freeze the slices for 30 minutes until firm.
- Place 1 tsp (5g) of peanut butter on each frozen slice and freeze for 60 more minutes.
- Melt chocolate chips and coconut oil in 30-second intervals until smooth.
- Dip each frozen stack into chocolate, sprinkle with sea salt, and return to the freezer for 20 minutes.
Notes
Freeze the peanut butter layer thoroughly to prevent it from bleeding into the chocolate.
Join The Mindful Feast Community
We hope these banana bites become a staple in your freezer! They are the perfect solution for satisfying a sweet tooth while staying on track with your wellness goals. The combination of healthy fats, potassium, and dark chocolate is a winning formula for any time of day.
If you made this recipe, we would love to hear about it! Please leave a comment below and let us know how your chocolate shell turned out. Don’t forget to follow us and share your creations on Pinterest to help other home cooks find their new favorite snack.
For more easy snack inspiration, check out our guide on healthy reese’s eggs or browse our collection of quick bites. Happy snacking!