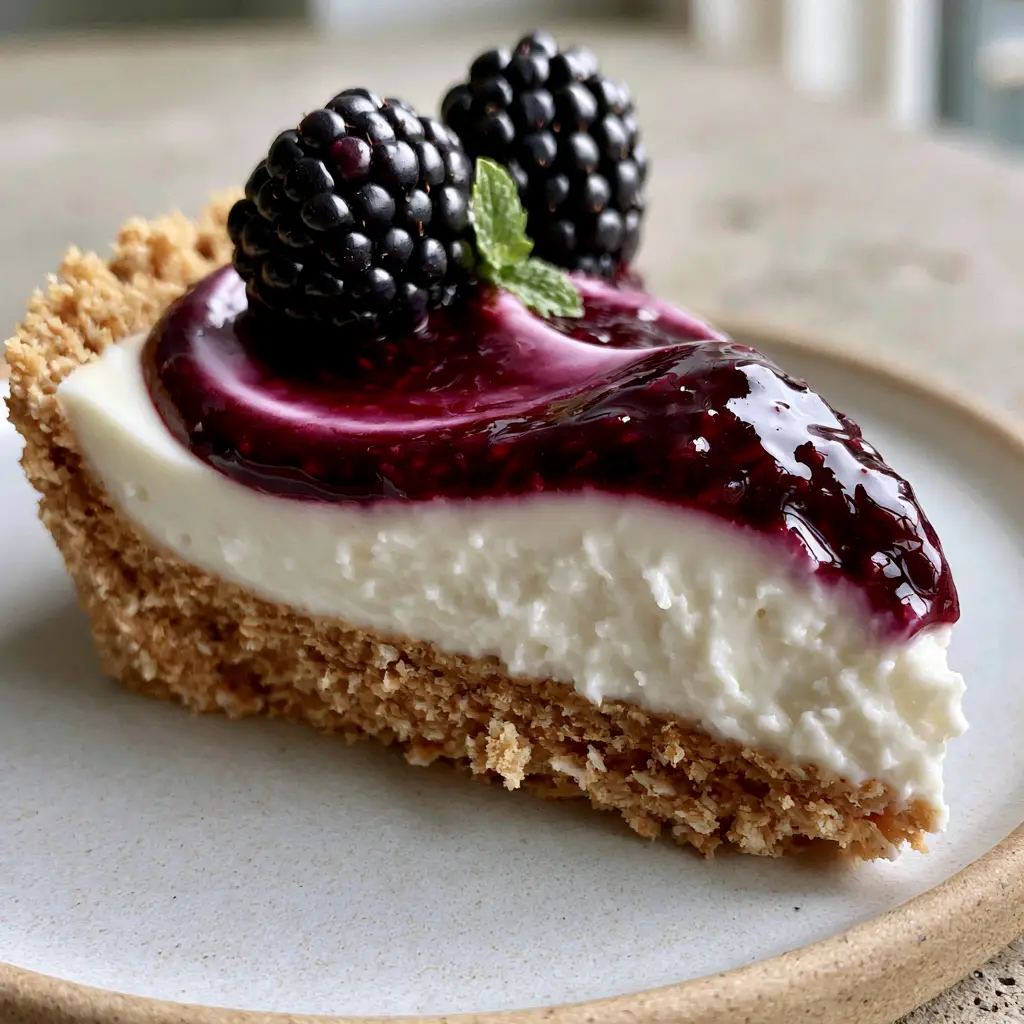
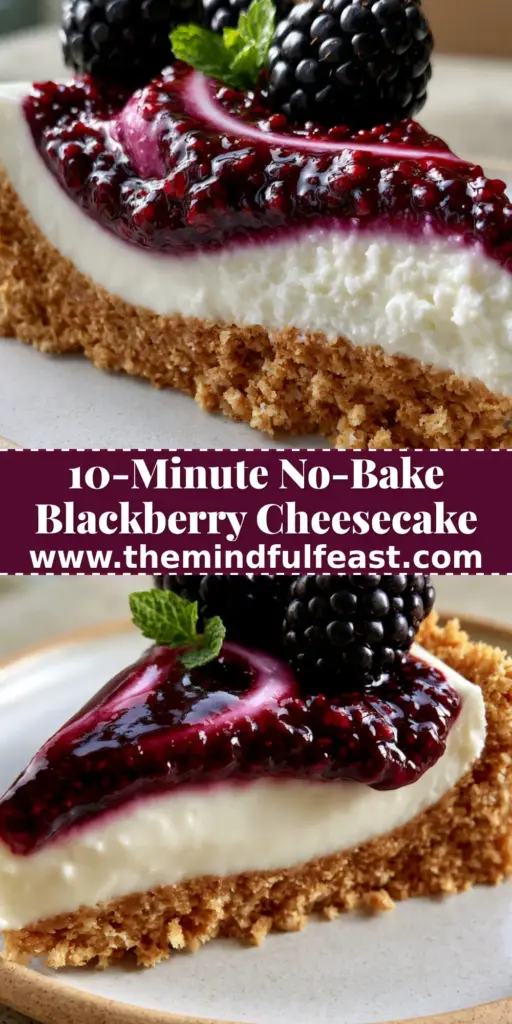
There is something inherently magical about the contrast between a deep, glossy purple berry swirl and a snow-white, velvety filling. This Blackberry Cheesecake isn’t just a dessert; it is a visual and sensory experience designed to capture the essence of a sun-drenched summer morning. Imagine a thick, golden-brown crust that yields with a satisfying crunch, leading into a cream cheese layer so smooth it practically melts on the tongue.
Inspired by the minimalist elegance of modern patisserie, this no-bake recipe delivers professional-grade results without ever turning on your oven. Whether you are hosting an upscale garden party or looking for the perfect birthday cheesecake alternative, this dish stands out as a sophisticated centerpiece. Every slice is a testament to the balance of tart fruit and rich dairy, garnished simply with plump berries and a single, vibrant mint leaf.
To achieve the high-detail texture seen in professional food photography, we focus on the structural integrity of the graham cracker base and the precise aeration of the filling. By the end of this guide, you will be able to produce a cheesecake that looks exactly like a high-end handheld smartphone photo—unfiltered, raw, and absolutely mouthwatering. Let’s dive into the culinary science of the perfect no-bake set.
Why You Will Love This Velvety Berry Swirl Delight
- Textural Contrast: The combination of a crumbly golden graham cracker crust and a velvety-smooth white cream cheese layer provides a sophisticated mouthfeel in every bite.
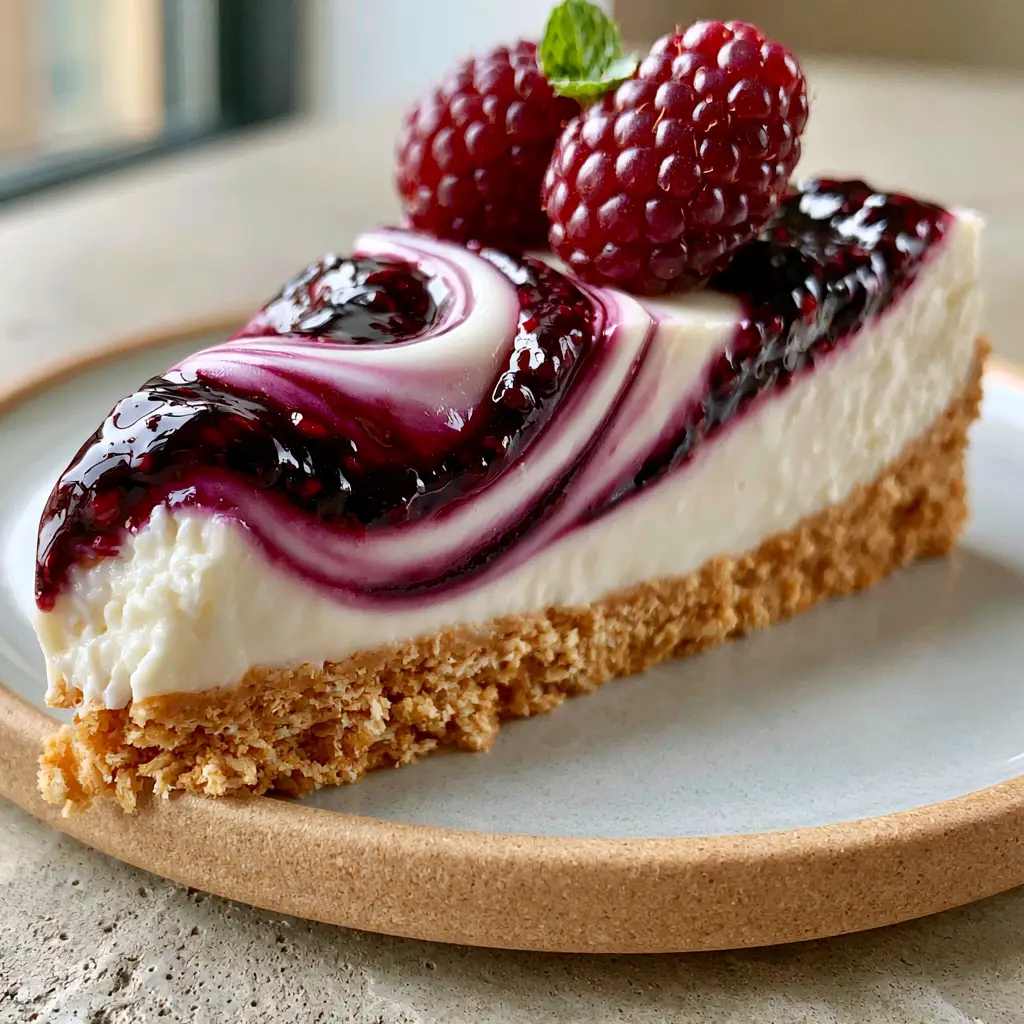
- Glossy Visuals: The deep-purple blackberry puree is cooked down to a high-shine finish, creating a striking marble effect against the white filling.
- No-Bake Ease: Skip the water baths and the fear of cracks; this recipe relies on cold-set science for a flawless, pristine surface.
- Fresh Garnishes: Using whole fresh blackberries and a tiny green mint leaf adds a pop of organic color that elevates the minimalist aesthetic.
The Essential Components for a Foolproof Blackberry Cheesecake
To achieve the specific visual results of our blueprint, we must select ingredients that offer both structural stability and vibrant pigment. Each component plays a vital role in the final architecture of the slice.
Graham Cracker Crumbs: You will need 2 cups (200g) of finely ground crumbs. These provide the “thick, golden-brown” foundation that supports the weight of the dense cream cheese layer without becoming soggy.
Unsalted Butter: Use 1/2 cup (115g) of melted butter to bind the crust. As it chills, the butter solidifies, acting as the “glue” that ensures your crust is crumbly yet holds its shape when sliced.
Full-Fat Cream Cheese: 24 ounces (680g) is required for the filling. It must be brick-style and softened to room temperature to achieve that signature “velvety-smooth” white texture without any lumps.
Heavy Whipping Cream: 1 1/2 cups (360ml) of cold cream provides the lift and aeration. When folded into the cheese, it transforms a heavy block into a light, cloud-like mousse that sets firmly in the fridge.
Powdered Sugar: 1 1/4 cups (150g) offers sweetness without the grittiness of granulated sugar. It dissolves instantly, maintaining the “snow-white” purity of the filling described in our visual prompt.
Fresh Blackberries: You will need 2 cups (300g) for the puree and extra for garnish. Blackberries contain natural pectin, which helps our glossy purple swirl achieve the perfect syrupy consistency.
Lemon Juice: 1 tbsp (15ml) of fresh juice acts as a brightener. It cuts through the richness of the fat and prevents the blackberry purple from dulling, keeping it “deep and glossy.”
Vanilla Bean Paste: 1 tsp (5ml) adds those tiny black specks and a sophisticated aroma. It enhances the “white” filling’s flavor profile without discoloring the mixture.
The Pro-Tool Kit: Equipment for Clean, Professional Slices
To replicate the high-detail texture of our Blackberry Cheesecake, you need the right tools. A 9-inch (23cm) springform pan is non-negotiable for removing the cake without damaging the sides. Use a flat-bottomed measuring cup to press the crust firmly into the corners, ensuring a uniform “thick” base.
For the blackberry swirl, a fine-mesh sieve is essential. This allows you to remove the seeds from your puree, resulting in that “glossy, deep-purple” finish that looks smooth rather than chunky. Finally, an offset spatula will be your best friend for smoothing the white cream cheese layer before you begin the marbling process.
The Culinary Blueprint: Step-by-Step Instructions
The Golden Foundation: Building the Crumbly Crust
Begin by combining your 2 cups (200g) of graham cracker crumbs with a pinch of sea salt and 1/2 cup (115g) of melted butter. The salt is a foundational “invisible” ingredient that enhances the honey notes of the crackers, making the crust taste as good as it looks.
Press the mixture firmly into the bottom of your springform pan. Use significant pressure; a loosely packed crust will fall apart when you try to achieve that “minimalist ceramic plate” presentation. Chill this in the freezer for 15 minutes to set the butter while you prepare the fruit.
The Deep Purple Reduction: Crafting the Glossy Swirl
In a small saucepan, combine 1 1/2 cups (225g) of blackberries with 2 tbsp (25g) of sugar and your lemon juice. Simmer over medium heat for 8-10 minutes, using a fork to burst the berries. You are looking for a “visual cue” of thick, slow-bursting bubbles.
Strain the mixture through a fine-mesh sieve into a bowl, discarding the seeds. What remains should be a vibrant, thick syrup. Let this cool completely to room temperature. If the syrup is too hot, it will melt the “velvety white” filling and ruin the distinct swirl effect.
The Velvety Filling: Creating the White Cream Cheese Layer
In a large bowl, beat the softened cream cheese and powdered sugar until completely smooth and aerated. In a separate chilled bowl, whip your heavy cream to stiff peaks. Look for the “sensory cue” of the whisk leaving deep, permanent tracks in the cream.
Gently fold the whipped cream into the cream cheese mixture using a silicone spatula. The goal is to maintain the air you’ve just whipped in. The resulting texture should be thick, opaque, and look like a “velvety-smooth” cloud. Pour this over your chilled crust and smooth the top perfectly flat.
The Art of the Marbled Swirl
Drop small spoonfuls of the cooled blackberry puree onto the surface of the cheesecake. Using a wooden skewer or a thin knife, gently swirl the purple into the white. Stop before the colors fully blend; you want distinct “deep-purple” ribbons to remain visible for that high-detail contrast.
Cover and refrigerate for at least 6 hours, though overnight is preferred. This “Time on Page” for the cake is vital; the fats must fully realign to support the weight of the fresh berry garnishes. If you cut it too early, the filling will lose its “velvety” structure and slump on the plate.
Master Class Tips for Texture and Stability
- Temperature Control: Ensure your cream cheese is truly room temperature (about 70°F/21°C). If it is even slightly cold, you will end up with tiny white lumps that ruin the “velvety-smooth” visual.
- The “Gloss” Factor: If your blackberry reduction looks dull, whisk in a tiny half-teaspoon of cornstarch mixed with water during the final minute of simmering. This creates a professional “mirror glaze” finish.
- Clean Slices: To get the sharp edges seen in our minimalist ceramic plate photo, dip your knife in hot water and wipe it clean between every single cut. This prevents the purple swirl from dragging into the white filling.
- Avoid Over-Swirling: The beauty of a Blackberry Cheesecake lies in the contrast. Use a “figure-eight” motion with your skewer and lift up frequently to keep the colors crisp and defined.
Make-Ahead Mastery: Storage and Freezing
This cheesecake is an ideal candidate for advanced preparation. It actually tastes better on day two as the blackberry flavors infuse into the cream cheese. Store it in the refrigerator in an airtight container for up to 5 days. Keep the mint leaf garnish off until the moment of serving to prevent wilting.
For longer storage, you can freeze the entire cheesecake (without the fresh garnish). Wrap it tightly in plastic wrap and then aluminum foil. It will stay fresh for up to 3 months. Thaw it in the refrigerator for 24 hours before serving to maintain that specific “velvety” texture.
Elegant Pairings to Elevate Your Dessert Table
This Blackberry Cheesecake is a star on its own, but it pairs beautifully with other summer-inspired dishes. If you are hosting a brunch, consider serving it alongside souffle pancakes for a study in different airy textures. The tartness of the berries also makes it a great palate cleanser after a savory meal like French meat pie.
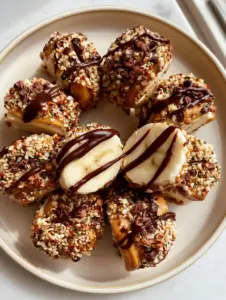
For a themed dessert spread, you might contrast this fruit-forward dish with something decadent like no-bake s’mores bites. If you enjoy the combination of fruit and cream, our peach galette recipe offers a rustic, baked alternative that complements the refined look of this cheesecake perfectly.
Frequently Asked Questions
Yes, frozen blackberries work perfectly for the puree. Just be sure to simmer them slightly longer to account for the extra moisture, ensuring the syrup reaches a thick, glossy consistency.
No-bake cheesecake has a lighter, more mousse-like texture compared to the dense, custard-like consistency of baked versions. It is often described as more refreshing and less heavy.
The key is to use a seedless puree and a thin skewer. Don’t overwork the mixture; a few intentional figure-eight motions are all you need to keep the white and purple colors distinct.
Ensure you whip the heavy cream to stiff peaks before folding it in, and allow the cheesecake to chill for at least 6-8 hours. The cold temperature is what sets the fats and creates a stable, sliceable structure.
This usually happens if there isn’t enough melted butter or if the crust wasn’t pressed firmly enough into the pan. Use the bottom of a heavy glass to pack the crumbs tightly into a solid layer.
The Ultimate No-Bake Blackberry Cheesecake Recipe
Blackberry Cheesecake: The Ultimate No-Bake Summer Masterpiece
Ingredients
Equipment
Method
- Mix graham cracker crumbs, melted butter, and salt. Press into the 9-inch springform pan and freeze for 15 minutes.
- Simmer 1.5 cups blackberries, sugar, and lemon juice until thick. Strain through a sieve and let cool completely.
- Beat softened cream cheese and powdered sugar. In a separate bowl, whip heavy cream to stiff peaks. Fold cream into the cheese mixture gently.
- Pour filling over the crust. Drop spoonfuls of puree on top and swirl with a skewer. Chill for at least 6 hours.
- Before serving, top each slice with two fresh blackberries and a tiny mint leaf.
Notes
Wipe the knife clean between every slice for professional edges.
Closing & Call to Action
Mastering the Blackberry Cheesecake is about more than just following steps; it is about respecting the ingredients and the time required for a perfect set. The result is a dessert that is as beautiful as it is delicious, perfectly capturing the “morning daylight” aesthetic of a professional kitchen. Its “glossy purple” swirl and “crumbly golden” crust make it a guaranteed crowd-pleaser.
Did you try your hand at this marbling technique? We would love to see your results! Leave a comment below or share your photos on Pinterest. For more seasonally inspired treats and hosting tips, be sure to sign up for our newsletter at The Mindful Feast.