Imagine standing in a sun-drenched kitchen as the aroma of sweet vanilla and toasted butter fills the air. On the counter sits a matte cream ceramic plate holding a architectural feat: three 3-inch tall souffle pancakes, stacked with precision. These are not your average flapjacks; they are ethereal, cloud-like creations with perfectly level, golden-brown seared tops and pale, cream-colored porous sides that whisper of their delicate internal structure. As a melting square of salted yellow butter begins its slow descent, a thick, viscous stream of dark amber maple syrup cascades down the sides, glistening under the morning light. A fine dusting of powdered sugar finishes the masterpiece, making it look as though it belongs in a high-end Tokyo boutique cafe.
Achieving this specific visual and textural result requires more than just a recipe; it requires an understanding of culinary physics. These souffle pancakes are the intersection of a classic French meringue and a traditional American griddle cake. By mastering the stability of egg whites and the gentle heat of steam-cooking, you can recreate this handheld smartphone-photo-worthy breakfast in your own home. Whether you are looking for a weekend project or the ultimate addition to a themed celebration, these pancakes deliver a sensory experience that is truly unmatched.
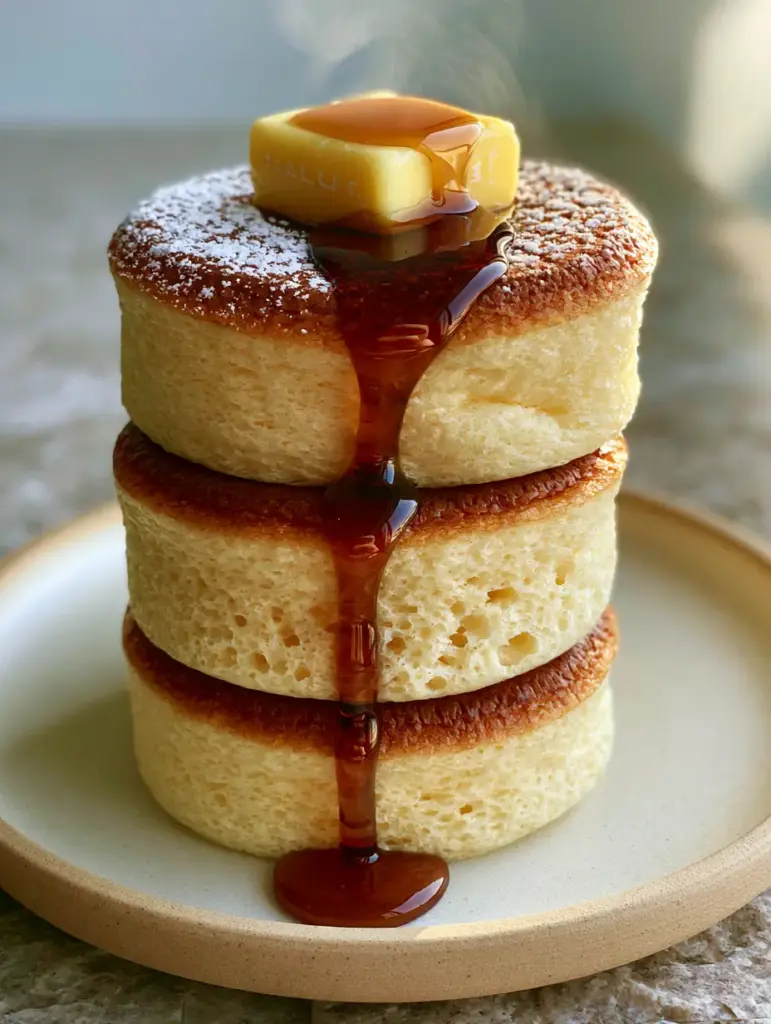
Visual Hallmarks of an Authentic Japanese Pancake Stack
- Structural Height: Each individual pancake should stand approximately 3 inches (7.6cm) tall, maintaining its vertical integrity without leaning.
- Dual-Tone Finish: The top and bottom must feature a uniform, deep golden-brown sear, while the circumference remains a pale, airy cream color.
- Micro-Porous Sides: Looking closely at the sides, you should see tiny air bubbles trapped within the crumb, signifying a successful aeration process.
- Viscous Garnish: The syrup should be dark amber and thick enough to “clings” to the sides of the stack rather than immediately pooling at the bottom.
- Salted Contrast: A singular cube of salted yellow butter provides the necessary fat and savory counterpoint to the sweetness of the dusting.
Essential Components for Achieving Cloud-Like Texture
To achieve the 3-inch height described in our visual blueprint, we must select ingredients that prioritize structural stability and lightness. Every gram matters when you are fighting gravity in a frying pan.
Large Cold Eggs (Separated): The yolks provide the richness and base, while the whites are the primary leavening agent. Cold whites are easier to separate, but room temperature whites reach maximum volume more quickly when whipped.
Cake Flour (30g / 1/4 cup): Unlike all-purpose flour, cake flour has a lower protein content (around 7-8%). This ensures the souffle pancakes remain tender and delicate rather than chewy or bread-like.
Whole Milk (20ml / 1.5 tbsp): Milk provides the necessary hydration to create a smooth yolk paste. It carries the flavor of the vanilla and helps dissolve the dry ingredients without overworking the gluten.
Granulated Sugar (25g / 2 tbsp): Sugar is not just for sweetness; it acts as a stabilizer for the egg white foam. It binds to the water in the whites, creating a more elastic and less brittle meringue.
Cream of Tartar (1/4 tsp): This acidic ingredient is the “invisible” hero. It lowers the pH of the egg whites, which prevents the protein strands from over-coagulating, leading to a more stable, glossy foam.
Baking Powder (2g / 1/2 tsp): While the meringue does the heavy lifting, a touch of baking powder provides a secondary chemical lift as soon as the batter hits the heat, ensuring the pancakes don’t collapse.
Salted Butter and Dark Maple Syrup: For the final plating, high-quality salted butter provides a floral, savory note that cuts through the sugar. The dark amber syrup offers a deep, caramelized flavor profile that matches the seared tops.
The Specialized Kit: Tools for Architectural Breakfasts
Achieving the precision of a professional food photograph requires a few specific tools. While you can make pancakes in any pan, these souffle pancakes demand controlled heat and height.
First, a non-stick electric griddle or a heavy-bottomed non-stick frying pan with a tight-fitting lid is non-negotiable. The lid is essential for creating the steam environment that cooks the pale sides without burning the bottoms. A handheld electric mixer or a stand mixer is required to reach the “stiff peak” stage of the meringue, which is impossible to achieve consistently by hand.
For those seeking the perfect 3-inch uniform height, you may choose to use 3-inch (7.6cm) stainless steel pastry rings lined with parchment paper. However, a truly skilled cook can achieve the look by stacking the batter in vertical dollops. Finally, a fine-mesh sieve is needed for that delicate powdered sugar dusting that catches the morning light in the late hours of the morning.
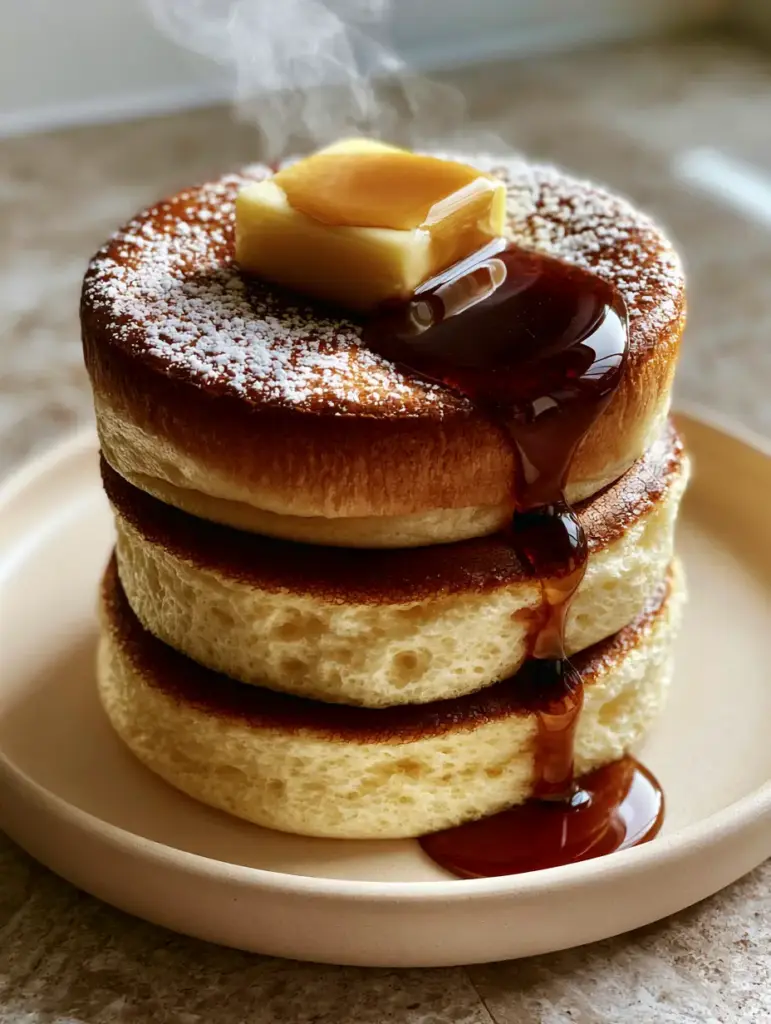
The Delicate Craft of Meringue Preparation
Step 1: Creating the Yolk Base
Begin by whisking your egg yolks with the milk and vanilla extract in a medium bowl until pale and slightly frothy. Sift in the cake flour and baking powder, whisking gently until just combined. You are looking for a thick, smooth paste. Do not overmix here, as we want to keep gluten development to an absolute minimum to ensure the pancakes stay “souffled.”
Step 2: Mastering the Stiff Peak Meringue
In a separate, spotlessly clean glass or metal bowl, begin beating your egg whites and cream of tartar on low speed. Once the whites become foamy, like the head of a beer, begin adding the sugar one tablespoon at a time. Increase the speed to medium-high. Continue whipping until the whites form stiff, glossy peaks that stand straight up when the beaters are lifted. This is the structural foundation of your 3-inch tall stack.
Step 3: The Gentle Fold
Take one-third of the meringue and whisk it vigorously into the yolk paste. This “sacrificial” scoop lightens the base, making it easier to incorporate the rest. Then, using a silicone spatula, gently fold the remaining meringue into the batter using a “cut and fold” motion. Stop the moment no white streaks remain. If you over-fold, the air will escape, and your pancakes will be flat rather than airy.
The Art of Folding and Steam-Cooking
Step 4: The Low-and-Slow Sear
Preheat your non-stick pan on the lowest possible setting. Lightly grease the surface with an oiled paper towel. Using a large scoop, place three tall mounds of batter onto the pan. After 2 minutes, add a second scoop of batter directly on top of the first to build height. Add 1 tablespoon (15ml) of water to the empty spaces in the pan—this is the secret to the “pale airy sides”—and immediately cover with the lid.
Step 5: The Critical Flip
Steam-cook for 5-6 minutes. You will know they are ready when the surface of the batter no longer looks wet and a deep golden-brown crust has formed on the bottom. Carefully slide a thin spatula underneath and flip them over. Add another teaspoon of water if needed, cover, and cook for an additional 4-5 minutes. The pancakes should feel firm but springy to the touch, like a marshmallow.
Pro-Level Troubleshooting for Pancake Deflation
- Why did my pancakes go flat? This is usually caused by under-beating the egg whites or over-mixing during the folding stage. The meringue must be stiff enough to hold its own weight.
- Why are they raw in the middle? The heat was likely too high. These require a “low and slow” approach. If the bottom sears too fast, the interior won’t have time to set before the bottom burns.
- The sides aren’t pale! This happens if you don’t use enough steam or if your pan is too crowded. The steam protects the sides from the dry heat of the pan, keeping them cream-colored and moist.
- They collapsed after plating! This is natural to a small degree, but a drastic collapse means the proteins didn’t fully set. Ensure you cook them for the full allotted time.
Optimal Storage and Make-Ahead Strategies
By their very nature, souffle pancakes are best enjoyed within minutes of leaving the pan. The air bubbles trapped in the egg white matrix will naturally begin to contract as the temperature drops. However, if you find yourself with leftovers, you can store them in an airtight container in the refrigerator for up to 24 hours.
To reheat, avoid the microwave as it will make them rubbery. Instead, place them back in a non-stick pan over very low heat with a teaspoon of water and a lid for 2 minutes. This “re-steams” the interior, restoring some of the original fluffiness. While they won’t be as tall as the original 3-inch stack, they still make for an excellent treat, much like a chilled fruit pastry the morning after.
Elevating the Experience: Creative Pairings
While the visual prompt calls for a minimalist plating with butter and maple syrup, these pancakes are a blank canvas for culinary creativity. To balance the sweetness, consider serving them alongside a savory protein like crispy thick-cut bacon or a delicate glazed salmon for a brunch-style fusion meal.
If you prefer to lean into the dessert aspect, a side of fresh macerated strawberries or a dollop of whipped mascarpone cheese adds a creamy dimension. For a more adventurous pairing, the bright acidity of a light cucumber salad can cleanse the palate between bites of the rich, buttery pancake stack.
Your Pressing Pancake Questions Answered
While possible, cake flour is preferred for its lower protein content, which ensures a more delicate, tender crumb. If using all-purpose, remove 1 tbsp of flour and replace it with 1 tbsp of cornstarch.
Pastry rings help with uniform shape and height, but they are not strictly necessary. You can achieve a similar result by stacking the batter in vertical dollops using a large scoop.
This is achieved through the steaming method. Adding a small amount of water to the pan and covering it with a lid creates steam that cooks the sides gently without direct contact with the pan’s high heat.
Flat pancakes are usually caused by a weak meringue or over-mixing. Ensure your egg whites are whipped to stiff, glossy peaks and gently fold them into the yolk base to preserve the air bubbles.
This indicates the temperature was too high, cooking the outside before the heat could reach the center. Use the lowest heat setting on your stove and cook for the full 10-12 minutes.
The Definitive Master Recipe for Souffle Pancakes
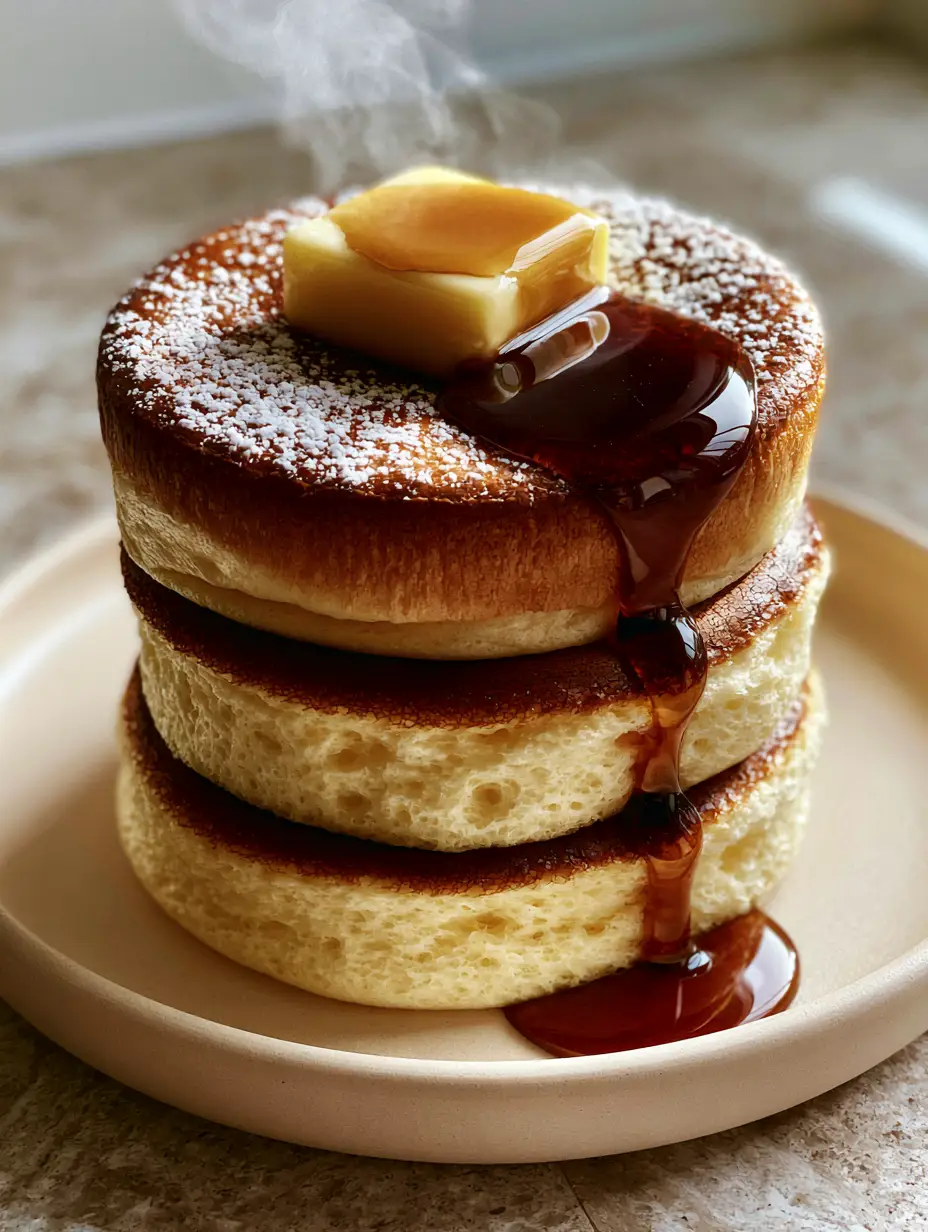
Souffle Pancakes: The Ultimate Guide to Fluffy Japanese-Style Perfection
Ingredients
Equipment
Method
- In a medium bowl, whisk egg yolks, milk, and vanilla until combined. Sift in the cake flour and baking powder, whisking gently until a smooth, thick paste forms.
- In a clean bowl, beat egg whites with cream of tartar on low speed until foamy. Gradually add sugar while increasing speed to medium-high. Whip until glossy, stiff peaks form.
- Gently fold 1/3 of the meringue into the yolk paste to lighten it. Add the remaining meringue and fold with a spatula until no white streaks remain, being careful not to deflate.
- Heat a non-stick pan on the lowest setting. Pipe or scoop tall mounds of batter. Add 1 tbsp of water to the pan and cover with a lid. Cook for 5-6 minutes until the bottoms are golden-brown and the tops look set.
- Carefully flip the pancakes. Add another teaspoon of water if needed, cover, and cook for 4-5 more minutes until the sides are pale but the center is cooked through.
- Stack three pancakes on a matte ceramic plate. Top with a cube of salted butter, a heavy drizzle of amber maple syrup, and a fine dusting of powdered sugar.
Notes
Always sift your cake flour to prevent lumps in the delicate batter.
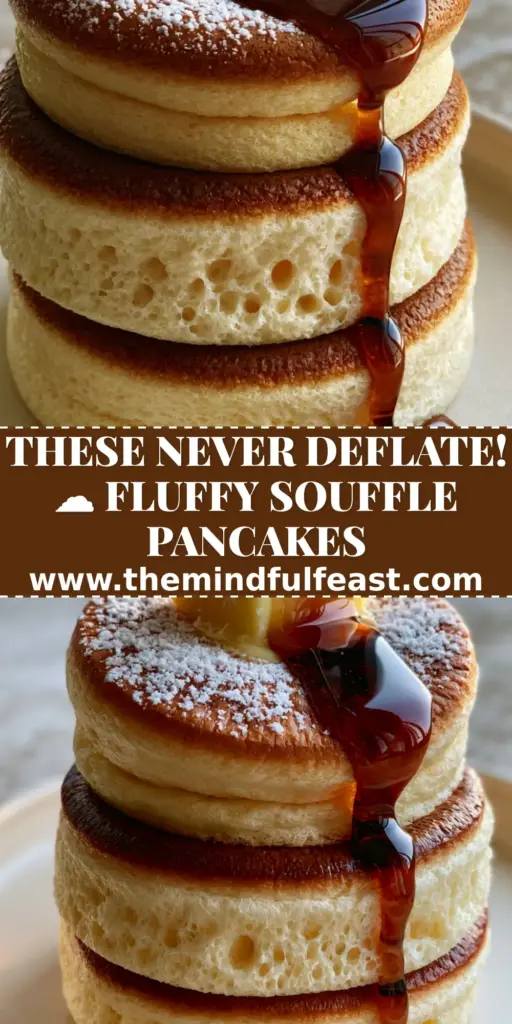
Closing & Call to Action
Mastering the souffle pancake is a rite of passage for any home cook who values the intersection of science and art. With their 3-inch height, golden seared tops, and ethereal texture, they turn a simple breakfast into a gourmet event. The key lies in the patience of the steam-cook and the stability of your meringue. Once you cut into that first stack and watch the maple syrup mingle with the melting salted butter, you’ll understand why these are a global sensation.
Did you achieve the perfect 3-inch height? We want to see your creations! Share your photos and tag us, or leave a comment below with your favorite toppings. For more visually stunning recipes and kitchen tips, be sure to follow us on Pinterest and sign up for our newsletter to never miss a delicious update!


