There is nothing quite like the sound of a sizzling platter making its way through a crowded restaurant. That unmistakable aroma of charred peppers and spiced poultry is the hallmark of a world-class Chicken Fajitas Recipe.
Today, we are bringing that exact sensory experience into your kitchen. We aren’t just making a meal; we are mastering the art of the high-heat sear and the perfect amber-toned marinade.
This recipe focuses on the visual and textural contrasts that define elite Tex-Mex. Think succulent chicken breast, vibrant bell peppers with authentic charred blisters, and the bright pop of fresh lime juice.
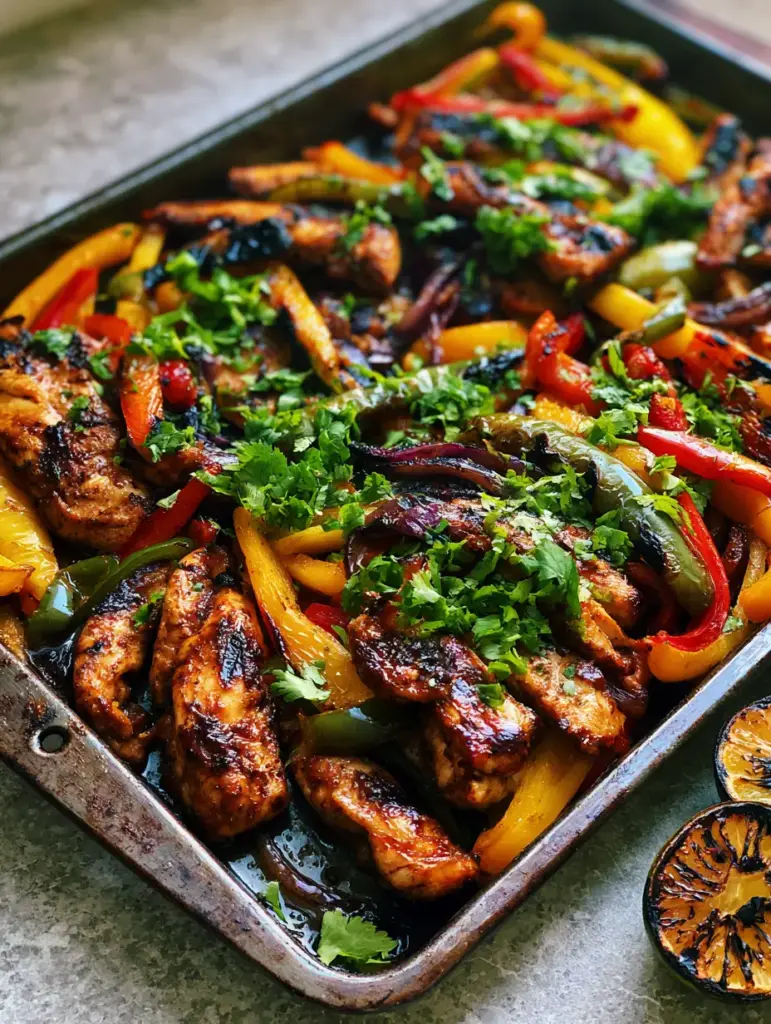
Why This Sheet Pan Method Redefines the Chicken Fajitas Recipe
- Visual Perfection: Every strip of chicken and sliver of pepper is engineered for maximum color and texture.
- The 3-Ingredient Secret: We use a concentrated oil-based marinade that creates a glistening, amber-toned finish.
- Sizzling Aromatics: The combination of caramelized red onions and charred lime wedges provides a deep, smoky undertone.
- Efficiency Meets Quality: By using a dark weathered metal sheet pan, we maximize heat absorption for restaurant-style charring.
The Anatomy of Flavor: Essential Ingredients and Substitutions
To achieve the results seen in our professional culinary forensics, each ingredient must play its part. Here is what you need for the most authentic Chicken Fajitas Recipe.
The Protein: Thick-Cut Chicken Breast
You will need 1.5 lbs (680g) of boneless, skinless chicken breast. Slicing these into thick, uniform strips ensures they remain succulent and juicy while the exterior develops deep golden-brown seared edges.
The Glistening 3-Ingredient Marinade
The base of our flavor profile consists of 1/4 cup (60ml) neutral high-smoke point oil, 2 tbsp (30ml) fresh lime juice, and 2 tbsp (15g) of a heavy-duty fajita spice blend. This oil-based mixture creates that signature amber glow and helps the heat transfer efficiently to the meat.
The Vibrant Pepper Trio
We use one red, one yellow, and one green bell pepper to create a crimson, bright yellow, and forest green palette. These are sliced into long strips, ready to be transformed by high heat into tender, charred delicacies.
The Aromatics and Finishing Touches
One large red onion provides caramelized slivers that bridge the gap between the meat and veg. For the finale, a heavy scatter of bright green chopped cilantro and a spray of fresh lime juice droplets add the necessary acidity and visual moisture.
Precision Tools for High-Heat Roasting
To replicate the “rustic dark metal” look and texture, equipment choice is paramount. A dark weathered metal sheet pan is superior to a shiny aluminum one because it absorbs more radiant heat, leading to better browning.
You will also need a high-quality chef’s knife for those uniform cuts. If you enjoy this flavor profile, you might also find our Honey Lime Chicken techniques useful for your weekly meal prep.
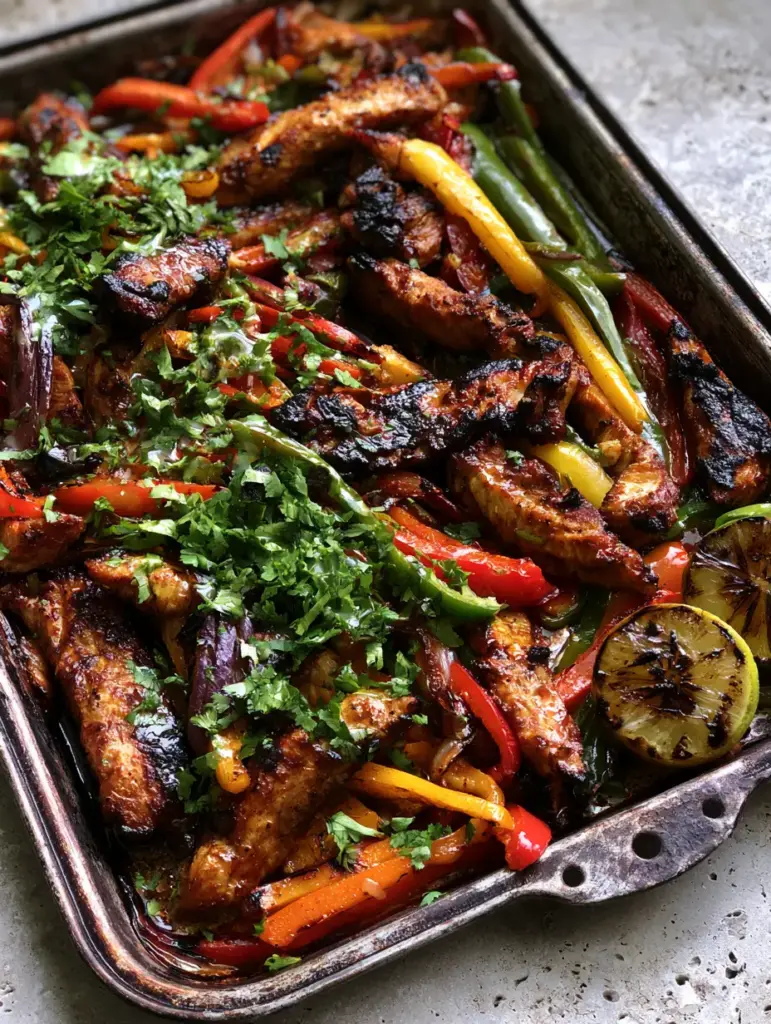
Mastering the High-Heat Sear: Step-by-Step Instructions
Follow these steps closely to ensure your Chicken Fajitas Recipe looks exactly like the hero shot above. Pay attention to the sensory cues provided for each stage.
Step 1: The Precision Prep
Preheat your oven to 425°F (220°C). Slice your chicken breast into strips approximately 1/2 inch (1.3cm) thick. Slice all three bell peppers and the red onion into uniform slivers to ensure even cooking and a professional appearance.
Step 2: The Amber-Toned Marination
In a large bowl, whisk together the oil, lime juice, and fajita seasoning. Toss the chicken strips in this mixture until they are glistening and fully coated. Let them sit for at least 10 minutes; the oil should look amber-toned and viscous.
Step 3: Arranging the Sheet Pan
Spread the chicken, peppers, and onions across your dark metal sheet pan in a single layer. Do not overcrowd the pan, as this causes steaming rather than searing. Place two lime halves, cut-side up, in the corner of the pan—these will become your charred lime wedges.
Step 4: The Roasting and Charring Process
Roast for 18-22 minutes. Watch for the “black charred blisters” to appear on the skins of the peppers. The chicken should show deep golden-brown seared edges and reach an internal temperature of 165°F (74°C).
Step 5: The Fresh Finale
Immediately upon removing the pan from the oven, squeeze the charred lime halves over the sizzling meat. This creates the “lime juice droplets” that reflect light in our visual blueprint. Finish with a heavy scatter of freshly chopped cilantro.
Pro-Tips for Achieving Culinary Excellence
- Room Temperature Meat: Take your chicken out of the fridge 15 minutes before cooking. This ensures the heat hits the center faster, preventing the outside from overcooking.
- The Dark Pan Advantage: If you only have light-colored pans, increase your oven temperature by 15 degrees to encourage better browning.
- Don’t Stir Too Often: Let the vegetables sit undisturbed for the first 12 minutes to allow the natural sugars in the red onion to caramelize against the hot metal.
- Acid Balance: If the dish feels “heavy,” add an extra splash of lime juice. The acidity cuts through the oil-based marinade perfectly.
Strategic Pairings for a Complete Fiesta
While this Chicken Fajitas Recipe is a powerhouse on its own, the right sides elevate it to a full culinary experience. For a classic pairing, serve these with a side of Fluffy Rice Pilaf or a refreshing Cucumber Salad to cool the palate.
If you’re looking for more vibrant flavors, our Fresh Mango Salsa adds a tropical sweetness that complements the charred peppers. For those who enjoy a bit of heat, consider serving these alongside Sausage and Peppers for a multi-protein feast.
Storage and Reheating for Busy Weeknights
Fajitas are an excellent candidate for meal prep. Store leftovers in an airtight container in the refrigerator for up to 3 days. To reheat, we recommend a quick toss in a hot skillet rather than the microwave.
The skillet method restores the “glistening” quality of the marinade and keeps the peppers from becoming soggy. Avoid freezing the peppers, as their cell structure breaks down, losing that essential “charred strip” texture.
Common Questions About This Chicken Fajitas Recipe
Yes, chicken thighs work beautifully and are more forgiving. They may require 3-5 additional minutes of roasting time to develop the same seared edges.
Use a dark metal sheet pan and preheat your oven to at least 425°F (220°C). Ensure you don’t overcrowd the pan, as space between the ingredients allows moisture to evaporate and browning to occur.
High heat is key. If your peppers aren’t charring by the time the chicken is done, move the rack to the top position and turn on the broiler for the final 2 minutes.
Our high-RPM marinade uses a neutral high-smoke point oil, fresh lime juice for acidity, and a robust fajita spice blend (usually chili powder, cumin, and garlic powder).
Cut the strips thick (about 1/2 inch) and use an oil-based marinade. The oil acts as a heat conductor, searing the outside quickly while the thickness prevents the center from drying out.
The Signature Sheet Pan Chicken Fajitas Recipe
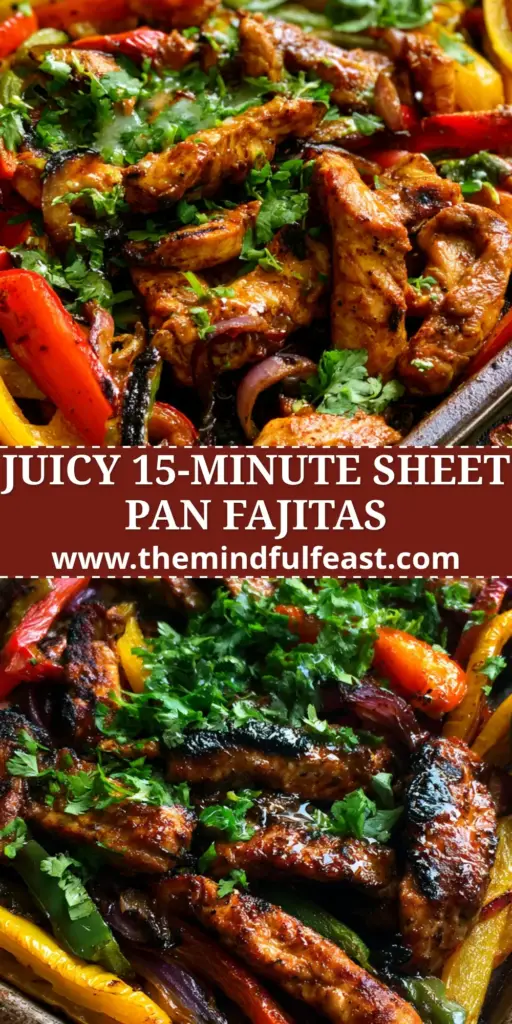
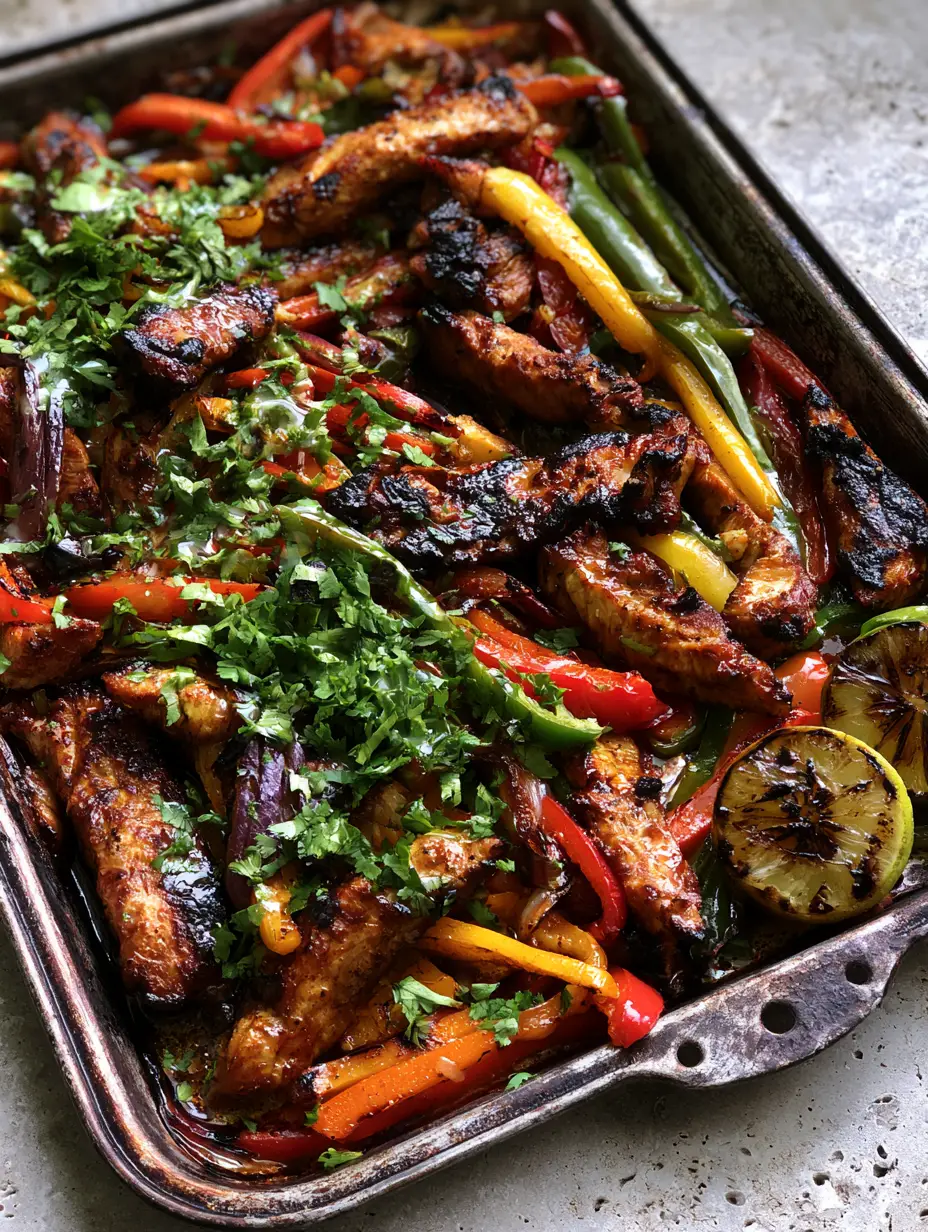
Chicken Fajitas Recipe: The Ultimate Guide to Sizzling, Restaurant-Quality Results
Ingredients
Equipment
Method
- Preheat your oven to 425°F (220°C). Slice 1.5 lbs (680g) of chicken into thick strips. Slice the red, yellow, and green peppers and the red onion into uniform slivers.
- Whisk 1/4 cup (60ml) oil, 2 tbsp (30ml) lime juice, and 2 tbsp (15g) fajita spices in a bowl. Toss the chicken strips until they are glistening and show an amber-toned coating.
- Spread the chicken and vegetables in a single layer on a dark metal sheet pan. Nest the lime halves in the corner for charring.
- Roast for 18-22 minutes until the peppers show black charred blisters and the chicken has deep golden-brown seared edges.
- Squeeze the charred lime halves over the pan to create visible lime juice droplets. Scatter heavily with chopped cilantro before serving.
Notes
Don't overcrowd the pan or the vegetables will steam instead of searing.
Bring the Sizzle Home Today
This Chicken Fajitas Recipe is designed to be more than just a meal; it’s a visual and flavorful masterpiece. By focusing on the high-heat char and the specific 3-ingredient marinade, you can achieve professional results every time.
If you enjoyed this recipe, please leave a comment below and let us know how your char turned out! Don’t forget to share your creations and follow us on Pinterest for more culinary inspiration.


