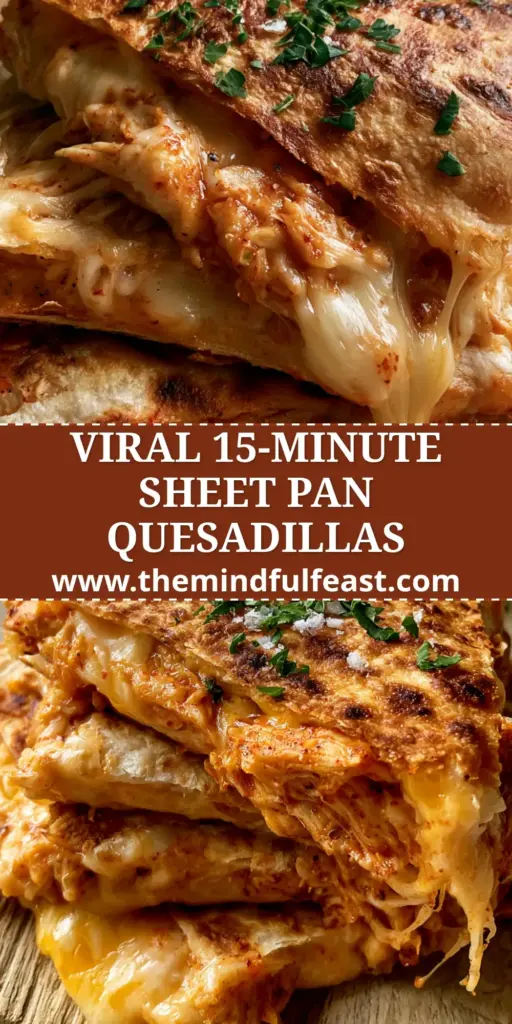
When it comes to Chicken Quesadilla Recipes, the difference between a soggy, limp tortilla and a restaurant-quality crunch lies entirely in the physics of the sear. We have all been there: a microwave-warmed tortilla that loses its structural integrity the moment you lift it. This recipe changes that narrative by utilizing the conductive heat of a sheet pan to create deep golden-brown crusts and charred micro-blisters that snap with every bite.
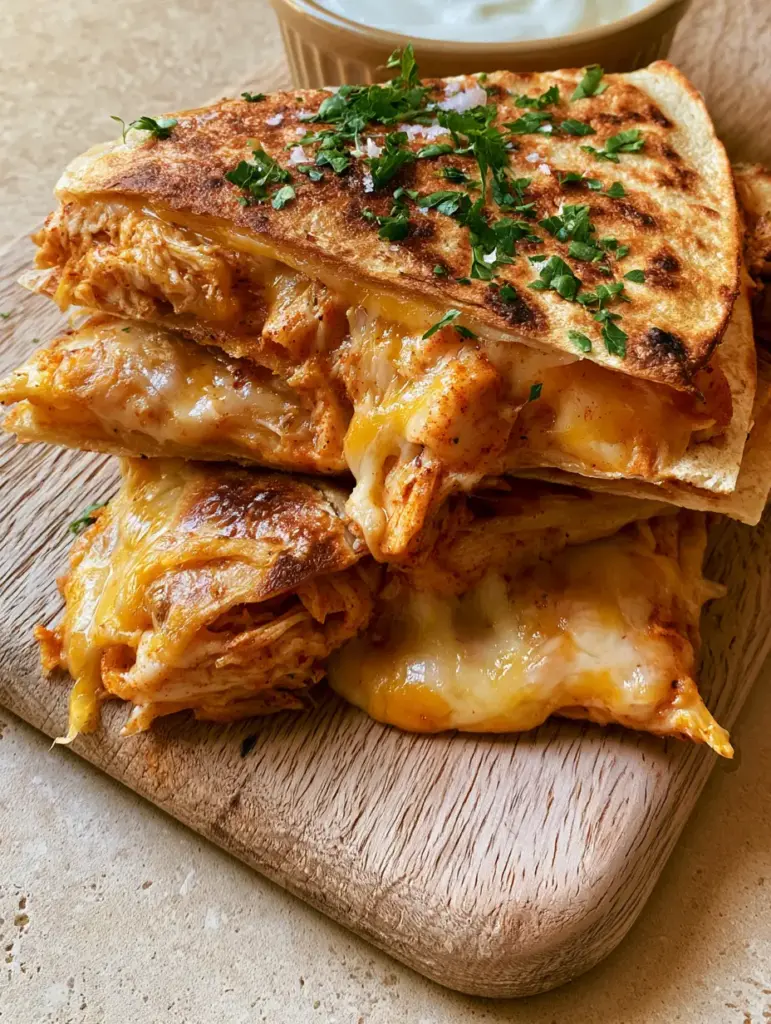
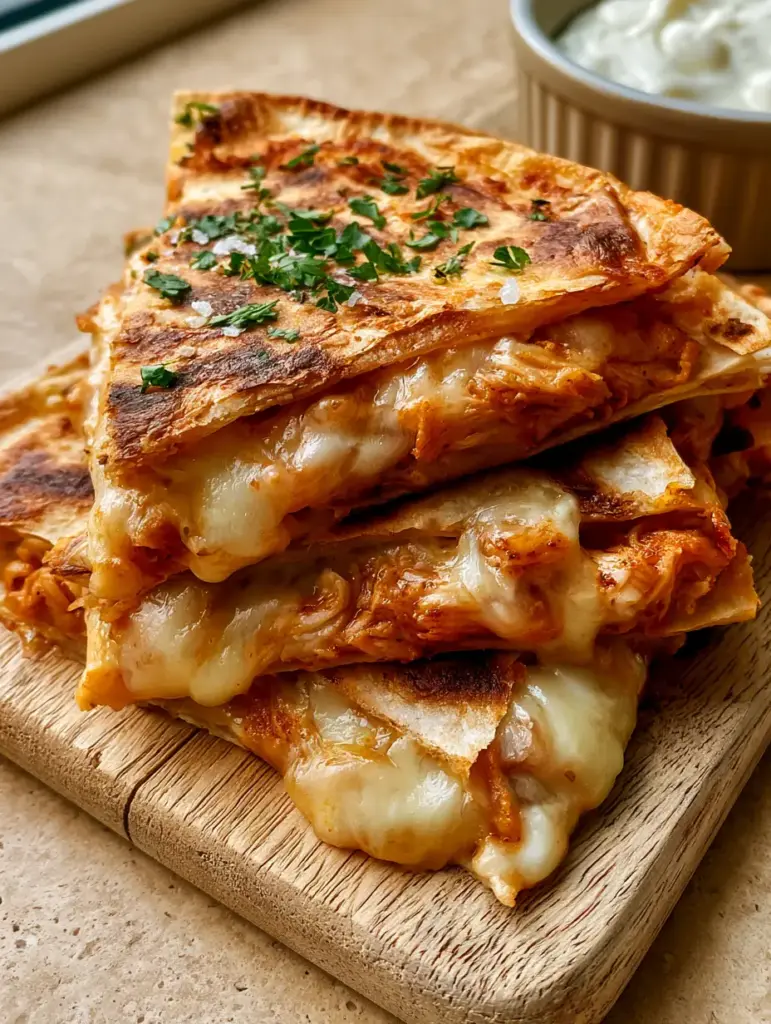
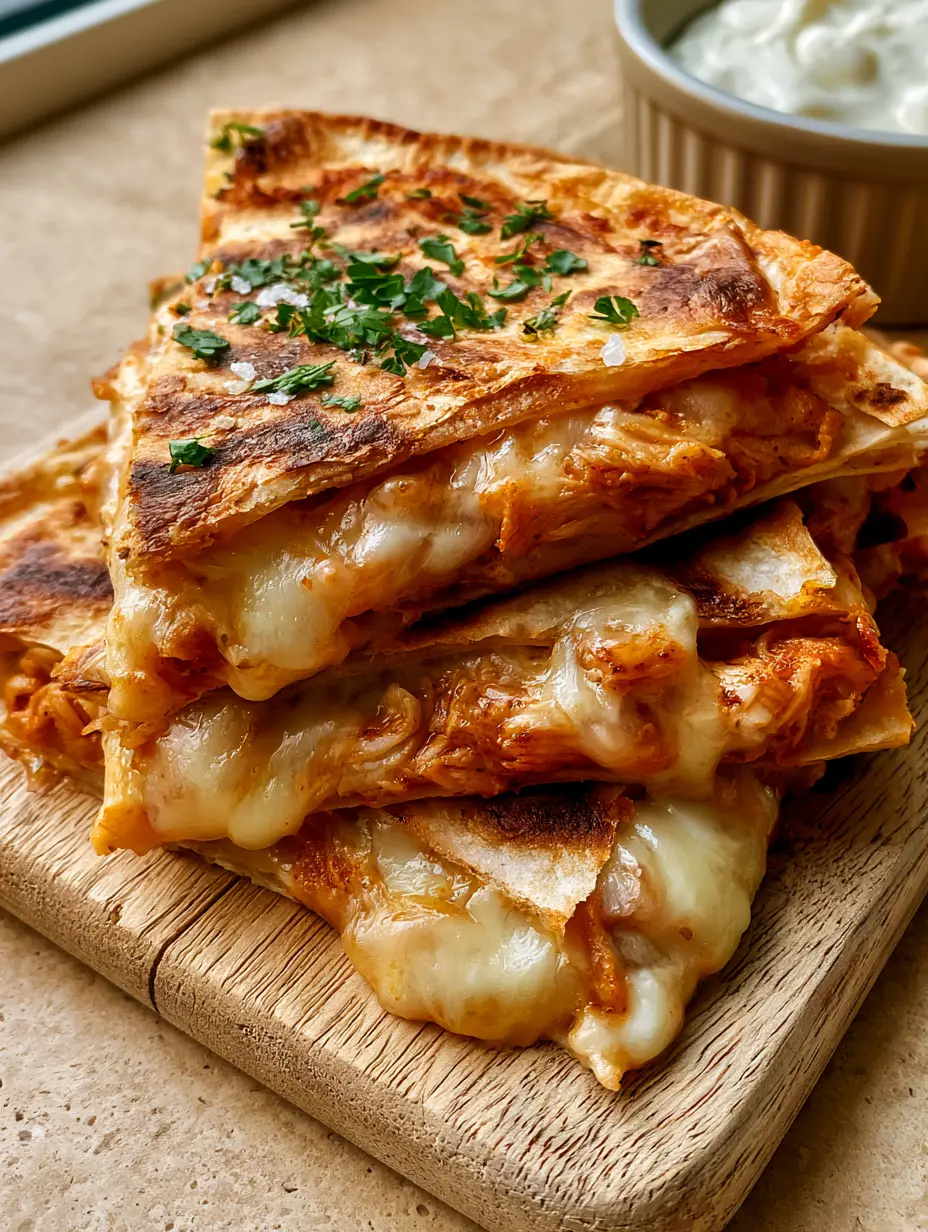
Imagine a stack of three triangular wedges, their edges crisped to a dark mahogany, overflowing with a molten core of Monterey Jack and sharp cheddar. The seasoned rotisserie chicken breast inside is not just a filler; it is the savory anchor, seasoned with reddish taco spices that provide a gentle heat, balanced by a cool dollop of Greek yogurt crema. This is the visual and culinary standard we are reaching for today.
Whether you are looking for easy family dinner recipes or a high-protein lunch that satisfies the soul, mastering this sheet pan technique is a game-changer. By the end of this guide, you will understand how to achieve that perfect fusion of melted cheese and toasted flour tortillas that mirrors a professional handheld smartphone photo in its rustic beauty.
Why These Crispy Sheet Pan Quesadillas Stand Out
- The Dual-Cheese Fusion: We use a specific ratio of sharp cheddar for bite and Monterey Jack for that iconic, bubbly stretch seen in the best food photography.
- Textural Contrast: The combination of sea salt flakes and finely chopped fresh flat-leaf parsley adds a final layer of crunch and brightness that offsets the rich, melted interior.
- Efficiency at Scale: Unlike pan-frying one by one, the sheet pan method ensures every quesadilla finishes at the exact same time, perfect for feeding a crowd.
- The Crema Component: Swapping standard sour cream for thick Greek yogurt crema provides a higher protein content and a thicker, more luxurious mouthfeel.
The Anatomy of a Perfect Chicken Quesadilla: Essential Ingredients
Toasted Large Flour Tortillas: You want thin, high-quality flour tortillas that are flexible enough to fold but contain enough starch to develop those charred micro-blisters when exposed to high heat. Avoid “low carb” varieties for this specific result, as they often lack the sugars necessary for deep browning.
Shredded Seasoned Chicken Breast: Using crockpot rotisserie chicken is a fantastic shortcut. The chicken must be shredded finely to allow the cheese to act as a glue, ensuring the triangular stacks don’t fall apart during the flip.
Sharp Cheddar & Monterey Jack: The cheddar provides the “reddish” hue and sharp tang, while the Jack provides the moisture and elasticity. Always grate your cheese from a block to avoid the anti-caking cellulose found in pre-shredded bags, which prevents a smooth melt.
The “Invisible” Foundation (Neutral Oil & Butter): To achieve the deep golden-brown color, we use a blend of high-smoke point oil and a touch of melted butter. The oil prevents burning, while the butter solids provide the flavor and the “blistering” effect on the tortilla surface.
Seasoning Trio (Taco Spices, Sea Salt, Parsley): The chicken is tossed in a blend of smoked paprika, cumin, and garlic powder. We finish the dish with sea salt flakes for a hit of salinity that cuts through the fat, and flat-leaf parsley for a peppery, fresh finish.
Thick Greek Yogurt Crema: This is simply Greek yogurt thinned slightly with lime juice and a pinch of salt. It mimics the thick, white ramekin of crema seen in high-end culinary plating.
Professional Equipment for Culinary Success
To replicate the result of the best Chicken Quesadilla Recipes, you need the right tools. A heavy-duty rimmed baking sheet is non-negotiable; thin sheets will warp at high temperatures, leading to uneven browning. A large, rustic wood cutting board is the ideal surface for slicing, as it absorbs minimal moisture, keeping the bottom tortilla crispy. Lastly, a sharp pizza cutter or a large chef’s knife is required to get those clean, triangular edges without dragging the cheese out of the filling.
Step-by-Step Instructions for the Perfect Crunch
Phase 1: Preparing the Seasoned Protein
Start by shredding 1.5 lbs (680g) of cooked chicken breast. In a large bowl, toss the chicken with 1 tbsp (15ml) of olive oil and your reddish taco spice blend. Ensure every strand of chicken is coated; this ensures that as the cheese melts, the spices permeate the entire filling.
Phase 2: The Art of the Sheet Pan Layer
Preheat your oven to 425°F (220°C). Generously brush your baking sheet with a mixture of melted butter and oil. Lay out 4 large flour tortillas so they slightly overlap. Distribute half of your Monterey Jack and Sharp Cheddar mix across the bottom half of each tortilla. Layer the seasoned chicken over the cheese, then top with the remaining cheese. Fold the tortillas over to create half-moons.
Phase 3: Achieving the Charred Micro-Blisters
Place another baking sheet on top of the quesadillas to weigh them down. Bake for 10 minutes, then remove the top sheet. Flip the quesadillas and bake for another 5-7 minutes. Visual Cue: Look for the cheese at the edges to be bubbling and turning a deep golden-brown, while the tortilla surface should show small, dark charred blisters.
Phase 4: The Finishing Flourish
Slide the quesadillas onto your rustic wood cutting board. Immediately sprinkle with sea salt flakes while the surface oil is still warm so they adhere. Finely chop the fresh flat-leaf parsley and scatter it generously over the stack. Use your knife to slice each half-moon into three triangles, creating that iconic stack.
Expert Tips for Recipe Mastery
- The Temperature Secret: Ensure your chicken is at room temperature before filling. Cold chicken will prevent the cheese from melting fully before the tortilla burns.
- The Weighted Method: Using a second sheet pan on top during the first half of baking creates a “Panini” effect, compressing the layers for a denser, more satisfying bite.
- Moisture Control: If using store-bought rotisserie chicken, pat it dry before seasoning. Excess moisture is the enemy of the “bubbly melted cheese” texture.
- Rest Before Cutting: Let the stack sit for 2 minutes on the board. This allows the cheese to set slightly so it “stretches” rather than “runs” when sliced.
What to Serve with Your Quesadillas
While these quesadillas are a meal on their own, they pair beautifully with a crisp Japanese cucumber salad for a refreshing contrast. If you are looking for more chicken dinner recipes to fill out your weekly menu, consider serving these alongside a light soup or a side of cilantro lime rice. For those who enjoy a bit more heat, a side of buffalo sauce can turn these into a variation of buffalo chicken bowls.
Storage and Reheating Cues
Quesadillas are best enjoyed fresh, but you can store leftovers in an airtight container for up to 3 days. To maintain the crispy edges and charred texture, avoid the microwave. Instead, reheat them in a dry skillet over medium heat for 2-3 minutes per side until the cheese is bubbly again. You can also freeze these individually wrapped in parchment paper for a quick, high-protein snack later.
Frequently Asked Questions
Yes! You can assemble the quesadillas and keep them refrigerated on the baking sheet for up to 24 hours before baking. If already baked, reheat in a skillet or air fryer to maintain the charred, crispy texture.
To achieve maximum crispness, use a combination of oil and melted butter on a preheated sheet pan. Avoid over-filling with wet ingredients and bake at a high temperature (425°F/220°C) to ensure the tortilla sears before the filling releases too much steam.
A 50/50 mix of Sharp Cheddar and Monterey Jack is ideal. The Cheddar provides flavor and color, while the Monterey Jack has a high moisture content that creates the stretchy, bubbly effect seen in professional food photography.
Greek yogurt crema offers a thicker consistency and a tangential nutritional boost with more protein. When thinned with a little lime juice, it provides a bright acidity that cuts through the richness of the melted cheddar and jack cheese.
The Ultimate Crispy Chicken Quesadilla Recipe
Chicken Quesadilla Recipes: The Ultimate Crispy Sheet Pan Method
Ingredients
Equipment
Method
- Toss shredded chicken with taco spices and 1 tbsp oil until evenly coated and reddish in color.
- Brush sheet pan with oil. Place tortillas down, fill one half with cheese and chicken, then fold.
- Bake at 425°F (220°C) weighted with a second pan for 10 minutes. Remove top pan, flip, and bake 5-7 minutes more until charred micro-blisters appear.
- Transfer to a wood board, sprinkle with sea salt flakes and chopped parsley. Slice into triangles and serve with Greek yogurt crema.
Notes
Always grate cheese from a block for the best bubbly melt.
Transform Your Dinner Routine
These sheet pan quesadillas prove that Chicken Quesadilla Recipes don’t have to be basic. By focusing on the visual cues of charred edges and bubbly cheese, you create a sensory experience that rivals any restaurant. If you enjoyed this recipe, be sure to leave a comment below and share your results! For more visual inspiration, follow us on Pinterest and pin this recipe to your favorite board.