There is something undeniably satisfying about a Chicken salad stuffed avocado that looks as good as it tastes. Imagine a vibrant, buttery avocado halved and overflowing with a mountain of chunky, glossy chicken salad. The contrast between the soft green fruit and the savory, protein-packed filling makes this the ultimate power lunch for those who value both aesthetics and nutrition.
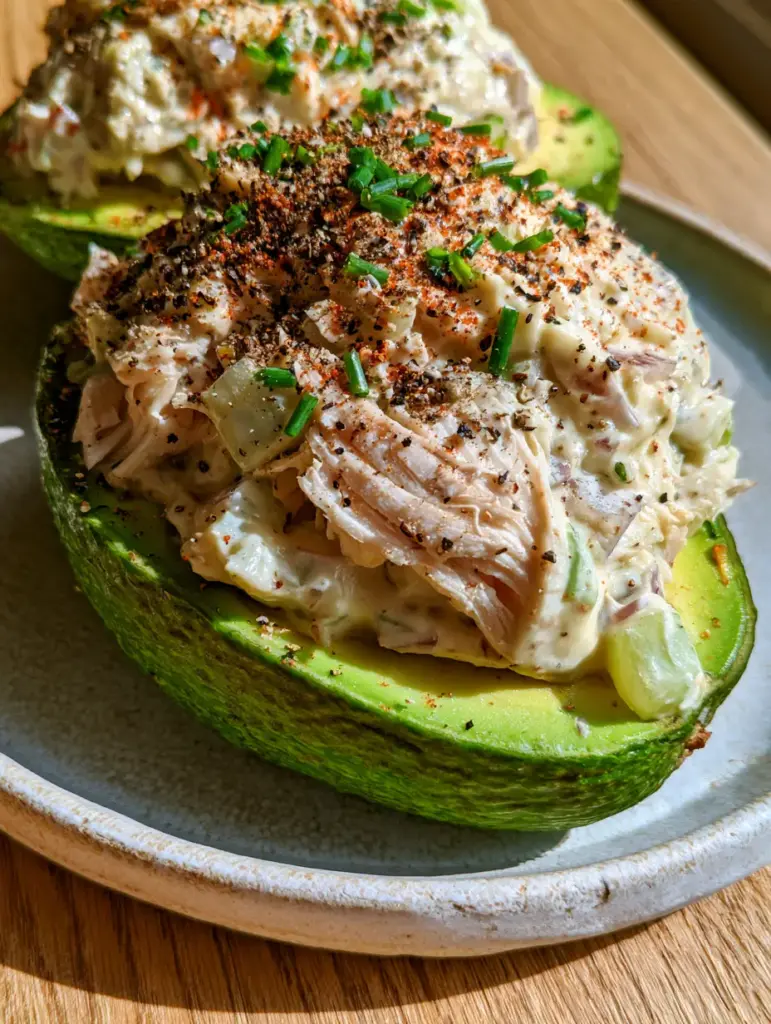
This isn’t your average deli-counter scoop. We are talking about large shreds of moist rotisserie chicken, tiny translucent cubes of crisp celery, and the sharp bite of minced red onion. Topped with a heavy dusting of cracked black pepper and vibrant smoked paprika, every bite provides a textural symphony that keeps you coming back for more.
Whether you are meal-prepping for a busy work week or hosting a backyard brunch, this recipe delivers on the promise of a “social-media-ready” meal without the fuss. Inspired by the authentic, unedited aesthetic of a handheld smartphone photo, this dish celebrates fresh ingredients in their most beautiful state.
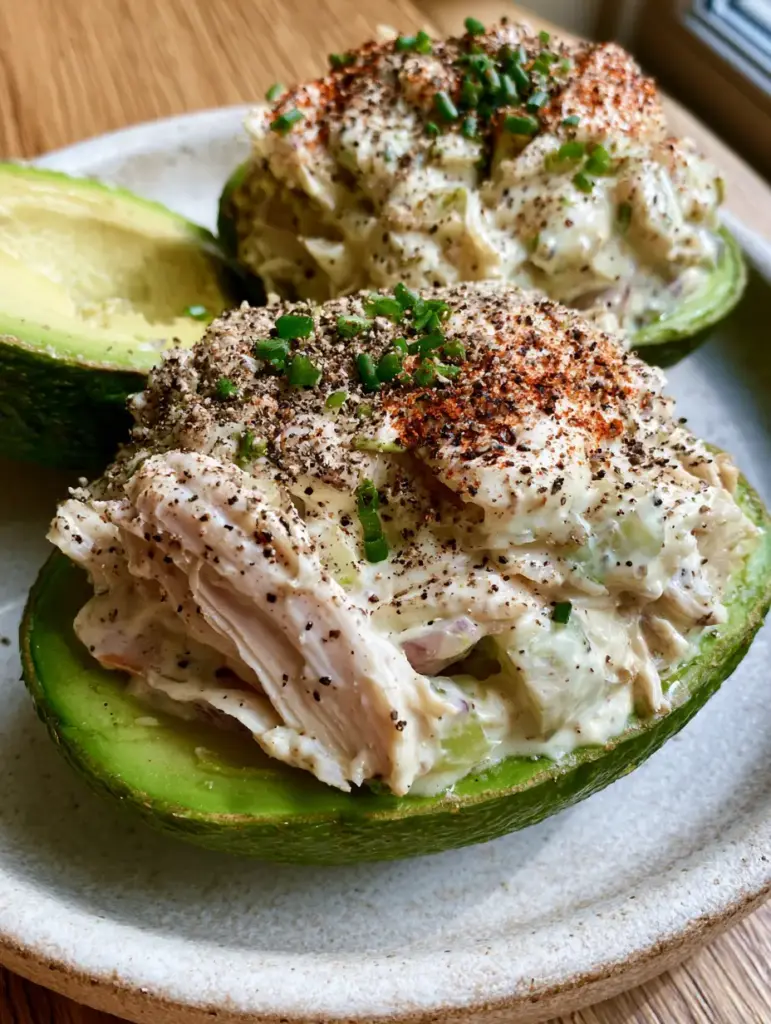
The Art of the Perfect Stuffed Avocado Boat
- Overflowing Texture: We focus on large, hand-shredded chicken pieces rather than a fine mash to ensure a “chunky” and premium mouthfeel.
- Vibrant Color Palette: The bright green chives and deep red smoked paprika create a professional contrast against the creamy white dressing.
- Balanced Creaminess: By combining thick Greek yogurt with traditional mayo, we achieve a glossy finish that isn’t overly heavy.
- The “Clean Scoop” Quality: Selecting avocados at the peak of ripeness ensures the fruit yields perfectly to a spoon, revealing that signature buttery texture.
Premium Ingredients for an Overflowing Protein Filling
To achieve the specific visual and culinary results of this Chicken salad stuffed avocado, the quality of your base ingredients is paramount. We aren’t just mixing things in a bowl; we are building layers of flavor and crunch.
Ripe Avocados: You need two large avocados that give slightly to gentle pressure. These serve as our edible bowls, providing healthy fats and a rich, neutral base for the zesty chicken.
Shredded Rotisserie Chicken: Using 2 cups (approx. 300g) of pre-cooked chicken saves time and ensures the meat is seasoned through. Opt for a mix of breast and thigh for the best moisture levels.
Thick Greek Yogurt & Creamy Mayonnaise: We use 1/4 cup (60ml) of each. The yogurt provides a tang and structural “gloss,” while the mayo adds the classic richness we crave in a salad.
Diced Crunchy Celery: 1/2 cup (60g) of celery, cut into tiny 1/8-inch cubes, provides that essential “snap” that contrasts with the soft avocado.
Minced Red Onion: 2 tbsp (20g) offers a sharp, pungent note and a pop of purple color that peeks through the dressing.
Fresh Chives & Microgreens: These are your visual “finishers.” The chives add a mild onion fragrance, while the microgreens add an earthy, delicate crunch to the top.
Foundational Seasonings: You will need 1 tsp (5ml) of lemon juice to prevent the avocado from browning, plus 1/2 tsp (3g) of sea salt, a heavy dusting of cracked black pepper, and 1/4 tsp (1.5g) of smoked paprika.
Essential Kitchen Tools for This No-Cook Lunch
A sharp Chef’s knife is non-negotiable for achieving those tiny, uniform cubes of celery and onion seen in the visual blueprint. You will also want a large glass mixing bowl to fold the dressing into the chicken without smashing the shreds.
For the final plating, a rustic ceramic plate provides the perfect matte background to make the vibrant greens of the avocado pop. A small offset spatula or a simple tablespoon will help you pile the chicken salad high without it falling over the sides.
Step-by-Step: Crafting Your Chicken Salad Stuffed Avocado
1. Prepare the Protein Base
Start by hand-shredding your rotisserie chicken into large, moist pieces. Avoid using a food processor, as we want the “chunky” look described in our visual prompt. Place the chicken into your mixing bowl.
2. Achieve the Precision Crunch
Finely dice your celery into tiny, translucent cubes and mince the red onion. Add these to the chicken. The goal here is “uniformity”—every bite should have a bit of crunch without one ingredient overpowering the others.
3. Emulsify the Glossy Dressing
In a separate small bowl, whisk together the Greek yogurt, mayonnaise, and a squeeze of lemon juice. Stir until smooth and glossy. Fold this into the chicken mixture gently until every shred is coated but not swimming in sauce.
4. Prep the Avocado Vessels
Slice your avocados in half lengthwise and remove the pit. If the cavity is small, use a spoon to remove a “clean scoop” of the fruit (about 1 tablespoon), creating a deeper well for the filling. Brush the exposed flesh with a tiny bit of lemon juice to keep it vibrant green.
5. The Heavy Garnish Flourish
Mound the chicken salad generously into the avocado halves, letting it overflow. Now, apply your visual finishers: a heavy dusting of freshly cracked black pepper, a pinch of smoked paprika for a warm glow, and a shower of chopped chives. Top with a cluster of microgreens for that professional “social media aesthetic.”
Pro Secrets for the Creamiest Texture
To ensure your Chicken salad stuffed avocado doesn’t become watery, always pat your celery dry after washing it. Excess moisture is the enemy of a thick, glossy dressing.
If you find your rotisserie chicken is a bit dry, mix it with the yogurt and mayo and let it sit for 10 minutes before stuffing the avocados. This allows the proteins to absorb some of the moisture from the dressing.
For the best flavor, serve these immediately. Avocados are temperamental; once they are sliced and exposed to air, the clock is ticking on that perfect vibrant green color.
What to Serve Alongside Your Stuffed Avocados
This dish is incredibly filling on its own, but it pairs beautifully with light, acidic sides. A crisp vinegar cucumber salad helps cut through the richness of the avocado and mayo.
If you are looking for more low-carb inspiration, you might enjoy my stuffed zucchini boats or a refreshing asian cucumber salad. For those who want more variety in their chicken salads, my creamy pepperoncini chicken salad offers a spicy kick that contrasts well with this milder version.
Frequently Asked Questions
Yes! You can prepare the chicken salad filling up to 2 days in advance and store it in an airtight container in the fridge. However, do not slice or stuff the avocados until you are ready to serve to prevent browning.
Look for avocados that are dark green to almost black. Give them a gentle squeeze; they should have a slight ‘give’ but not feel mushy. The stem should be easy to flick off, revealing green underneath.
The lemon juice in the dressing and brushed on the avocado flesh provides citric acid, which slows down oxidation. Keeping the pit in a leftover half and wrapping it tightly in plastic wrap also helps.
Absolutely. This recipe is naturally low-carb and high in healthy fats and protein, making it an excellent choice for a ketogenic diet.
If you don’t have Greek yogurt, you can use sour cream or simply increase the amount of mayonnaise. For a dairy-free version, use a dairy-free yogurt or an avocado-oil-based mayo.
The Ultimate Chicken Salad Stuffed Avocado Recipe
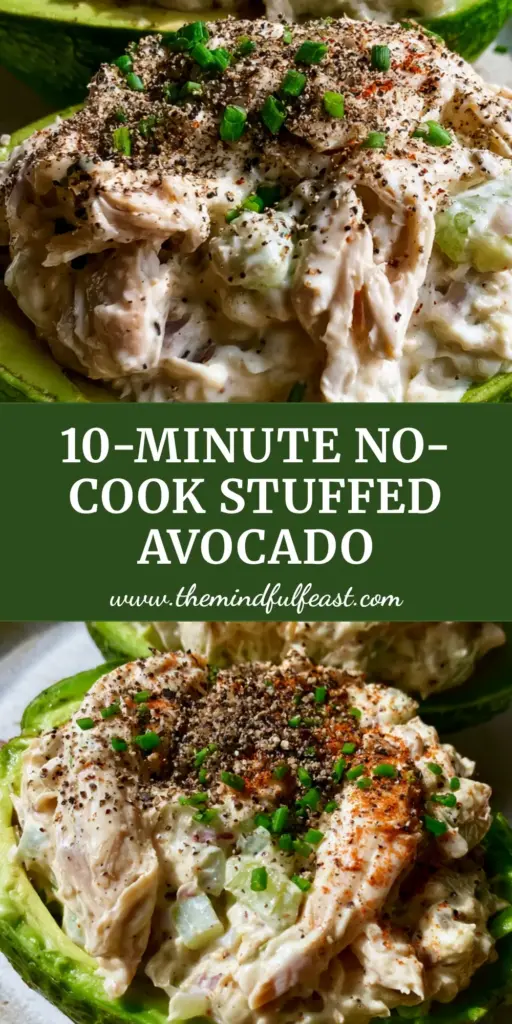
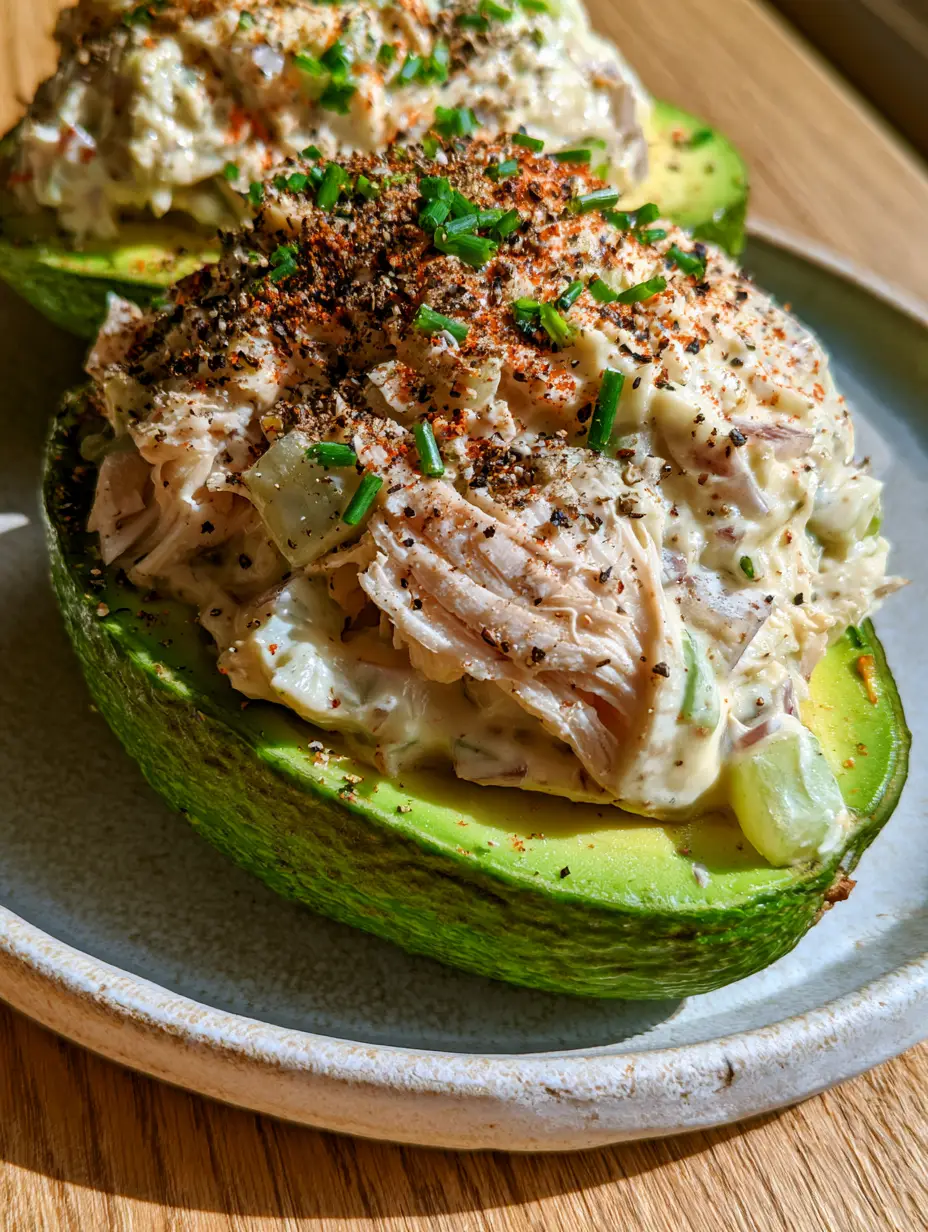
Chicken salad stuffed avocado with Creamy Greek Yogurt Dressing
Ingredients
Equipment
Method
- Hand-shred the rotisserie chicken into large, moist pieces and place in a large mixing bowl.
- Dice the celery into tiny 1/8-inch cubes and mince the red onion. Add them to the chicken.
- In a small bowl, whisk together Greek yogurt, mayonnaise, and half the lemon juice until glossy. Fold into the chicken mixture.
- Halve the avocados and remove the pits. Brush with remaining lemon juice to prevent browning.
- Mound the chicken salad into the avocado halves. Garnish heavily with cracked black pepper, smoked paprika, chives, and microgreens.
Notes
Pat celery dry before dicing to prevent a watery dressing.
Conclusion: The Only Lunch Recipe You Need This Summer
Mastering the Chicken salad stuffed avocado is about embracing the beauty of fresh, simple ingredients. It’s a dish that feels like a splurge but takes less than 15 minutes to assemble. The combination of the buttery fruit and the zesty, crunchy filling is a timeless classic for a reason.
If you loved the textures and colors of this recipe, be sure to leave a comment below and tell me how it turned out! Don’t forget to snap a photo and share it with me on Pinterest so I can see your beautiful creations.


