When you search for chocolate milkshake recipes, you are likely looking for more than just a cold drink. You are searching for a nostalgic, decadent experience that defies the laws of liquid physics.
Most standard chocolate milkshake recipes yield a runny, sugary mess that melts before you can even find a straw. This version is different; it is an architectural marvel designed for those who believe a milkshake should be eaten, not sipped.
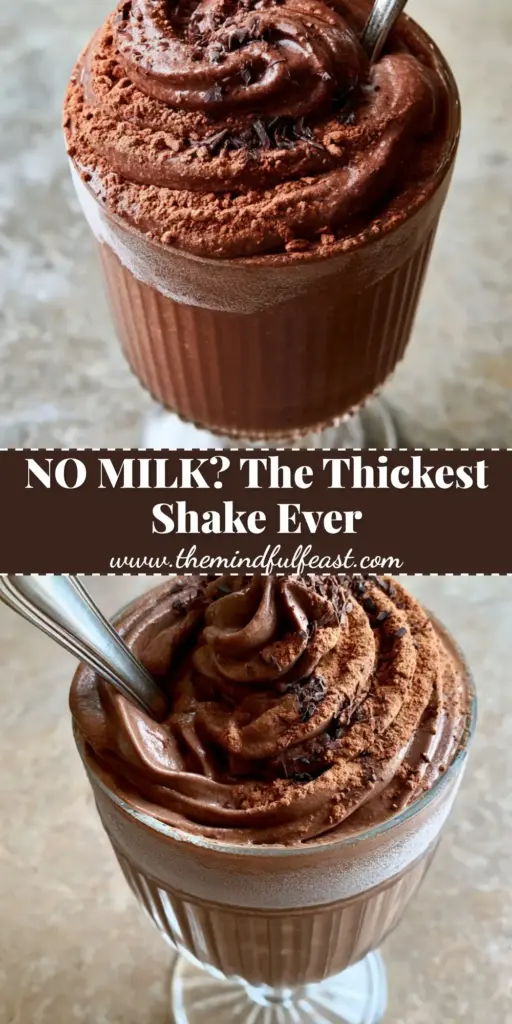
Imagine a texture so dense and matte that a heavy silver spoon can stand perfectly upright in the center without leaning a single degree. This is the “dry-blend” method, a technique used by high-end creameries to achieve a velvety, sculpted finish that looks as incredible as it tastes.
By focusing on premium alkalized cocoa and a frozen vanilla bean base, we are creating a dessert that celebrates the deep, dark shadows of high-percentage cacao. Every ripple in the glass is a testament to the quality of the ingredients and the precision of the temperature control.
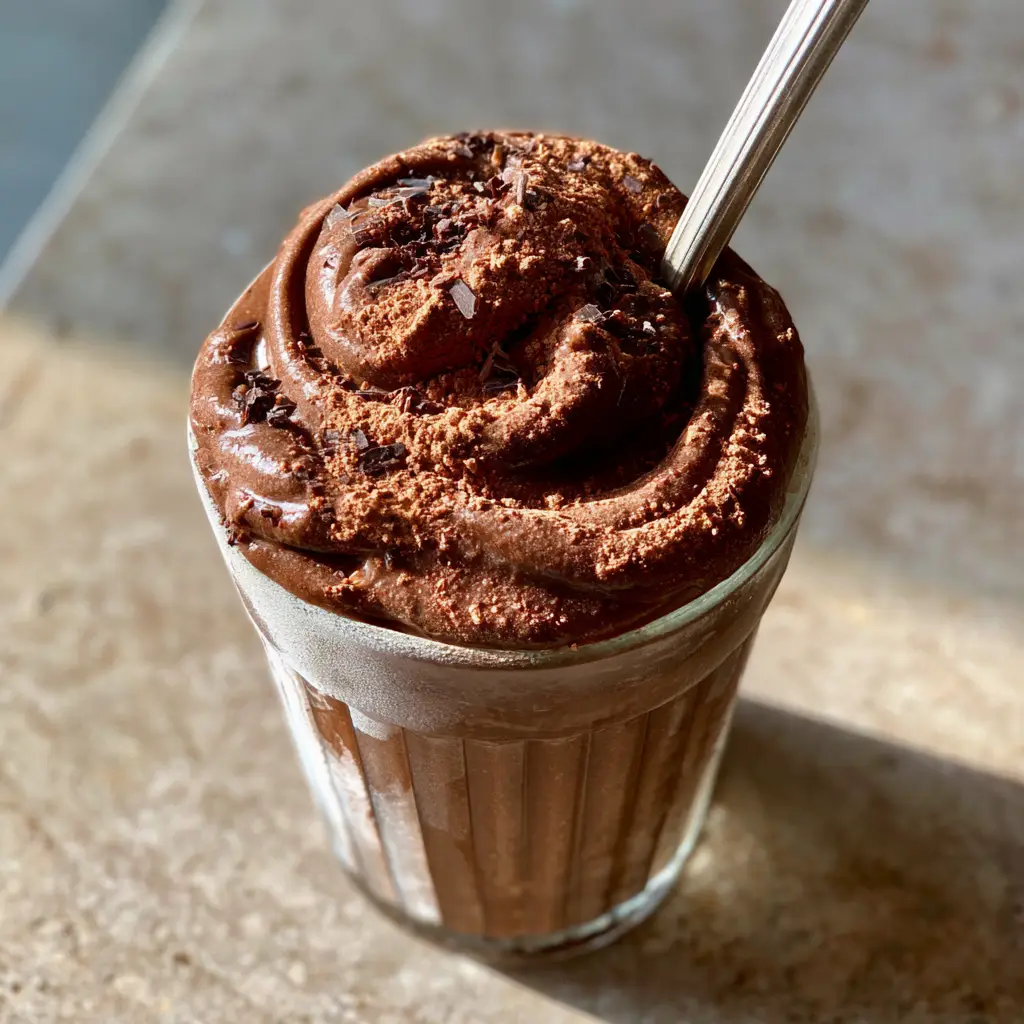
The Architecture of an Ultra-Thick Masterpiece
- The Upright Spoon Test: This recipe creates a “dry-blend” texture so thick that a heavy stainless steel spoon remains perfectly vertical, demonstrating zero liquid runoff.
- Matte Velvety Finish: Unlike glossy, syrup-heavy shakes, this version uses raw alkalized cocoa to achieve a sophisticated, non-reflective matte appearance.
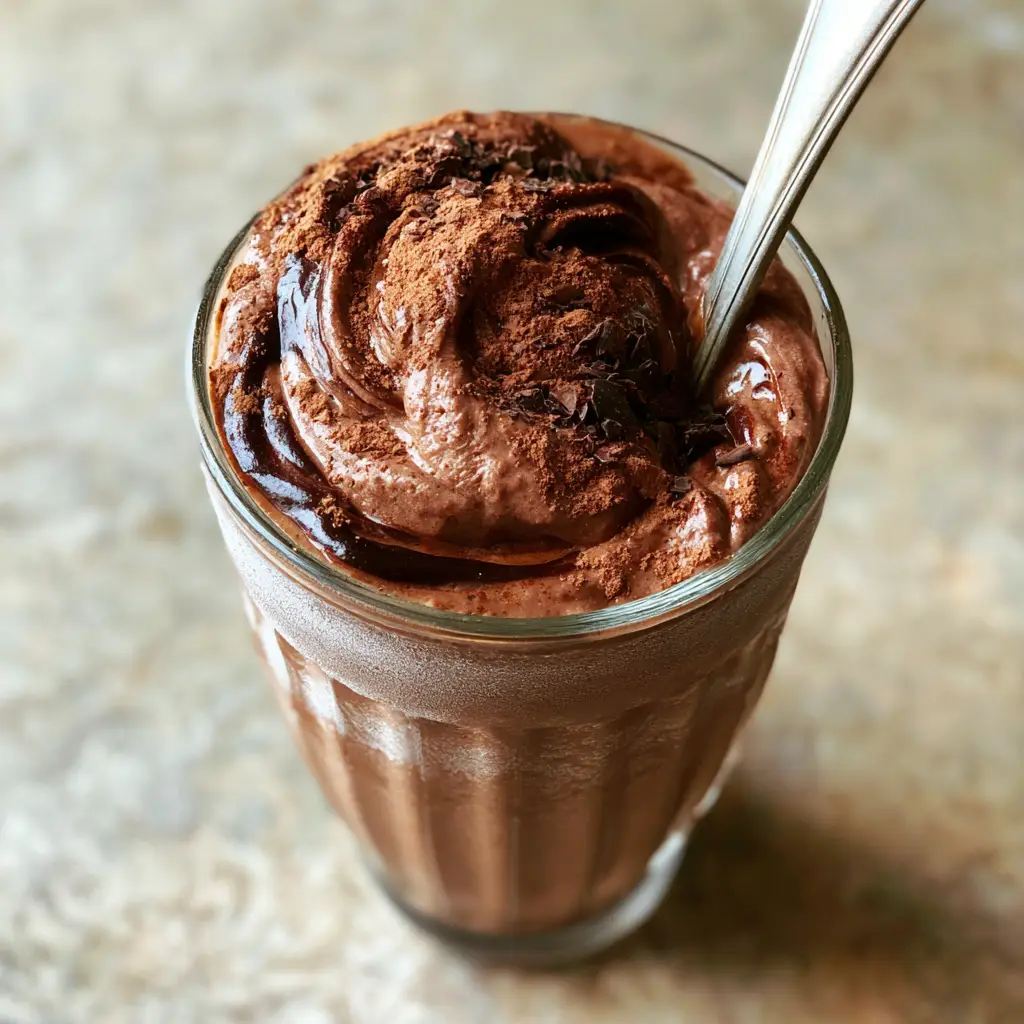
- Sculpted Chocolate Ripples: We utilize a layering technique that creates deep, dark chocolate swirls rather than a monochromatic brown slurry.
- Zero Liquid Visibility: By minimizing the use of milk and maximizing the density of the frozen base, we ensure a professional, high-end food blog aesthetic.
- Frost-Kissed Presentation: Instructions include the specific chilling method required to achieve that beautiful, delicate frost on the outside of your vintage glass.
Essential Components for a Matte Velvet Finish
Premium Vanilla Bean Ice Cream: 3 cups (approx. 450g). Use a high-butterfat, “super-premium” ice cream with visible vanilla bean flecks to provide the structural foundation for the thick texture.
Dark Alkalized (Dutch-Process) Cocoa Powder: 3 tbsp (21g). This specific cocoa is treated with an alkalizing agent to reduce acidity, resulting in a darker color and a smoother, more “matte” flavor profile.
70% Dark Chocolate Shavings: 2 tbsp (20g). Fine shavings provide a rhythmic textural contrast against the velvet base, ensuring every bite has a bit of snap.
Pinch of Flaky Sea Salt: 1/8 tsp (0.75g). An invisible but essential ingredient that cuts through the fat of the cream and amplifies the floral notes of the cacao.
Heavy Cream (Optional/Emergency Use Only): 1 tbsp (15ml). This is only for the “nudge” your blender might need to start the emulsification process without turning the shake into a liquid.
If you find yourself craving something slightly lighter after this decadence, you might enjoy exploring our breakfast smoothie recipes for a morning fruit alternative.
Professional Equipment for the Dry-Blend Technique
To achieve the “handheld smartphone photo” aesthetic seen in high-end culinary magazines, you cannot rely on a standard cheap blender. You need a high-speed blender with a “tamper” or a heavy-duty food processor.
The goal is to move the frozen mass without adding heat through friction or air through over-whipping. A vintage ribbed glass is also recommended, as the ridges help catch the frost and create those deep shadows in the chocolate ripples.
Finally, ensure you have a heavy stainless steel or silver spoon. A light plastic spoon will not demonstrate the density of this “dry-blend” chocolate milkshake recipe properly.
The Step-by-Step Blueprint to Chocolate Perfection
Preparing the Chilled Vessel
Place your vintage ribbed glass in the back of the freezer for at least 20 minutes before you begin. This is the only way to achieve the “frost-covered” look that signals an ultra-cold, professional-grade dessert.
While the glass chills, place your stainless steel spoon in the freezer as well. A cold spoon prevents the surface of the shake from melting upon contact, preserving the matte texture.
The Tempering of the Ice Cream
Remove your premium vanilla bean ice cream from the freezer and let it sit on the counter for 3 to 5 minutes. You aren’t looking for a melt; you are looking for “scoopability” that doesn’t break your wrist.
Scoop 3 cups (450g) of the ice cream into your blender carafe. Using a vanilla base instead of a chocolate one allows the alkalized cocoa to provide a cleaner, more intense chocolate flavor.
The Pulsed Emulsification
Add the 3 tbsp (21g) of dark cocoa powder and the pinch of sea salt directly onto the ice cream. Do not add milk yet; we are aiming for a “dry-blend.”
Pulse the blender in short, 2-second bursts. Use the tamper to push the ice cream down into the blades, creating a thick, “dry” paste that looks more like soft-serve than a drink.
If the blades spin freely without catching, add exactly 1 tbsp (15ml) of heavy cream. Stop blending the moment the cocoa is incorporated and the texture is matte and velvety.
Sculpting the Ripples and Toppings
Using a small spatula, fold in half of the 70% dark chocolate shavings by hand. This preserves their structure rather than pulverizing them into the base.
Transfer the mixture into your frosted glass, using the back of a spoon to create deep, sculpted swirls on the surface. These ridges are where the side-lighting will create those beautiful, moody shadows.
Dust the top heavily with raw premium cocoa powder and the remaining chocolate shavings. Insert your heavy spoon halfway into the center—it should stand perfectly upright immediately.
Expert Tips for Success
- Avoid the “Glossy” Trap: If your shake looks shiny, it is either melting or has too much liquid. Return it to the freezer for 5 minutes to restore the matte finish.
- Cocoa Quality Matters: Use “Dutch-processed” or “Alkalized” cocoa for this recipe. Natural cocoa powder is too acidic and will result in a lighter, reddish-brown color that lacks the “dark shadows” we want.
- The Tamper is Key: If using a high-speed blender, the tamper is your best friend. It allows you to process the frozen solids without adding the liquid milk usually required to get a blender moving.
- Temperature Control: Work fast. The “velvety” look is a narrow window between frozen solid and melting liquid. This is why we call it a “dry-blend.”
Shelf Life and Texture Retention
Because these chocolate milkshake recipes rely on a very specific frozen density, they are best consumed immediately. However, if you must wait, the “dry-blend” holds up better than traditional shakes.
You can place the finished glass in the freezer for up to 15 minutes to firm up if it begins to soften. Beyond that, the ice cream will begin to crystallize and lose its velvety mouthfeel.
Never try to “re-blend” a melted shake with more ice. This incorporates too much air and ruins the dense, matte texture that makes this recipe famous.
Perfect Pairings for a Decadent Occasion
This milkshake is a meal in itself, but it pairs beautifully with salty or savory counterpoints. Consider serving it alongside our midnight snacks for a late-night indulgence.
If you are hosting a themed event, like a SpongeBob SquarePants birthday party, this shake can be the “ultra-premium” version of a Kelp Shake for the adults.
For those who love a sweet-and-salty combo, try a small glass of this shake after a dinner of bean and cheese enchiladas. The cold, dark chocolate cleanses the palate perfectly after the warm, earthy spices of the beans.
Frequently Asked Questions
You can, but the flavor will be more acidic and the color will be much lighter. Alkalized (Dutch-process) cocoa is essential for that deep, dark, matte chocolate appearance.
The secret is the ‘dry-blend’ method. By using zero or minimal liquid and high-fat ice cream, you create a density similar to soft-serve ice cream, which supports the weight of a silver spoon.
This usually happens because the ice cream has a low butterfat content or the blender ran too long, creating heat. Use ‘super-premium’ ice cream and short pulses to maintain the dry-blend texture.
Vanilla bean ice cream provides a cleaner canvas for high-quality alkalized cocoa. It allows the specific notes of the dark chocolate to shine without being muddied by cheaper chocolate flavorings.
The Ultimate “Dry-Blend” Chocolate Milkshake Recipe
Chocolate Milkshake Recipes: The Ultimate Ultra-Thick Matte Velvet Masterpiece
Ingredients
Equipment
Method
- Place a vintage ribbed glass and a heavy silver spoon in the freezer for 20 minutes until frost-covered.
- Let the vanilla bean ice cream sit at room temperature for 3-5 minutes to soften slightly for blending.
- Combine ice cream, cocoa powder, and salt in a blender. Pulse in short bursts, using a tamper to press solids into the blades until a matte, velvety texture forms. Add a splash of cream only if absolutely necessary.
- Hand-fold half the chocolate shavings into the mix. Transfer to the frosted glass and use a spoon to create deep ripples on top.
- Dust with raw cocoa powder and remaining shavings. Insert the heavy spoon vertically to demonstrate thickness.
Notes
Ensure the glass is fully frosted to maintain the extreme cold temperature during serving.
Join The Mindful Feast Community
Creating the perfect chocolate milkshake recipes is an art form that combines culinary science with visual aesthetics. We hope this guide helps you master the “dry-blend” technique and achieve that elusive matte, velvety texture at home.
If you enjoyed this recipe, please leave a comment below and let us know how your “upright spoon” test went! We love seeing your creations, so feel free to share your photos and tag us.
Don’t forget to follow us on Pinterest for more gourmet inspiration and deep-dives into culinary forensics. Sign up for our newsletter to get the latest ultra-thick dessert recipes delivered straight to your inbox!
“`json
{
“faq_items”: [
{
“question”: “Why is my milkshake runny even without adding much milk?”,
“answer”: “This usually happens because the ice cream has a low butterfat content or the blender ran too long, creating heat. Use ‘super-premium’ ice cream and short pulses to maintain the dry-blend texture.”
},
{
“question”: “Can I use regular cocoa powder instead of alkalized cocoa?”,
“answer”: “You can, but the flavor will be more acidic and the color will be much lighter. Alkalized (Dutch-process) cocoa is essential for that deep, dark, matte chocolate appearance.”
},
{
“question”: “How do I get my spoon to stand up straight like the photos?”,
“answer”: “The secret is the ‘dry-blend’ method. By using zero or minimal liquid and high-fat ice cream, you create a density similar to soft-serve ice cream, which supports the weight of a silver spoon.”
},
{
“question”: “Why use vanilla ice cream for a chocolate milkshake?”,
“answer”: “Vanilla bean ice cream provides a cleaner canvas for high-quality alkalized cocoa. It allows the specific notes of the dark chocolate to shine without being muddied by cheaper chocolate flavorings found in pre-made chocolate ice cream.”
}
]
}
“`


