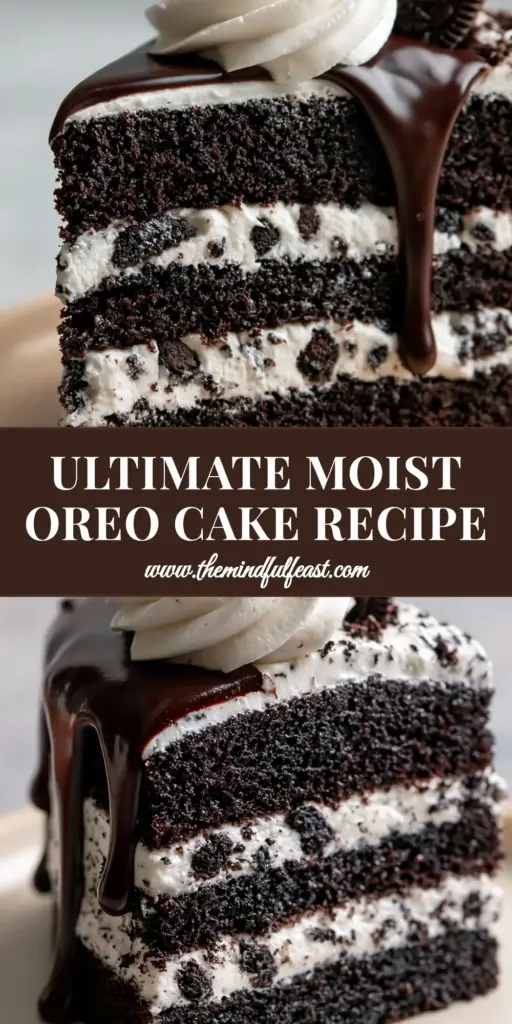
The quest for the perfect chocolate Oreo cake ends here. If you have ever scrolled through social media and stopped dead in your tracks at the sight of a deep, dark, almost obsidian-colored cake slice dripping with glossy chocolate, you know exactly the aesthetic we are chasing today. This isn’t just another sponge recipe; it is a meticulously engineered masterpiece designed to satisfy the most intense cocoa cravings while delivering a visual punch that belongs on the cover of a culinary magazine.
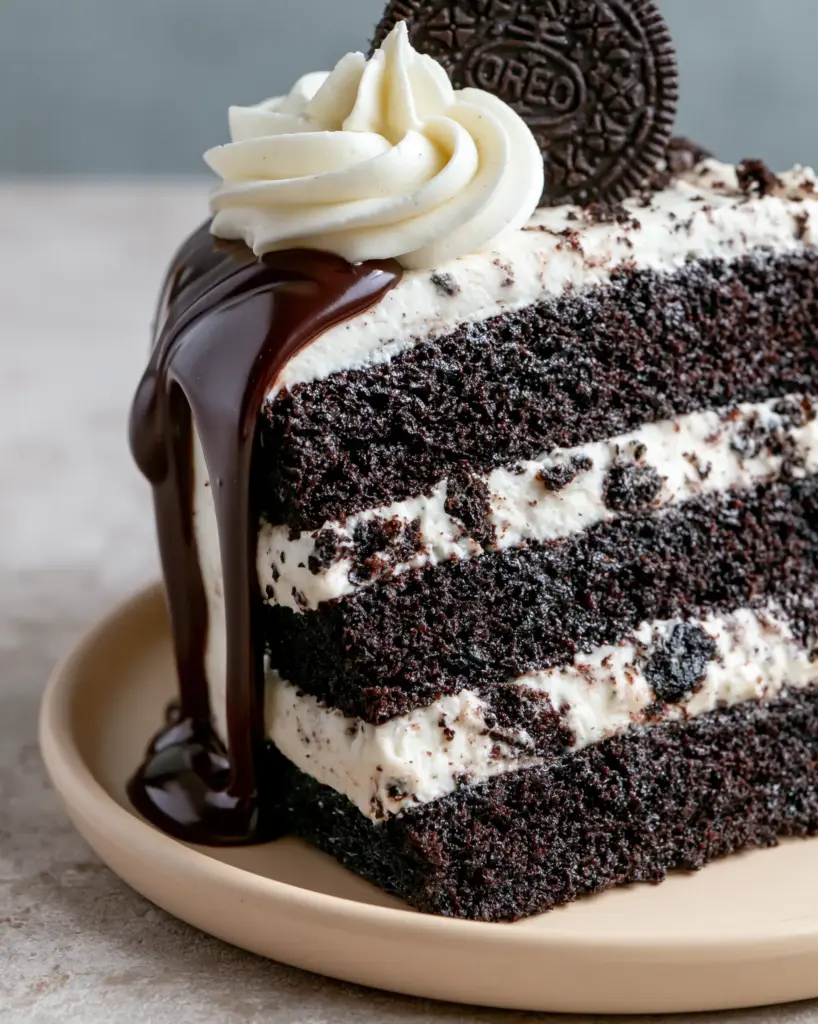
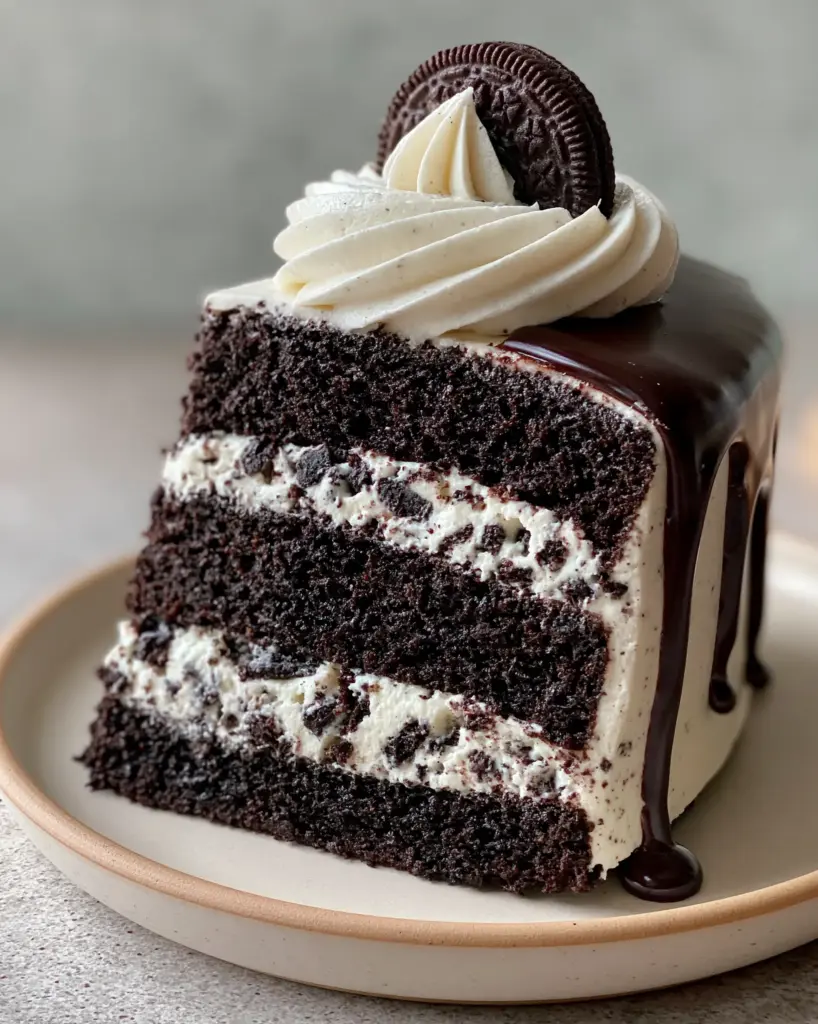
Imagine sinking your fork into a cake that features three distinct layers of ultra-moist, deep black cocoa sponge. The crumb is tight and tender, yielding effortlessly to the pressure. Sandwiched between these layers is a thick, stable, bright white cookies and cream buttercream frosting, packed with coarse dark cookie chunks that provide a satisfying textural contrast. To top it all off, a thick, glossy dark chocolate ganache drip cascades down the sides, perfectly punctuated by stiff frosting swirls and a crowning whole Oreo cookie.
Whether you are celebrating a milestone or simply looking to master the art of the chocolate Oreo cake, this guide will walk you through the science and the soul of this dessert. From the matte ceramic plating to the soft, diffused side-lighting that highlights every crumb, we are building a sensory experience from the ground up.
Why This Cookies and Cream Masterpiece Outshines the Rest
- The Obsidian Crumb: By using specific black cocoa powder, we achieve a visual depth and a “dark chocolate” flavor profile that standard cocoa simply cannot replicate.
- Structural Integrity: Our buttercream is engineered to be stiff and stable, ensuring your layers stay perfectly aligned even under the weight of a heavy ganache drip.
- Textural Harmony: The contrast between the velvety sponge, the crunchy cookie chunks, and the silky-smooth ganache creates a multi-dimensional eating experience.
- Professional Aesthetics: We guide you through the “drip” technique to ensure your final product looks exactly like the high-end artisan cakes found in boutique bakeries.
The Anatomy of an Ultra-Moist Black Cocoa Sponge
The foundation of a world-class chocolate Oreo cake is the sponge. We aren’t looking for a light, airy chiffon; we want a dense, moist, and “tight” crumb that holds its shape. To achieve the color seen in our visual blueprint, black cocoa is non-negotiable. This cocoa is heavily alkalized, removing the acidity and resulting in a flavor reminiscent of the very sandwich cookies we are honoring.
All-Purpose Flour (375g / 3 cups): This provides the necessary structure. Using AP flour instead of cake flour ensures the layers can support the weight of the thick frosting and cookie inclusions.
Black Cocoa Powder (90g / 1 cup): This is the secret to that deep black color. If you cannot find black cocoa, Dutch-processed cocoa is the next best thing, though the color will be more of a deep mahogany than obsidian.
Granulated Sugar (400g / 2 cups): Beyond sweetness, sugar is a liquefier. It interferes with gluten development to keep the cake tender while locking in moisture.
Baking Powder and Baking Soda: We use both to ensure a consistent lift. The baking soda reacts with the acidic elements, while the baking powder provides a secondary boost during the bake.
Whole Milk (240ml / 1 cup): The fat content in whole milk contributes to a richer mouthfeel. Ensure it is at room temperature to prevent the batter from seizing.
Vegetable Oil (120ml / 0.5 cup): While butter offers flavor, oil provides superior moisture and a better “day-after” texture. It keeps the cake layers from becoming dry in the refrigerator.
Large Eggs (2): These act as the binder and provide the protein structure needed for that tight, tender crumb described in our Midjourney prompt.
Boiling Water (240ml / 1 cup): Adding boiling water at the very end “blooms” the cocoa powder. This process dissolves any lumps and releases the full aromatic potential of the chocolate.
Engineering the Perfect Stiff Cookies and Cream Buttercream
The contrast of the bright white frosting against the black cake is what makes this chocolate Oreo cake visually stunning. To achieve this, we use a high-fat American Buttercream base, but we refine it for stability.
Unsalted Butter (450g / 2 cups): It must be slightly cool to the touch, not greasy. This ensures the frosting can hold the weight of the crushed cookies without collapsing.
Powdered Sugar (900g / 7-8 cups): This provides the bulk and the stiffness. We sift it to ensure there are no lumps in the bright white field of frosting.
Heavy Cream (45ml / 3 tbsp): This adds a silkiness to the finish, helping to smooth out the “grain” of the sugar.
Finely Crushed Oreos (150g / 1.5 cups): We use two sizes of crumbs. Finely pulverized crumbs go into the frosting for flavor, while coarse chunks are folded in later for that “packed” visual appeal.
If you’re a fan of mixing cookie textures, you might also enjoy these Oreo stuffed chocolate chip cookies for a different take on this flavor profile.
Essential Tools for Bakery-Quality Results
To replicate the eye-level smartphone photo aesthetic, you need the right tools for precision. A rotating cake turntable is essential for applying a smooth crumb coat and the final layer of frosting. You will also need a bench scraper to achieve those sharp, clean edges on the side of the cake.
For the ganache drip, a plastic squeeze bottle offers the most control, though a spoon can work for a more rustic look. Finally, an offset spatula is your best friend for leveling the batter and spreading the buttercream between the three distinct layers.
Step-by-Step Guide to the Ultimate Chocolate Oreo Cake
1. Preparing the Black Cocoa Sponge Layers
Preheat your oven to 350°F (175°C). Grease and line three 8-inch (20cm) round cake pans with parchment paper. In a large bowl, sift together the flour, black cocoa, sugar, baking soda, baking powder, and a pinch of salt. Sifting is crucial to ensure the “visible tight, tender crumb” mentioned in our visual prompt.
Add the eggs, milk, oil, and vanilla extract. Beat on medium speed for two minutes. Reduce the speed and carefully pour in the boiling water. The batter will be very thin—this is normal. Divide the batter equally between the three pans. Bake for 30-35 minutes or until a toothpick comes out clean. Let them cool completely before frosting; a warm cake will melt your stiff buttercream instantly.
2. Whipping the Cookies and Cream Frosting
In a stand mixer fitted with the paddle attachment, cream the butter until it is pale and fluffy (about 5 minutes). Gradually add the powdered sugar one cup at a time. Once incorporated, add the heavy cream and vanilla. Beat on high for another 2 minutes until the frosting is bright white and stiff.
Gently fold in the finely crushed cookies. Reserve the larger coarse dark cookie chunks for the assembly phase. This ensures the “white” of the frosting remains distinct rather than turning entirely grey.
3. Assembly and the “Dirty” Crumb Coat
Place your first layer of black cocoa sponge on a cake board or your matte ceramic plate. Spread a generous layer of buttercream and sprinkle a handful of coarse dark cookie chunks over it. Repeat with the second layer. Place the third layer upside down to ensure a perfectly flat top.
Apply a thin layer of frosting over the entire cake to trap any loose crumbs. Refrigerate for 30 minutes. This “crumb coat” is the secret to the clean, professional look seen in high-end handheld smartphone photos.
4. The Final Frosting and Ganache Drip
Apply the final thick layer of buttercream, smoothing the sides with a bench scraper. To create the glossy dark chocolate ganache, heat 100ml (0.4 cup) of heavy cream until it just begins to simmer, then pour it over 100g (3.5oz) of dark chocolate chips. Let it sit for 5 minutes, then stir until glossy.
Once the ganache has cooled slightly but is still pourable, create the drip effect. Aim for the “back of the slice” cascade, letting the chocolate stop halfway down the cake. This creates the “thick, glossy” look from our Midjourney prompt.
5. Final Garnishes and Plating
Using a piping bag with a large star tip, pipe stiff swirls of frosting around the top perimeter. Place a single whole Oreo cookie into each swirl. For the best visual impact, serve on a matte cream ceramic plate against a light grey stone countertop to mimic our visual blueprint perfectly.
Pro Tips for Decorating Your Cake
- The Temperature Rule: Ensure your ganache is approximately 90°F (32°C) before dripping. If it’s too hot, it will run all the way to the plate; too cold, and it won’t “cascade.”
- Clean Slices: To get a clean cut showing the “three distinct layers,” dip your knife in hot water and wipe it dry between every single slice.
- Cookie Crunch: If you want the cookies inside to stay crunchy, add them just before serving. However, most people prefer them slightly softened by the moisture of the buttercream.
- Lighting Your Photo: Use natural, side-lit daylight. This emphasizes the “tight, tender crumb” and creates those gentle shadows that give the cake depth.
The Best Way to Store and Serve Your Cake
Because of the high butter content and the moist sponge, this chocolate Oreo cake can be stored in an airtight container at room temperature for up to 2 days. For longer storage, keep it in the refrigerator for up to 5 days. If you do refrigerate it, allow the cake to sit at room temperature for at least 1 hour before serving so the buttercream can soften back to its creamy state.
You can also freeze individual slices wrapped tightly in plastic wrap. This is perfect for those late-night cravings when you don’t want to bake an entire chocolate mochi or other treats from scratch.
What to Serve With This Decadent Dessert
A cake this rich deserves a balance. If you are serving this as part of a larger celebration, consider a lighter meal beforehand. Our healthy dinner ideas provide the perfect precursor to an indulgent dessert. Alternatively, a savory steak sandwich makes for a hearty meal that stands up well to a heavy chocolate finish.
For a refreshing palate cleanser, a crisp vinegar cucumber salad can help cut through the sweetness of the buttercream and ganache.
Frequently Asked Questions
Absolutely! The layers can be baked, cooled, wrapped tightly in plastic wrap, and stored at room temperature for 24 hours or frozen for up to a month before assembling.
Yes, you can use Dutch-processed cocoa powder. However, the cake will have a deep brown color instead of the striking black color seen in the photos, and the flavor will be less like an Oreo cookie.
Pulse your Oreos into two batches: fine dust for flavor and coarse chunks for texture. Fold them in gently at the very end to prevent the dark cookie filling from turning the white buttercream grey.
This usually happens if the ganache is too warm or the cake is too warm. Ensure the cake is chilled and the ganache has cooled to about 90°F (32°C) before applying the drip.
The Ultimate Chocolate Oreo Cake Recipe Card
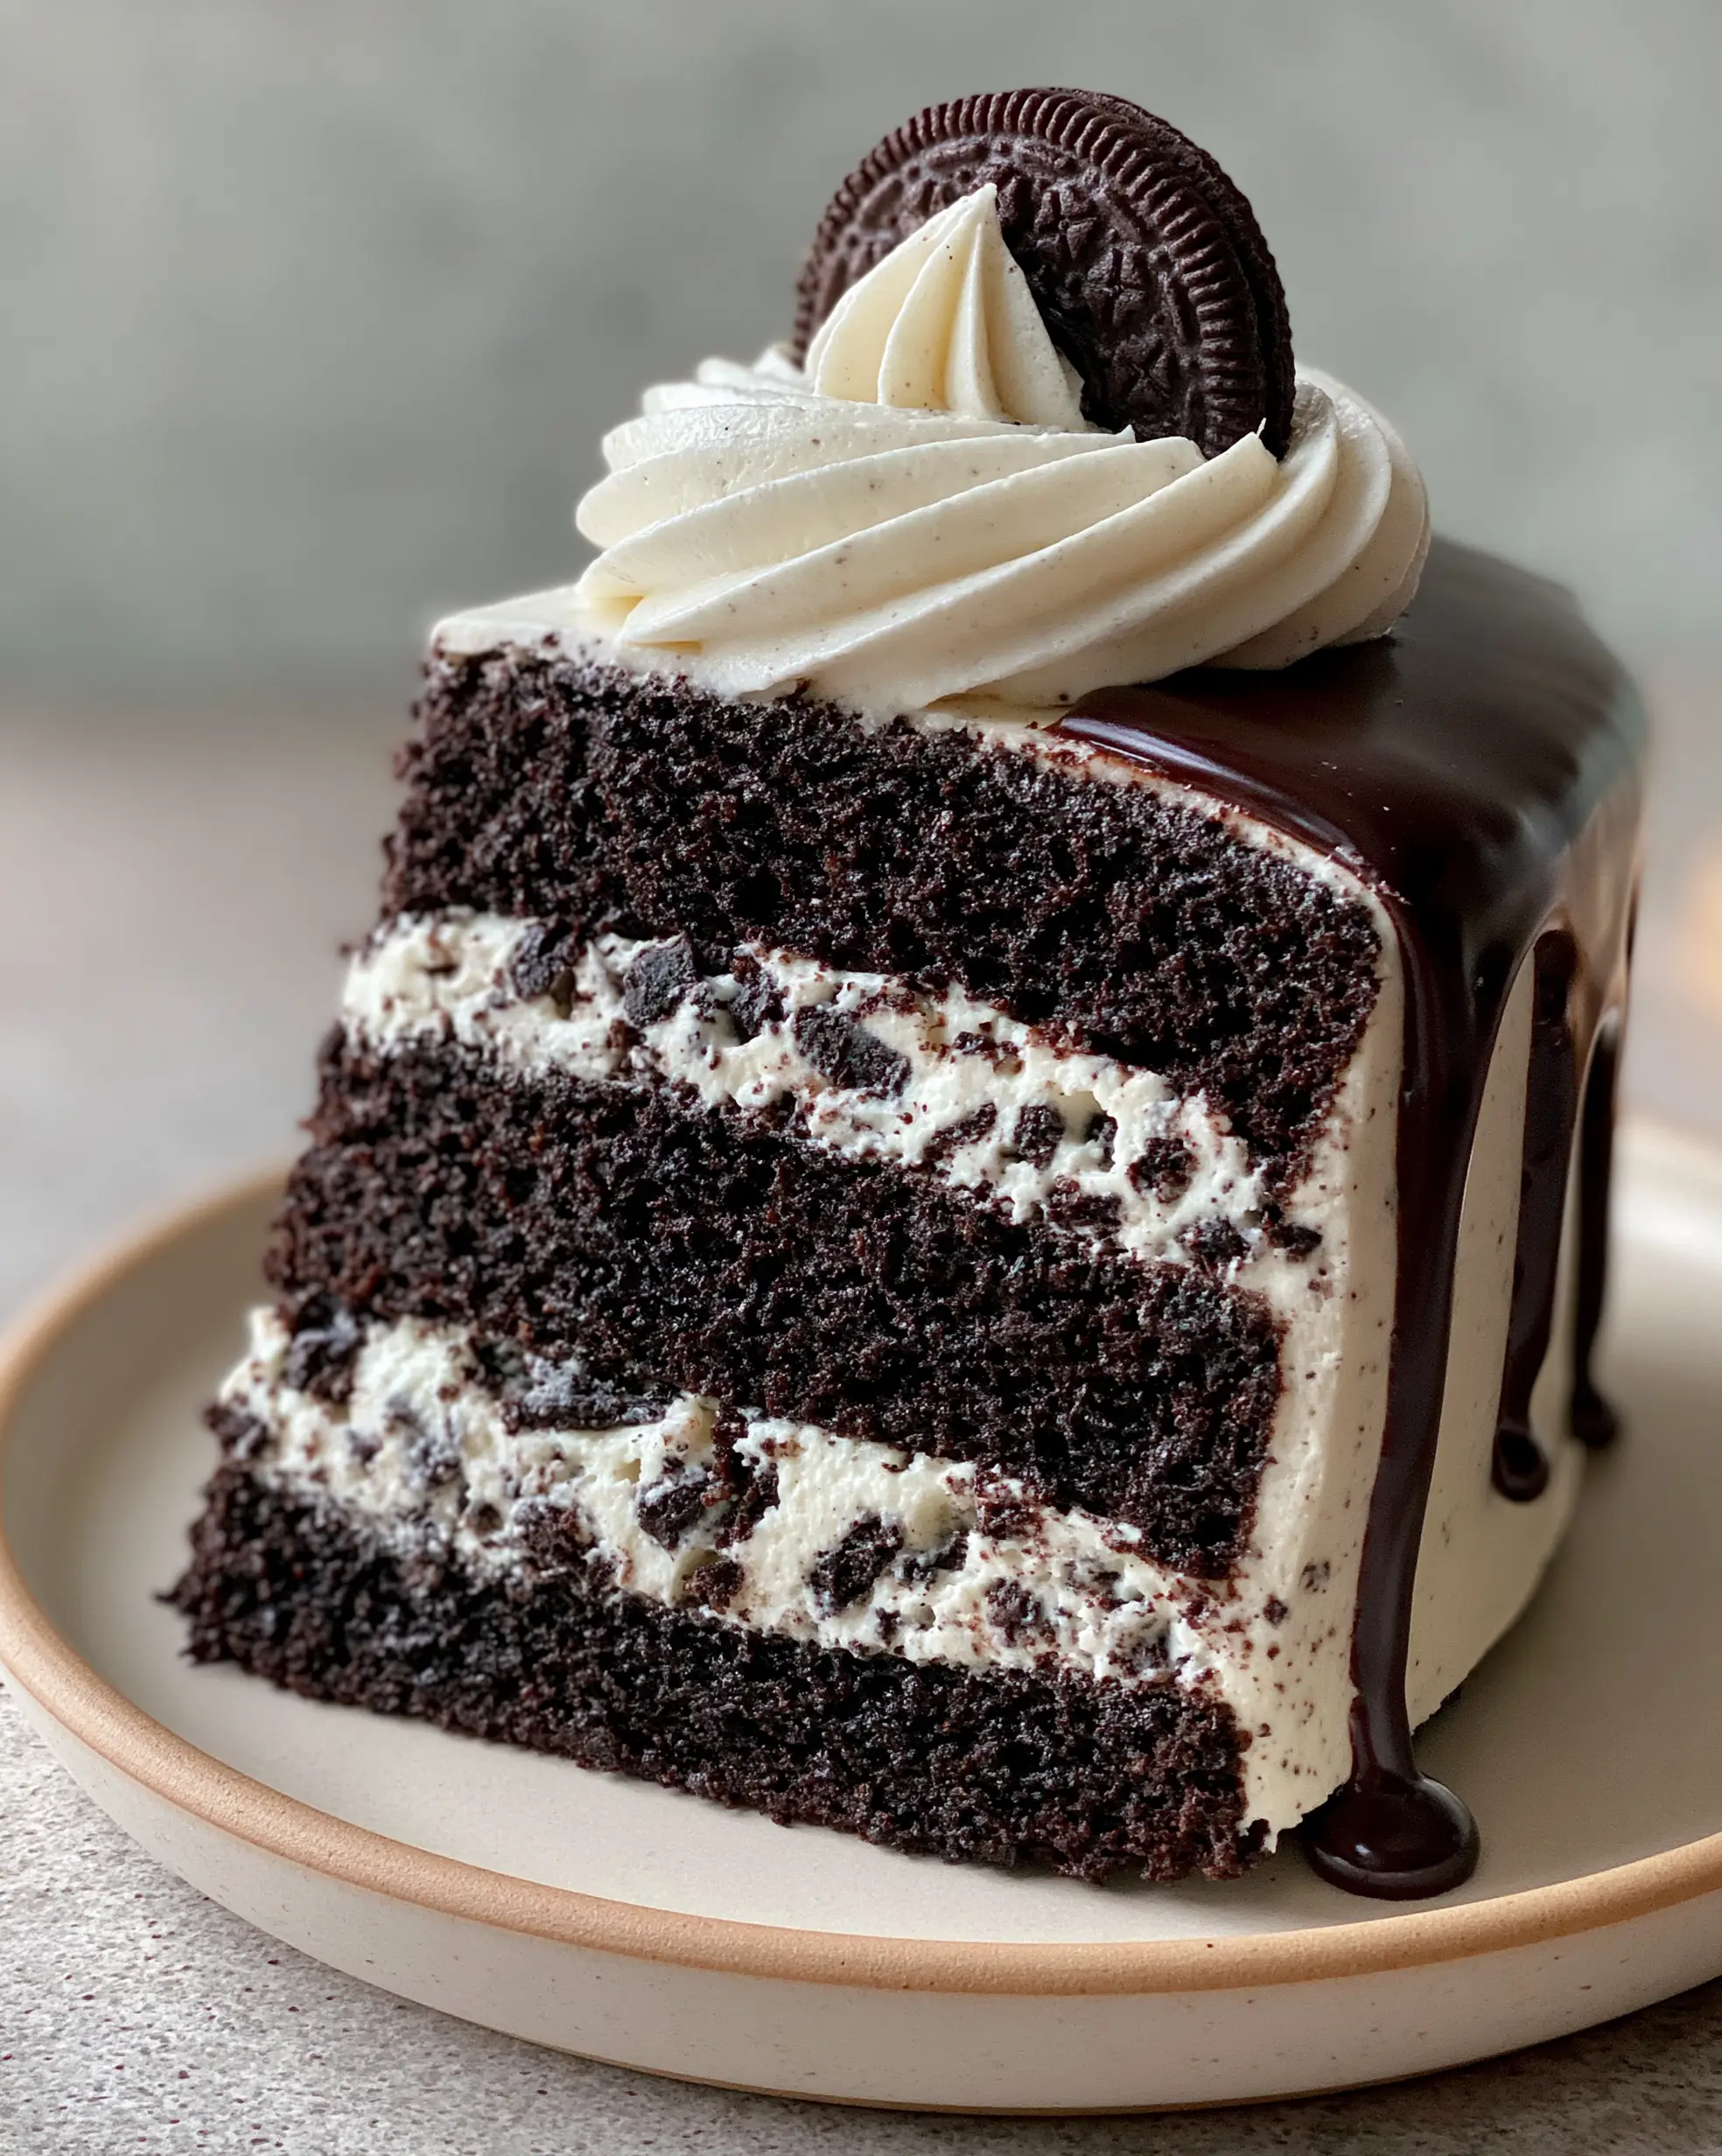
Chocolate Oreo Cake: The Ultimate Triple-Layer Cookies and Cream Dream
Ingredients
Equipment
Method
- Sift together flour, black cocoa, sugar, baking soda, and baking powder in a large bowl.
- Add eggs, milk, and oil. Beat for 2 minutes. Stir in boiling water until smooth.
- Divide batter into three pans and bake at 350°F (175°C) for 30-35 minutes.
- Layer sponge with stiff cookies and cream buttercream and coarse cookie chunks.
- Pour glossy chocolate ganache over the top, creating a drip effect down the sides.
Notes
Ensure ganache is slightly cooled before dripping to prevent it from running too fast.
Join the Community and Share Your Bake!
We want to see your chocolate Oreo cake creations! Did you manage to get that perfect ganache drip? Did you use the matte ceramic plate for your photos? Leave a comment below and let us know how your bake turned out. Don’t forget to follow us and share your photos to Pinterest so we can see your amazing work!