There is a specific, soul-satisfying sound that occurs when a knife edge slides across a perfectly executed Crispy Parmesan Chicken. It is a jagged, rhythmic rasp that promises a crunch so profound it rivals the best fried chicken, yet carries the sophisticated salty tang of aged Italian cheese. If you have ever felt disappointed by a soggy, limp breading that slides off the meat like a wet blanket, this guide is your culinary redemption arc.
This isn’t just another weeknight dinner; it is a masterclass in texture management. We are looking for those specific toasted cheese peaks and charred mozzarella spots that you only see in high-end trattorias. By utilizing a seasoned cast iron skillet and a specific dredging technique, we ensure the chicken remains glistening and juicy underneath a crust that stays stubbornly crunchy even under a blanket of rich marinara.
Every element of this dish is designed to create a sensory experience. From the visual of the steam rising off the bubbling provolone to the aromatic punch of fresh flat-leaf parsley and coarse cracked black pepper, this recipe hits every note. Let’s dive into the science of the perfect sear and the architecture of the ultimate skillet meal.
Why This Skillet Parmesan Chicken Method Works
- The Jagged Crust Architecture: By combining finely grated Parmesan with panko breadcrumbs, we create a multi-dimensional surface area that traps heat and fat for maximum crunch.
- Cast Iron Heat Retention: Using a seasoned cast iron skillet provides the thermal mass necessary to sear the crust instantly, locking in juices before the chicken even hits the oven.
- The Dual-Cheese Blanket: A strategic blend of mozzarella for the “pull” and provolone for the “tang” creates those signature charred brown spots and bubbly texture.
- Visual Sensory Cues: We focus on the “toasted cheese peaks” and “blistered marinara” to ensure your dish looks exactly like a professional food photograph every single time.
The Essential Components for a Crunch-Forward Crust
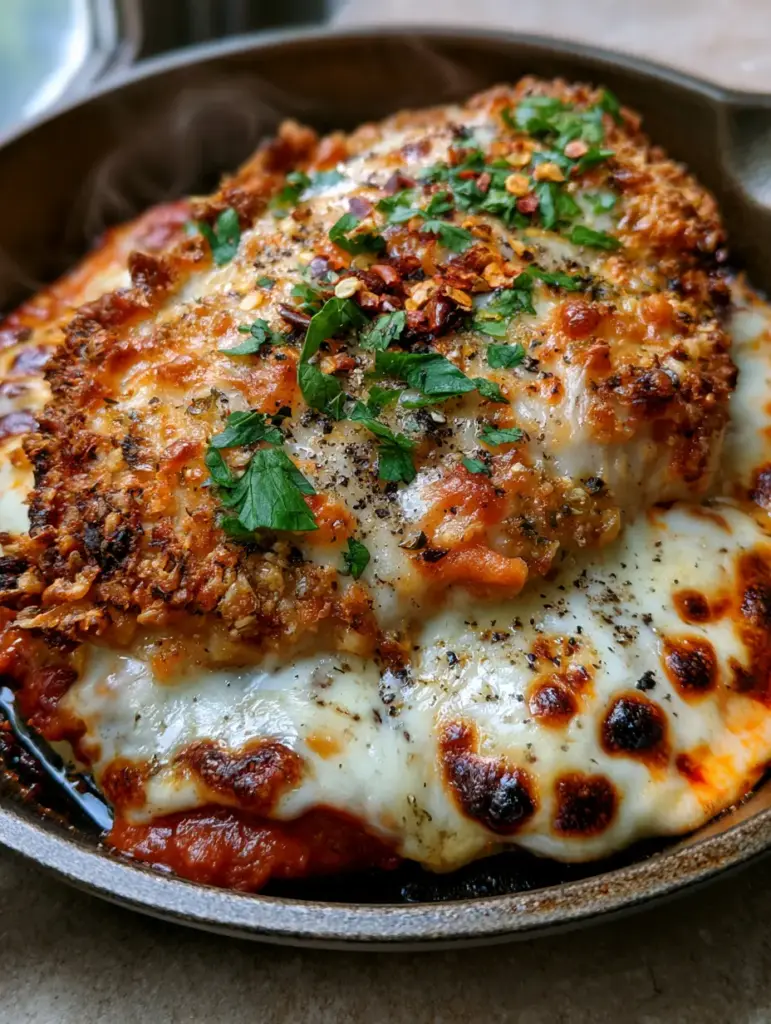
Thick Chicken Breasts: You want a substantial cut, roughly 1-inch (2.5cm) thick, to ensure the meat doesn’t overcook before the crust reaches a deep golden-brown. Thick breasts provide that glistening, juicy interior seen in the visual blueprint.
Parmigiano-Reggiano: Use freshly grated cheese rather than the canned variety; the high protein content creates the structural “peaks” in the crust that toast beautifully under heat. It acts as both a seasoning and a structural binder for the breading.
Panko Breadcrumbs: These Japanese-style crumbs are larger and airier than traditional crumbs, providing the “jagged” texture required for a truly crispy result. They absorb less oil, keeping the breading light rather than greasy.
High-Quality Marinara: A thick, deep-red sauce is crucial; a watery sauce will steam the crust and make it soggy. The sauce should be “tucked” under the cheese to protect the crispy integrity of the chicken’s edges.
Mozzarella and Provolone Blend: Mozzarella provides the classic melt, while provolone adds a sharper flavor and browns more effectively. This combination yields the charred brown spots and bubbling surface described in our visual prompt.
Fresh Flat-Leaf Parsley: Finely minced parsley adds a pop of herbaceous brightness that cuts through the richness of the cheese and fried crust. It must be fresh to provide the vibrant green contrast against the deep red sauce.
Red Chili Flakes and Coarse Black Pepper: These are the finishing “spices of life” that provide a controlled heat and a gritty, professional texture to the final presentation. The coarse grind of the pepper is essential for visual impact.
Foundational Fats: A mixture of neutral oil (for its high smoke point) and a pat of butter (for flavor and browning) ensures the Maillard reaction is firing on all cylinders during the sear.
Tools for Achieving Restaurant-Quality Results
The most critical tool is a 12-inch (30cm) seasoned cast iron skillet. The heavy bottom prevents hot spots and allows for an even, golden-brown crust across the entire surface of the chicken. You will also need a set of shallow dredging bowls to organize your flour, egg wash, and cheese-crumb mixture efficiently.
A wire cooling rack set over a baking sheet is a secret weapon; if you are making multiple batches, placing the seared chicken on a rack prevents the bottom from steaming and softening. Lastly, a sharp chef’s knife is non-negotiable for achieving that “finely minced” parsley garnish that tops the dish.
Mastering the Crispy Parmesan Chicken Technique
Preparing the Chicken for Maximum Juiciness
Start by ensuring your chicken breasts are even in thickness. If one end is significantly thicker, gently pound it between two sheets of plastic wrap to about 1-inch (2.5cm) thickness. Season generously with salt and pepper at least 15 minutes before cooking; this allows the seasoning to penetrate the fibers, ensuring the chicken is flavorful to the core.
The Triple-Dredge System for a Jagged Crust
Set up three bowls: one with all-purpose flour, one with beaten eggs and a splash of water, and the third with a 50/50 mix of Panko and grated Parmesan. Dredge the chicken in flour, shaking off the excess, then dip in the egg. Finally, press the chicken firmly into the Parmesan-Panko mixture. Expert Tip: Press hard so the crumbs adhere in clusters, creating those jagged, extra-crispy peaks.
The Skillet Sear: Achieving Golden-Brown Perfection
Heat 2 tbsp (30ml) of oil in your cast iron skillet over medium-high heat until it shimmers. Carefully lay the chicken away from you into the pan. Do not move it for at least 3-4 minutes. You are looking for a deep, golden-brown color and a visible “crunch” at the edges. Flip once and cook for another 2-3 minutes to set the crust on the other side.
The Build: Sauce, Cheese, and the Broiler Finish
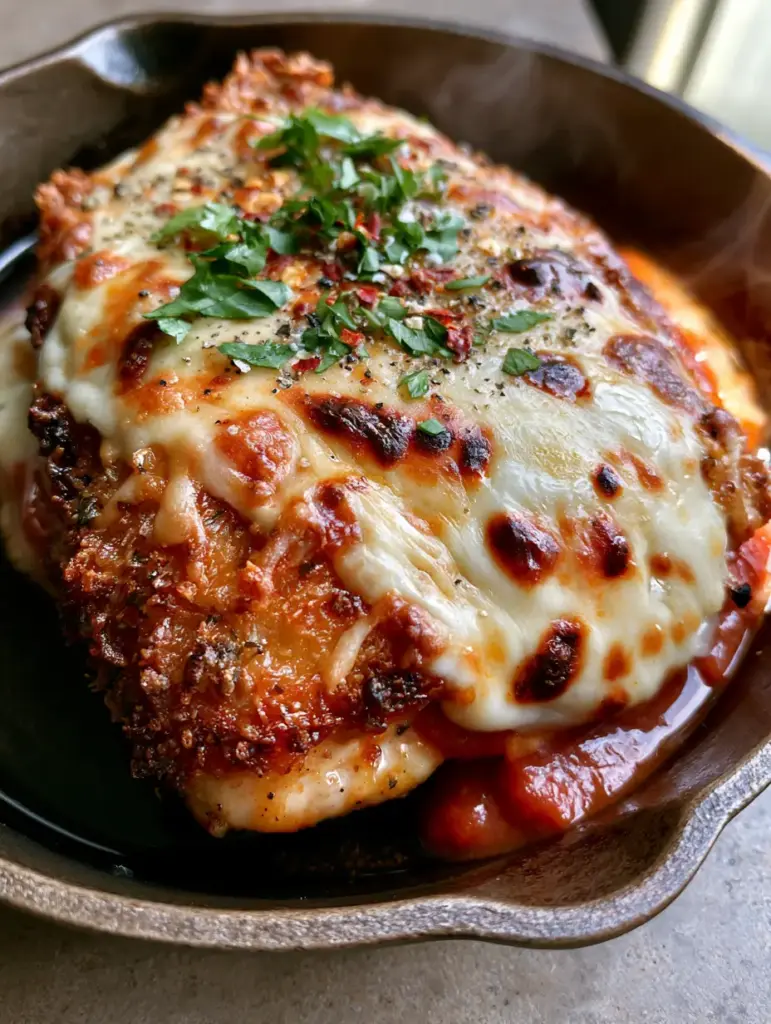
Once seared, spoon a thick layer of marinara over the center of each breast, leaving the very edges of the crust exposed to maintain their crunch. Top with a heavy blanket of the mozzarella and provolone blend. Move the skillet under a preheated broiler. Watch closely—you want the cheese to bubble and develop those characteristic charred brown spots within 2-3 minutes.
Expert Tips for Success
- Cold Cheese is Key: Use cold, shredded cheese for the topping. It takes longer to melt than room-temperature cheese, which gives the crust underneath more time to firm up without the cheese burning.
- Don’t Crowd the Skillet: If you put too many breasts in the pan at once, the temperature will drop, and the chicken will steam instead of fry. Cook in batches if necessary.
- The “Steam” Factor: To get that gentle steam rising in your final presentation, let the dish rest for exactly two minutes after pulling it from the broiler. This allows the internal juices to redistribute.
- Balanced Garnishing: Scatter the red pepper flakes and parsley from a height of about 10 inches. This ensures an even, professional distribution rather than clumps of garnish in one spot.
Serving Suggestions and Flavor Pairings
To keep the meal cohesive, consider serving this over a bed of al dente pasta or alongside a vibrant green side. If you love the combination of cheese and poultry, you might also enjoy my creamy parmesan orzo with chicken and asparagus for a one-pot alternative.
For those who prefer a lighter side to balance the rich, fried crust, a crispy cucumber feta salad provides a refreshing acidic contrast. If you’re looking for more skillet inspiration, my smothered chicken recipe offers a different take on comfort food excellence. And if you have leftover zucchini, this parmesan tomato zucchini bake mirrors the flavors of this dish perfectly.
Storage, Reheating, and Freezing
Storage: Keep leftovers in an airtight container in the refrigerator for up to 3 days. Note that the crust will naturally soften over time as it absorbs moisture from the sauce.
Reheating: Avoid the microwave! To revive the crunch, place the chicken in a toaster oven or air fryer at 350°F (175°C) for 5-8 minutes. This helps re-crisp the Parmesan crust while melting the cheese again.
Freezing: You can freeze the breaded (but uncooked) chicken breasts for up to 2 months. Cook directly from frozen, adding an extra 5-10 minutes to the oven time to ensure the center is fully cooked.
Frequently Asked Questions
Yes! Air fry the breaded chicken at 375°F (190°C) for 12-15 minutes, then add the sauce and cheese for the final 2 minutes. While you won’t get the same skillet-sear flavor, the crust remains incredibly crunchy.
The secret is to use a very thick, high-quality marinara and only apply it to the center of the chicken, leaving the edges of the crispy crust exposed. Additionally, broiling the cheese quickly ensures the sauce doesn’t have time to soak into the breading.
Don’t over-pound the chicken. Keeping it at a 1-inch thickness allows the exterior to get extra crispy in the cast iron skillet while the interior remains glistening and tender. Using a meat thermometer to pull it at 165°F (74°C) is also recommended.
Mozzarella provides the classic melt and stretch, but Provolone has a higher fat and protein content that helps create those beautiful charred brown spots and ‘toasted peaks’ seen in professional photos.
The Ultimate Crispy Parmesan Chicken Recipe
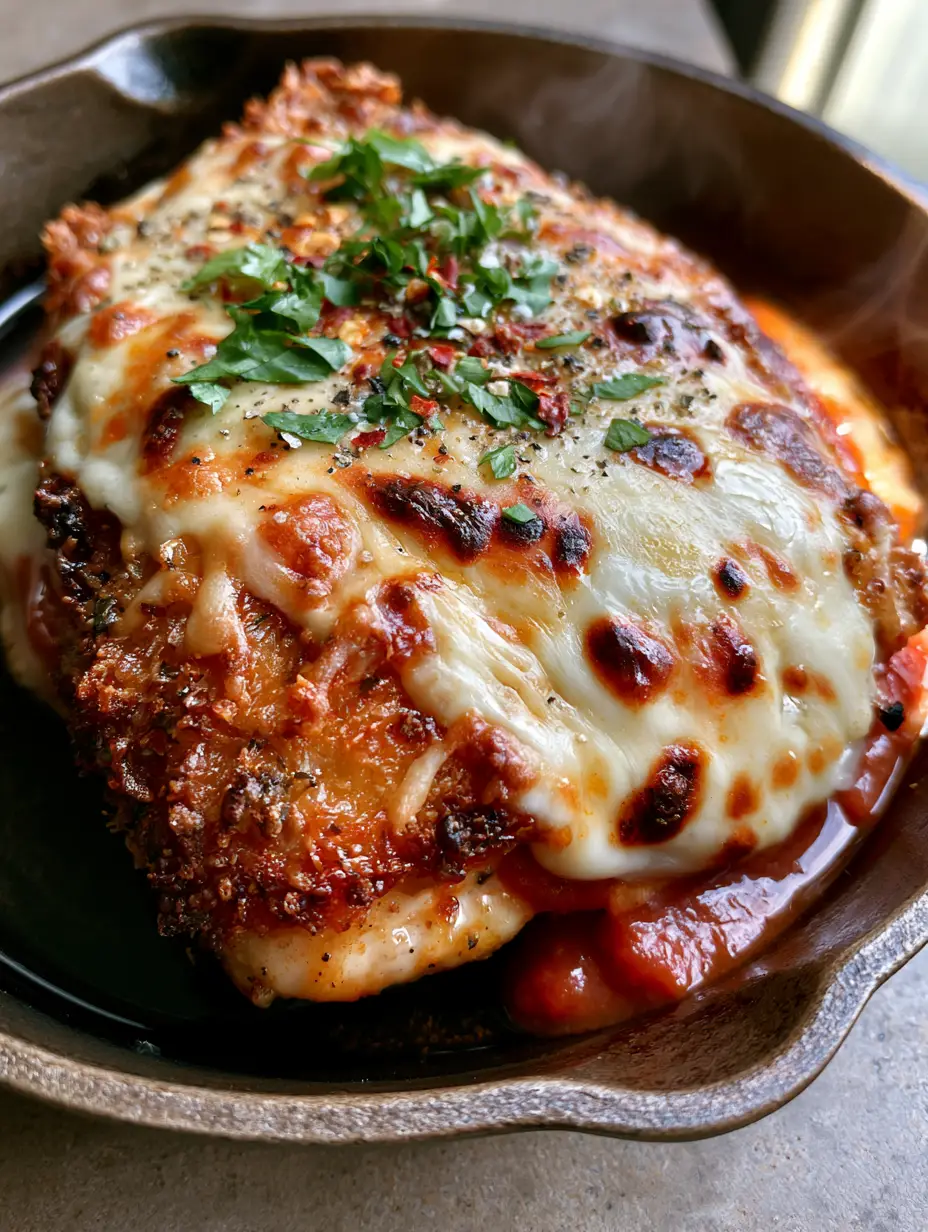
Crispy Parmesan Chicken with a Golden Skillet Crust
Ingredients
Equipment
Method
- Pound chicken breasts to a uniform 1-inch thickness and season both sides with coarse salt and black pepper.
- Coating in order: Flour, then Egg Wash, then the Panko-Parmesan mixture. Press the crumbs firmly into the meat to create clusters.
- Heat oil and butter in the cast iron skillet over medium-high until the butter foams and subsides.
- Place chicken in the skillet. Sear for 4 minutes per side until the crust is jagged and deep golden-brown.
- Top with thick marinara, followed by a heavy layer of mixed mozzarella and provolone cheese.
- Place the skillet under the broiler for 2-3 minutes until the cheese is bubbling with charred brown spots.
- Remove from heat, let rest for 2 minutes, then top with minced parsley, red pepper flakes, and coarse black pepper.
Notes
If the chicken is very thick, you can finish it in a 400°F (200°C) oven for 5 minutes before adding the cheese.
Join the Purely Home Cooked Kitchen
Creating this Crispy Parmesan Chicken is about more than just following steps; it’s about mastering the heat of the skillet and the timing of the broiler. Once you see those toasted cheese peaks and taste the jagged, salty crust, you’ll never go back to the standard version again. If you enjoyed this recipe, please leave a comment below and tell me how your crust turned out!
Don’t forget to snap a photo of your masterpiece and share it on Pinterest so others can see your culinary success. For more daily kitchen inspiration and behind-the-scenes tips, follow us on our social channels!


