When it comes to snackable perfection, Dill pickle saltines stand in a league of their own. These aren’t just your standard pantry crackers; they are transformed through a meticulous seasoning process into golden-brown treasures that offer a symphony of crunch and tang. Imagine a stack of crackers, held in your hand, glistening with a savory herb-infused oil glaze that promises a burst of flavor in every bite.
The visual appeal of these crackers is as striking as their taste. You will see a thick coating of vibrant green dried dill weed, fine granules of garlic powder, and sparkling coarse sea salt crystals resting on a base of crisp toasted flour. The edges are perfectly square and slightly browned, indicating a level of toastiness that ensures they never fall flat during your next gathering or late-night craving session.
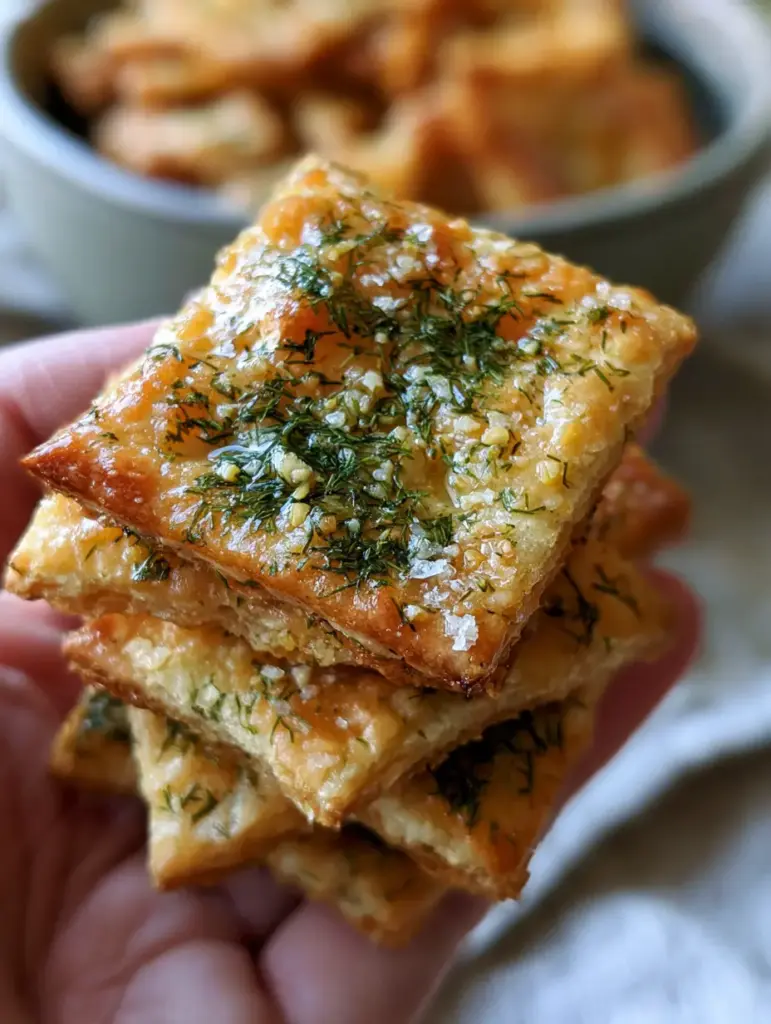
The Science of the Perfect Dill pickle saltines Crunch
Achieving the legendary texture of Dill pickle saltines requires an understanding of how moisture and heat interact with leavened flour crackers. The goal is to infuse the cracker with fats and aromatics without compromising the structural integrity of the laminated dough. By using a vegetable oil glaze instead of a water-based marinade, we ensure the crackers stay crispy rather than becoming soggy.
- Visual Texture: A deep golden-brown finish that signals a successful Maillard reaction.
- Flavor Profile: A complex blend of pungent garlic, sweet onion, and the signature tang of dried dill.
- Structural Integrity: A snap that is audible, thanks to a low-and-slow baking process that dehydrates the spices into the oil glaze.
- Aesthetic Appeal: A glistening surface that catches natural daylight, highlighting the coarse salt crystals.
The Pantry Staples for Briny, Bold Flavor
To recreate the visual and culinary masterpiece described in our blueprint, you need specific ingredients that fulfill both a functional and aesthetic role. Each component is chosen to build layers of flavor that mimic the experience of a fresh deli pickle without the moisture.
Saltine Crackers: You will need 2 sleeves (approx. 230g) of premium square saltines. These serve as the structural base, providing the neutral, salty canvas for our herb-infused oil glaze.
Vegetable Oil: Use 1 cup (240ml) of a neutral vegetable oil. This acts as the carrier for the spices, creating the glistening finish seen in high-quality food photography while ensuring the spices adhere to the cracker surface.
Dried Dill Weed: You need 3 tbsp (12g) of vibrant green dried dill weed. This is the primary visual and flavor driver, providing that herbaceous “pickle” essence that defines the dish.
Garlic and Onion Powder: Use 1 tsp (5g) of garlic powder and 1 tsp (5g) of onion powder. These fine granules meld into the oil, creating a savory foundation that lingers on the palate.
Coarse Sea Salt: Incorporate 1/2 tsp (3g) of sparkling coarse sea salt crystals. Unlike fine salt, these crystals provide a visual “pop” and bursts of salinity that elevate the toasted flour notes.
Red Pepper Flakes: Add 1/2 tsp (1g) of crushed red pepper flakes. This provides a subtle heat and a fleck of red color that contrasts beautifully with the green dill, much like a spicy vinegar-based side dish.
Essential Tools for Even Seasoning
To achieve the professional look of a stack of golden-brown seasoned saltine crackers, you need the right equipment. A large, gallon-sized resealable bag is the most effective tool for coating the crackers without breaking their square edges.
You will also need a large rimmed baking sheet lined with parchment paper. This allows the Dill pickle saltines to lay in a single layer, ensuring that the soft, bright natural daylight of your kitchen can help you monitor the “browning” process during the final toast.
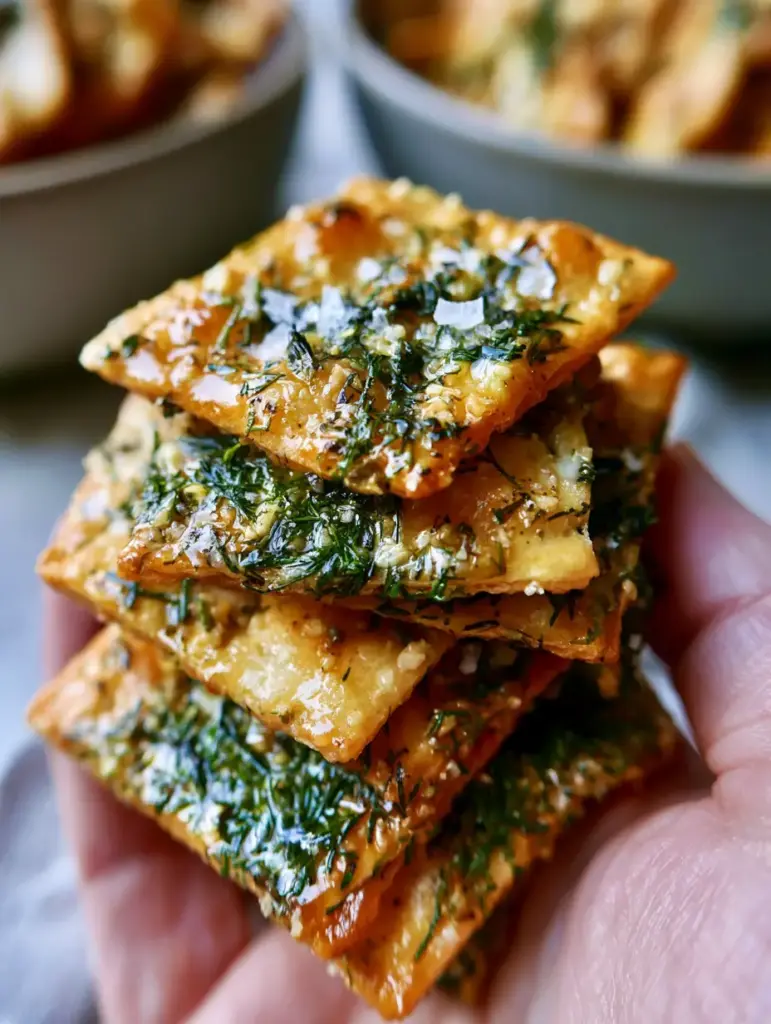
A Step-by-Step Guide to the Perfect Golden Toast
Infusing the Savory Herb Glaze
In a medium mixing bowl, whisk together the 1 cup (240ml) of vegetable oil with the dried dill weed, garlic powder, onion powder, sea salt, and red pepper flakes. You want to see the spices suspended in the oil, creating a vibrant green, aromatic slurry.
Allow the mixture to sit for 5 minutes. This “blooming” process ensures the oils in the dried dill weed are activated, which will later result in that glistening, herb-infused appearance captured in our macro photography prompts.
The Gentle Coating Technique
Place your crackers into the large resealable bag. Carefully pour the oil and spice mixture over the crackers. Seal the bag, leaving a bit of air inside to act as a cushion.
Slowly turn the bag over and over. Do not shake aggressively, as you want to maintain those perfectly square edges. Continue until every cracker is glistening with the oil glaze and the dill is evenly distributed across the surfaces.
Toasting for Maximum Crispness
Preheat your oven to 250°F (120°C). Arrange the seasoned crackers in a single layer on your prepared baking sheet. Any leftover oil in the bag can be drizzled over the top to ensure a thick coating.
Bake for 15-20 minutes. You are looking for a specific sensory cue: the crackers should transition from a pale cream to a deep golden brown. The smell of toasted garlic and dill will fill your kitchen, indicating the Dill pickle saltines are nearing completion.
Pro Tips for Culinary Excellence
- Control the Heat: Never rush the process with high heat. A low temperature ensures the oil doesn’t smoke and the dill weed retains its vibrant green color rather than turning black.
- The Resting Phase: Allow the crackers to cool completely on the baking sheet. As the oil cools, it “sets” onto the cracker, creating a dry-to-the-touch finish that still looks glistening and oily.
- Batch Consistency: If making multiple batches, always whisk the oil mixture between applications. The heavy salt crystals and garlic granules tend to settle at the bottom.
- Enhanced Tang: For an extra “pickle” punch, add 1/2 tsp (2g) of citric acid or a sprinkle of pickle juice powder to the dry mix.
Shelf Life and Storage Solutions
Dill pickle saltines are incredibly shelf-stable due to their low moisture content. Store them in an airtight container or a glass jar at room temperature. They will remain perfectly crispy for up to two weeks, making them an excellent make-ahead snack for parties.
Avoid storing them in the refrigerator, as the humidity can cause the crackers to lose their snap. If they do soften, a quick 5-minute flash in a 300°F (150°C) oven will revive that signature crunch and the sparkling appearance of the sea salt.
Creative Ways to Serve Your Dill pickle saltines
These crackers are versatile enough to stand alone, but they truly shine when paired with other textures. They are the perfect accompaniment to a refreshing dill cucumber salad, providing a crunchy contrast to the soft vegetables.
For a full meal, serve a stack of these golden-brown crackers alongside a savory beef bowl. The acidity of the dill notes cuts through the richness of the meat, cleaning the palate between bites. They also make a fantastic topping for soups, crushed roughly to add a seasoned flourish to a creamy bowl.
Commonly Asked Questions About Seasoned Crackers
Yes! You can air fry them at 250°F (120°C) for 5-8 minutes. Be sure to shake the basket gently halfway through to ensure the herb-infused oil glazes every square edge evenly.
While butter adds great flavor, the water content in butter can make the crackers soft over time. Vegetable oil is recommended for a long-lasting, glistening, and ultra-crispy finish.
The ‘pickle’ profile is achieved through a combination of dried dill weed, garlic, onion, and sea salt. For extra tang, you can add a pinch of citric acid or specialized pickle seasoning powder to the dry mix.
When stored in an airtight container at room temperature, these crackers stay perfectly crispy and flavorful for up to 14 days.
Sogginess usually occurs if the oven temperature is too low or if the crackers are crowded on the tray. Ensure they are in a single layer and bake until they reach a deep golden-brown color to fully dehydrate the oil glaze.
Mastering the Dill pickle saltines Recipe
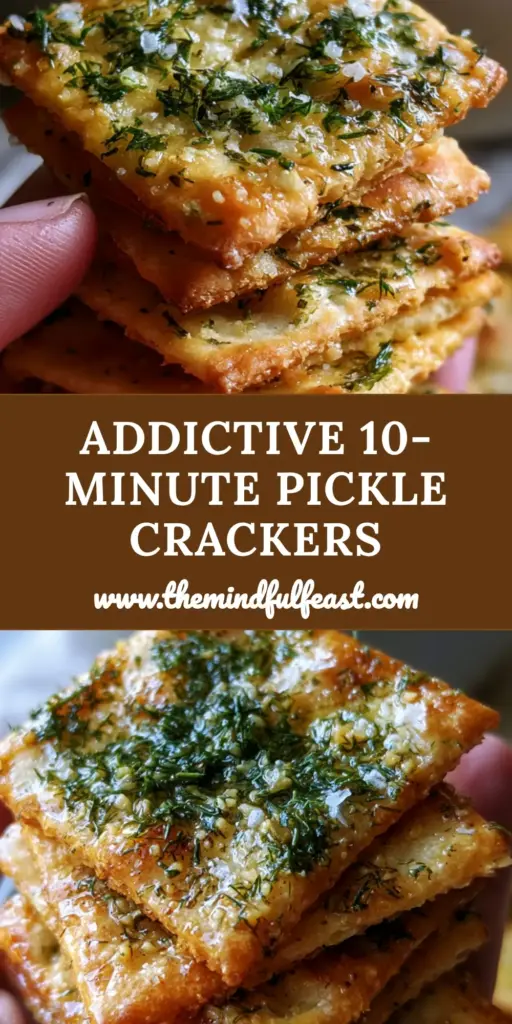
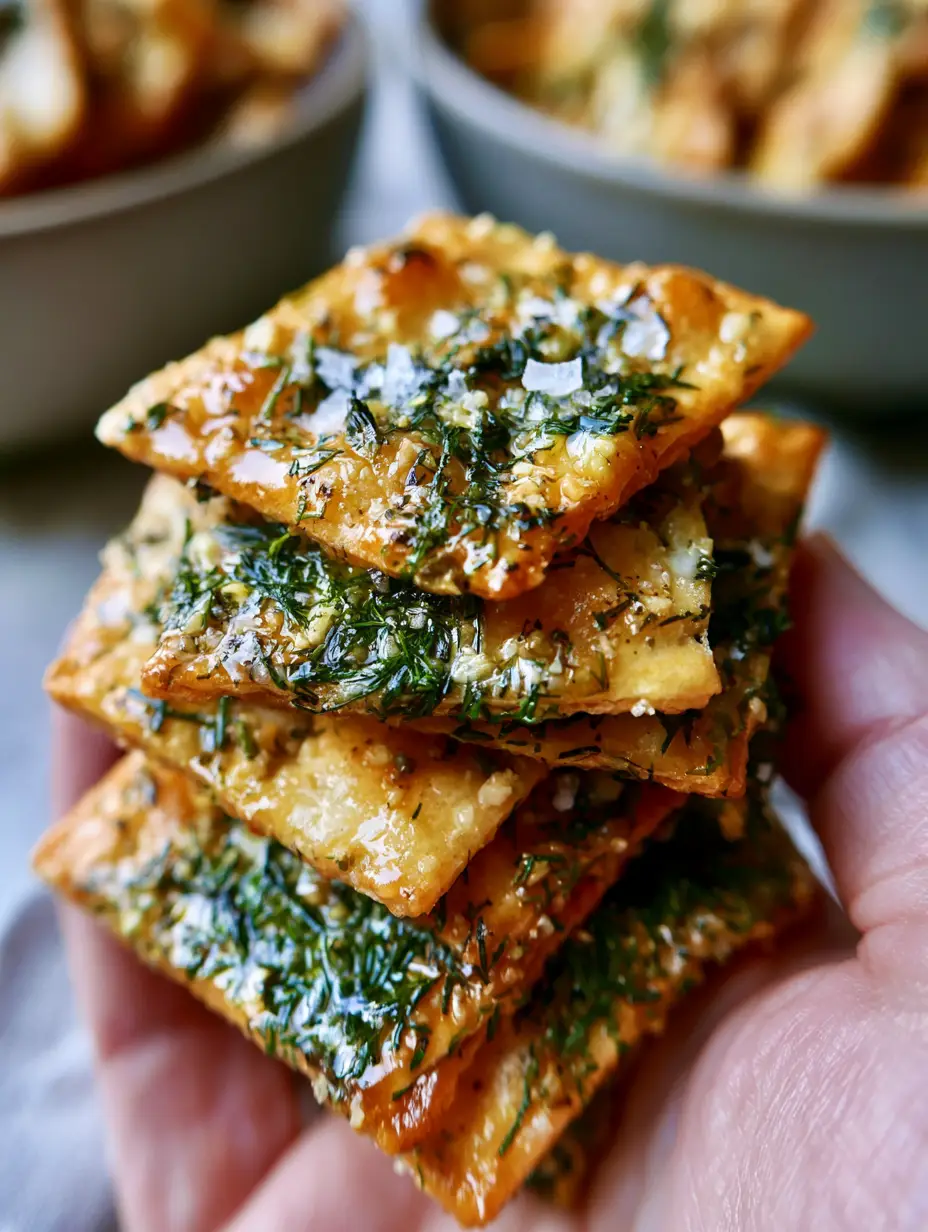
Dill pickle saltines: The Ultimate Crispy Seasoned Snack
Ingredients
Equipment
Method
- In a medium bowl, whisk together vegetable oil, dried dill, garlic powder, onion powder, sea salt, and red pepper flakes until well combined.
- Place saltines in a large gallon bag. Pour the oil mixture over the crackers. Seal and gently rotate the bag until all crackers are glistening and evenly coated.
- Spread the crackers in a single layer on a parchment-lined rimmed baking sheet.
- Bake at 250°F (120°C) for 15-20 minutes, or until the crackers have a golden-brown finish and the herbs are fragrant.
- Remove from the oven and let cool completely on the tray to allow the glaze to set for a crispy texture.
Notes
Store in an airtight container to maintain the signature snap.
Join the Purely Home Cooked Community
We hope you enjoy the incredible crunch and bold flavors of these Dill pickle saltines. Whether you’re serving them at a summer barbecue or enjoying them as a solo snack, they are sure to be a hit. If you enjoyed this recipe, please leave a comment below and share your results with us!
Don’t forget to follow us and pin this recipe to your favorite boards on Pinterest for easy access later. For more savory inspiration, check out our honey garlic beef rice bowl for your next dinner rotation!


