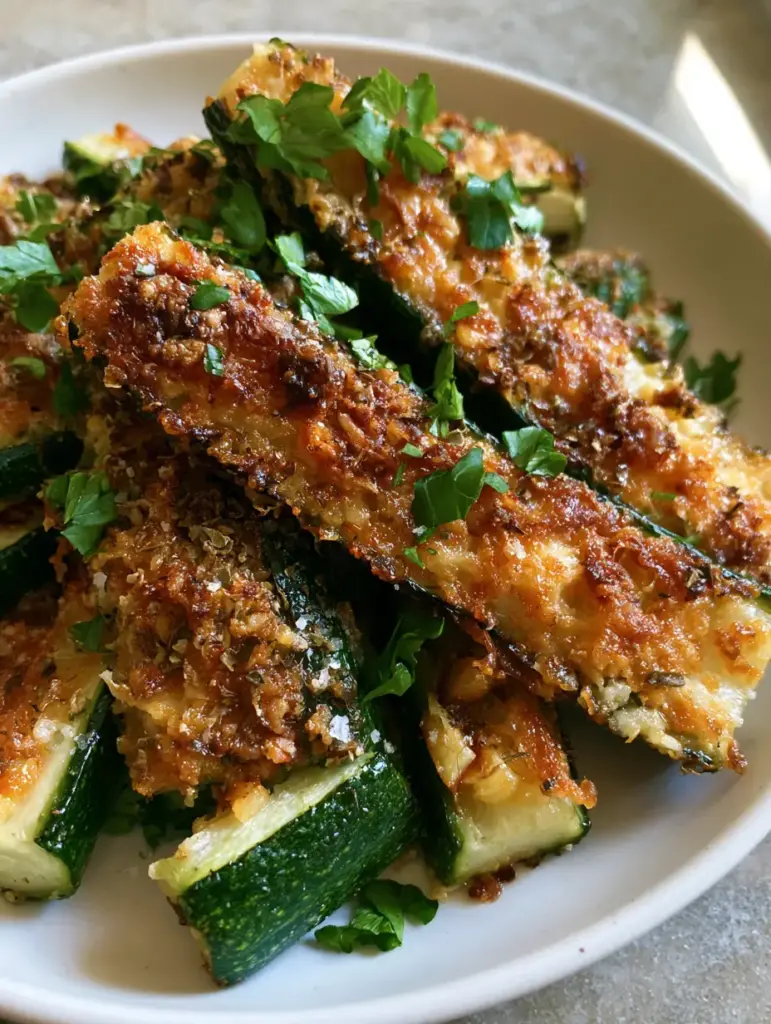
There is a specific, culinary magic that happens when high-heat roasting meets the humble squash, and this garlic parmesan roasted zucchini is the ultimate evidence. Imagine biting into a firm, dark green zucchini spear that gives way to a non-soggy, tender interior, all while being topped with a thick, bubbly, and toasted golden-brown parmesan crust that literally shatters in your mouth. This isn’t just a side dish; it’s a sensory experience designed to bridge the gap between healthy greens and indulgent comfort food.
Achieving that specific glisten of olive oil and the aromatic presence of roasted minced garlic bits requires more than just luck. It requires an understanding of moisture control and heat distribution. By following this method, you will produce zucchini that looks exactly like a high-end food photography shoot: vibrant, crispy, and layered with flakes of dried Italian seasoning and coarse sea salt.
Whether you are looking for a keto-friendly snack or a sophisticated accompaniment to a main protein, this recipe delivers on every promise. The visual contrast of the bright green flat-leaf parsley against the shattered cheese crust makes it a showstopper on any dinner table. Let’s dive into the science of the crunch.
The Structural Blueprint of Crispy Zucchini Perfection
- Shattered Crust Texture: We utilize a specific ratio of finely grated parmesan to create a cohesive, bubbly layer that crisps into a cracker-like topping rather than a greasy melt.
- Firm, Non-Soggy Interior: Through precise roasting temperatures, we ensure the zucchini maintains its structural integrity without becoming mushy or watery.
- Aromatic Layering: The combination of toasted minced garlic and dried Italian seasoning (oregano and basil) creates a flavor profile that is deeply savory and herbaceous.
- Visual Glisten: A light coating of high-quality olive oil acts as a heat conductor, ensuring the zucchini skin stays dark green while the cheese achieves a deep golden-brown hue.
The Essential Elements for Garlic Parmesan Roasted Zucchini
To achieve the result seen in professional food photography, every ingredient serves a dual purpose: flavor and texture. Do not skip the foundational elements, as they are the “invisible” workers that make the recipe succeed.
Zucchini (Courgettes): You will need 1.5 lbs (680g) of medium zucchini. Look for firm, dark green skins with no soft spots, as these contain the structural fiber needed to withstand the heat.
Finely Grated Parmesan: Use 1 cup (90g) of real parmesan cheese. The fine texture is crucial for creating that “shattered” crust appearance that covers the entire surface of the spear.
Extra Virgin Olive Oil: 2 tbsp (30ml) of oil is necessary to conduct heat and ensure the garlic doesn’t burn before the cheese is toasted. It provides that signature glisten seen in the light of a side window.
Fresh Garlic: 3 cloves (15g) of minced garlic provide the pungent, savory punch. These bits will toast into tiny brown jewels nestled within the cheese crust.
Dried Italian Seasoning: 1 tsp (2g) of a blend containing oregano and basil adds the dark flakes that provide visual and flavor depth. This is a key component of the visual recipe blueprint.
Coarse Sea Salt: 1/2 tsp (3g) of coarse salt is vital. Unlike table salt, coarse grains provide little bursts of seasoning and a professional finished look.
Fresh Flat-Leaf Parsley: 2 tbsp (8g) of freshly chopped parsley acts as the final garnish. The bright green color pops against the golden-brown crust for maximum visual appeal.
Necessary Culinary Tools for Roasting Success
Achieving the perfect garlic parmesan roasted zucchini requires the right equipment to manage airflow and heat. A standard rimmed baking sheet is essential, but for the absolute best results, a wire cooling rack placed inside the baking sheet allows hot air to circulate under the spears, preventing the dreaded soggy bottom.
You will also need a sharp chef’s knife to create uniform spears. Uniformity is not just for aesthetics; it ensures that every piece of zucchini cooks at the exact same rate. Finally, a microplane or fine grater is needed for the parmesan to ensure the cheese is light enough to bubble and crisp rather than clump.
Step-by-Step Evolution of the Gold Crust
Phase 1: Precision Prep and Moisture Management
Preheat your oven to 400°F (200°C). This high temperature is non-negotiable for achieving a sear on the skin while the cheese toasts. Line your baking sheet with parchment paper or a silicone mat for easy cleanup.
Wash and dry the zucchini thoroughly. Slice off the ends, then cut each zucchini in half lengthwise. Cut each half into 3 or 4 long spears, depending on the thickness of the squash. Pat the spears dry with a paper towel to remove any surface moisture that could lead to steaming.
Phase 2: The Infusion and Coating
In a small bowl, whisk together the olive oil, minced garlic, dried Italian seasoning, and a pinch of the coarse sea salt. In a separate wide dish, spread out your finely grated parmesan cheese. This two-step coating process ensures the flavor is locked in before the crust is applied.
Brush the flesh side of each zucchini spear with the oil and garlic mixture. Be sure to get those tiny bits of garlic onto the surface. Press the oiled side of the zucchini firmly into the parmesan cheese, ensuring a thick, even layer of cheese adheres to the top.
Phase 3: The High-Heat Roast
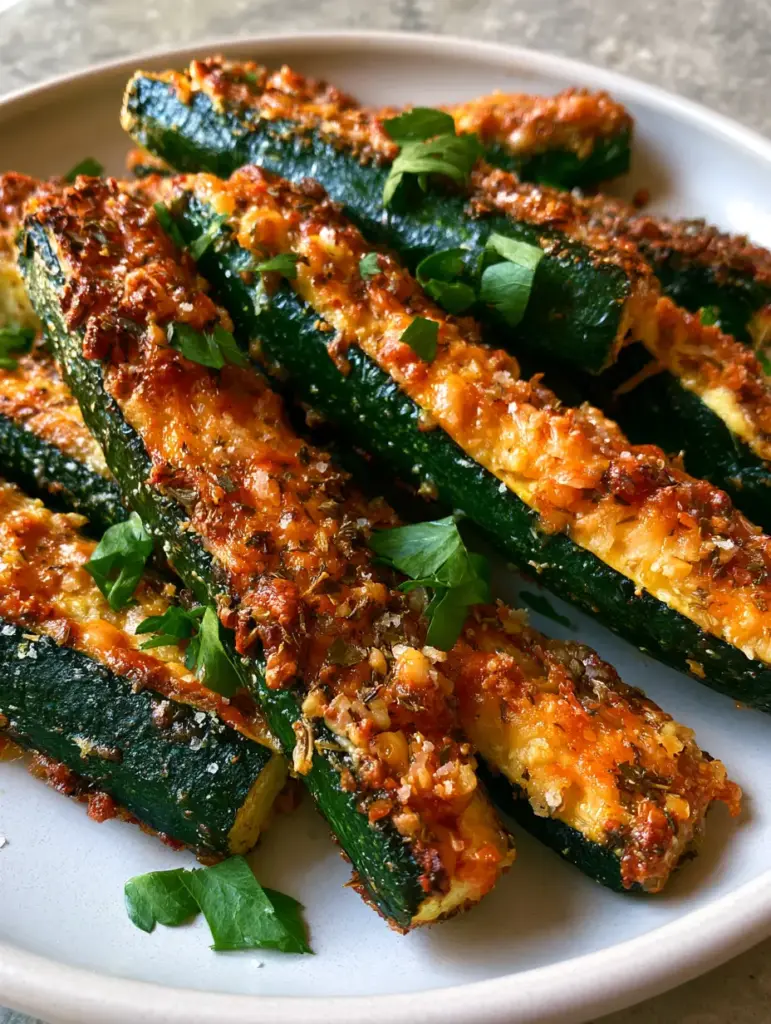
Arrange the zucchini spears on your prepared baking sheet, skin-side down, in an aesthetic pile or neat rows. Ensure they are not touching, as overcrowding creates steam. Roast for 15-18 minutes.
Watch for visual cues: the zucchini interior should be tender when pierced with a fork, but the skin must remain firm. For the final “shattered” look, turn on the broiler for the last 1-2 minutes. Stay focused—you are looking for the cheese to become bubbly and turn a deep, toasted golden-brown.
Phase 4: The Finishing Touches
Remove the tray from the oven. You will see a light glisten of oil and tiny toasted garlic bits. Immediately sprinkle the remaining coarse sea salt over the hot spears to allow the grains to adhere.
Garnish with a generous scattering of freshly chopped flat-leaf parsley. The heat from the zucchini will slightly wake up the aroma of the parsley, providing a fresh contrast to the rich, salty parmesan. Serve immediately on a matte ceramic plate to maintain the crunch.
Expert Tips for the Ultimate Crunch
- The Grate Factor: Never use the “shaker bottle” parmesan. The cellulose added to pre-grated cheese prevents it from melting and shattering into that beautiful crust we desire.
- Size Matters: Choose small to medium zucchini. Larger ones have a higher water content and larger seeds, which leads to a softer, soggier result.
- The Broiler Watch: When finishing under the broiler, do not walk away. The transition from golden-brown to burnt happens in seconds.
- Space is Key: If you are doubling the recipe, use two baking sheets. If the spears are too close, they will boil in their own juices rather than roast.
Creative Pairings for Your Zucchini Masterpiece
This garlic parmesan roasted zucchini is incredibly versatile and pairs beautifully with a variety of textures. If you are keeping things light, serve it alongside a tender garlic butter mahi mahi or a piece of crispy air fryer cod.
For a heartier meal, these spears act as a perfect low-carb substitute for fries when served with a savory garlic butter steak bowl (coming soon). If you love the flavor profile of the topping, you might also enjoy experimenting with a similar crust on classic zucchini parmesan or even incorporating these flavors into savory parmesan zucchini muffins.
Preserving the Texture: Storage and Reheating
While this dish is best enjoyed fresh from the oven to appreciate the shattered crust, you can store leftovers in an airtight container in the refrigerator for up to 3 days. Note that the zucchini will soften as it sits.
To reheat and reclaim the crunch, avoid the microwave at all costs. Instead, place the spears back in a 400°F (200°C) oven or an air fryer for 3-5 minutes until the cheese begins to sizzle again. Freezing is not recommended for this recipe, as the cellular structure of the zucchini will collapse, resulting in a mushy texture upon thawing.
Frequently Asked Questions
Yes! Cook the spears at 400°F in a single layer for 8-10 minutes. The air fryer’s circulation is excellent for creating a crispy parmesan crust.
It is not recommended. Pre-grated cheese contains anti-caking agents that prevent it from melting and forming the ‘shattered’ golden crust seen in this recipe.
No, you should keep the skin on. The dark green skin provides the necessary structure to keep the spears firm during the high-heat roasting process.
To prevent sogginess, roast at a high temperature (400°F+), avoid overcrowding the pan, and pat the zucchini spears completely dry before adding oil and cheese.
Absolutely. This recipe uses only zucchini, cheese, oil, and spices, making it a very low-carb, high-flavor side dish perfect for a ketogenic diet.
The Ultimate Garlic Parmesan Roasted Zucchini Recipe
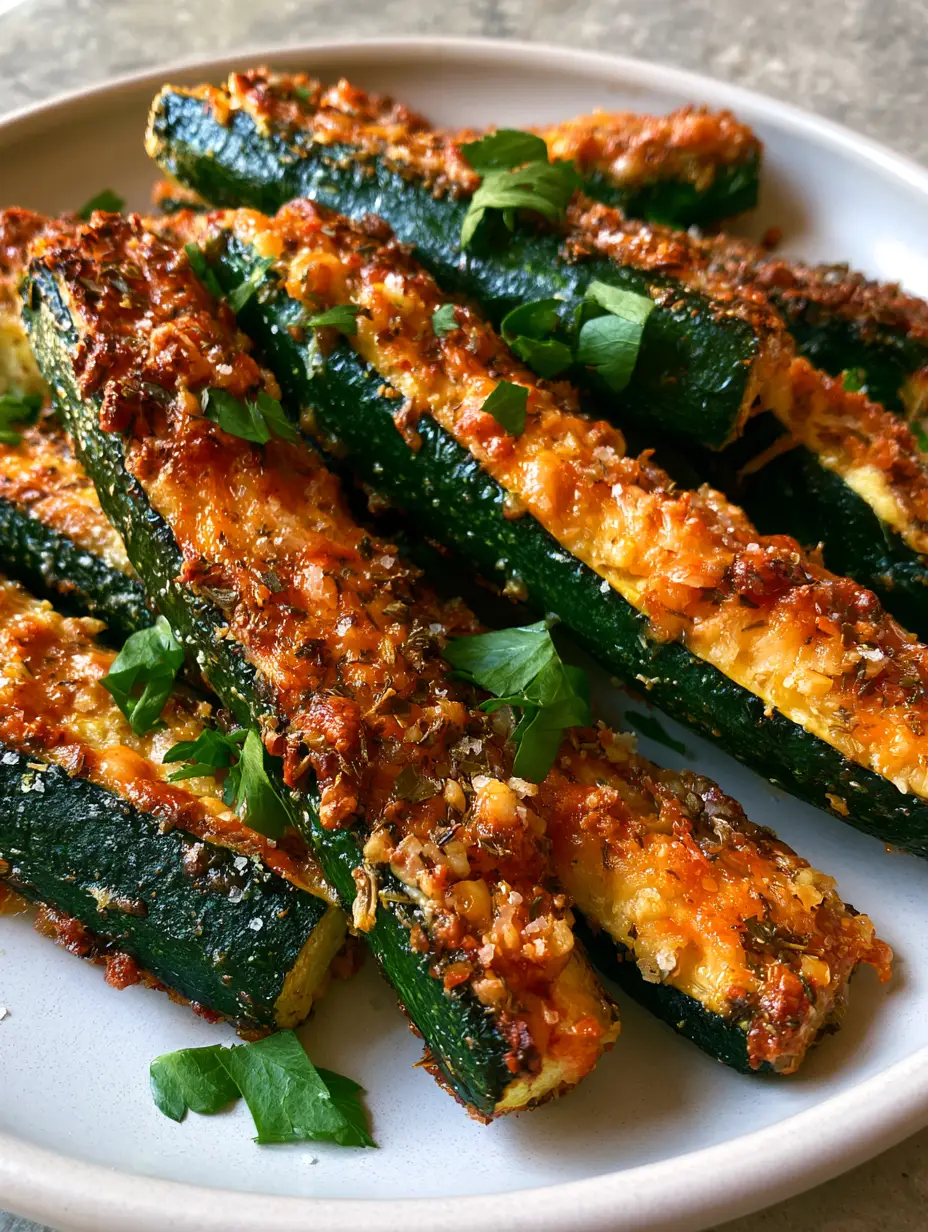
Garlic Parmesan Roasted Zucchini with a Shattered Gold Crust
Ingredients
Equipment
Method
- Preheat your oven to 400°F (200°C) and line a baking sheet with parchment paper.
- Cut zucchini into uniform spears and pat dry with paper towels to remove moisture.
- Whisk olive oil, garlic, and herbs. Brush onto the flesh side of the zucchini spears.
- Press the oiled side of the zucchini into the finely grated parmesan until a thick layer adheres.
- Roast for 15-18 minutes at 400°F. Broil for the final 1-2 minutes until the crust is shattered and golden-brown.
Notes
Ensure the zucchini is dry before oiling to prevent sogginess.
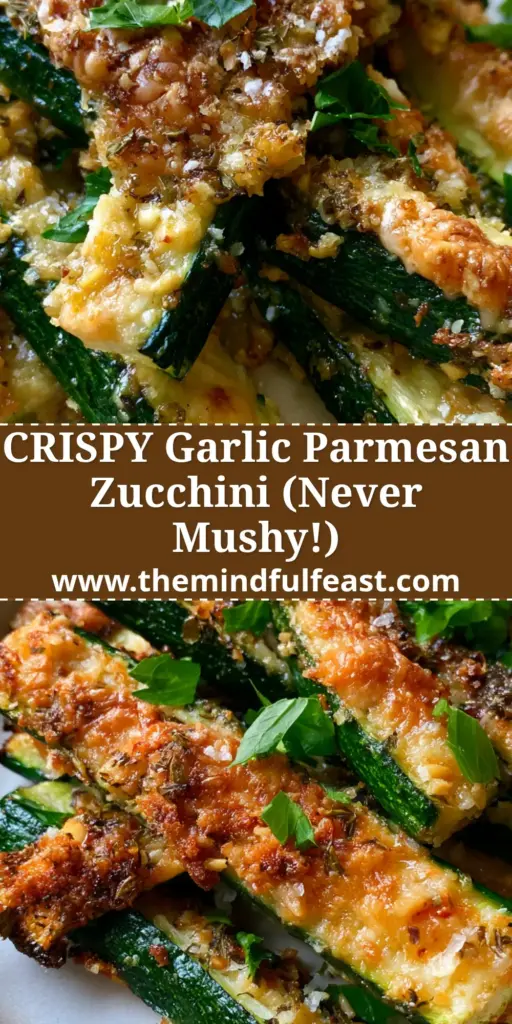
Closing & Call to Action
Mastering the garlic parmesan roasted zucchini is a milestone for any home cook looking to elevate their vegetable game. The combination of the bubbly, toasted crust and the vibrant, firm squash proves that healthy eating never has to be boring. The contrast of the coarse sea salt and fresh parsley against the dark green skins makes this dish as beautiful as it is delicious.
If you enjoyed this recipe, please leave a comment below and let us know how your crust turned out! Don’t forget to sign up for our newsletter for more culinary deep-dives. You can also save this recipe to your favorite boards by following us on Pinterest.