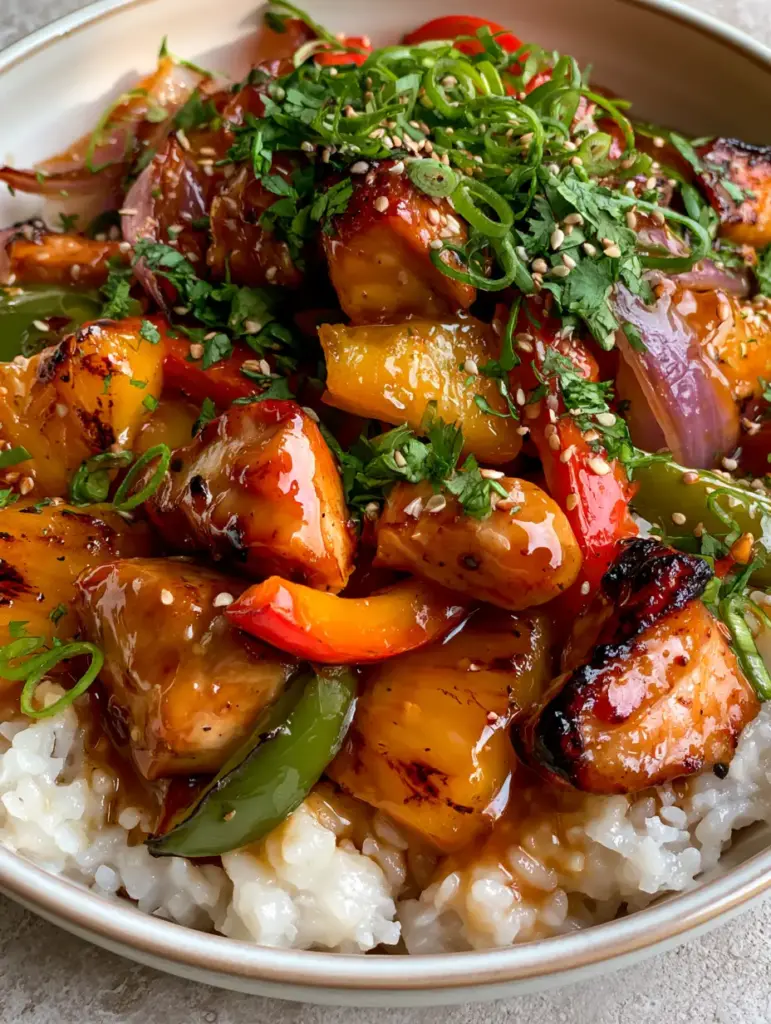
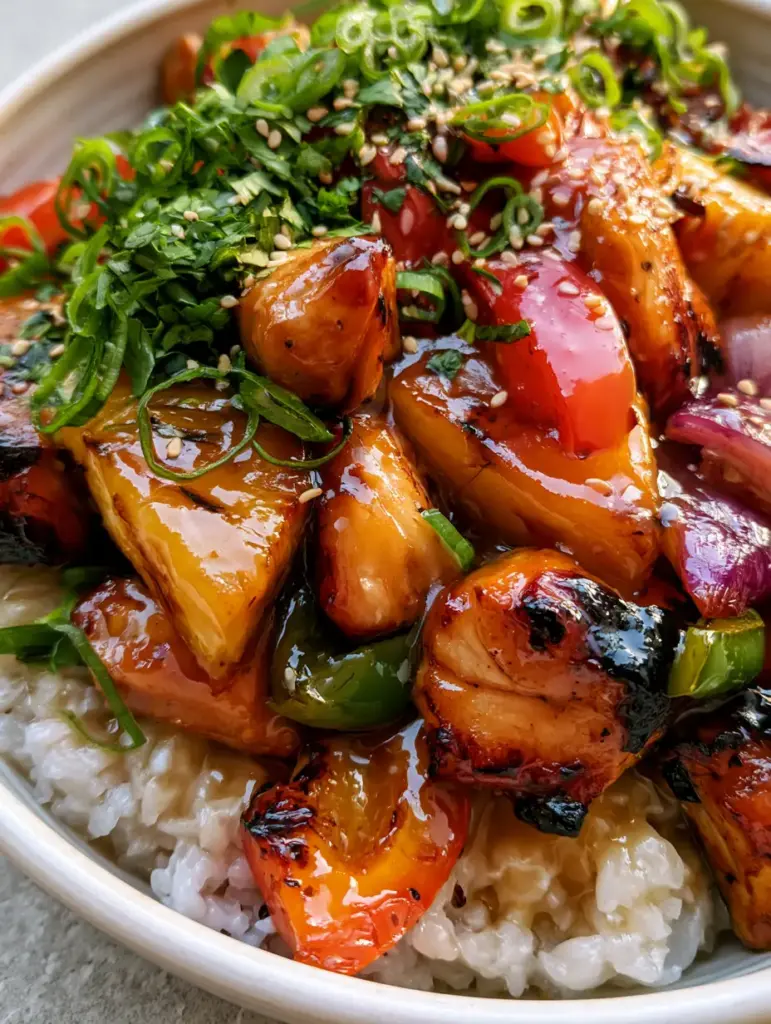
There is nothing quite like the vibrant, sun-drenched flavors of a perfectly executed Hawaiian chicken with coconut rice. Imagine sinking your fork into a bowl where pearlescent, fluffy coconut rice meets chicken cubes so deeply seared they boast caramelized, golden-brown edges. This isn’t just a meal; it is a sensory journey through the islands, balanced by a thick, translucent amber pineapple glaze that clings to every morsel.
When you look at a professional food photograph, you notice the details: the blistered skin of the peppers, the subtle grill marks on the pineapple, and the way light catches the glossy sauce. We are going to replicate that exact high-end restaurant experience in your home kitchen. This recipe focuses on technical precision—from the Maillard reaction on the poultry to the specific moisture content of the rice—ensuring your final dish looks exactly like a meticulously styled smartphone photo.
Why This Island-Inspired Bowl Works Every Single Time
- Textural Contrast: You get the soft, pillowy foundation of coconut-infused jasmine rice against the firm, caramelized exterior of the chicken breast.
- Balanced Flavor Profile: The sweetness of the charred pineapple chunks is cut by the savory depth of soy sauce and the aromatic heat of fresh ginger.
- Visual Brilliance: The contrast between the vibrant blistered red and green bell peppers and the white sesame seeds makes this a “feast for the eyes” before the first bite.
- Professional Glaze Consistency: We use a specific cornstarch slurry technique to ensure an amber-colored pineapple glaze that is glossy, not gummy.
The Anatomy of Perfect Hawaiian Chicken with Coconut Rice
Success in the kitchen starts with understanding your components. For this Hawaiian chicken with coconut rice, every ingredient serves a dual purpose: flavor and visual structure. We don’t just add oil; we use high-smoke-point fats to achieve that signature sear without scorching the sugars in the pineapple juice.
Long-Grain Jasmine Rice: 1.5 cups (300g). We use jasmine for its natural floral aroma, which complements the coconut milk perfectly. Its lower starch content compared to short-grain rice ensures each grain remains distinct and “fluffy.”
Full-Fat Coconut Milk: 1 can (400ml). This provides the “pearlescent white” sheen mentioned in our visual blueprint. The fats in the milk coat the rice grains, creating a rich, creamy mouthfeel that water alone cannot achieve.
Chicken Breast Cubes: 1.5 lbs (680g). Cut these into uniform 1-inch pieces. Consistency in size is the secret to ensuring every piece hits that “golden-brown” stage at the exact same time.
Pineapple Juice: 1 cup (240ml). This is the base of our amber glaze. It provides the acidity needed to tenderize the chicken and the natural sugars needed for caramelization.
Bell Peppers (Red & Green): 1 each, sliced into strips. These are essential for the “blistered” visual. We cook them over high heat briefly so they retain their vibrant color while developing smoky, charred spots.
Fresh Pineapple Chunks: 2 cups (330g). While canned works in a pinch, fresh pineapple holds its structure better under the high heat required to get those distinct grill marks.
Aromatic Foundation: 1 tbsp (15g) fresh grated ginger and 3 cloves of minced garlic. These “invisible” ingredients provide the aromatic backbone that elevates the dish from simple to sophisticated.
If you enjoy these tropical profiles, you might also love our Honey Lime Chicken Avocado Rice Stack for another vibrant, citrus-forward dinner option.
Essential Tools for Culinary Success
To achieve the “handheld smartphone photo” quality plating, you need the right heat distribution. A heavy-bottomed cast iron skillet or a high-quality stainless steel pan is non-negotiable for the chicken. These materials retain heat, allowing for the “deeply seared caramelized edges” we are looking for.
You will also need a fine-mesh strainer to rinse your rice. Rushing this step leads to gummy rice, which destroys the “fluffy foundation” required for this bowl. A sharp chef’s knife is also vital for creating those clean “thin curls of green onion” that serve as our final garnish.
Mastering the Char: Step-by-Step Instructions
Phase 1: Achieving Pearlescent Coconut Rice
First, rinse 1.5 cups (300g) of jasmine rice under cold water until the water runs clear. In a medium saucepan, combine the rinsed rice, 1 can (400ml) of full-fat coconut milk, 0.5 cups (120ml) of water, and 0.5 tsp (3g) of kosher salt.
Bring the mixture to a gentle boil, then immediately reduce the heat to the lowest setting. Cover with a tight-fitting lid and simmer for 15 minutes. Once done, remove from heat but keep the lid on for another 10 minutes. This steam-finishing is what creates the “visible moisture” and “fluffy” texture seen in professional food styling.
Phase 2: The High-Heat Sear and Blister
While the rice steams, heat 2 tbsp (30ml) of avocado oil in your skillet over medium-high heat. Season your chicken cubes generously with salt and pepper. Add them to the pan in a single layer—do not crowd the pan, or the chicken will steam instead of sear.
Look for the visual cue: the edges should turn a deep, golden brown and pull away from the pan easily after about 3-4 minutes. Flip and cook for another 3 minutes. Remove the chicken and set aside. In the same pan, add the red and green bell peppers and the red onion wedges. Cook over high heat until the skins of the peppers are “blistered” and the onions are softened but still hold their shape.
Phase 3: Crafting the Amber Pineapple Glaze
In a small bowl, whisk together 1 cup (240ml) pineapple juice, 0.25 cup (60ml) soy sauce, 2 tbsp (30g) brown sugar, and the ginger and garlic. Pour this into the hot skillet. As it begins to bubble, whisk in a slurry of 1 tbsp (8g) cornstarch and 1 tbsp (15ml) water.
Watch for the transformation: the liquid will turn from a thin juice into a “thick, translucent amber-colored” glaze. Return the chicken and the grilled pineapple chunks to the pan, tossing them until they are completely coated in the glossy sauce. The sauce should be thick enough to coat the back of a spoon.
Expert Tips for Visual and Flavor Precision
- The Rice Rinse: Do not skip rinsing. Removing surface starch is the only way to get individual, pearlescent grains.
- The Sizzle Factor: If you don’t hear a loud hiss when the chicken hits the pan, it isn’t hot enough. No hiss means no caramelization.
- Garnish for Height: When adding the “thin curls of green onion” and “chopped fresh cilantro,” drop them from about 6 inches above the bowl. This creates a natural, airy pile rather than a clump.
- Dry the Chicken: Use a paper towel to pat the chicken completely dry before searing. Moisture is the enemy of a golden-brown crust.
For those nights when you want something just as comforting but with a different flavor profile, check out our Southern Smothered Chicken or our Roasted Chicken Dinner Bowls.
Storage, Reheating, and Meal Prep Advice
This Hawaiian chicken with coconut rice is an excellent candidate for meal prep. Store the coconut rice and the glazed chicken in airtight containers for up to 4 days in the refrigerator. The coconut rice may firm up when cold due to the coconut fats; to reheat, add a teaspoon of water and cover loosely to allow it to steam back to its fluffy state.
We do not recommend freezing the blistered bell peppers, as they will lose their crisp-tender texture upon thawing. However, the chicken and glaze freeze beautifully for up to 3 months.
Perfect Pairings for Your Hawaiian Feast
To round out this tropical meal, consider serving it alongside a crisp, acidic slaw to cut through the richness of the coconut milk. If you are looking for more chicken-based inspirations to add to your weekly rotation, our Chicken Zucchini Bake offers a lighter, Mediterranean twist that complements the hearty nature of these bowls.
For a surf-and-turf style dinner party, you could even pair these flavors with our Garlic Butter Shrimp and Rice. The buttery garlic notes of the shrimp act as a wonderful bridge to the sweetness of the pineapple glaze.
Frequently Asked Questions
Absolutely. Chicken thighs have a higher fat content and are more forgiving. They will take slightly longer to sear but will result in a very juicy ‘Hawaiian chicken with coconut rice’ experience.
Coconut cream is much thicker and has a higher fat content. While it will make the rice very rich, you will likely need to increase the water ratio to ensure the rice grains cook through without becoming too oily or heavy.
The key is high heat and a dry pan (or very little oil). Let the peppers sit undisturbed for 1-2 minutes until the skin begins to bubble and blacken slightly before tossing them.
Slice the green onions very thinly on a sharp bias, then immediately place them in a bowl of ice water for 5-10 minutes. The cold shock causes them to curl into the elegant shapes seen in professional food styling.
A cloudy glaze usually means the cornstarch hasn’t cooked long enough or the temperature wasn’t high enough. Ensure the sauce reaches a full simmer after adding the slurry to activate the starch’s thickening and clarifying properties.
The Complete Hawaiian Chicken with Coconut Rice Recipe
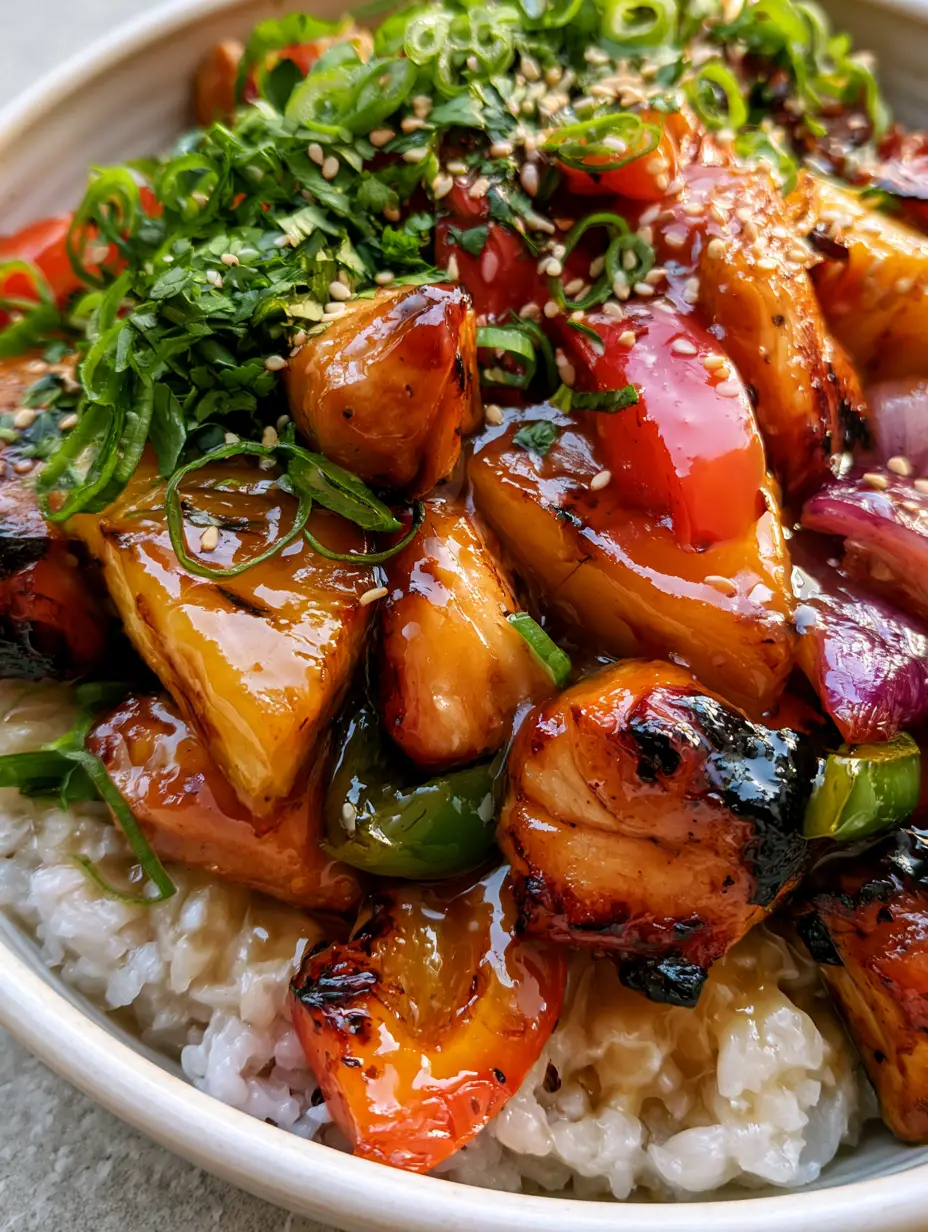
Hawaiian Chicken with Coconut Rice: The Ultimate 30-Minute Tropical Bowl
Ingredients
Equipment
Method
- Rinse jasmine rice until water is clear. Combine rice, coconut milk, water, and salt in a saucepan.
- Bring to a boil, then cover and simmer on low for 15 minutes. Let sit off-heat for 10 minutes before fluffing.
- Heat oil in a skillet. Sear chicken cubes until golden brown and caramelized. Remove from pan.
- In the same pan, cook bell peppers and red onion until blistered and softened. Add pineapple chunks to char.
- Whisk juice, soy sauce, sugar, ginger, and garlic in the pan. Add cornstarch slurry and stir until thick and amber.
- Toss chicken and veggies in the glaze. Serve over coconut rice with cilantro, green onions, and sesame seeds.
Notes
Pat the chicken dry with paper towels to achieve the best golden-brown sear.
Bring the Tropics to Your Table
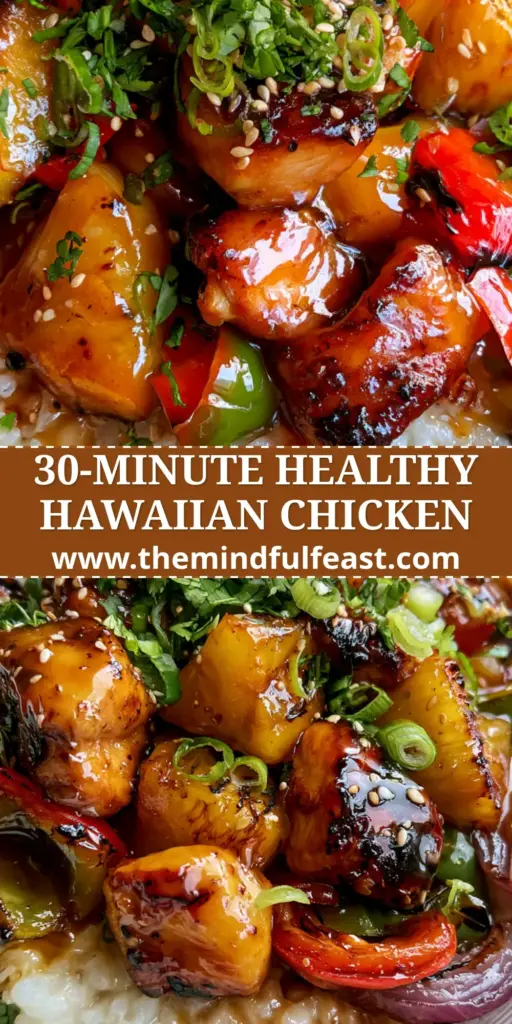
This Hawaiian chicken with coconut rice is more than just a quick dinner; it’s a testament to how simple ingredients, when treated with the right culinary techniques, can create a restaurant-quality experience. The balance of the “glossy amber glaze” and the “fluffy coconut rice” is a guaranteed crowd-pleaser that will have your family asking for seconds.
If you enjoyed this recipe, please leave a comment below and let us know how your sear turned out! Don’t forget to follow us and share your creations on Pinterest. Your support helps us continue to develop these detailed culinary guides!