The Hawaiian Chicken Sheet Pan is the ultimate intersection of tropical brightness and savory umami, designed for the modern home cook who refuses to sacrifice flavor for convenience. Imagine bite-sized chicken thighs seared to a deep golden-brown, nestled against wedges of fresh pineapple that boast dark, smoky grill marks.
This isn’t just another tray bake; it is a visual masterpiece featuring vibrant red and green bell peppers blistered to perfection and translucent petals of caramelized red onion. Every element is brought together by a thick, glossy, translucent amber teriyaki glaze that clings to every surface, catching the light like culinary gold.
Whether you are looking for a new essential weeknight chicken dinner or a meal-prep solution that actually tastes better the next day, this recipe delivers professional results with minimal cleanup. The contrast of the toasted white sesame seeds and the burst of fresh green cilantro creates a sensory experience that feels like a vacation on a plate.
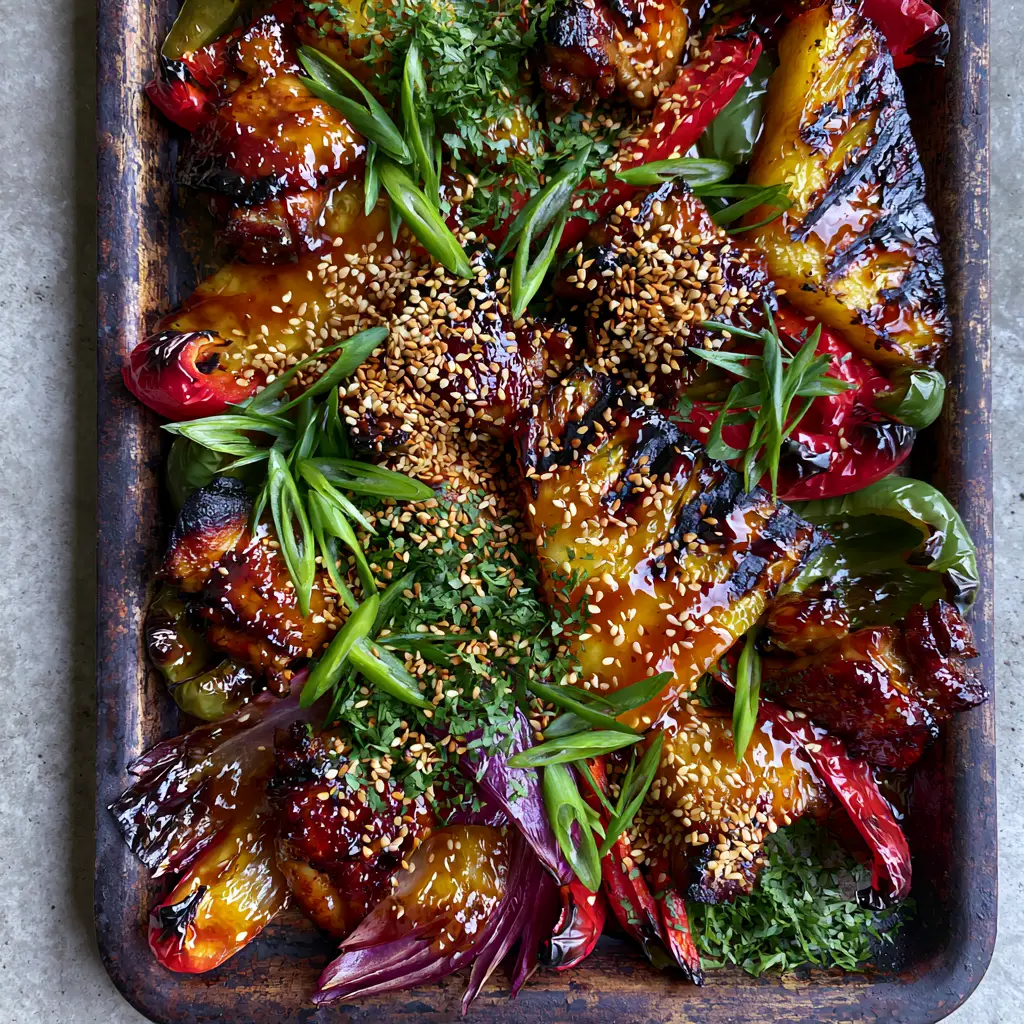
Why This Tropical Tray Bake Works Every Single Time
- Textural Contrast: You get the crunch of blistered peppers, the softness of caramelized onions, and the juicy snap of seared chicken in every single forkful.
- The “Amber Glaze” Factor: Unlike thin store-bought sauces, our homemade reduction creates a thick, glossy coating that mirrors the high-end look of a sticky bourbon chicken recipe.
- Maillard Magic: By roasting at a high temperature, we achieve those specific dark caramelized grill marks on the pineapple and charred tips on the peppers described in our visual blueprint.
- Color Palette: The bright greens of the scallions and cilantro against the deep reds and ambers make this a visually stunning dish that looks exactly like a professional food photograph.
The Anatomy of a Perfect Hawaiian Chicken Sheet Pan
To achieve the specific visual cues of seared edges and blistered skins, we must select ingredients that can withstand high heat without turning to mush. Here is what you will need for this culinary project.
Boneless Skinless Chicken Thighs: Thighs are essential here because they contain enough fat to sear into deep golden-brown chunks without drying out, unlike breast meat. Cut them into uniform 1-inch (2.5cm) pieces for even cooking.
Fresh Pineapple Wedges: Do not use canned pineapple for this recipe; the high water content prevents the formation of those dark caramelized char marks we are looking for. Fresh fruit has the structural integrity to stand up to the oven’s intense heat.
Red and Green Bell Peppers: Sliced into thick strips, these provide the “vibrant” visual element. We want them to soften just enough so the tips begin to char, adding a subtle bitterness to balance the sweet glaze.
Red Onion: When sliced into “petals” (thick wedges), red onions become translucent and sweet as they roast, providing a beautiful purple hue that complements the amber sauce.
The Glaze Base: A combination of soy sauce, honey, fresh ginger, and garlic creates the foundation. A small amount of cornstarch is the “invisible” ingredient that ensures the glaze is translucent and thick rather than watery.
Aromatic Garnishes: Toasted white sesame seeds provide a nutty crunch, while finely sliced scallions and chopped cilantro offer a fresh, herbal finish that cuts through the richness of the teriyaki.
Essential Tools for Sheet Pan Success
Achieving the “dark, rustic sheet pan” look requires the right equipment to facilitate heat distribution and airflow. Using a thin, flimsy cookie sheet will result in steaming rather than searing.
You will need a heavy-duty, rimmed half-sheet pan. A darker pan actually helps with browning, which is ideal for achieving those seared chicken edges. A small saucepan is also required to reduce the glaze until it reaches that signature amber thickness.
Finally, ensure you have a sharp chef’s knife for precision. Slicing the green scallions into paper-thin rounds and finely dusting the cilantro flakes is key to the final presentation confirmed in our visual blueprint.
How to Master the Ultimate Hawaiian Chicken Sheet Pan
Phase 1: Preparing the Ingredients for Maximum Char
Preheat your oven to 425°F (220°C). This high temperature is non-negotiable; it is the secret to blistering the peppers and charring the pineapple before the chicken overcooks.
Pat the chicken thigh chunks bone-dry with paper towels. Moisture is the enemy of the sear; if the chicken is wet, it will steam rather than develop those deep golden-brown edges we see in the smartphone photo.
Phase 2: Building the Amber Teriyaki Glaze
In a small saucepan, whisk together 1/2 cup (120ml) soy sauce, 1/4 cup (85g) honey, 1 tbsp (15g) grated ginger, and 2 cloves of minced garlic. Bring to a simmer over medium heat.
Mix 1 tsp (3g) of cornstarch with a splash of water and whisk it into the sauce. Simmer for 3-5 minutes until the sauce coats the back of a spoon. It should look like liquid amber—thick, glossy, and translucent.
Phase 3: The High-Heat Roast
Toss the chicken chunks, pineapple wedges, bell peppers, and onion petals in a large bowl with 2 tbsp (30ml) of avocado oil (or another high-smoke point oil) and a pinch of salt. Do not add the glaze yet; the sugars in the glaze will burn if they are in the oven for the full duration.
Spread everything onto the dark rustic sheet pan in a single layer. Space is vital. If the pan is crowded, the vegetables will release steam and you won’t get those charred tips. Roast for 15-18 minutes, or until the chicken is cooked through and the pineapple shows dark marks.
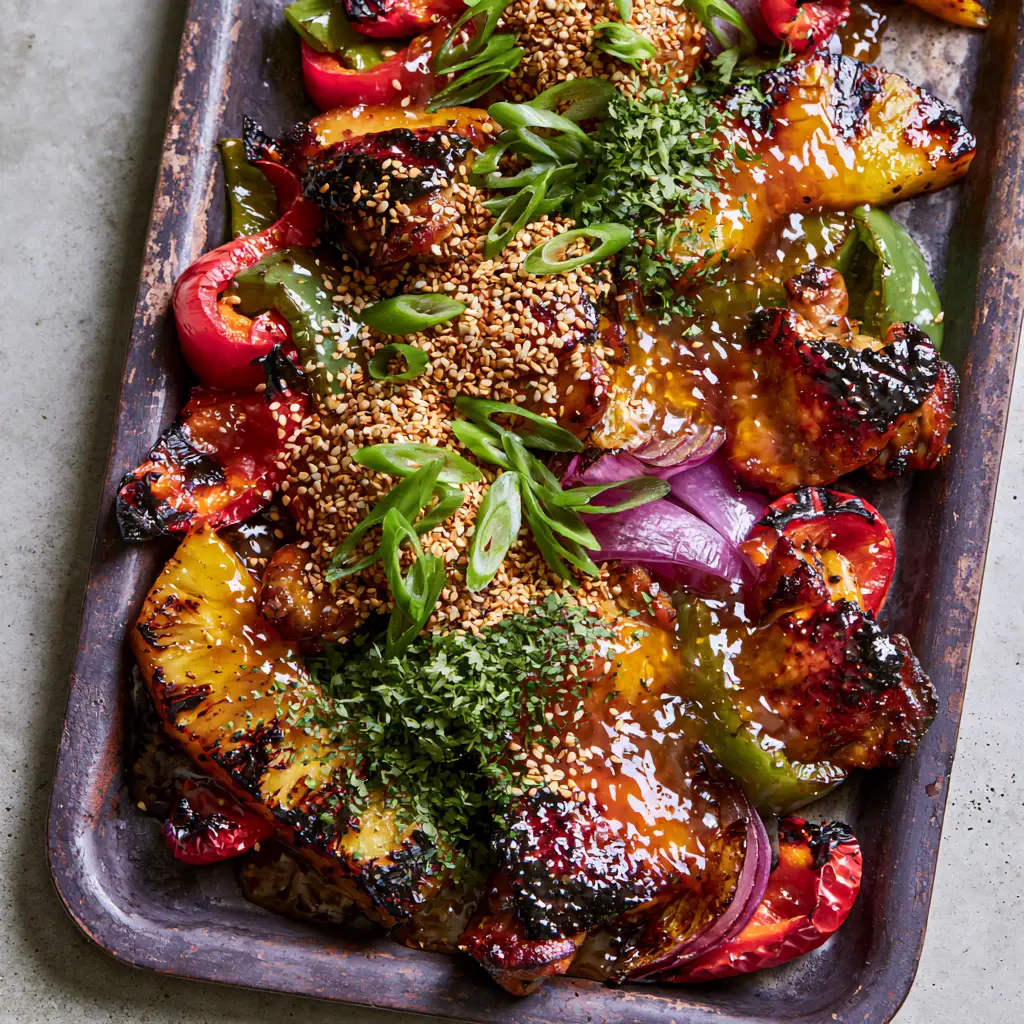
Phase 4: The Glaze and Garnish Finish
Remove the pan from the oven and pour three-quarters of the amber glaze over the hot ingredients. Use a spatula to toss everything gently until every piece of chicken and fruit is coated in a sticky, glossy sheen.
Return the pan to the oven for just 2-3 minutes. This “sets” the glaze, making it tacky and even more translucent. You will see the sauce bubbling and clinging to the seared edges of the chicken.
Remove the pan and immediately sprinkle with the heavy dusting of toasted white sesame seeds. Finish with a generous amount of sliced scallions and fresh cilantro flakes for that bright green pop against the rustic background.
Expert Tips for Visual and Culinary Excellence
- The Searing Secret: If your oven doesn’t brown the chicken enough, turn on the broiler for the last 2 minutes. Watch closely to ensure the peppers blister without turning to ash.
- Avoid the Sog: If using frozen pineapple, thaw it completely and squeeze out every drop of excess juice before roasting. However, fresh is always superior for the “grill mark” aesthetic.
- Internal Temperature: Use a meat thermometer to ensure the chicken reaches 165°F (74°C). Thighs are forgiving, so don’t worry if they go slightly over; the fat keeps them moist.
- Glaze Consistency: If your glaze is too thick, whisk in a teaspoon of water. If it’s too thin, simmer it for another minute. It should look like a rich syrup.
Storage, Reheating, and Meal Prep
This Hawaiian Chicken Sheet Pan is a meal-prep dream. Store leftovers in an airtight container in the refrigerator for up to 4 days. The flavors actually deepen as the chicken marinates in the glaze.
To reheat, avoid the microwave if possible, as it can make the peppers soggy. Instead, pop the chicken and veg back onto a sheet pan and heat at 350°F (175°C) for 10 minutes. This helps maintain the seared texture of the chicken chunks.
We do not recommend freezing the entire dish, as the bell peppers and pineapple will lose their structural integrity upon thawing, turning the blistered texture into something much softer.
What to Serve with Your Hawaiian Chicken
While this dish is a complete meal on its own, it pairs beautifully with a bed of jasmine rice to soak up that extra amber glaze. For a lower-carb option, serve it over a crispy oriental chicken salad base for added crunch.
If you enjoy these bold, sticky flavors, you might also love our classic General Tso’s chicken for another take on the perfect poultry glaze. For those who prefer a brighter, citrus-forward profile, try pairing this with a Mediterranean-style greek chicken marinade on the side.
Frequently Asked Questions
Absolutely. It is excellent for meal prep. The glaze stays glossy and the chicken remains tender when reheated in the oven.
Yes, but be careful not to overcook them. Thighs are preferred because their higher fat content allows for a better sear while remaining juicy at high temperatures.
Use fresh pineapple and ensure the oven is preheated to at least 425°F. Pat the fruit dry before roasting to encourage caramelization rather than steaming.
As written, no, because of the soy sauce. To make it gluten-free, simply substitute the soy sauce with tamari or coconut aminos.
This usually happens from pan crowding or using frozen vegetables. Ensure everything is in a single layer with space between pieces so moisture can evaporate.
Recipe: The Ultimate Hawaiian Chicken Sheet Pan
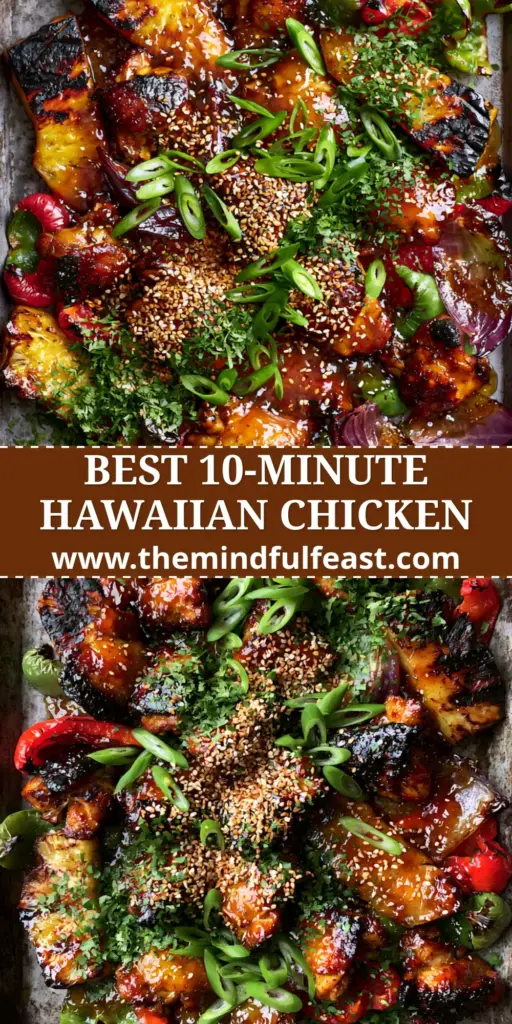
Hawaiian Chicken Sheet Pan with Caramelized Pineapple and Teriyaki Glaze
Ingredients
Equipment
Method
- Preheat your oven to 425°F (220°C). Lightly grease a large dark, rustic sheet pan with oil.
- Pat the chicken thigh chunks completely dry with paper towels to ensure a golden-brown sear.
- Toss chicken, pineapple, peppers, and onion petals with 2 tbsp avocado oil and salt. Spread in a single layer. Roast for 15-18 minutes until chicken is seared and pineapple shows dark char marks.
- While roasting, combine soy sauce, honey, ginger, and garlic in a saucepan. Whisk in cornstarch slurry and simmer until thick, glossy, and amber.
- Pour the glaze over the sheet pan, tossing to coat. Return to the oven for 2-3 minutes until the glaze is bubbling and sticky.
- Remove from oven. Sprinkle heavily with toasted sesame seeds, sliced scallions, and cilantro flakes.
Notes
If the chicken isn't browned enough, broil for the final 2 minutes of cooking.
Bring the Tropics to Your Kitchen
This Hawaiian Chicken Sheet Pan is more than just a meal; it’s a vibrant, sensory experience that brings professional culinary techniques into the home kitchen. From the blistered peppers to the sticky amber glaze, every element is designed to delight both the eyes and the palate.
If you loved the balance of sweet and savory in this dish, please leave a comment below and let us know how yours turned out! Don’t forget to snap a photo of your dark, rustic pan and share it with us on Pinterest. Happy cooking!


