Mastering how to make pancakes that rival a high-end diner is the hallmark of a truly skilled home cook. Imagine a towering stack of five ultra-thick, pillowy pancakes, each reaching a full two inches in height. These aren’t your average flat flapjacks; they are architectural marvels of breakfast engineering.
When you learn how to make pancakes using this specific method, you are aiming for a very particular visual and sensory experience. Picture the uniform golden-brown lace pattern on the surface, the airy bubbled edges that promise a light texture, and a large square pat of cold salted butter slowly cascading down the side. This guide ensures every stack you serve is topped with viscous, dark amber maple syrup and served on a matte white ceramic plate for that perfect morning aesthetic.
Achieving this level of thickness and texture requires more than just a box mix. It involves understanding the chemistry of leavening and the physics of heat transfer to create that iconic “lace” crust while maintaining a cloud-like interior. Let’s dive into the science of the perfect stack.
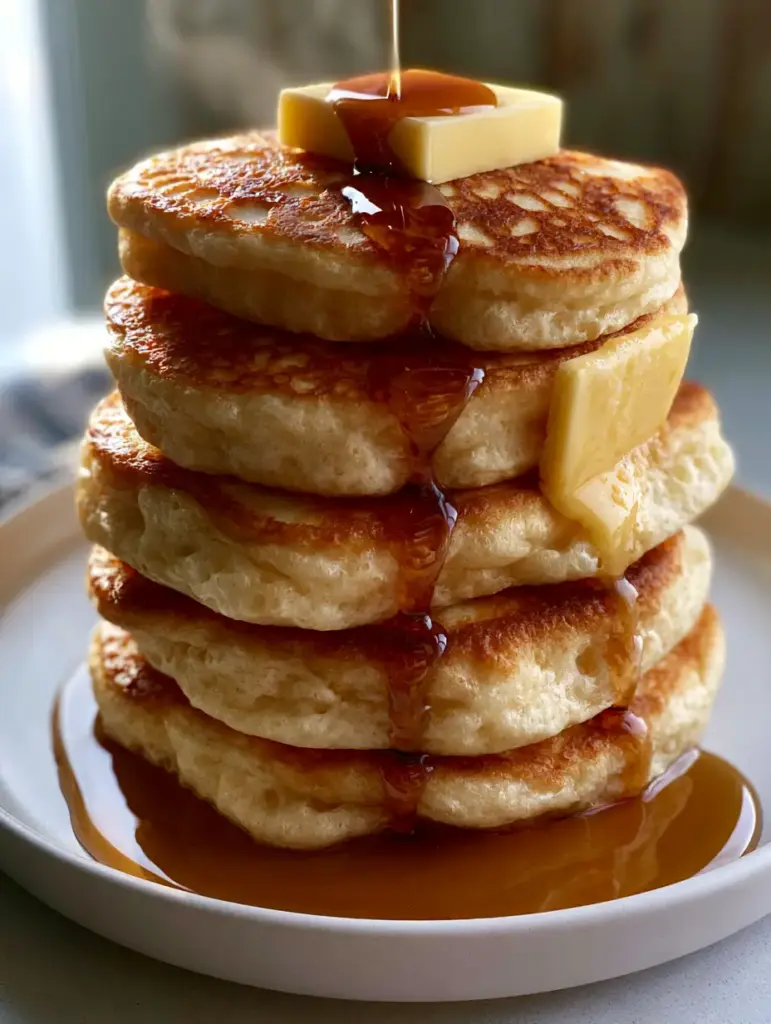
The Anatomy of a Perfect 2-Inch Thick Pancake stack
- Extreme Vertical Lift: By utilizing a specific leavening ratio, we achieve a consistent 2-inch (5cm) thickness per pancake.
- The Lace Pattern: A precise surface temperature creates a delicate, golden-brown filigree pattern on the pancake’s face.
- Airy Perimeter: Visible bubbles along the edges serve as a sensory cue for the light, aerated crumb inside.
- Viscous Syrup Adhesion: The surface texture is designed to catch and hold dark amber maple syrup mid-drip.
The Science-Backed Ingredients for Towering Fluffiness
All-Purpose Flour: 2 cups (250g). The protein content provides the necessary structure to support a 2-inch rise without collapsing under its own weight.
Baking Powder: 3 tbsp (42g). This is a significantly higher amount than standard recipes, providing the massive lift required for diner-style thickness.
Granulated Sugar: 2 tbsp (25g). Beyond sweetness, sugar aids in the Maillard reaction, ensuring that beautiful golden-brown lace pattern develops quickly.
Sea Salt: 1 tsp (6g). Salt is essential for balancing the sweetness of the dark amber syrup and enhancing the buttery notes of the batter.
Full-Fat Buttermilk: 1 ½ cups (360ml). The acidity reacts with the leavening agents to create immediate carbon dioxide bubbles for an airy texture.
Large Eggs: 2 units. Eggs act as the “glue,” providing the structural integrity needed to hold the airy bubbles in place as the heat sets the batter.
Unsalted Butter (Melted): 4 tbsp (56g). Incorporating fat into the batter ensures a tender crumb and prevents the pancakes from becoming rubbery.
Vanilla Bean Paste: 1 tsp (5ml). This adds aromatic depth and those tiny black specks that signal a premium, scratch-made breakfast.
High-Smoke Point Oil: 1 tbsp (15ml) for the pan. A thin film of neutral oil is required to achieve the seared lace pattern without burning the butter solids.
Cold Salted Butter: 1 square pat per stack. Placing a cold pat on the hot stack creates the specific visual of a slow, controlled melt.
Dark Amber Maple Syrup: ½ cup (120ml) for serving. The higher mineral content of dark syrup provides the viscosity needed for the “frozen mid-drip” look.
Essential Equipment for Culinary Precision
To master how to make pancakes of this magnitude, your tools are just as important as your ingredients. You will need a heavy-bottomed non-stick griddle or a large cast-iron skillet. The heat retention of cast iron is superior for maintaining the steady temperature required for the lace pattern.
A wide, offset stainless steel spatula is also non-negotiable. Because these pancakes are 2 inches thick, you need a sturdy tool to flip them without breaking the delicate, bubbled edges. Finally, a wire cooling rack is helpful if you are making multiple stacks to prevent the bottom pancake from becoming soggy due to trapped steam.
Step-by-Step Instructions for the Perfect Pour
Phase 1: The Dry Aeration and Wet Emulsion
In a large mixing bowl, sift together the 2 cups (250g) of all-purpose flour and 3 tbsp (42g) of baking powder. Sifting is a critical step; it removes lumps and aerates the flour, which contributes to the final airy bubbled edges.
In a separate medium bowl, whisk the 2 eggs with the 1 ½ cups (360ml) of buttermilk and vanilla bean paste until fully combined. Slowly drizzle in the 4 tbsp (56g) of melted butter while whisking constantly to create a stable emulsion that won’t separate.
Phase 2: The “Lumpy” Batter Secret
Make a well in the center of the dry ingredients and pour in the wet mixture. Use a silicone spatula to gently fold the ingredients together. Crucial Tip: Stop mixing as soon as the flour streaks disappear. The batter should be thick and noticeably lumpy.
Allow the batter to rest for at least 10 minutes. During this time, the buttermilk activates the leavening agents, and the flour hydrates. You will see small bubbles starting to form on the surface of the batter; this is the secret to that 2-inch vertical height.
Phase 3: Managing the Heat for the Lace Pattern
Preheat your skillet over medium-low heat. Add a tiny drop of oil and wipe it around with a paper towel; you want a microscopic film, not a pool. When a drop of water flicked onto the surface dances and evaporates, the pan is ready.
Pour ½ cup (120ml) of batter into the center of the pan. Do not spread it out. Let the pancake sit undisturbed. You are looking for the “Visual & Sensory Cue” of large bubbles forming around the edges and the center looking slightly matte rather than wet.
Phase 4: The Strategic Flip and Stack
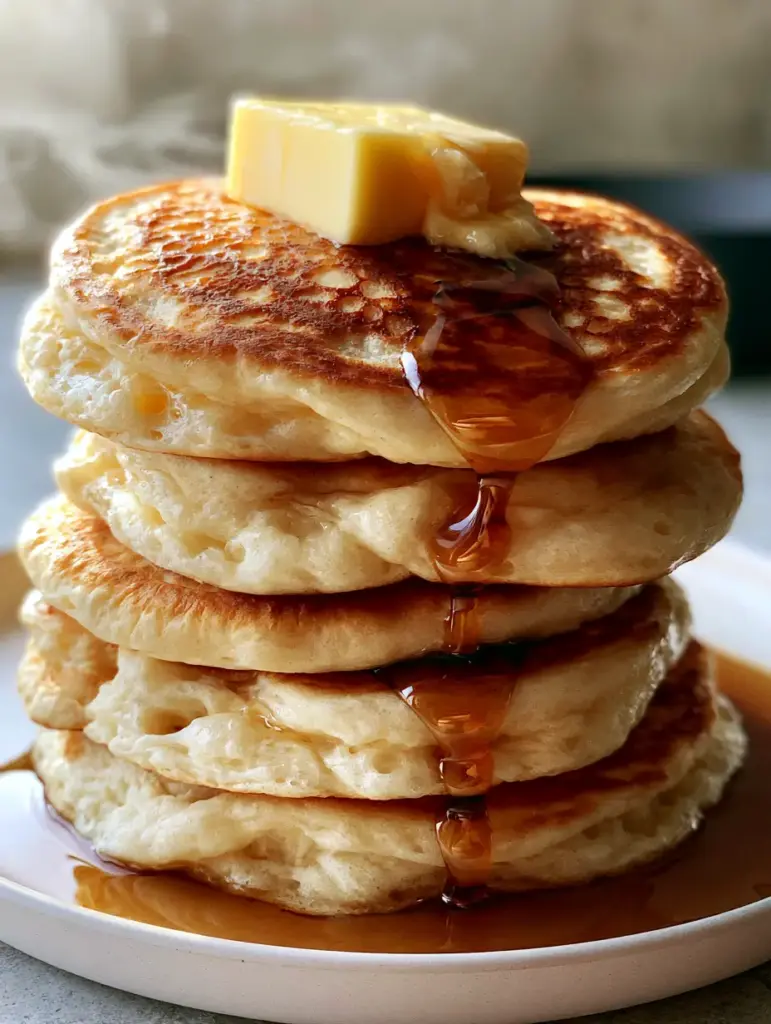
Carefully slide your spatula under the pancake. The bottom should have a perfectly uniform golden-brown lace pattern. Flip in one swift motion. Cook the second side for only 1-2 minutes until it feels springy to the touch.
Stack five pancakes high on a matte white ceramic plate. The residual heat will continue to cook the very center of these 2-inch thick giants. Immediately place the cold square of salted butter on top and pour the dark amber maple syrup slowly, allowing it to pool at the base.
Expert Tips for Troubleshooting Your Pancakes
- Why are my pancakes thin? Your batter might be too thin or you overmixed it, popping the air bubbles. Ensure the batter is thick enough to hold its shape when poured. If it’s too runny, whisk in another tablespoon of flour.
- Achieving the Lace Pattern: If your pancake is a solid brown rather than a lace pattern, your pan is too dry or too hot. A tiny bit of fat and a steady medium-low heat are the keys to the filigree look.
- Preventing a Raw Center: Because these are 2 inches thick, they need time. If the outside is browning too fast but the inside is gooey, lower the heat and cover the pan with a lid for 60 seconds to trap steam.
- The Syrup Drip: For the photo-ready “viscous drip,” slightly warm your maple syrup before pouring. This reduces surface tension just enough to let it cascade elegantly.
What to Serve With This Towering Stack
While these pancakes are a meal unto themselves, they pair beautifully with other breakfast classics. If you’re looking for a savory contrast to the sweet syrup, try serving them alongside a slice of zucchini onion pie or a light cucumber onion salad.
For those hosting a larger brunch, these pancakes are the star, but they benefit from hearty sides. Consider pairing them with slow cooker baby potatoes or even a savory ground beef philly cheesesteak bowl for those who prefer a “brunch for dinner” vibe. If you have leftovers, they make excellent stoner snacks the next day when reheated in the toaster.
Frequently Asked Questions
You can, but the pancakes won’t be as thick. The acidity in buttermilk is what triggers the extra lift. If you only have milk, add 1 tablespoon of lemon juice or vinegar to it and let it sit for 5 minutes before using.
The secret to 2-inch thick pancakes is a high ratio of baking powder to flour and a thick, lumpy batter. Resting the batter for 10 minutes allows the buttermilk to react with the leavening, creating massive vertical lift.
For the best lace pattern, use a neutral oil with a high smoke point. Butter contains milk solids that can burn at the temperatures required to get a clean sear, resulting in a mottled look rather than a lace pattern.
The golden-brown lace pattern is caused by a thin film of oil on a perfectly heated skillet (medium-low). The fat interacts with the bubbles in the batter to sear a filigree design onto the surface.
Since these pancakes are very thick, they require lower heat for a longer duration. If the outside is cooked but the inside is raw, lower your heat and cover the pan for a minute to allow the steam to cook the center.
The Master Recipe for 2-Inch Thick Pancakes

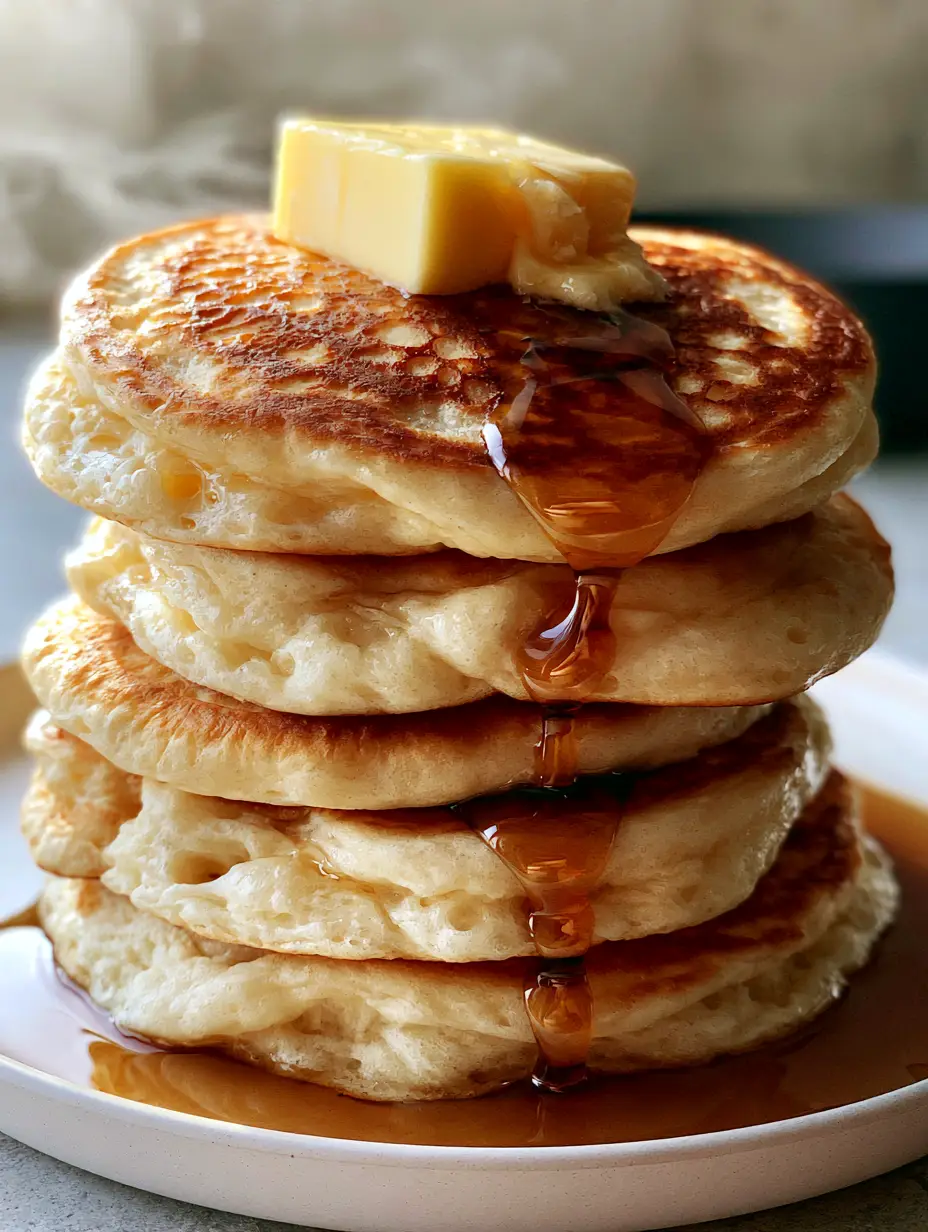
How to Make Pancakes: The Ultimate Guide to 2-Inch Thick Fluffy Diner Stacks
Ingredients
Equipment
Method
- Whisk flour, baking powder, sugar, and salt in a large bowl.
- In a separate bowl, whisk buttermilk, eggs, melted butter, and vanilla until smooth.
- Fold wet into dry until just combined (lumps are good). Let batter rest for 10 minutes to activate leavening.
- Heat skillet to medium-low. Pour 1/2 cup of batter. Do not touch until bubbles form on the edges.
- Flip once the bottom shows a golden lace pattern. Cook for 90 seconds. Stack 5 high on a white plate.
Notes
Ensure the pan is not too hot to allow the 2-inch center to cook through.
Conclusion and Final Thoughts
Learning how to make pancakes that look like a professional food stylist’s dream is all about patience and the right ratios. By focusing on the 2-inch thickness, the lace pattern, and the quality of your maple syrup, you elevate a simple breakfast into a culinary event. The softhighlights and subtle steam rising from a fresh stack are the ultimate reward for your efforts.
If you enjoyed this deep dive into breakfast science, please leave a comment below and let me know how your stack turned out! Don’t forget to share your photos and tag purelyhomecooked on Pinterest so I can see your beautiful creations.