There is something undeniably magical about the perfect cake pop. When you discover the best cake pop recipes, you aren’t just making a dessert; you are crafting a miniature piece of culinary art. The contrast between a snap-tight, glossy shell and a dense, fudgy interior is a sensory experience that few other treats can match.
If you have ever stared through a coffee shop glass case at those iconic pink confections, you know exactly what the goal is. You want a shell that is perfectly smooth, a color that pops against a neutral background, and a moist, pale-yellow vanilla crumb that practically melts on the tongue. In this guide, we are going beyond basic tutorials to give you the forensic breakdown of how to achieve professional results at home.
Whether you are preparing these for a special event or just looking for easy dessert recipes to brighten your weekend, mastering the architecture of the cake pop is a skill every home baker should possess. Let’s dive into the science of the crumb and the chemistry of the coating.
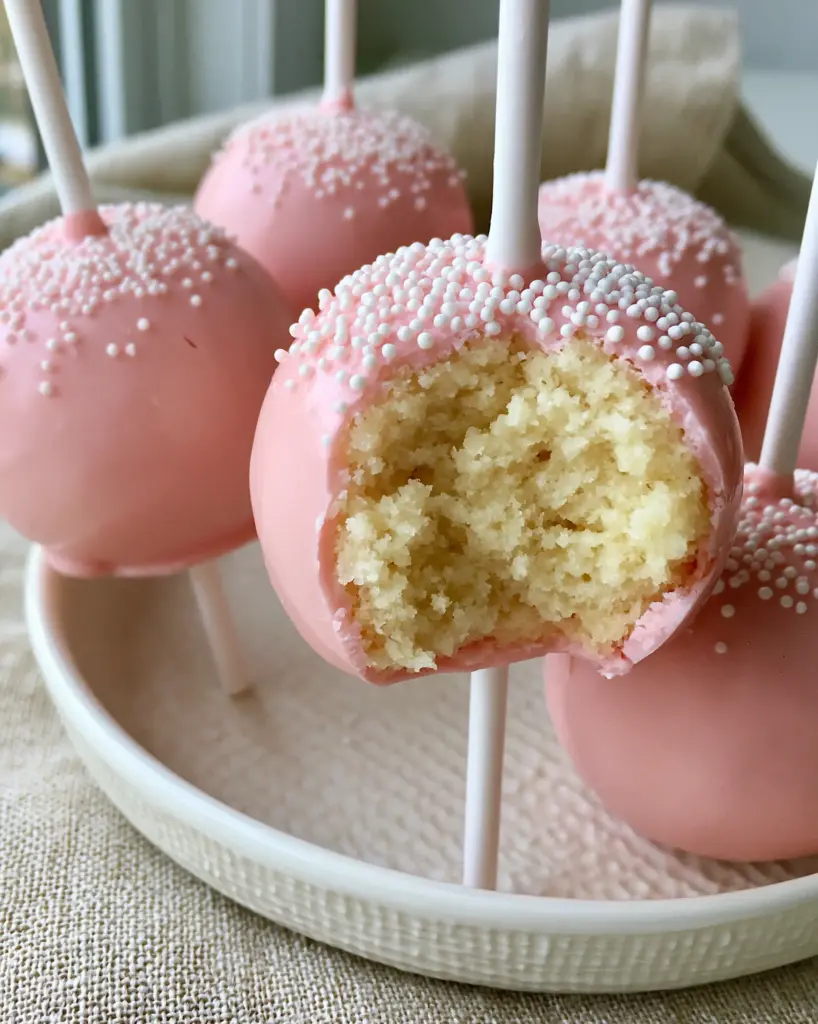
Why These Are the Only Pink Cake Pops You’ll Ever Need
- Forensic Crumb Density: Unlike dry, box-mix versions, this recipe produces a moist, tender, pale-yellow vanilla interior that holds its shape perfectly on the stick.
- High-Gloss Finish: We use specific thinning techniques to ensure your pink candy coating is thin, professional, and entirely crack-free.
- Structural Integrity: By balancing the moisture-to-binder ratio, these pops stay securely mounted on their white lollipop sticks without sliding.
- Visual Precision: Designed to mirror the most famous “copycat” versions, complete with white nonpareil sprinkles and a clean, smartphone-ready aesthetic.
The Anatomy of a Perfect Vanilla Crumb: Essential Ingredients
To achieve the specific “dense, moist, and tender” interior seen in our visual blueprint, we must move away from airy chiffon cakes and toward a structured butter-based sponge. Every ingredient here serves a structural purpose.
Cake Flour: 2 ½ cups (315g). We use cake flour because its lower protein content ensures the crumb remains tender and pale, rather than developing the tough gluten strands found in bread or all-purpose flour.
Unsalted Butter: 1 cup (225g), softened. Butter provides the foundational fat that carries the vanilla flavor and creates that signature “pale-yellow” hue when creamed with sugar and egg yolks.
Granulated Sugar: 1 ½ cups (300g). Sugar does more than sweeten; it hygroscopically holds onto moisture, ensuring the cake remains fudgy even after being crumbled and reformed.
Large Eggs: 4 pieces. The fats in the yolks are essential for the color and the “dense” texture we are looking for in our cake pop recipes.
Pure Vanilla Extract: 1 tbsp (15ml). A high-quality extract provides the aromatic backbone that makes these pops taste as good as they look.
Pink Candy Melts: 24 oz (680g). These provide the “perfectly smooth, glossy, thin pastel pink candy coating” without the temperamental nature of real white chocolate.
Coconut Oil or Paramount Crystals: 1-2 tbsp (15-30g). This is the secret “invisible ingredient” that thins the coating, allowing it to flow smoothly and dry without cracks.
White Nonpareils: 2 tbsp (30g). These tiny sugar spheres cling to the wet coating, providing the specific visual texture required for the “copycat” look.
If you enjoy the process of recreating childhood favorites, you might also want to try these homemade pop tarts for your next baking session.
Must-Have Tools for the Confectionery Architect
Achieving a professional finish requires more than just a bowl and spoon. You will need white lollipop sticks (6-inch length) to provide the classic vertical mount. A styrofoam block or cake pop stand is non-negotiable for allowing the coating to set without flat spots.
For the mixing stage, a stand mixer with a paddle attachment is preferred to keep the cake dense rather than whipping too much air into the batter. Finally, a deep, narrow microwave-safe glass is the best vessel for dipping, as it allows for a full vertical submersion of the cake ball.
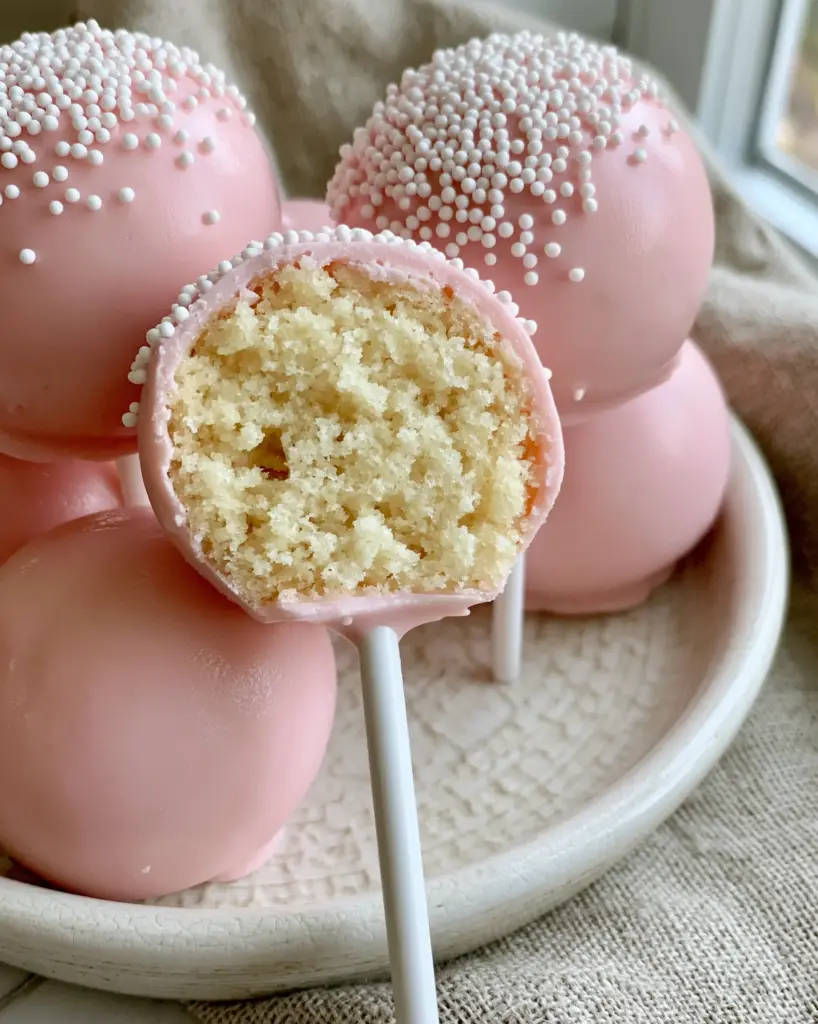
Mastering the Art of the Dip: A Step-by-Step Blueprint
Phase 1: Baking the Foundation
Preheat your oven to 350°F (175°C). Cream the butter and sugar until pale and fluffy, then add eggs one at a time. Sift in the cake flour and bake in a 9×13 inch pan until a toothpick comes out with a few moist crumbs. The goal is a fully cooked but very moist sponge.
Phase 2: The Forensic Crumb Construction
Once the cake is cool, remove the browned outer edges (the “skin”). You only want the pale-yellow interior. Crumble the cake into fine grains. Add 1/2 cup (120g) of vanilla buttercream frosting and mix until it feels like wet sand or playdough. It should hold its shape when squeezed without being greasy.
Phase 3: Rolling and Chilling for Stability
Scoop 1-tablespoon portions and roll them into perfectly smooth spheres. Place them on a tray and chill in the freezer for exactly 15 minutes. If they are too cold, the shell will crack; if they are too warm, they will fall off the stick. This is a critical step in all successful cake pop recipes.
Phase 4: The Anchor and the Dip
Melt your pink candy coating with a teaspoon of coconut oil until it flows like warm honey. Dip the tip of a white lollipop stick into the coating, then insert it halfway into a cake ball. This acts as “culinary glue.” Let it set for 2 minutes.
Phase 5: The Final Glossy Finish
Submerge the cake pop vertically into the pink coating until it reaches the stick. Pull it straight up and gently tap your wrist—not the stick—to remove excess coating. Before it sets, lightly dust the top with white nonpareils. The result should be a smooth, glossy, pastel pink shell.
Pairing these sweet treats with a sophisticated beverage can elevate the experience; consider exploring these nespresso coffee recipes for the perfect caffeine pairing.
Expert Tips for a Flawless Shell
- Avoid the “Sweat”: Never dip a frozen cake ball into hot coating. The extreme temperature difference causes the candy shell to expand and crack.
- Thin is In: If your coating is too thick, it will pull the cake ball off the stick. Always add a little extra coconut oil until the coating drips off a spoon in a steady, thin stream.
- The “Tap” Technique: When removing excess coating, hold the pop at a 45-degree angle and tap your wrist gently. Rotation is key to avoiding drips.
- Clean Bites: To get that “clean bite” look shown in our visual prompt, ensure your cake-to-frosting ratio is precise. Too much frosting makes the interior mushy; too little makes it crumbly.
Maintaining Freshness and Storage
These cake pop recipes are excellent for make-ahead treats. Once the shells are fully set, you can store them in an airtight container at room temperature for up to 5 days. For longer storage, they stay fresh in the refrigerator for up to 2 weeks.
If you need to transport them, a specialized cake pop carrier is best, but a simple egg carton lined with tissue paper can work in a pinch. If you are looking for other make-ahead options for a busy week, check out these overnight oats recipes for a healthy balance.
What to Pair with Your Pink Confections
While these pops are a star on their own, they often feature in larger dessert spreads. If you are hosting a themed event, like a Patrick birthday cake party, these pink pops are the perfect thematic companion.
For a sophisticated brunch, serve them alongside a savory spread. The sweetness of the vanilla crumb balances beautifully with a savory zucchini onion pie or a light cucumber salad. The key to a great dessert table is a mix of textures and flavor profiles.
Frequently Asked Questions
You can, but for the ‘pale-yellow dense crumb’ shown in the photos, a scratch-made butter sponge is superior. Box mixes are often too airy, which can make the cake pops feel fragile on the stick.
Use a recipe that calls for whole eggs and butter. The natural fats in the yolks and the yellow tint of high-quality butter provide that classic professional vanilla appearance.
The secret is thinning the candy melts with coconut oil or paramount crystals. This reduces the viscosity, allowing the excess coating to drip off easily, resulting in a professional, thin, and glossy finish.
This usually happens for two reasons: the cake ball is too heavy (too much frosting) or the coating is too thick, creating a heavy drag. Always dip the stick in candy coating before inserting it to act as a glue.
Cracking is caused by extreme temperature differences. If your cake balls are too cold (frozen) and your candy coating is too hot, the cake will expand as it warms, shattering the shell. Ensure cake balls are chilled but not frozen.
The Final Word on Professional Cake Pop Recipes
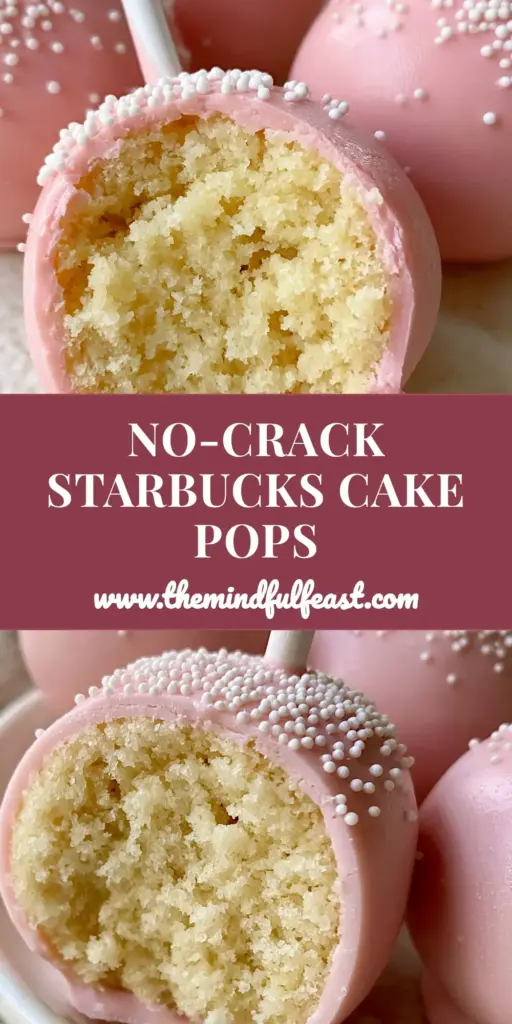
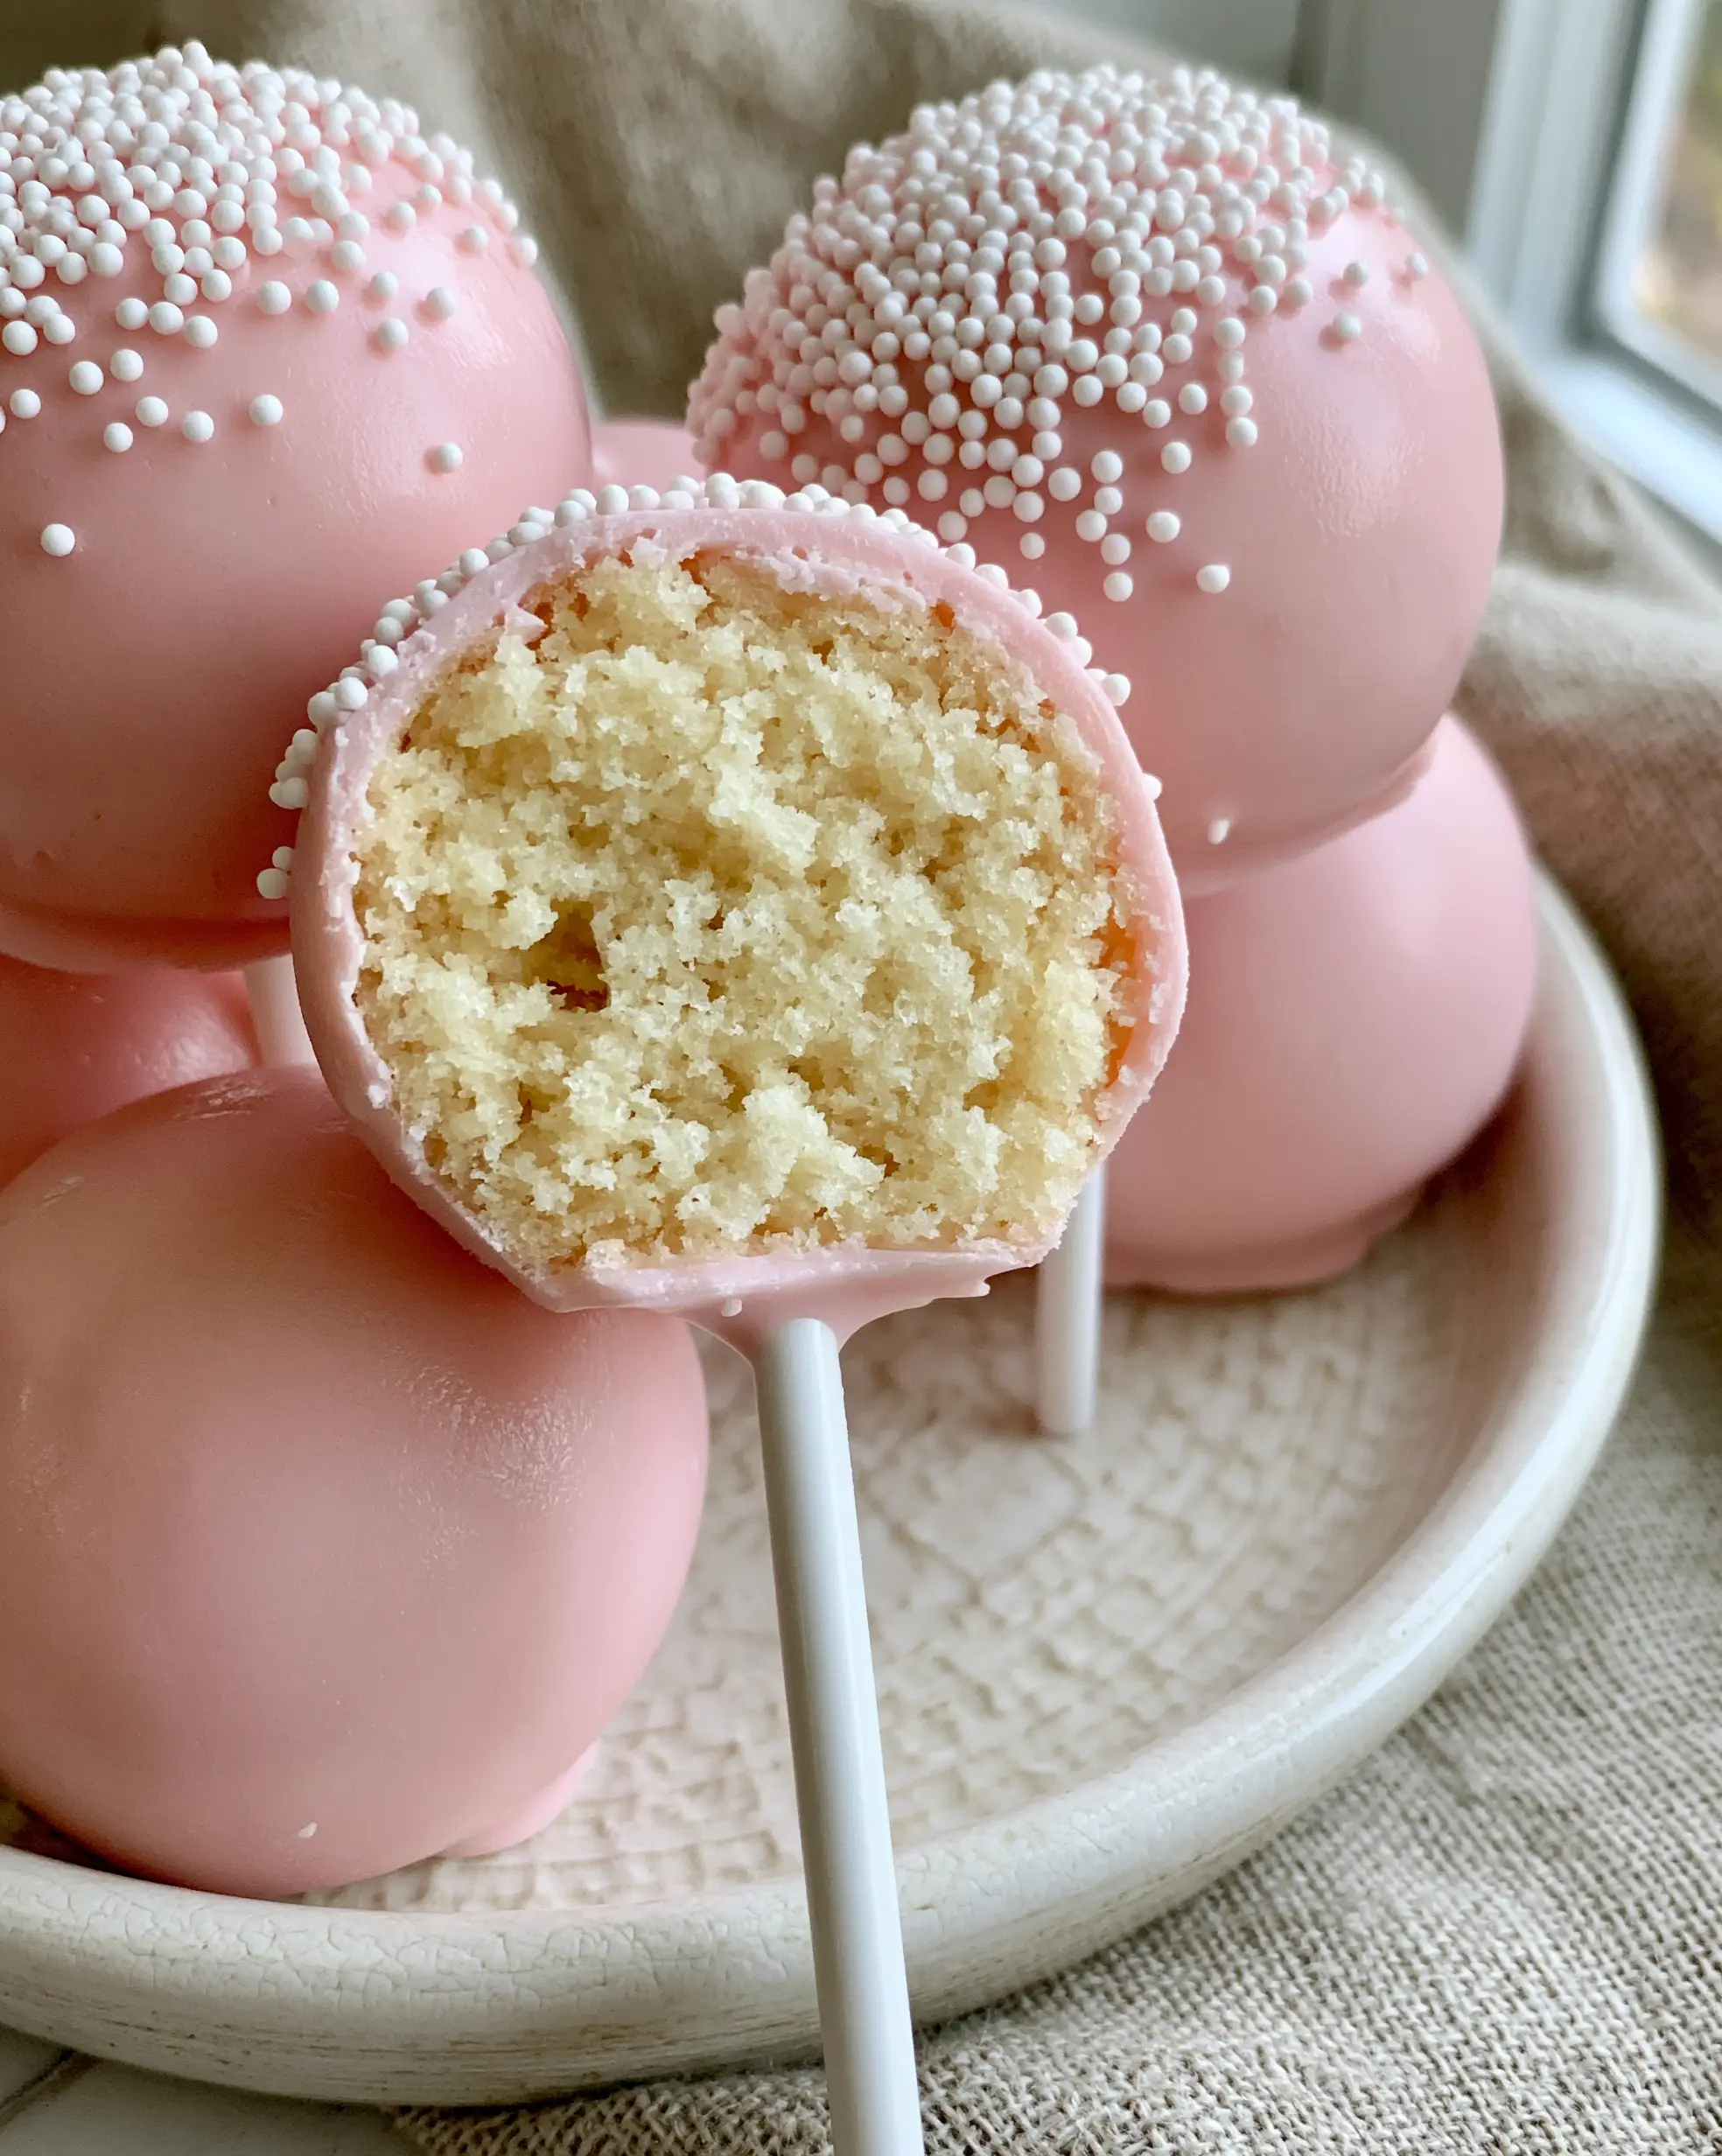
Cake Pop Recipes: The Ultimate Secret to Professional Pink Vanilla Pops
Ingredients
Equipment
Method
- In a stand mixer, cream the butter and sugar until light and fluffy. Add eggs one at a time, followed by vanilla.
- Alternately add cake flour and milk, mixing until just combined to maintain a dense crumb.
- Pour into a 9x13 pan and bake at 350°F (175°C) for 30 minutes until a toothpick comes out with moist crumbs.
- Remove the crusts, crumble the warm cake, and mix with vanilla buttercream until the texture resembles moist dough.
- Roll into 1-inch spheres and chill in the freezer for 15 minutes to firm up.
- Dip the tip of a white stick into melted pink candy coating and insert halfway into a cake ball.
- Submerge the entire ball into the thinned pink coating. Tap off excess and immediately top with white nonpareils.
Notes
Thin your candy melts with coconut oil until it reaches a honey-like consistency for the smoothest finish.
Mastering cake pop recipes is a rite of passage for the modern home baker. By focusing on the forensic details—the density of the pale-yellow crumb, the gloss of the pink shell, and the precision of the nonpareil dusting—you can create a dessert that rivals any professional bakery. The joy of a cake pop is in its perfection; it is a single, flawless bite of happiness.
We invite you to share your creations with us! Did your shell come out perfectly glossy? Tag us on social media and follow our Pinterest for more visual recipe inspiration. Happy baking!


