There is a profound, sensory magic in a perfect blackberry jam recipe. Imagine a preserve so dark it borders on obsidian, capturing the very essence of late-summer hedgerows in a single, glistening glob. This isn’t your average grocery store jelly; this is a high-gloss, viscous masterpiece designed to cling to the crannies of toasted sourdough with stubborn, sugary intent.
When you craft this blackberry jam recipe, you aren’t just boiling fruit; you are engaging in a culinary transformation. We are aiming for that specific “glass-smooth” finish that catches the morning window light, creating sharp specular highlights that promise a deep, concentrated berry flavor. Whether you are topping a batch of fluffy pancakes or looking for the perfect accompaniment to a hearty breakfast, this jam is the definitive answer.
Our goal today is to bridge the gap between rustic home cooking and professional confectionery. By removing the seeds and carefully controlling the evaporation, we achieve a texture that is heavy, thick, and jammy—never runny. This is the preserve that makes every breakfast feel like a luxury retreat.
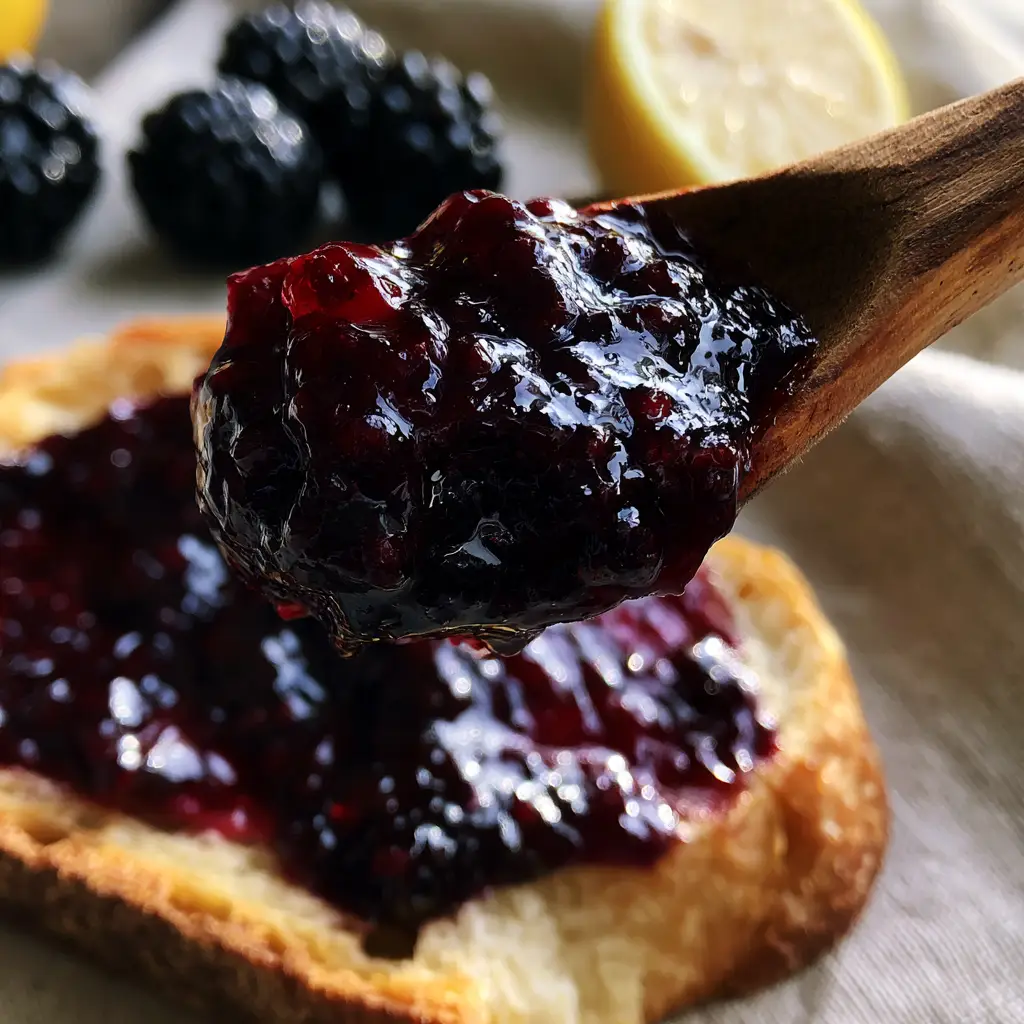
The Visual Alchemy of Seedless Blackberry Preserves
To achieve the visual result seen in professional food photography—specifically that deep, saturated purple and high-gloss sheen—we must focus on the science of pectin and sugar concentration. Unlike quick jams, this version relies on the natural structural integrity of the fruit and a precise simmering technique.
- The Obsidian Hue: Achieving a deep purple color requires minimal oxidation and high-heat reduction to concentrate the anthocyanins in the berries.
- The Glass-Smooth Surface: By utilizing a fine-mesh straining process, we remove all fibrous seeds, leaving behind only the pure, viscous nectar.
- The Glistening Sheen: The addition of fresh lemon juice doesn’t just balance the sweetness; it acts as a catalyst for the pectin to set, creating those sharp specular highlights.
- The Heavy Texture: We cook the jam until it reaches the “gel point,” ensuring it sits high on a wooden spoon rather than dripping off.
Essential Components for This Blackberry Jam Recipe
Every ingredient in this list serves a functional purpose in creating the structural and visual profile of the final preserve. We avoid artificial thickeners, relying instead on the chemistry of the fruit itself.
Fresh Blackberries: 2 lbs (907g). Choose berries that are plump and deep in color; these contain the highest concentration of natural pectin and pigments.
Granulated Sugar: 3 cups (600g). Sugar is the preservative and the structural “glue” that creates the heavy, thick glob texture we desire.
Fresh Lemon Juice: 1/4 cup (60ml). The acid in the lemon juice is critical for lowering the pH, allowing the pectin chains to bond and create a firm set.
Lemon Zest: 1 tbsp (6g). The zest provides essential oils that brighten the flavor profile and add a subtle aromatic complexity to the deep berry notes.
Unsalted Butter: 1/2 tsp (2.5g). A tiny amount of fat breaks the surface tension, preventing the jam from foaming excessively during the hard boil.
Fine Sea Salt: 1 pinch. A foundational “invisible” ingredient that heightens the perception of sweetness and fruitiness without making the jam salty.
Professional Tools for a Flawless Finish
To replicate the “handheld, authentic kitchen vibe” of our visual blueprint, you need tools that allow for precision and control. You cannot achieve a glass-smooth jam without the right filtration system.
A heavy-bottomed Dutch oven or a wide stainless steel preserving pan is essential. The wider surface area allows for faster evaporation, which keeps the colors bright and prevents the sugars from scorching into a bitter caramel.
You will also need a fine-mesh sieve or a chinois to remove the seeds. To test the set, keep a few small ceramic plates in the freezer; this “wrinkle test” is more reliable than a thermometer for home cooks.
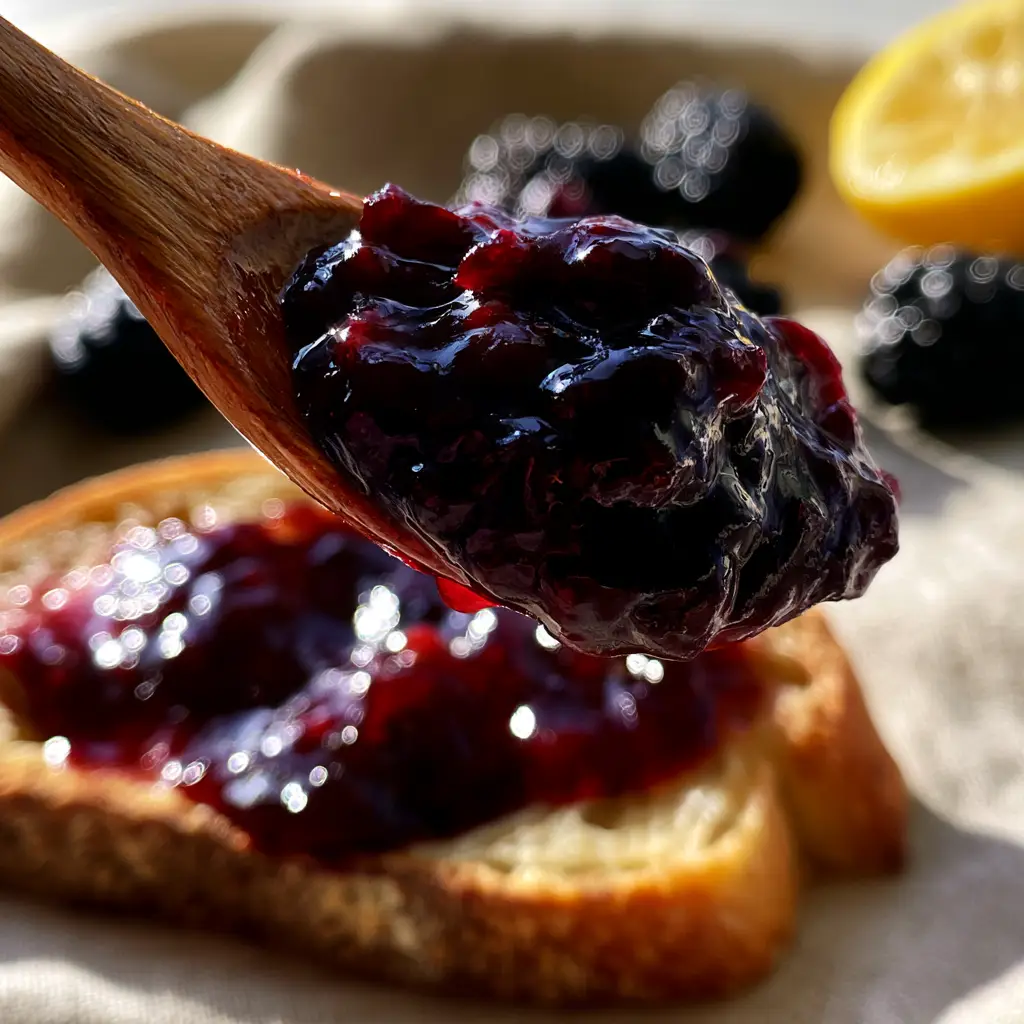
Mastering the Simmer: Step-by-Step Instructions
Phase 1: Maceration and Pectin Release
Begin by washing 2 lbs (907g) of fresh blackberries. Place them in your heavy-bottomed pot and toss with 3 cups (600g) of sugar and 1 tbsp (6g) of lemon zest.
Let this mixture sit for at least 30 minutes. This process, known as maceration, draws the juice out of the berries and begins dissolving the sugar, ensuring a smooth start to the cooking process.
Phase 2: The Initial Breakdown
Set the heat to medium-high. Add 1/2 tsp (2.5g) of butter to the pot to minimize foaming. Bring the mixture to a simmer, stirring frequently with a wooden spoon.
As the berries soften, use a potato masher to crush them against the bottom of the pot. Cook for about 10-15 minutes until the fruit has completely broken down into a liquid, bubbling mass.
Phase 3: The Seed Removal (The “Glass-Smooth” Secret)
This is the critical step for a seedless blackberry jam recipe. Carefully pour the hot berry mixture through a fine-mesh sieve into a large heat-proof bowl.
Use the back of a ladle or the wooden spoon to press the pulp through the mesh. Scrape the bottom of the sieve to collect every bit of the thick juice, discarding the remaining seeds in the mesh.
Phase 4: The Final Reduction and Set
Return the seedless juice to the pot and add 1/4 cup (60ml) of fresh lemon juice and a pinch of salt. Bring to a rolling boil over medium-high heat.
Stir constantly as the mixture thickens. You are looking for a sensory cue: the bubbles will change from small and frothy to large, heavy, and “lazy” pops that sound more substantial.
Phase 5: The Cold Plate Test
After 15-20 minutes of boiling, drop a small spoonful of jam onto one of your frozen plates. Let it sit for 30 seconds, then push the edge with your finger.
If the surface wrinkles and the jam holds its shape in a thick glob, it is ready. If it remains liquid, boil for another 2 minutes and test again. Remember, jam thickens significantly as it cools.
Expert Tips for Success
- Avoid Overcooking: If you cook the jam too long, the sugar will caramelize, turning your obsidian purple into a muddy brown and ruining the fresh berry flavor.
- The Foam Factor: If foam persists despite the butter, skim it off with a spoon at the very end of cooking for the clearest, glossiest finish.
- Sterilization is Key: If you plan on long-term storage, ensure your jars are boiled for 10 minutes to prevent spoilage.
- Altitude Adjustments: If you live at a high altitude, your jam will reach the gel point at a lower temperature; rely on the wrinkle test rather than a thermometer.
What to Serve with Your Obsidian Jam
This jam is designed for high-contrast pairings. The deep purple looks stunning against the pale crumb of toasted sourdough, just like in our visual prompt.
For a complete breakfast spread, serve this alongside savory morning options or use it as a sophisticated filling for traditional pastries. It also makes an incredible glaze for roasted meats, similar to the flavor profiles found in a classic vegetable medley.
If you have leftover berries, they make a perfect garnish alongside a refreshing chilled coffee on a warm morning.
How to Store Your Blackberry Jam
Because this blackberry jam recipe is high in sugar and acid, it stores exceptionally well. Once cooled, transfer the jam to airtight glass jars.
In the refrigerator, the jam will stay fresh and maintain its high-gloss sheen for up to 3 months. For long-term shelf storage, follow standard water-bath canning procedures to seal the jars, which will keep them stable for up to a year.
Avoid freezing the jam if possible, as the ice crystals can break the pectin bonds, leading to a slightly more watery texture upon thawing.
Frequently Asked Questions
Yes, blackberries are naturally high in pectin. By combining them with sugar and lemon juice and reducing the liquid through boiling, the jam will set naturally into a thick, viscous glob.
To achieve a glass-smooth texture, you must cook the berries until they break down, then pass the hot mixture through a fine-mesh sieve or chinois to remove the fibrous seeds before the final reduction.
Properly sealed and processed jars can last up to a year in a cool, dark place. Once opened, keep the jam in the refrigerator and consume it within 3 months for the best flavor and texture.
The glistening sheen comes from the correct ratio of sugar to acid and a clean boil. Adding a tiny amount of butter helps eliminate foam, which can otherwise make the jam look cloudy or dull.
Runny jam usually results from undercooking or a lack of acid. Ensure you boil the mixture until it reaches 220°F (104°C) or passes the ‘wrinkle test’ on a cold plate, and don’t skip the lemon juice.
The Ultimate Seedless Blackberry Jam Recipe
Blackberry Jam Recipe: The Ultimate Seedless Obsidian Preserve
Ingredients
Equipment
Method
- Toss blackberries with sugar and lemon zest in a pot; let sit for 30 minutes to release juices.
- Add butter and simmer over medium-high heat, mashing berries until they break down completely.
- Pass the hot mixture through a fine-mesh sieve to remove all seeds, ensuring a glass-smooth texture.
- Return juice to the pot with lemon juice and salt. Boil until it reaches the gel point (wrinkle test).
Notes
Skim any remaining foam at the end for the highest possible gloss.
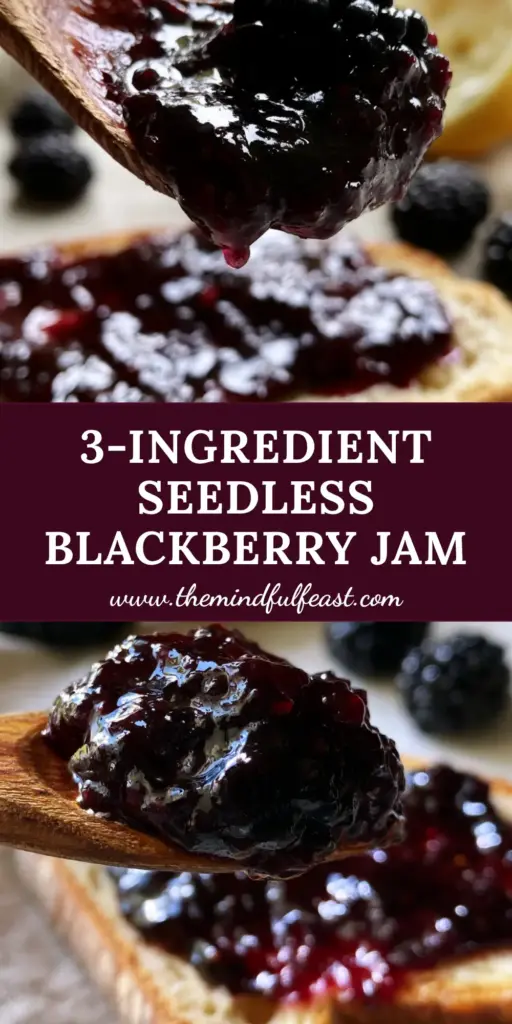
Conclusion and Visual Inspiration
Creating this blackberry jam recipe is a rewarding process that results in a pantry staple of unmatched quality. The deep, obsidian-purple hue and the glass-smooth texture make it a focal point of any breakfast table.
We invite you to share your results! Did your jam achieve that perfect glistening sheen? Leave a comment below and let us know your favorite way to serve this preserve. Don’t forget to save this recipe to your boards on Pinterest for your next weekend brunch project.


