There is nothing quite as iconic in the world of modern confectionery as the signature pink treat found behind the glass at your favorite coffee house. These cake pop recipes are designed to replicate that exact experience, from the dense, fudgy interior to the flawlessly smooth, semi-glossy shell.
Achieving the perfect handheld dessert requires more than just mixing crumbs and frosting; it requires a forensic approach to texture and temperature. We are diving deep into the culinary science of the moist, pink vanilla crumb that makes these so addictive.
Whether you are preparing for a birthday party or just want to master the art of the dip, this guide ensures your results look like a professional smartphone photo every single time. Prepare for a moist, dense interior that melts in your mouth with every bite.
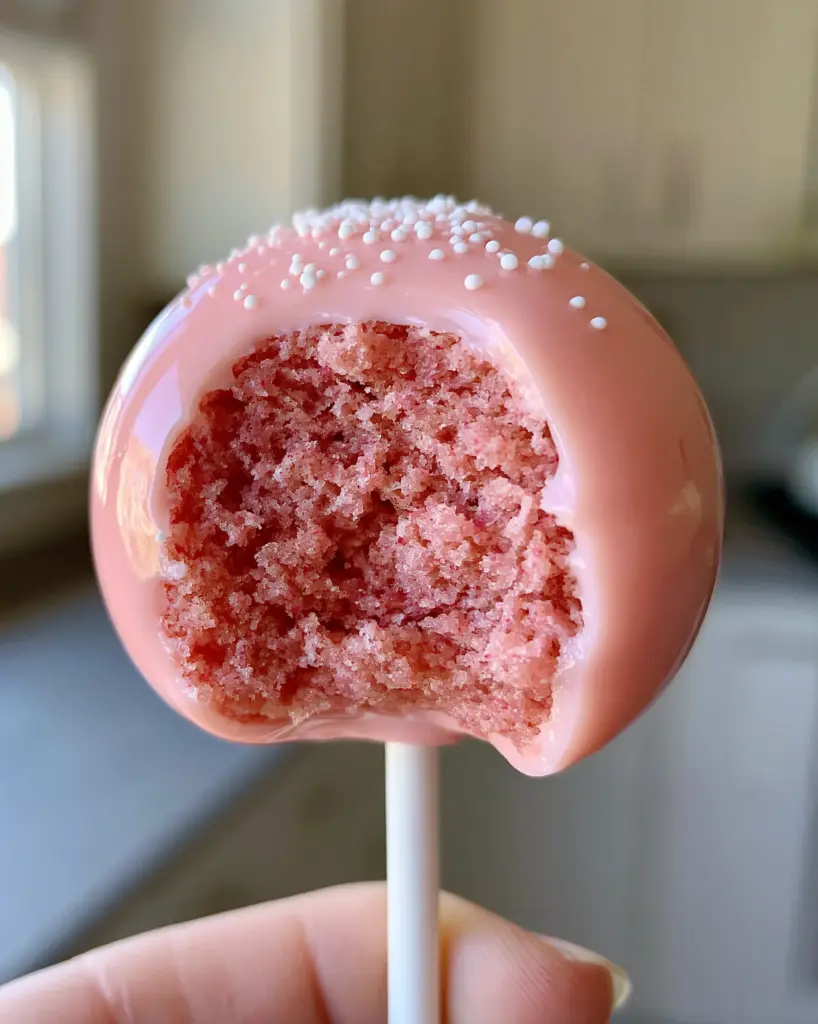
Why You Will Crave These Fudgy Pink Treats
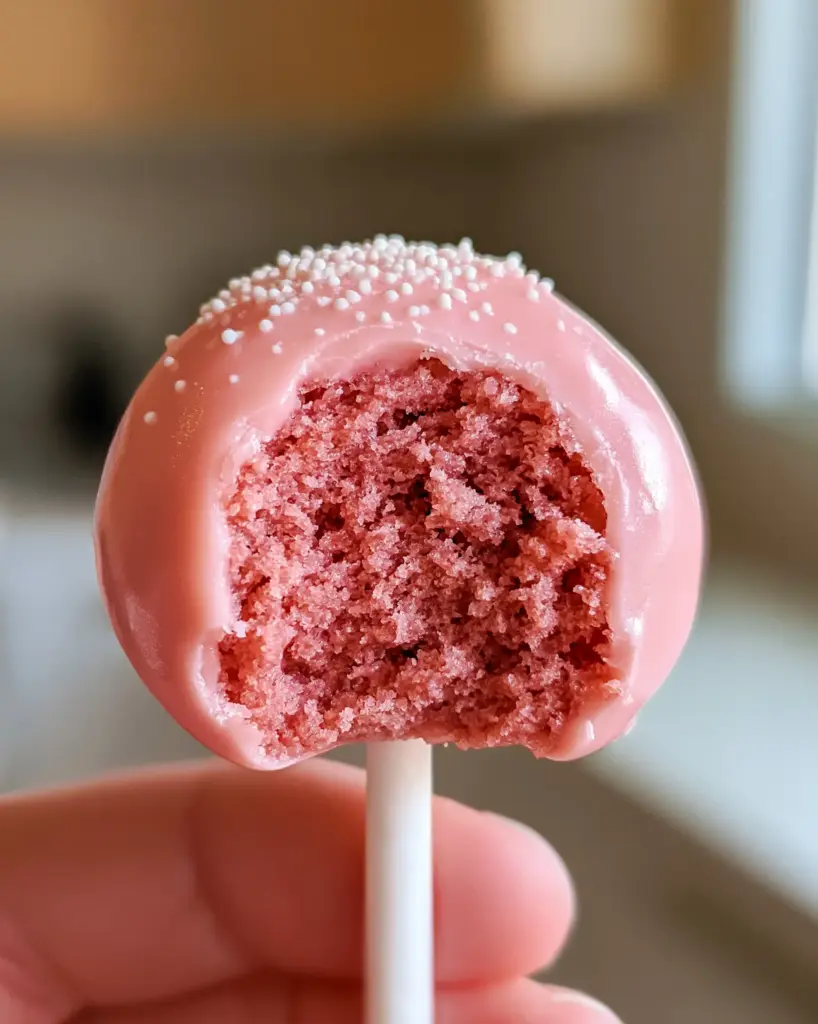
- Forensic Crumb Texture: A specific ratio of cake to binder creates a moist, dense, and fudgy pink vanilla cake crumb that avoids the common “bready” mistake.
- Pristine Visual Appeal: A flawlessly smooth, semi-glossy pastel pink candy coating that shows zero cracks, drips, or imperfections.
- The Signature Finish: A delicate dusting of tiny white nonpareil sprinkles that adds a classic crunch to the soft exterior.
- Professional Structure: Every pop is anchored on a clean, pristine white paper lollipop stick for that high-end bakery aesthetic.
The Secret Elements of a Fudgy Vanilla Interior
Cake Flour (2 ½ cups / 300g): Using cake flour instead of all-purpose ensures a fine, tight crumb structure that holds its shape when rolled into balls. It provides the foundational lightness needed before we densify the mixture.
Unsalted Butter (1 cup / 225g): High-quality butter at room temperature is creamed with sugar to create the fat-rich base that leads to a “fudgy” rather than dry mouthfeel. This is essential for the Starbucks-style richness.
Pink Gel Food Coloring (1-2 drops): Gel coloring is superior to liquid as it provides a vibrant pastel pink without altering the moisture content of the batter. You want a soft, rosy hue for the interior crumb.
Vanilla Bean Paste (1 tbsp / 15ml): While extract works, paste provides those tiny black specks and a concentrated flavor that elevates these cake pop recipes above the standard. It pairs beautifully if you’re also a fan of a rich vanilla cherry cake.
Cream Cheese Frosting (½ cup / 120g): This acts as our “culinary glue.” The slight tang of cream cheese balances the sweetness of the candy shell and creates the fudgy, truffle-like texture inside.
Pink Candy Melts (16 oz / 450g): Formulated to melt smoothly and harden with a semi-glossy finish, these are the key to a professional shell. Avoid standard chocolate if you want that specific pastel pink glow.
Coconut Oil (2 tsp / 10ml): A professional secret—thinning the candy coating with a tiny bit of oil ensures it flows perfectly and leaves zero drips or lumps.
White Nonpareil Sprinkles: These tiny spherical sprinkles are the traditional topping that provides a delicate contrast to the smooth pink surface.
Essential Tools for Bakery-Quality Results
To achieve the visual perfection seen in our blueprint, you will need a Small Cookie Scoop (1 tbsp / 15ml capacity). This ensures every pop is the exact same size, which is critical for even dipping and a professional presentation.
You also need a Styrofoam Block or Cake Pop Stand. This allows the pops to dry upright without touching any surface, preventing flat spots or smudges on the semi-glossy shell. If you’ve mastered a funfetti loaf cake, you know how important even cooling is for texture.
Finally, ensure you have Pristine White Paper Lollipop Sticks (6-inch / 15cm). Plastic sticks can sometimes be too slippery for the dense fudgy interior, while paper provides the grip needed to keep the pop secure.
The Art of the Perfect Crumb: Step-by-Step Instructions
Phase 1: The Pink Vanilla Foundation
Preheat your oven to 350°F (175°C). Cream the butter and sugar until light and fluffy, then incorporate the eggs one at a time. Add the pink gel food coloring slowly until the batter reaches a soft pastel pink.
Fold in the cake flour and milk in alternating batches. Bake in a greased pan for 25-30 minutes until a toothpick comes out clean. Allow the cake to cool completely; a warm cake will turn into a gummy mess rather than a fudgy crumb.
Phase 2: Achieving the Fudgy Forensic Texture
Once cool, crumble the pink cake into a large bowl using your hands until no large chunks remain. Add the cream cheese frosting one tablespoon at a time. The goal is a texture that resembles damp sand—it should hold together when squeezed but not feel “wet.”
Use your cookie scoop to portion out the dough, then roll them between your palms until they are perfectly spherical and smooth. Place them on a tray and chill in the freezer for exactly 15 minutes to firm up the fats.
Phase 3: The Anchor and The Dip
Melt a small amount of the pink candy melts. Dip the tip of each white paper stick into the melted candy, then insert it halfway into the chilled cake ball. This acts as a “weld” to prevent the pop from falling off during the final dip.
Melt the remaining candy melts with the coconut oil in a deep, narrow glass. Dip each pop straight down until the cake is fully submerged. Lift straight up and gently tap your wrist—never the stick—to remove excess coating. This creates that flawlessly smooth surface with zero cracks.
Phase 4: The Final Flourish
While the coating is still “wet” and semi-glossy, lightly dust the top with the tiny white nonpareil sprinkles. Place the stick into your stand and let it set at room temperature for 20 minutes. Do not refrigerate during the setting process, as this can lead to condensation and “sweating” on the shell.
Chef’s Secrets for Crack-Free Cake Pops
- Temperature Harmony: The most common cause of cracking is a temperature shock. If the cake balls are frozen and the coating is hot, the cake will expand as it warms, cracking the shell. Ensure the cake balls are “cool” (not frozen) and the coating is “warm” (not hot).
- The Tapping Technique: When removing excess coating, use a gentle vibration. Tapping the stick too hard can loosen the internal bond, causing the fudgy interior to slide off into the chocolate.
- The “Weld” Step: Never skip dipping the stick in candy before inserting it into the cake. This is the structural foundation of all successful cake pop recipes.
- Consistency Check: If your coating feels too thick, add coconut oil half a teaspoon at a time. It should have the consistency of heavy cream for the smoothest finish.
Preserving Freshness: Storage and Freezing
These pops are incredibly stable thanks to the candy shell. You can store them at room temperature in an airtight container for up to 3 days. For longer storage, keep them in the refrigerator for up to a week.
If you wish to freeze them, do so before the final dipping stage. Once dipped, freezing can sometimes cause the shell to lose its semi-glossy luster or develop small cracks upon thawing. If you are prepping for a large event, perhaps alongside some chicken dinner recipes, making the cake balls ahead of time is a great time-saver.
Delightful Pairings for Your Dessert Spread
These pink vanilla pops are the star of the show, but they play well with others. Serve them alongside a chocolate oreo cake for a stunning color contrast on a dessert table. The deep cocoa notes balance the sweet strawberry-pink aesthetic perfectly.
For a lighter afternoon tea vibe, pair these pops with a honey lemon butterfly fizz. The citrus acidity cuts through the fudgy richness of the cake crumb, refreshing the palate between bites.
Frequently Asked Questions
Yes, you can use a box mix. However, for the signature fudgy texture, ensure you don’t over-bake it, and follow our ratio for adding frosting to the crumbs carefully.
Once set, cake pops are shelf-stable for 2-3 days at room temperature. Refrigeration can sometimes cause condensation (sweating) on the shell, so store them in an airtight container if you do choose to chill them.
Thin your melted candy with 1-2 teaspoons of coconut oil or paramount crystals. This makes the coating more fluid, allowing it to coat the cake ball evenly and run off smoothly without leaving thick drips.
Cracking usually happens due to extreme temperature differences. If the cake balls are frozen and the candy coating is hot, the cake will expand as it warms, causing the shell to split. Ensure both are at a moderate, stable temperature.
This happens if the cake ball is too heavy or if you skipped the ‘welding’ step. Always dip the stick in melted candy before inserting it into the cake, and ensure the cake pops are chilled and firm before dipping.
The Ultimate Copycat Pink Cake Pop Recipe
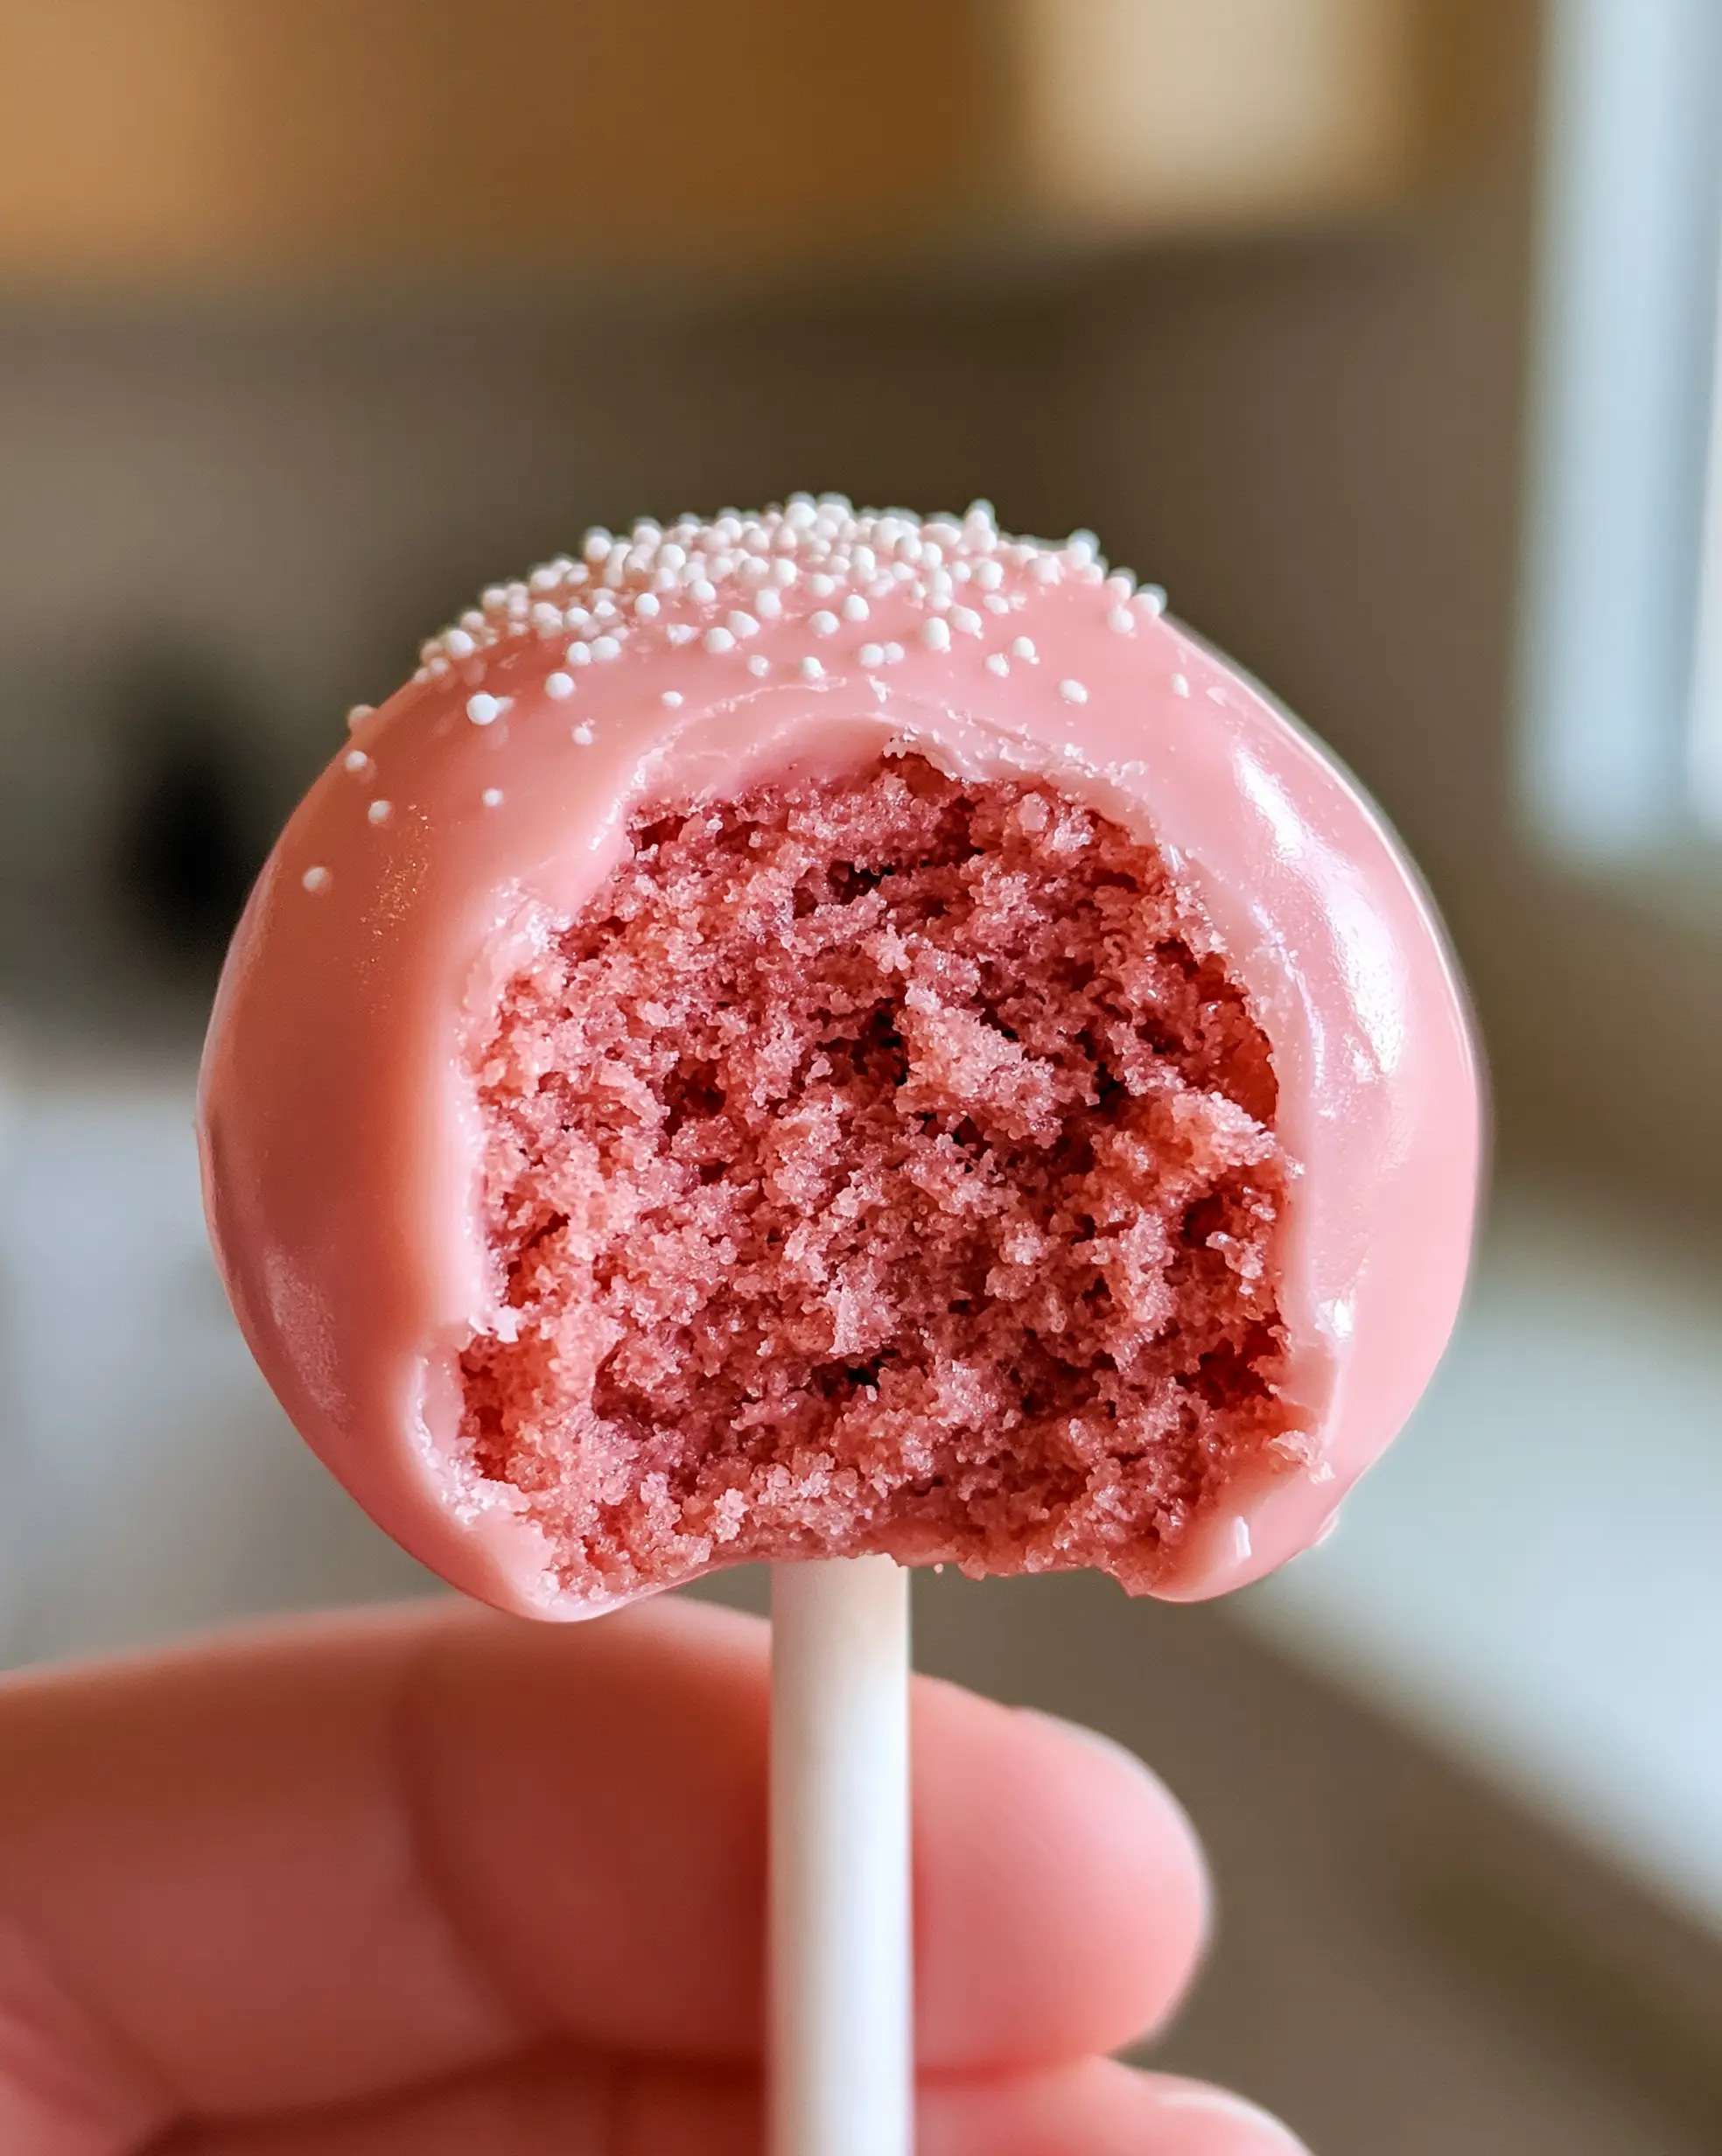
Cake Pop Recipes: The Ultimate Fudgy Pink Starbucks Copycat Guide
Ingredients
Equipment
Method
- Cream softened butter and sugar until light and fluffy. Beat in eggs, vanilla, and pink gel food coloring.
- Alternate adding cake flour and milk. Bake at 350°F (175°C) for 25-30 minutes. Cool completely.
- Crumble the cooled pink cake into fine crumbs. Mix in frosting until the mixture is dense and fudgy.
- Scoop 1 tbsp portions and roll into perfectly smooth spheres. Chill in the freezer for 15 minutes.
- Dip the tip of a lollipop stick into melted pink candy and insert into each cake ball. Let set.
- Submerge each pop into the pink candy coating thinned with coconut oil. Tap off excess until flawlessly smooth.
- Apply white nonpareil sprinkles while the coating is semi-glossy and wet. Place in a stand to harden.
Notes
Use a deep, narrow glass for dipping to ensure full coverage with less waste.
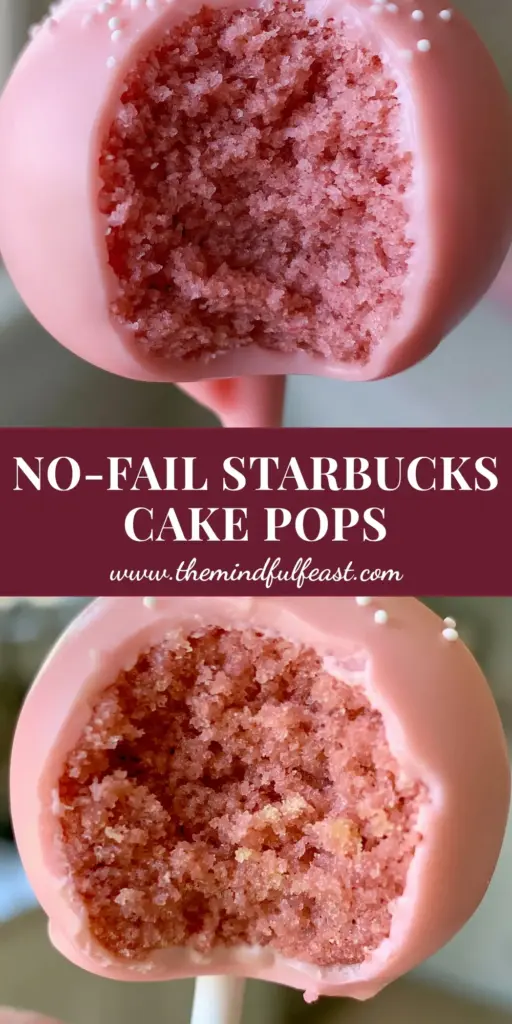
Mastering the Fudgy Pink Finish
Creating bakery-quality cake pops at home is a rewarding blend of culinary science and artistic flair. By following these cake pop recipes, you’ve mastered the dense, fudgy interior and the pristine, crack-free shell that defines the perfect dessert. We hope you enjoy every moist, pink vanilla bite!
Did your pops turn out flawlessly smooth? We want to see your creations! Leave a comment below and share your success stories. Don’t forget to follow us on Pinterest for more forensic recipe breakdowns and visual inspiration.


