There is nothing quite like the sensory experience of breaking into chocolate stuffed cookies that are still warm from the oven. As you pull the golden-brown crust apart, a thick, molten, and glossy dark brown chocolate hazelnut center begins to ooze out, creating a contrast that is both visually stunning and incredibly delicious. This isn’t just a cookie; it is a masterpiece of textures, blending a soft chewy crumb with a liquid lava core.
The secret to these chocolate stuffed cookies lies in the forensic details of the bake—the way the dark chocolate chunks pool into glossy lakes and how the pinch of flaky white sea salt crystals makes every flavor note sing. Whether you are a seasoned baker or a weekend enthusiast, this recipe is designed to deliver a professional, “handheld smartphone photo” quality result every single time.
Imagine serving these on a rustic beige ceramic plate, the soft natural daylight catching the cracked surface of the dough. It is the ultimate indulgence for anyone who appreciates the marriage of salt, sugar, and high-quality cocoa.
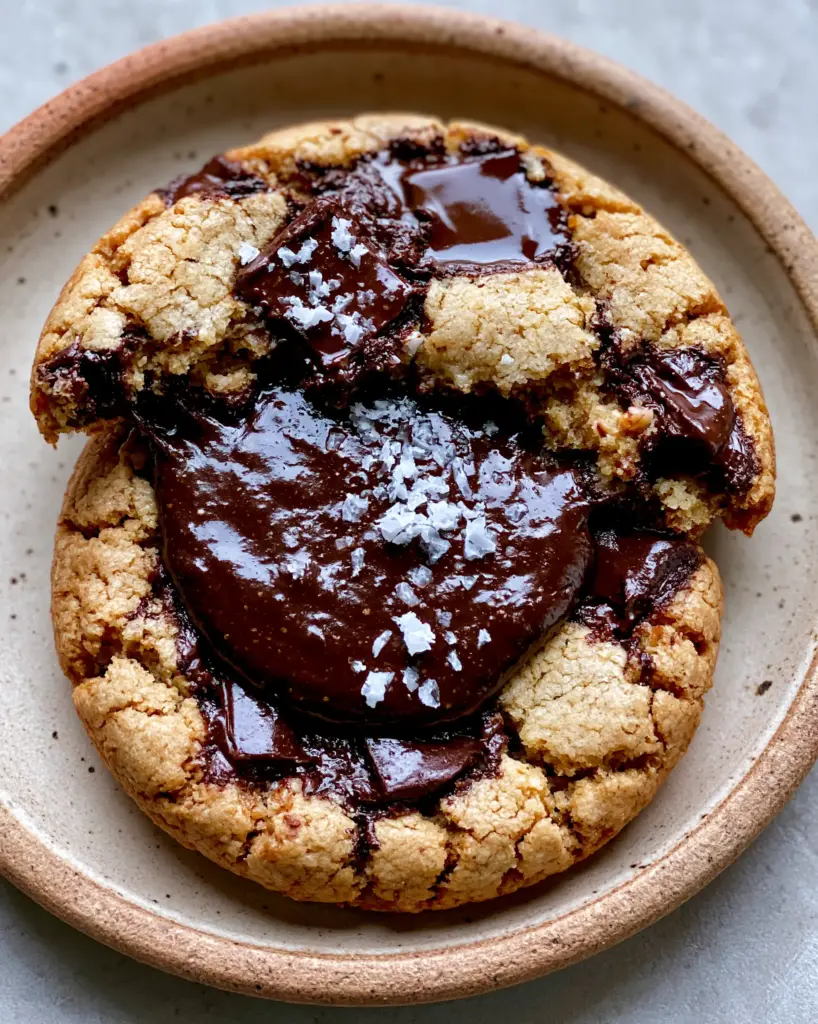
Why These Molten Masterpieces Are a Kitchen Essential
- The Signature Ooze: By using a specific freezing technique, we ensure the hazelnut-cocoa spread remains liquid and glossy, rather than baking into the dough.
- Textural Contrast: You get a golden-brown cracked surface that offers a slight crunch, leading into a soft and chewy interior.
- Dark Chocolate Depth: We bypass standard chips for hand-chopped dark chocolate chunks to create those iconic pools of melted cocoa.
- Salt-Forward Finish: Flaky sea salt crystals cut through the richness, providing a sophisticated balance to the sweet hazelnut center.
Premium Pantry Essentials for Gooey Success
Unsalted Butter (1 cup / 227g): We use softened butter to create a sturdy emulsion with the sugars, providing the foundational structure for a chewy cookie. Using unsalted allows us to control the seasoning precisely, ensuring the flaky salt at the end isn’t overwhelming.
Packed Light Brown Sugar (1 cup / 200g): The molasses in brown sugar is the primary driver for that soft, chewy texture we desire. It also helps the cookie achieve its characteristic golden-brown hue through the Maillard reaction during baking.
Granulated Sugar (½ cup / 100g): While brown sugar provides chew, white sugar is responsible for those perfectly crisp, cracked edges. It helps the cookies spread just enough to house the molten center without falling apart.
All-Purpose Flour (2 ½ cups / 312g): This provides the necessary protein structure to hold the heavy hazelnut filling. Be sure to measure by weight or use the spoon-and-level method to avoid a cakey result.
Cornstarch (1 tsp / 3g): Our secret weapon for “soft-batch” perfection, cornstarch interferes with gluten development, ensuring the crumb remains tender for days. Much like my mini m&m chocolate chip cookies, this ingredient is a game-changer.
Chocolate Hazelnut Spread (¾ cup / 200g): This serves as our “lava” core. It must be a high-quality, glossy dark brown spread to achieve the visual ooze seen in the blueprint.
Dark Chocolate Chunks (1 ½ cups / 255g): We want large, irregular pieces of dark chocolate (at least 60% cocoa). These melt differently than stabilized chips, creating those gorgeous pools of chocolate on the golden crust.
Flaky Sea Salt (1 tbsp / 10g): Do not use table salt here; we need the large, white crystals for visual impact and a targeted burst of salinity that enhances the cocoa notes.
Large Egg + One Yolk: The extra yolk adds fat and emulsifiers, contributing to the richness of the dough and ensuring it doesn’t dry out under the heat needed to melt the center.
Essential Tools for the Perfect Bake
To achieve the “smartphone photo” aesthetic, you will need a few key tools. A standard baking sheet lined with parchment paper is non-negotiable to prevent sticking and ensure even browning. A small cookie scoop (about 2 tablespoons) helps in portioning the dough consistently around the frozen filling.
Additionally, a wire cooling rack is vital. If you leave these chocolate stuffed cookies on the hot pan for too long, the bottoms will over-brown, ruining the golden-brown crust. You will also need a small tray lined with wax paper to pre-freeze your hazelnut spread dollops.
The Step-by-Step Path to Stuffed Perfection
Preparing the Molten Core
Start by lining a small tray with parchment paper. Drop 12 to 14 individual teaspoons (about 15g each) of the chocolate hazelnut spread onto the tray. Place this in the freezer for at least 30-60 minutes until the dollops are firm and easy to handle.
This step is critical; if the spread is room temperature, it will incorporate into the dough during baking rather than remaining as a distinct, glossy center. You want these to be like little frozen pucks before you wrap the dough around them.
Creaming for Structure and Aeration
In a large bowl, cream together the softened butter, brown sugar, and granulated sugar for about 3 minutes. You are looking for a pale, fluffy texture. Add the egg, the extra yolk, and a splash of vanilla extract, beating until fully combined.
Slowly incorporate your dry ingredients—flour, cornstarch, baking soda, and a half-teaspoon of fine salt. Once the dough just comes together, fold in your dark chocolate chunks by hand to ensure they are evenly distributed without overworking the flour.
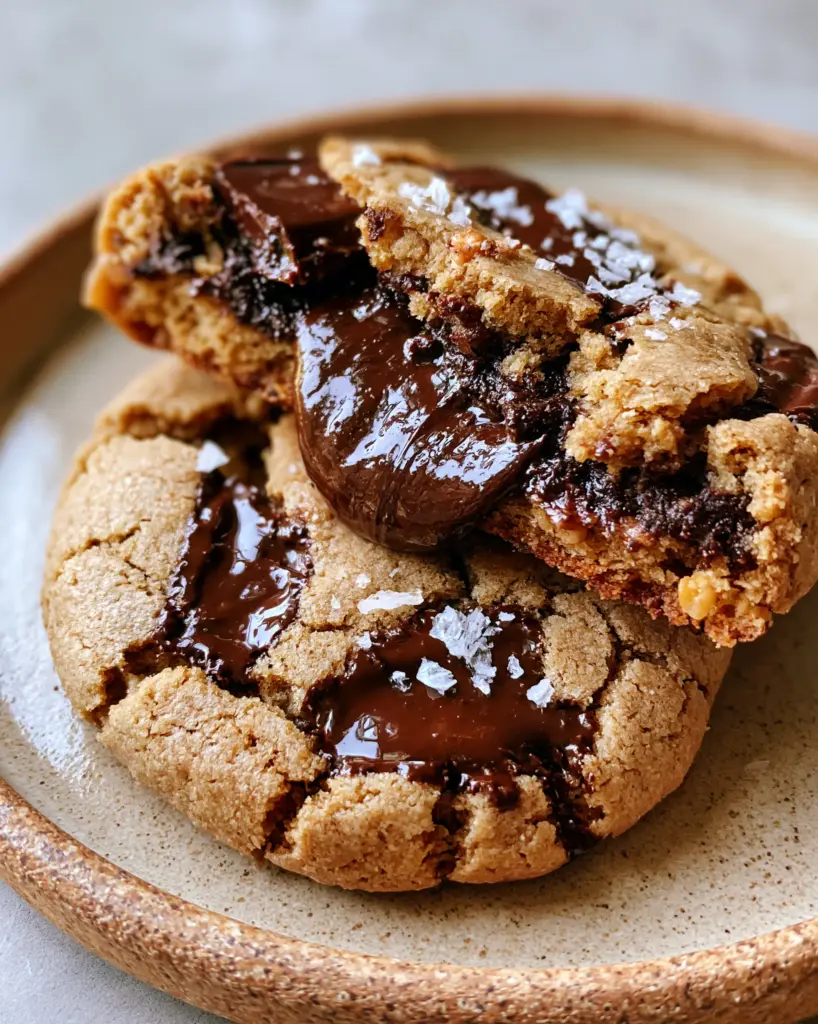
Enveloping the Hazelnut Filling
Take about 2 tablespoons (approx 40g) of cookie dough and flatten it into a disk in the palm of your hand. Retrieve one frozen hazelnut puck and place it in the center. Carefully fold the edges of the dough over the top, pinching the seams tightly to seal the chocolate inside.
Roll the dough into a smooth ball. Ensure there are no cracks where the hazelnut spread is visible, as this could lead to “leaking” in the oven. If you enjoy this stuffing process, you might also like the technique used in my banana pudding cookies.
Baking for the Golden Cracked Surface
Preheat your oven to 350°F (175°C). Place the cookies on the prepared baking sheet, spacing them at least 3 inches apart. Bake for 10-12 minutes. You are looking for a specific visual cue: the edges should be a light golden-brown, and the surface should have developed those beautiful, rustic cracks.
The centers may look slightly underbaked—this is intentional. The residual heat will finish the cooking process while keeping that interior molten and glossy. Immediately upon removing them from the oven, sprinkle each cookie with a generous pinch of flaky white sea salt crystals.
Expert Tips for Success
- The Chill Factor: If your kitchen is warm, chill the assembled dough balls for 15 minutes before baking. This prevents the cookie from spreading too thin and exposing the center.
- Size Matters: Don’t make the cookies too small. They need enough dough “real estate” to safely house the hazelnut spread without it bursting through the crust.
- Salt Selection: Use Maldon or a similar flaky salt. The visual contrast of the white crystals against the dark chocolate chunks is a key element of the dish’s forensic accuracy.
- Puddle Perfection: If your chocolate chunks haven’t pooled enough, use a toothpick to gently swirl the melted chocolate on the surface as soon as the cookies come out of the oven.
Storage, Reheating, and Freezing Advice
These cookies are best enjoyed warm, about 10 minutes after baking. To store leftovers, keep them in an airtight container at room temperature for up to 3 days. To regain that molten center, microwave a single cookie for 10-15 seconds before serving.
You can also freeze the unbaked, stuffed dough balls for up to 3 months. When the craving strikes, simply bake them from frozen, adding 2-3 minutes to the total baking time. This is a great way to always have a gourmet dessert ready, similar to how I prep my chocolate dough hearts.
Perfect Pairings for Your Stuffed Cookies
While these chocolate stuffed cookies are a star on their own, they pair beautifully with a cold glass of milk or a stiff espresso. If you are hosting a brunch, serve them after a savory main like sausage and peppers to provide a decadent sweet finish.
For a festive dessert board, try contrasting these rich cookies with something lighter, like a crisp cucumber salad served earlier in the meal to cleanse the palate. The versatility of a chocolate-hazelnut flavor profile makes it a crowd-pleaser for any occasion.
Frequently Asked Questions
You can, but chips contain stabilizers that prevent them from melting into the glossy ‘pools’ seen in the photos. For the best visual results, hand-chop a high-quality dark chocolate bar.
While not strictly required for the cookie to hold together, cornstarch is essential for achieving the ‘soft-batch’ chewy texture that lasts for several days.
The cracks come from the balance of white and brown sugar. The granulated sugar dries the surface slightly, allowing it to crack as the cookie expands and then settles.
Leaking is caused by thin spots in the dough or unsealed seams. Make sure to wrap the dough evenly around the frozen hazelnut puck and pinch the bottom seam tightly.
This usually happens if the spread wasn’t frozen solid before stuffing or if the cookies were overbaked. Ensure the dollops are puck-hard and pull the cookies when the edges are just golden.
The Ultimate Chocolate Stuffed Cookie Recipe
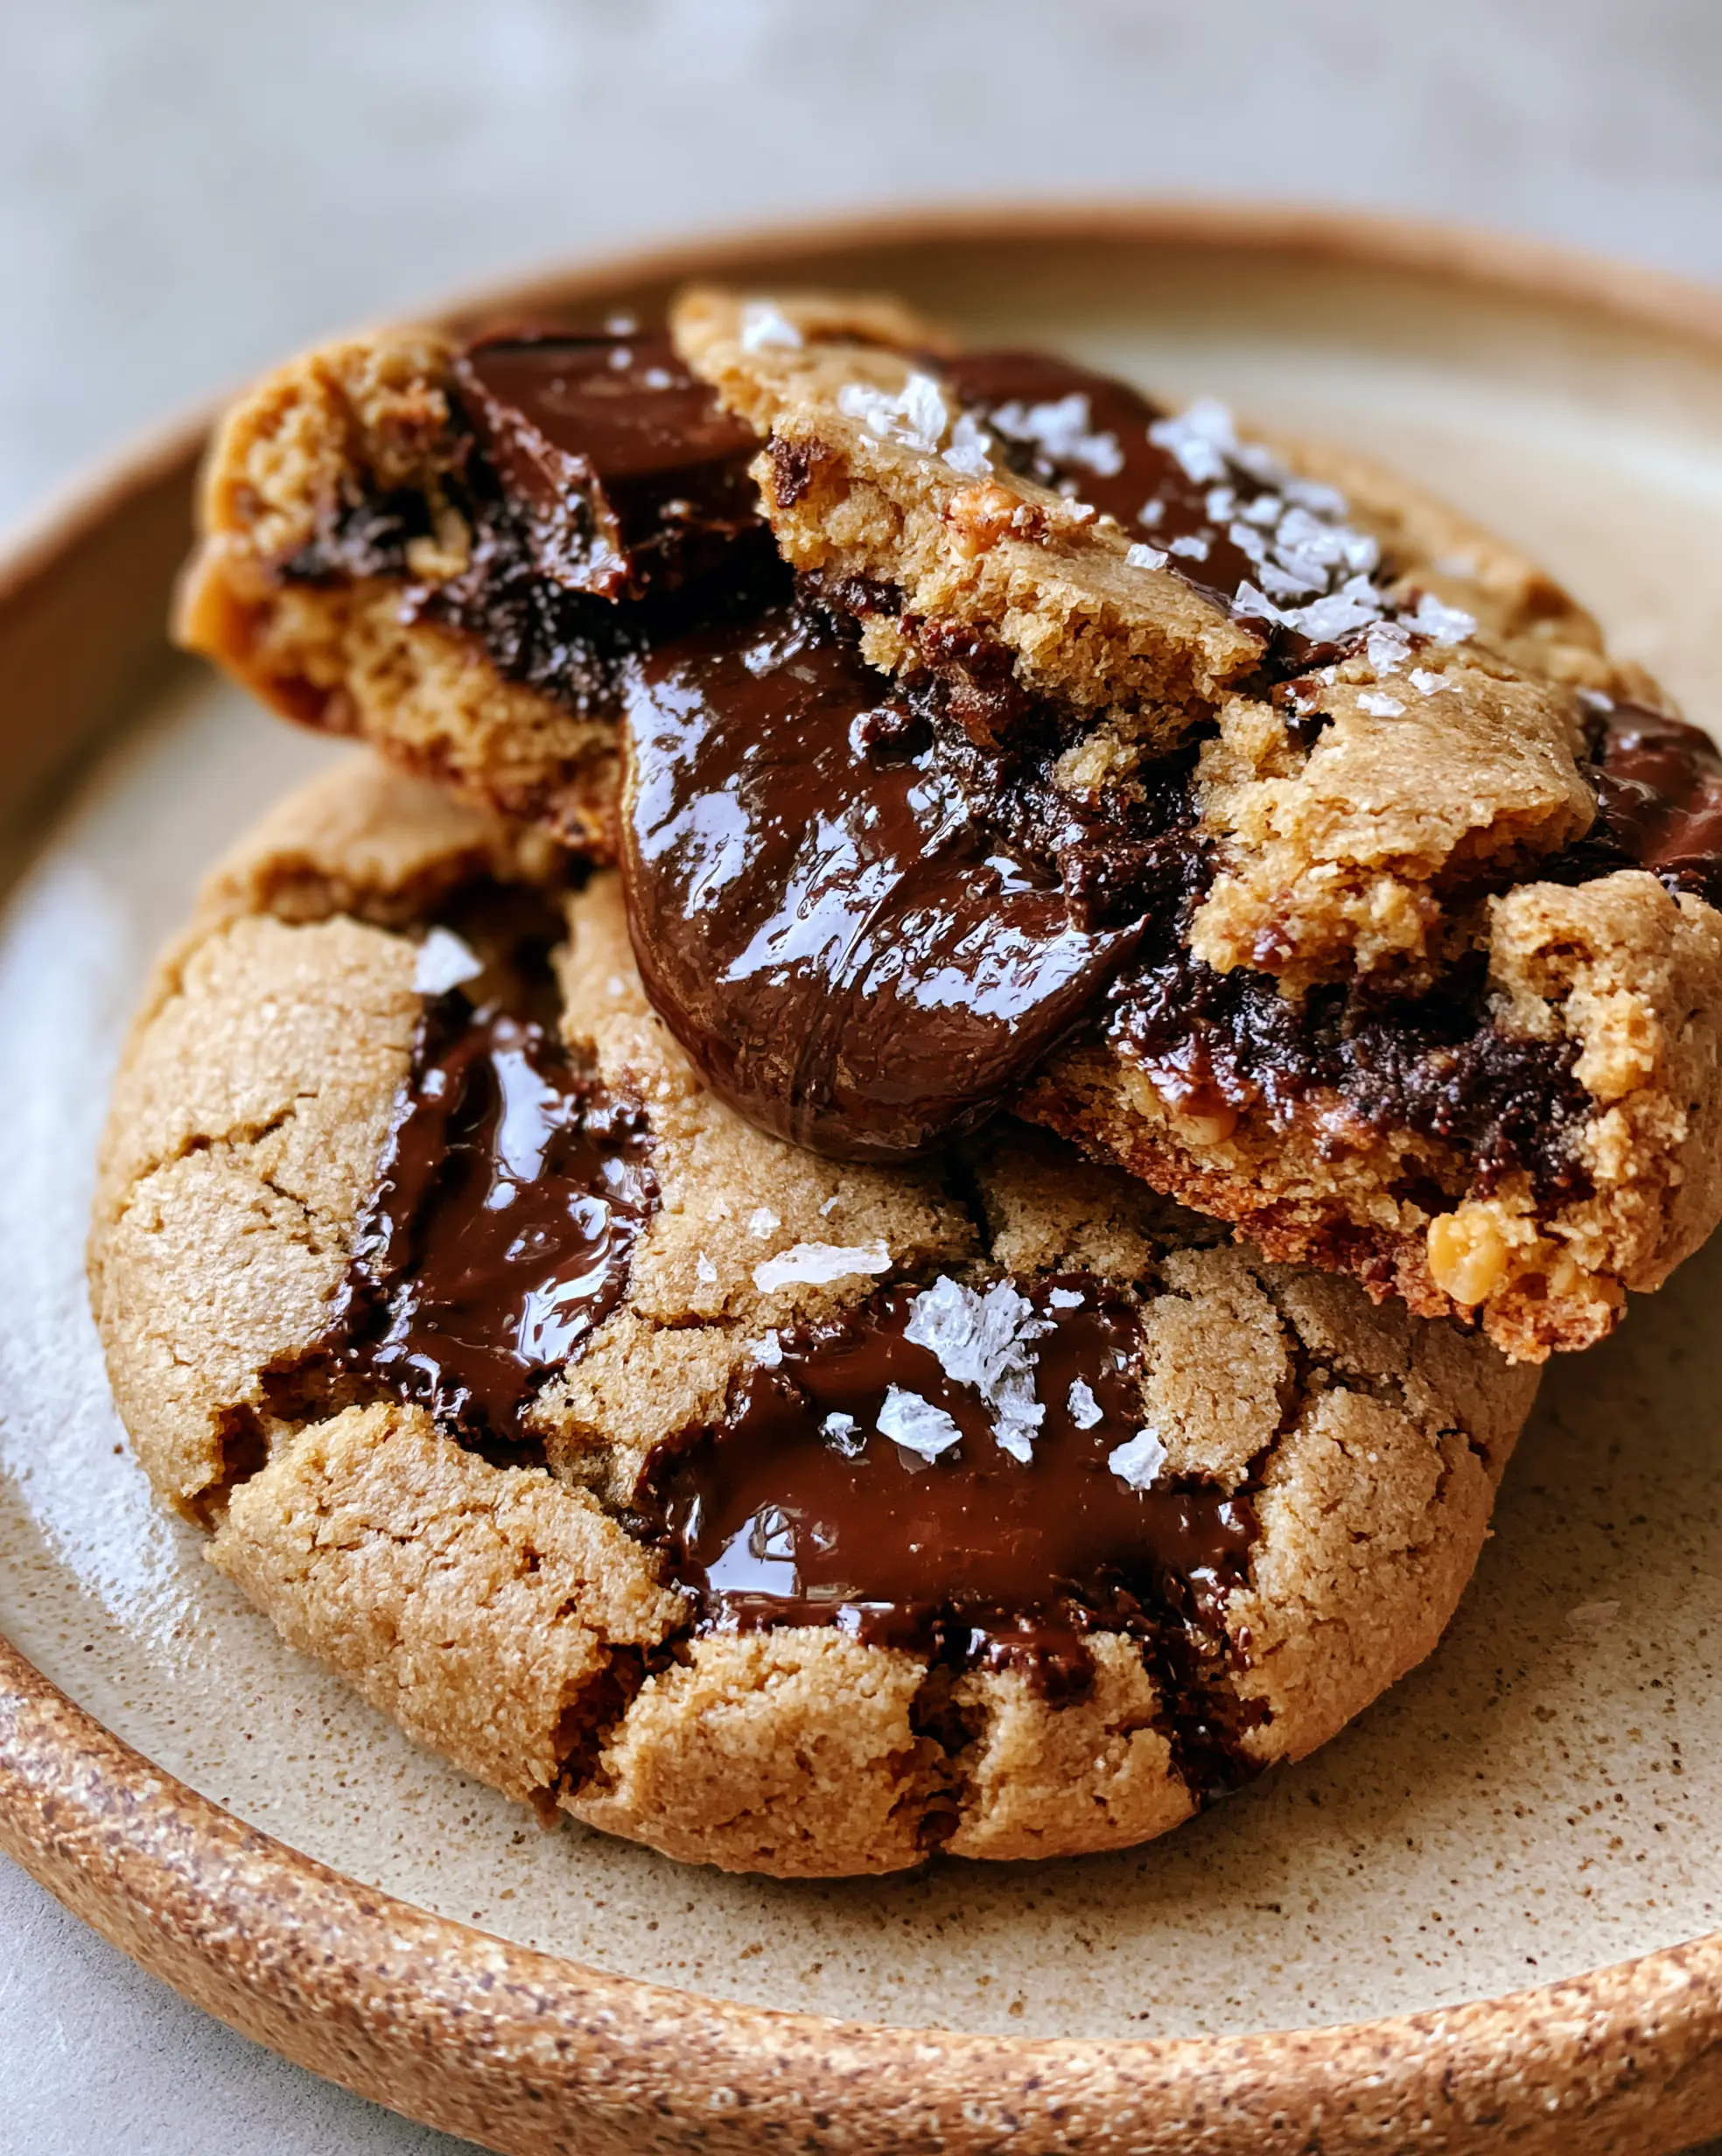
Chocolate Stuffed Cookies with Molten Hazelnut Centers
Ingredients
Equipment
Method
- Drop 12 teaspoons of hazelnut spread onto parchment paper and freeze for 30-60 minutes until firm.
- Cream butter and sugars for 3 minutes until fluffy; beat in egg and vanilla.
- Flatten 2 tbsp of dough, place a frozen hazelnut puck in the center, and seal the dough around it.
- Bake at 350°F (175°C) for 10-12 minutes until edges are golden and surface is cracked. Top with flaky salt.
Notes
Do not overbake; the center should remain molten.
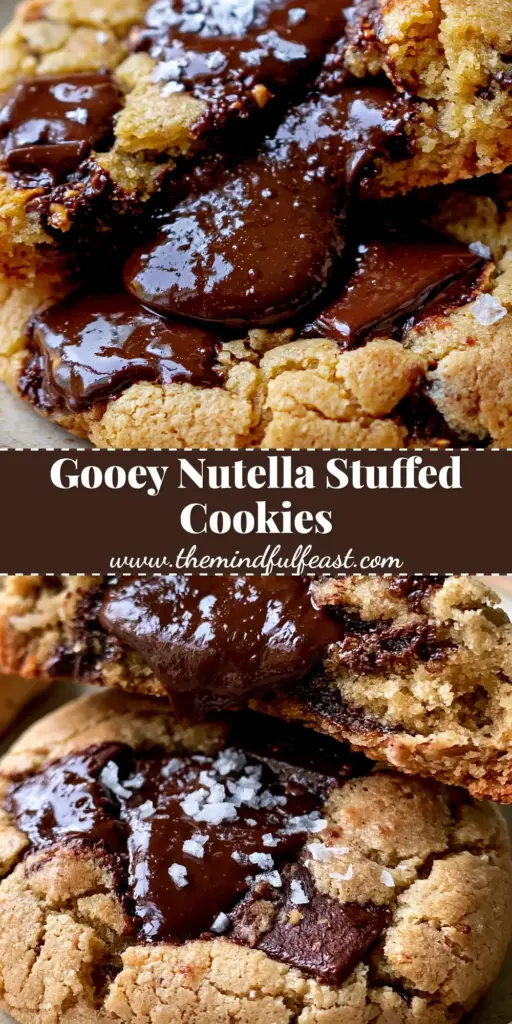
Bring the Bakery Home
Mastering the art of chocolate stuffed cookies is a rewarding journey for any home cook. The combination of the molten, glossy center and the crunchy, salty exterior creates a dessert that is truly world-class. If you enjoyed this recipe, please leave a comment below and share your results! Don’t forget to follow me on Pinterest for more decadent treats and visual baking inspiration.


