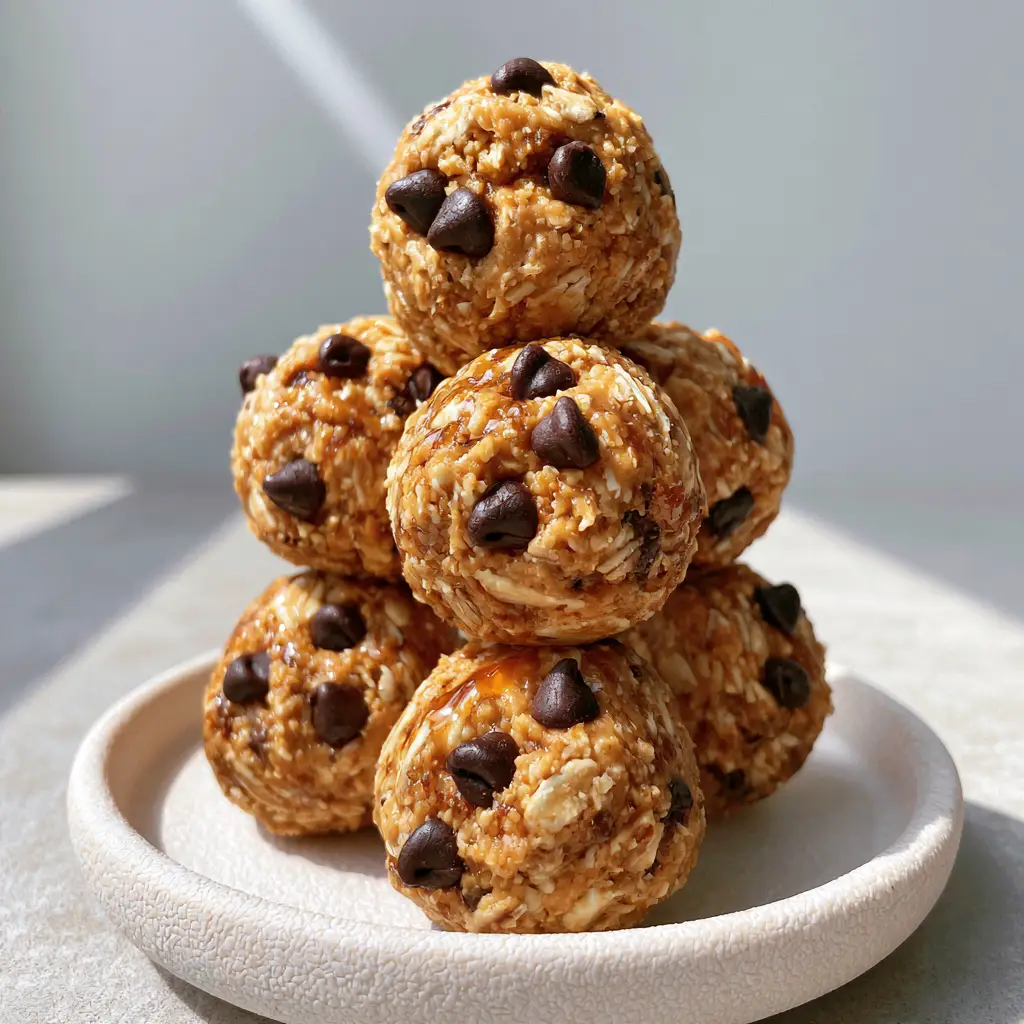
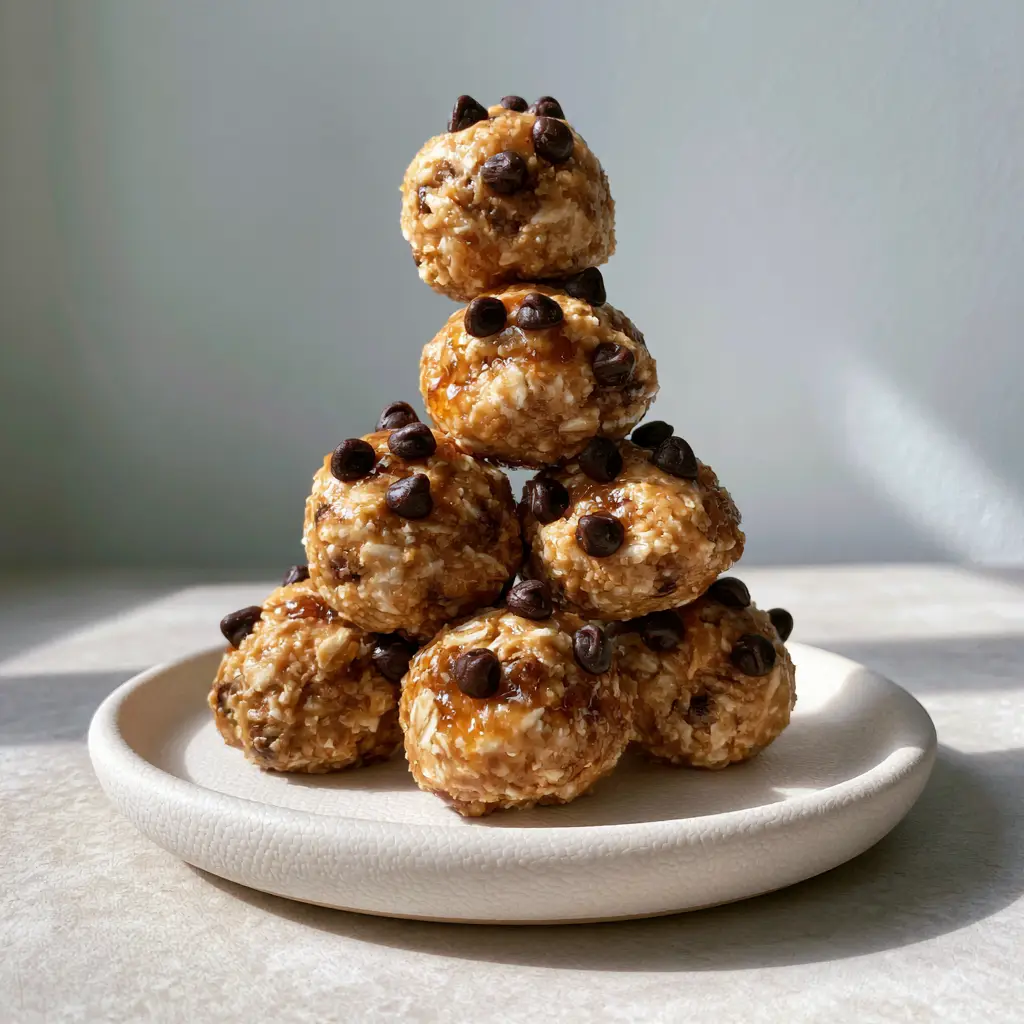
Energy oatmeal balls are the quintessential solution for anyone seeking a portable, nutrient-dense snack that tastes remarkably like raw cookie dough. These bite-sized powerhouses combine the structural integrity of golden-brown rolled oats with the luscious, velvety binder of creamy peanut butter. When you look at a perfectly prepared batch, you should see a subtle sheen of amber honey reflecting the light, promising a moist and chewy texture in every bite.
This recipe isn’t just about mixing ingredients; it’s about achieving a specific visual and textural harmony. By following this guide, you will create a neat pyramid stack of round spheres that feature plentiful mini dark chocolate chips embedded right on the surface. Whether you are prepping for a busy work week or looking for a post-workout refuel, these energy oatmeal balls deliver a satisfying crunch and a lingering sweetness that keeps you coming back for more.
In the world of functional snacking, balance is everything. We aren’t just looking for sugar; we are looking for sustained fuel. By leveraging the slow-release carbohydrates in oats and the healthy fats in nut butter, these balls provide a steady stream of energy without the dreaded mid-afternoon crash. If you enjoy starting your day with balanced nutrition, you might also love our breakfast banana split for a similarly wholesome morning treat.
Why These Energy Oatmeal Balls Are a Kitchen Staple
- Perfectly Balanced Texture: The combination of rolled oats and creamy peanut butter creates a moist, chewy mouthfeel that isn’t overly sticky.
- Visually Stunning Presentation: The amber honey provides a glossy finish that makes these look professional, especially when stacked in a minimalist pyramid.
- Customizable Sweetness: By using dark chocolate chips, we provide a sophisticated bitterness that cuts through the rich honey and peanut butter binder.
- No-Bake Simplicity: Achieve gourmet results in under 20 minutes without ever turning on your oven.
The Essential Components for Structural Integrity
To achieve the “cookie dough” look described in our visual blueprint, each ingredient must be selected with care. We aren’t just throwing things in a bowl; we are building a culinary matrix. If you are exploring ways to improve your diet, checking out these healthy dessert swaps can provide even more inspiration for your pantry.
Old-Fashioned Rolled Oats: 2 cups (180g). These provide the essential “golden-brown” visual and the necessary fiber for a chewy bite. Do not substitute with steel-cut oats, as they will remain too hard and gritty in a no-bake application.
Creamy Peanut Butter: 1 cup (250g). This acts as our primary binder. Its high fat content ensures the balls remain round and do not flatten, while providing a smooth, tan-colored backdrop for the chocolate chips.
Amber Honey: 1/2 cup (170g). Beyond sweetness, honey provides the “subtle sheen” seen in high-end food photography. It acts as a liquid glue that hydrates the oats over time.
Mini Dark Chocolate Chips: 1/2 cup (90g). The “mini” size is crucial here. They distribute evenly across the surface of the energy oatmeal balls, ensuring that every square millimeter of the sphere has a hit of cacao.
Pure Vanilla Extract: 1 tsp (5ml). This “invisible” ingredient bridges the gap between the savory peanut butter and the sweet honey, providing a floral aroma that elevates the entire snack.
Sea Salt: 1/4 tsp (1.5g). A foundational element that enhances the chocolate and peanut butter flavors. It balances the sweetness of the amber honey, preventing the snack from becoming cloying.
Necessary Tools for the Perfect Pyramid Stack
While this is a simple recipe, using the right equipment ensures that “neat” and “round” look we are aiming for. A standard mixing bowl is a given, but a small cookie scoop (about 1 tablespoon capacity) is the secret weapon for uniformity. This tool allows you to compress the mixture effectively, ensuring the balls don’t crumble when you stack them.
You will also need a textured matte-white ceramic plate for the final presentation. The contrast between the dark chocolate chips and the white plate, under soft natural daylight, creates those gentle shadows that make the food look truly irresistible. For those who enjoy meal prepping with precision, pairing this snack with a chickpea tuna salad during your weekly prep ensures you have both sweet and savory bases covered.
Mastering the Mix: Step-by-Step Execution
Phase 1: Hydrating the Dry Base
In a large glass bowl, combine your rolled oats and sea salt. Use a whisk to ensure the salt is evenly distributed through the oats. This step is vital because once the sticky binders are added, it becomes much harder to ensure a consistent salt level throughout the dough.
Phase 2: Incorporating the Viscous Binders
Add the creamy peanut butter, amber honey, and vanilla extract to the center of the oats. Using a sturdy silicone spatula, begin folding the mixture from the bottom up. You are looking for the oats to lose their dry, dusty appearance and take on a moist, golden-brown glow. The peanut butter should completely coat every flake of oat.
Phase 3: The Chocolate Chip Finishing Touch
Gently fold in the mini dark chocolate chips. Because we want these “plentifully embedded on the surface,” avoid over-mixing at this stage, which could cause the chocolate to smear if the room is warm. The goal is to have distinct, dark dots against the tan, honey-slicked oats.
Phase 4: Precision Rolling and Stacking
Scoop about 1.5 tablespoons (approximately 30g) of the mixture. Squeeze it firmly in your palm first to compress the air out, then roll it between your palms until a perfectly round sphere forms. Place them on your matte-white ceramic plate, building a wide base and narrowing as you go up to create that iconic pyramid stack.
Expert Tips for Culinary Success
- The Chill Factor: If your mixture feels too tacky to roll into neat spheres, refrigerate the bowl for 30 minutes. This allows the honey to set and the oats to fully hydrate, making the “cookie dough” texture easier to manipulate.
- Wet Hands Technique: If the dough sticks to your palms, lightly dampen your hands with water. The moisture creates a barrier that allows the energy oatmeal balls to roll smoothly without sticking to your skin.
- Peanut Butter Choice: Use a “no-stir” creamy peanut butter for the most consistent structural results. Natural oils that separate can sometimes make the balls too soft to hold a pyramid shape.
- Oat Customization: If you prefer a smoother texture, you can pulse half of the oats in a blender for 5 seconds before mixing. This creates a “flour” that fills the gaps between the whole oats.
Storing and Preserving Freshness
These snacks are incredibly stable, but for the best “moist and chewy” experience, storage is key. Place them in an airtight container with parchment paper between layers. In the refrigerator, they will maintain their integrity for up to two weeks. The cold environment actually improves the texture, making them feel more like a dense fudge.
For long-term storage, these energy oatmeal balls freeze beautifully. You can keep them in a freezer-safe bag for up to three months. When you’re ready to eat, just let them sit at room temperature for 10 minutes; they will regain that subtle amber honey sheen as they thaw. This makes them a perfect companion for other meal-prep favorites like a hähnchensalat-rezept or a quick midday salad.
Complementary Pairings for the Ultimate Fuel
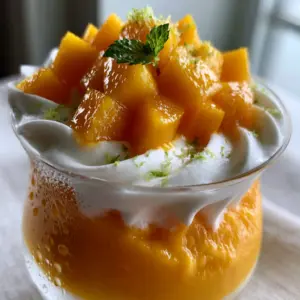
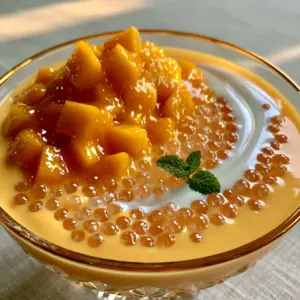
While these are fantastic on their own, they thrive when paired with other nutrient-dense options. If you’re looking for a full morning spread, serve them alongside a creamy mango coconut chia pudding. The tropical notes of the mango provide a bright contrast to the rich, nutty profile of the energy balls.
For a high-protein lunch pairing, consider these as a “dessert” following a savory meal. They work exceptionally well after a lighter dish like a Mediterranean salad or even a hearty bowl of soup. The density of the oats provides the satiety that lighter meals sometimes lack.
Frequently Asked Questions
They can be! Just ensure you use oats that are certified gluten-free, as standard oats are often processed in facilities that handle wheat.
You can, but the balls will be slightly softer and will not have the same glossy amber sheen. Honey is a thicker binder that helps the balls hold their round shape better than syrup.
Yes, you can use quick oats, but the texture will be softer and less chewy. Rolled oats provide a better structural ‘bite’ and the golden-brown appearance characteristic of these balls.
If the mixture is too tacky, refrigerate the dough for 30 minutes before rolling. This allows the oats to absorb the excess moisture from the honey and peanut butter.
When stored in an airtight container, they stay fresh and chewy for up to two weeks. They can also be frozen for up to three months.
The Definitive Energy Oatmeal Balls Recipe
Energy Oatmeal Balls: The Ultimate No-Bake Chewy Snack Recipe
Ingredients
Equipment
Method
- In a large mixing bowl, whisk together the 2 cups (180g) rolled oats and 1/4 tsp (1.5g) sea salt until evenly distributed.
- Pour in 1 cup (250g) creamy peanut butter, 1/2 cup (170g) amber honey, and 1 tsp (5ml) vanilla extract. Fold with a spatula until the oats are thoroughly coated and appear moist and golden-brown.
- Gently fold in 1/2 cup (90g) mini dark chocolate chips until they are evenly distributed through the dough.
- Scoop 1.5 tablespoons of the mixture at a time. Compress it in your palm, then roll into a round ball. You should see the chips embedded on the surface.
- Arrange the balls in a pyramid stack on a white ceramic plate. Refrigerate for at least 30 minutes to allow them to set for the best chewy texture.
Notes
Use wet hands to prevent the honey from sticking to your skin while forming the balls.
Closing & Call to Action
Creating the perfect snack doesn’t require a culinary degree, but it does require attention to detail. These energy oatmeal balls are proof that simple, high-quality ingredients like amber honey and creamy peanut butter can create something truly extraordinary. The visual appeal of the dark chocolate chips against the golden oats makes these a hit for both kids and adults alike.
If you enjoyed this recipe, please leave a comment below and let us know how your pyramid stack turned out! Don’t forget to share your photos and follow us on Pinterest for more visually inspired recipes that bring professional culinary techniques into your home kitchen.