There is a specific kind of culinary magic that happens when high heat meets tropical fruit and savory soy. This Hawaiian chicken isn’t just a meal; it’s a high-definition sensory experience, characterized by large, succulent chunks of chicken breast seared to a deep golden-brown and coated in a glaze so glossy it reflects the light. Imagine pulling a rustic dark metal sheet pan from the oven, heavy with the aroma of toasted sesame and charred aromatics.
The visual appeal of this dish is undeniable, bridging the gap between a home-cooked comfort meal and professional food photography. The vibrant red of charred bell pepper strips pops against the softened purple petals of roasted red onion, while thick wedges of fresh pineapple boast dark, caramelized grill marks that promise a burst of sweetness in every bite. Whether you are looking for a quick weeknight win or a meal prep staple, this recipe delivers on every front.
Why You Will Crave This One-Pan Tropical Feast
- Textural Contrast: You get the crunch of toasted white sesame seeds, the snap of charred peppers, and the tenderness of seared chicken chunks.
- The Perfect Amber Glaze: A thick, sticky teriyaki-style reduction that clings to every ingredient without pooling at the bottom of the pan.
- Visually Stunning: The combination of bright green cilantro and sliced scallions against the amber-colored sauce creates a restaurant-quality presentation.
- Effortless Cleanup: By utilizing a single dark metal sheet pan, you maximize caramelization while minimizing the time spent at the sink.
The Secret Architecture of a Perfect Hawaiian Chicken Glaze
To achieve that specific “amber” glow described in our visual blueprint, we rely on the science of sugar reduction. The base of our sauce uses brown sugar and honey, which provide the viscosity and deep color needed to coat the chicken effectively. We balance this sweetness with the umami of soy sauce and the sharp, bright notes of fresh ginger and garlic.
Chicken Breast Chunks: Use 2 lbs (900g) of boneless, skinless breast, cut into large 1.5-inch pieces to ensure they stay juicy while the exterior sears. If you prefer a different cut, you might enjoy the flavor profile of this Korean BBQ chicken.
Fresh Pineapple Wedges: While canned works in a pinch, fresh pineapple provides the structural integrity needed to withstand high-heat roasting and develop those signature dark caramelized grill marks.
The Aromatics & Crunch: Toasted white sesame seeds are non-negotiable for that nutty finish, while a generous scatter of fresh cilantro and thinly sliced scallions adds a necessary layer of freshness to cut through the sticky sauce.
Essential Tools for High-Heat Roasting
To replicate the authentic unedited food photography style of this dish, you need a dark metal sheet pan. Dark pans absorb more heat than light aluminum ones, which is the secret to getting those softened charred red onion petals and seared chicken bottoms without overcooking the centers. A high-quality chef’s knife is also vital for getting clean, uniform strips of red bell pepper.
How to Master the Sear and Glaze
Step 1: Achieving the Golden-Brown Sear
Pat your chicken chunks completely dry with paper towels. Season them with salt and pepper, then toss with a small amount of cornstarch and neutral oil. Heat your dark metal sheet pan in a 425°F (220°C) oven for 5 minutes before adding the chicken; this ensures the meat begins searing the moment it touches the surface, creating that beautiful golden crust.
Step 2: Preparing the Vibrant Vegetable Medley
While the chicken begins its initial roast, prep your red bell pepper into thick strips and your red onion into large petals. Toss these with the pineapple wedges in a light coating of oil. The goal is to have the vegetables soften and char at the same rate the chicken reaches internal safety, creating a harmonious blend of textures.
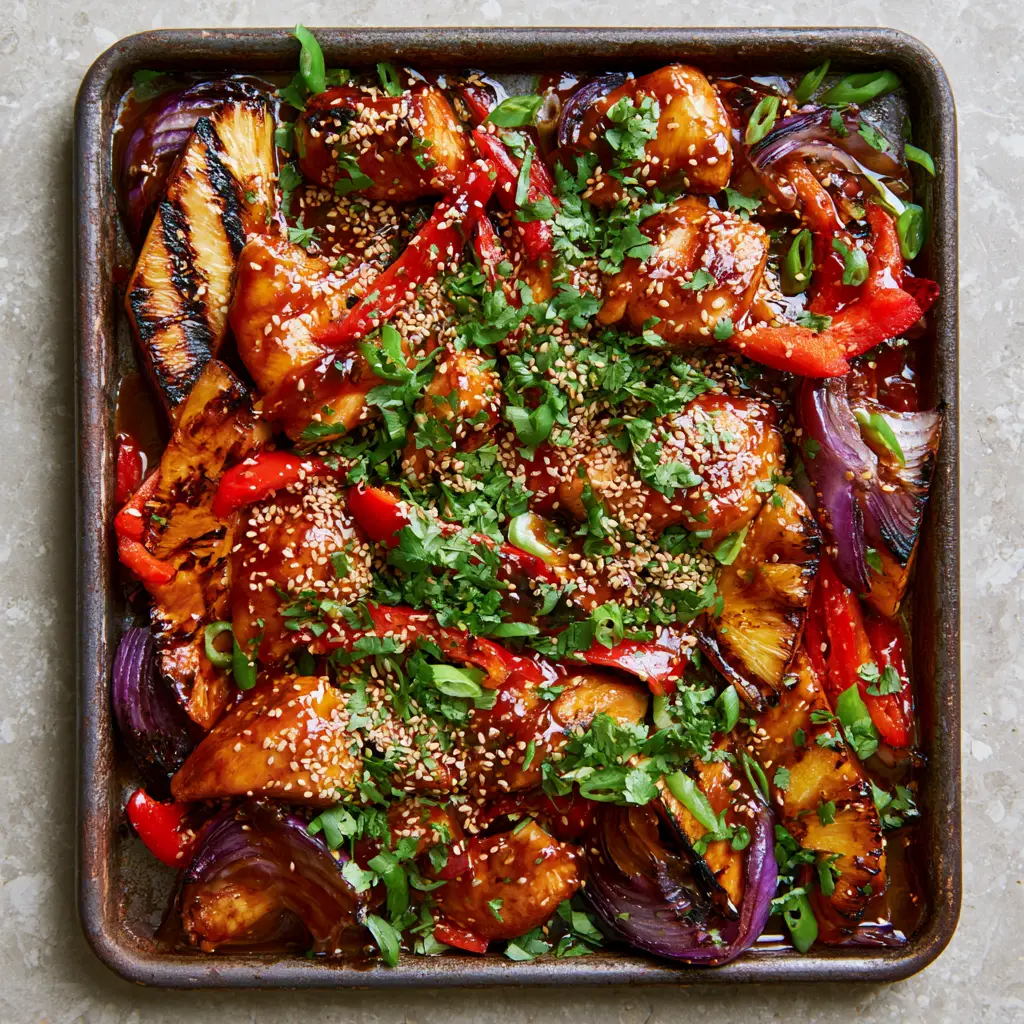
Step 3: The Glossy Amber Finish
During the final 5 minutes of cooking, pour your prepared amber glaze over the entire sheet pan. Use a spatula to toss the ingredients, ensuring the thick, sticky sauce coats every nook and cranny. Return to the oven until the sauce bubbles and transforms into a reflective, glossy coating that catches the light beautifully.
Expert Tips for Visual and Flavor Success
- Don’t Overcrowd: If the chicken chunks are touching, they will steam rather than sear. Use a large enough pan to allow air circulation for those charred edges.
- Fresh vs. Ground: Always use fresh grated ginger and garlic for the glaze; the essential oils provide a depth of flavor that dried spices simply cannot match.
- The Garnish Timing: Add the cilantro and scallions at the absolute last second before serving to maintain their bright green color and crisp texture.
- Cornstarch Slurry: If your glaze feels too thin, a small teaspoon of cornstarch mixed with water will help it achieve that “amber-colored sticky” consistency.
Reliable Storage and Reheating Instructions
This Hawaiian chicken stores remarkably well, making it a favorite for those who love a tropical lunch the next day. Place leftovers in an airtight container and refrigerate for up to 4 days. When reheating, use a skillet over medium heat rather than a microwave to maintain the integrity of the seared chicken and the snap of the peppers.
You can also freeze the cooked dish for up to 2 months. To serve, thaw overnight in the refrigerator and reheat in a hot oven at 350°F (175°C) for 10-12 minutes until the glaze is bubbling again.
What to Serve With Your Sticky Hawaiian Chicken
This dish is a powerhouse on its own, but it pairs beautifully with fluffy jasmine rice or coconut-infused quinoa. For a lower-carb option, serve it over a bed of cauliflower rice to soak up that extra amber sauce. If you are looking for more vibrant poultry dishes, consider trying our Thai Basil Chicken or a refreshing Crunchy Asian Chicken Salad.
For those hosting a larger tropical-themed gathering, this recipe complements the bold flavors of Coconut Chicken or even a side of Grilled Chicken Salad for a variety of textures.
Frequently Asked Questions
Absolutely. You can prep the chicken and vegetables 24 hours in advance. Store the glaze separately and combine them on the sheet pan just before roasting for the best texture.
Yes, boneless skinless chicken thighs work beautifully and are very forgiving. You may need to increase the initial roasting time by 5 minutes as thighs take longer to cook through than breast chunks.
The key is the sugar content and the cornstarch slurry. Ensure you simmer the sauce until it reduces slightly before adding it to the pan, and the high heat of the oven will do the rest of the work to caramelize it.
Fresh is highly recommended because it holds its shape during high-heat roasting and develops those iconic dark grill marks. Canned pineapple contains more moisture and may become mushy.
To keep the chicken from drying out, reheat in a skillet over medium-low heat with a splash of water or extra soy sauce to loosen the glaze, or in a 350°F oven for 10 minutes.
The Ultimate Sheet Pan Hawaiian Chicken Recipe
Hawaiian Chicken with Caramelized Pineapple and Sticky Amber Glaze
Ingredients
Equipment
Method
- In a small saucepan, whisk soy sauce, brown sugar, ginger, and garlic. Simmer over medium heat for 5 minutes until it begins to thicken into an amber syrup.
- Toss chicken chunks with oil, salt, and pepper. Spread on a preheated dark metal sheet pan and roast at 425°F (220°C) for 10 minutes.
- Add pineapple wedges, bell pepper strips, and onion petals to the pan. Roast for another 10-12 minutes until vegetables are charred at the edges.
- Pour the amber glaze over the pan, tossing to coat everything thoroughly. Roast for 3 more minutes until glossy.
- Remove from oven and immediately top with toasted sesame seeds, fresh cilantro, and sliced scallions.
Notes
Use fresh pineapple for the best caramelized results.
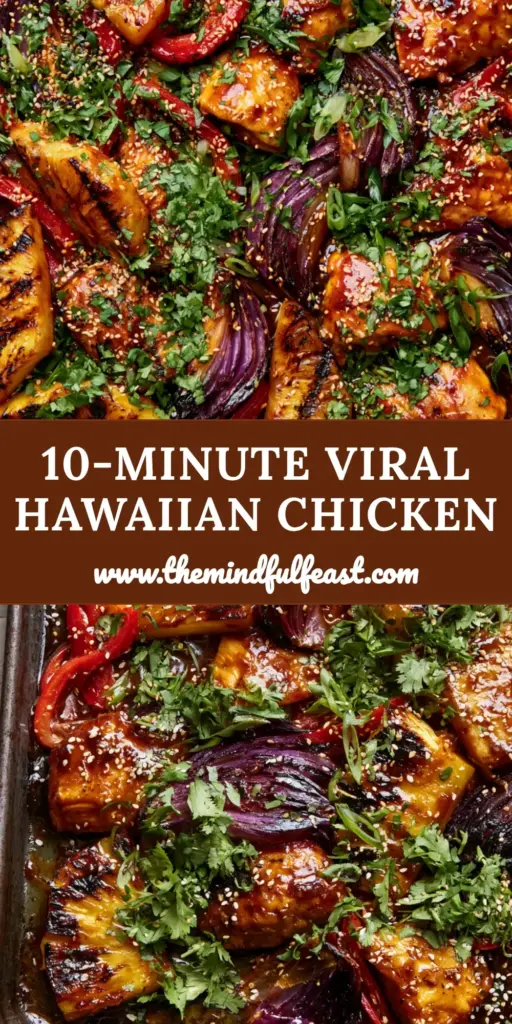
Bring the Islands to Your Kitchen
This Hawaiian chicken is a testament to how simple ingredients, when treated with the right culinary techniques, can create a visually stunning and delicious meal. The combination of the seared chicken breast chunks and the caramelized pineapple creates a balance of savory and sweet that is hard to beat. We hope this becomes a new favorite in your dinner rotation!
If you enjoyed this recipe, please leave a comment below and let us know how your caramelization turned out! Don’t forget to share your creations and follow us on Pinterest for more culinary inspiration.


